


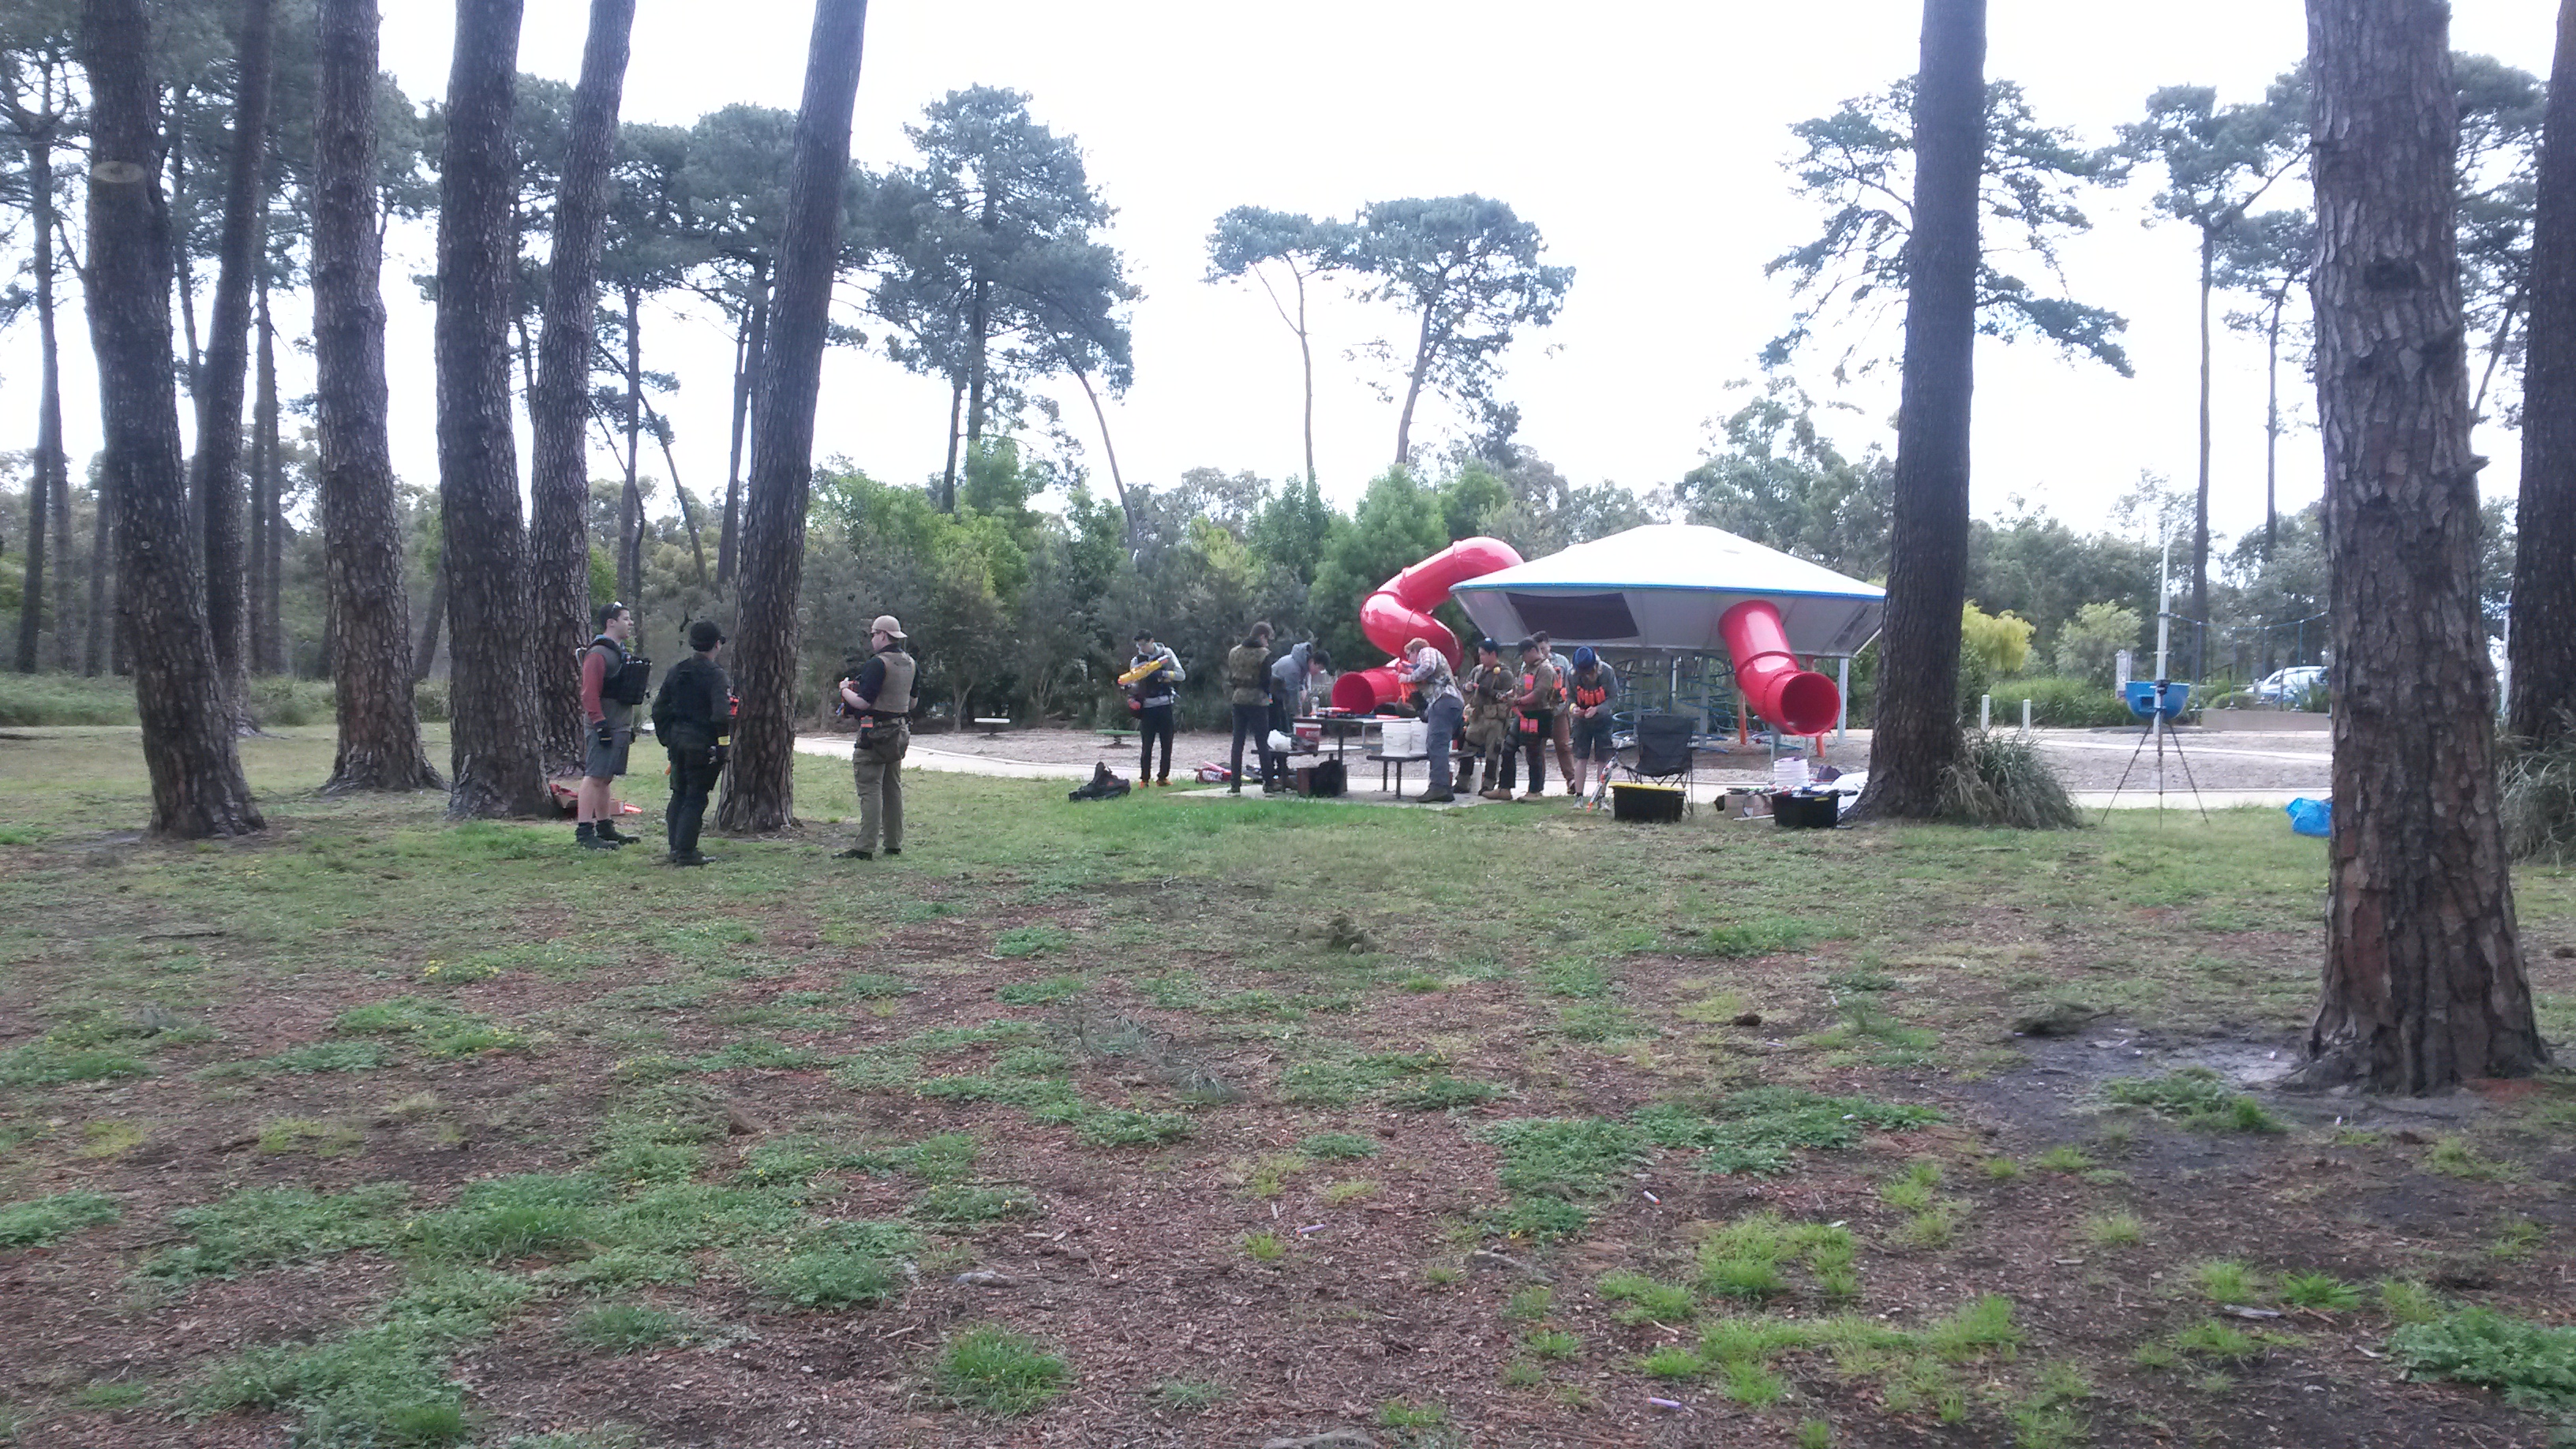
Had quite an unusual MLF event today. Quite a few players arrived late, so we started the day rather slowly with a relatively smaller player count. As people started to arrive though, the games got bigger and more intense, culminating in a series of extremely tight and long games. In this Nerf Game Report I’ll describe the blasters that saw use, the gamemodes we played, and in particular how differently short and long games played out.
Base rules:
- If a player is hit with a dart, they are downed (“hit” and “downed” are often used interchangeably). When downed, they can choose to wait for a medic, or go to respawn (if the gamemode has respawns). If the downed player chooses to respawn, once they move from their spot they can no longer be revived by a medic. Hits to a blaster count as a hit to the player.
- A medic revives a downed player by placing their hand on the player, counting to 3 (at a reasonable speed). Once the countdown is complete, the downed player is revived.
- A grenade hit forces a player to respawn, and they cannot be revived by a medic.
- A melee tag also forces a player to respawn. If a melee weapon is not available, the attacking player can simply tag the target player with their hand.
- If the gamemode does not have a respawn, an attack that forces a respawn is a permanent elimination.
- A shield blocks darts, but breaks when hit by a grenade – the shield must be dropped immediately and cannot be used for the rest of the round.
Gamemodes:
Old:
- Kill Confirmed – very similar to Freeze Tag/Tag Teams. When a player is hit, they are downed and must wait for a teammate to revive them, which is achieved with a simple hand tag. In Kill Confirmed, all players are medics. An opposing player may tag a downed player with their hand to “confirm the kill” and eliminate them from the game. Naturally if an entire team is downed, then that team loses even if none of them are “confirmed”. The last team with surviving, non-downed players wins.
- Black Hawk Down – asymetric gametype with two teams: the smaller Special Forces (SF) and larger Insurgents. The SF win if they eliminate all Insurgents. The Insurgents win if they eliminate all SF, or capture the SF’s flag. The SF players are all medics, while the Insurgents have a single medic who operates on ordinary medic rules. An Insurgent melee attack is a suicide attack and eliminates both the SF and Insurgent. Extra perks for the SF team depend on the exact player numbers.
- VIP – one player from each team is designated as the VIP of that team (the teams do not need to tell other teams who their designated VIP is). If the VIP is downed, their team can no longer respawn (but can still be revived by their medic). The VIP must call out when they are downed, and cannot be revived by the medic. One player is designated as the medic of the team (likewise whose identity does not need to be publicly shared). The last team with surviving players wins. The VIP is not allowed within 5m of their team’s spawn.
- Capture the Flag (CTF) – classic gamemode, steal the enemy’s flag and return it to your flag at your base to win. Drop the flag if downed while holding it. If the flag is picked up, the player cannot put it down unless they are downed. The flags are not allowed within or behind ~5 metres in front of spawn.
New:
- None
Blasters:
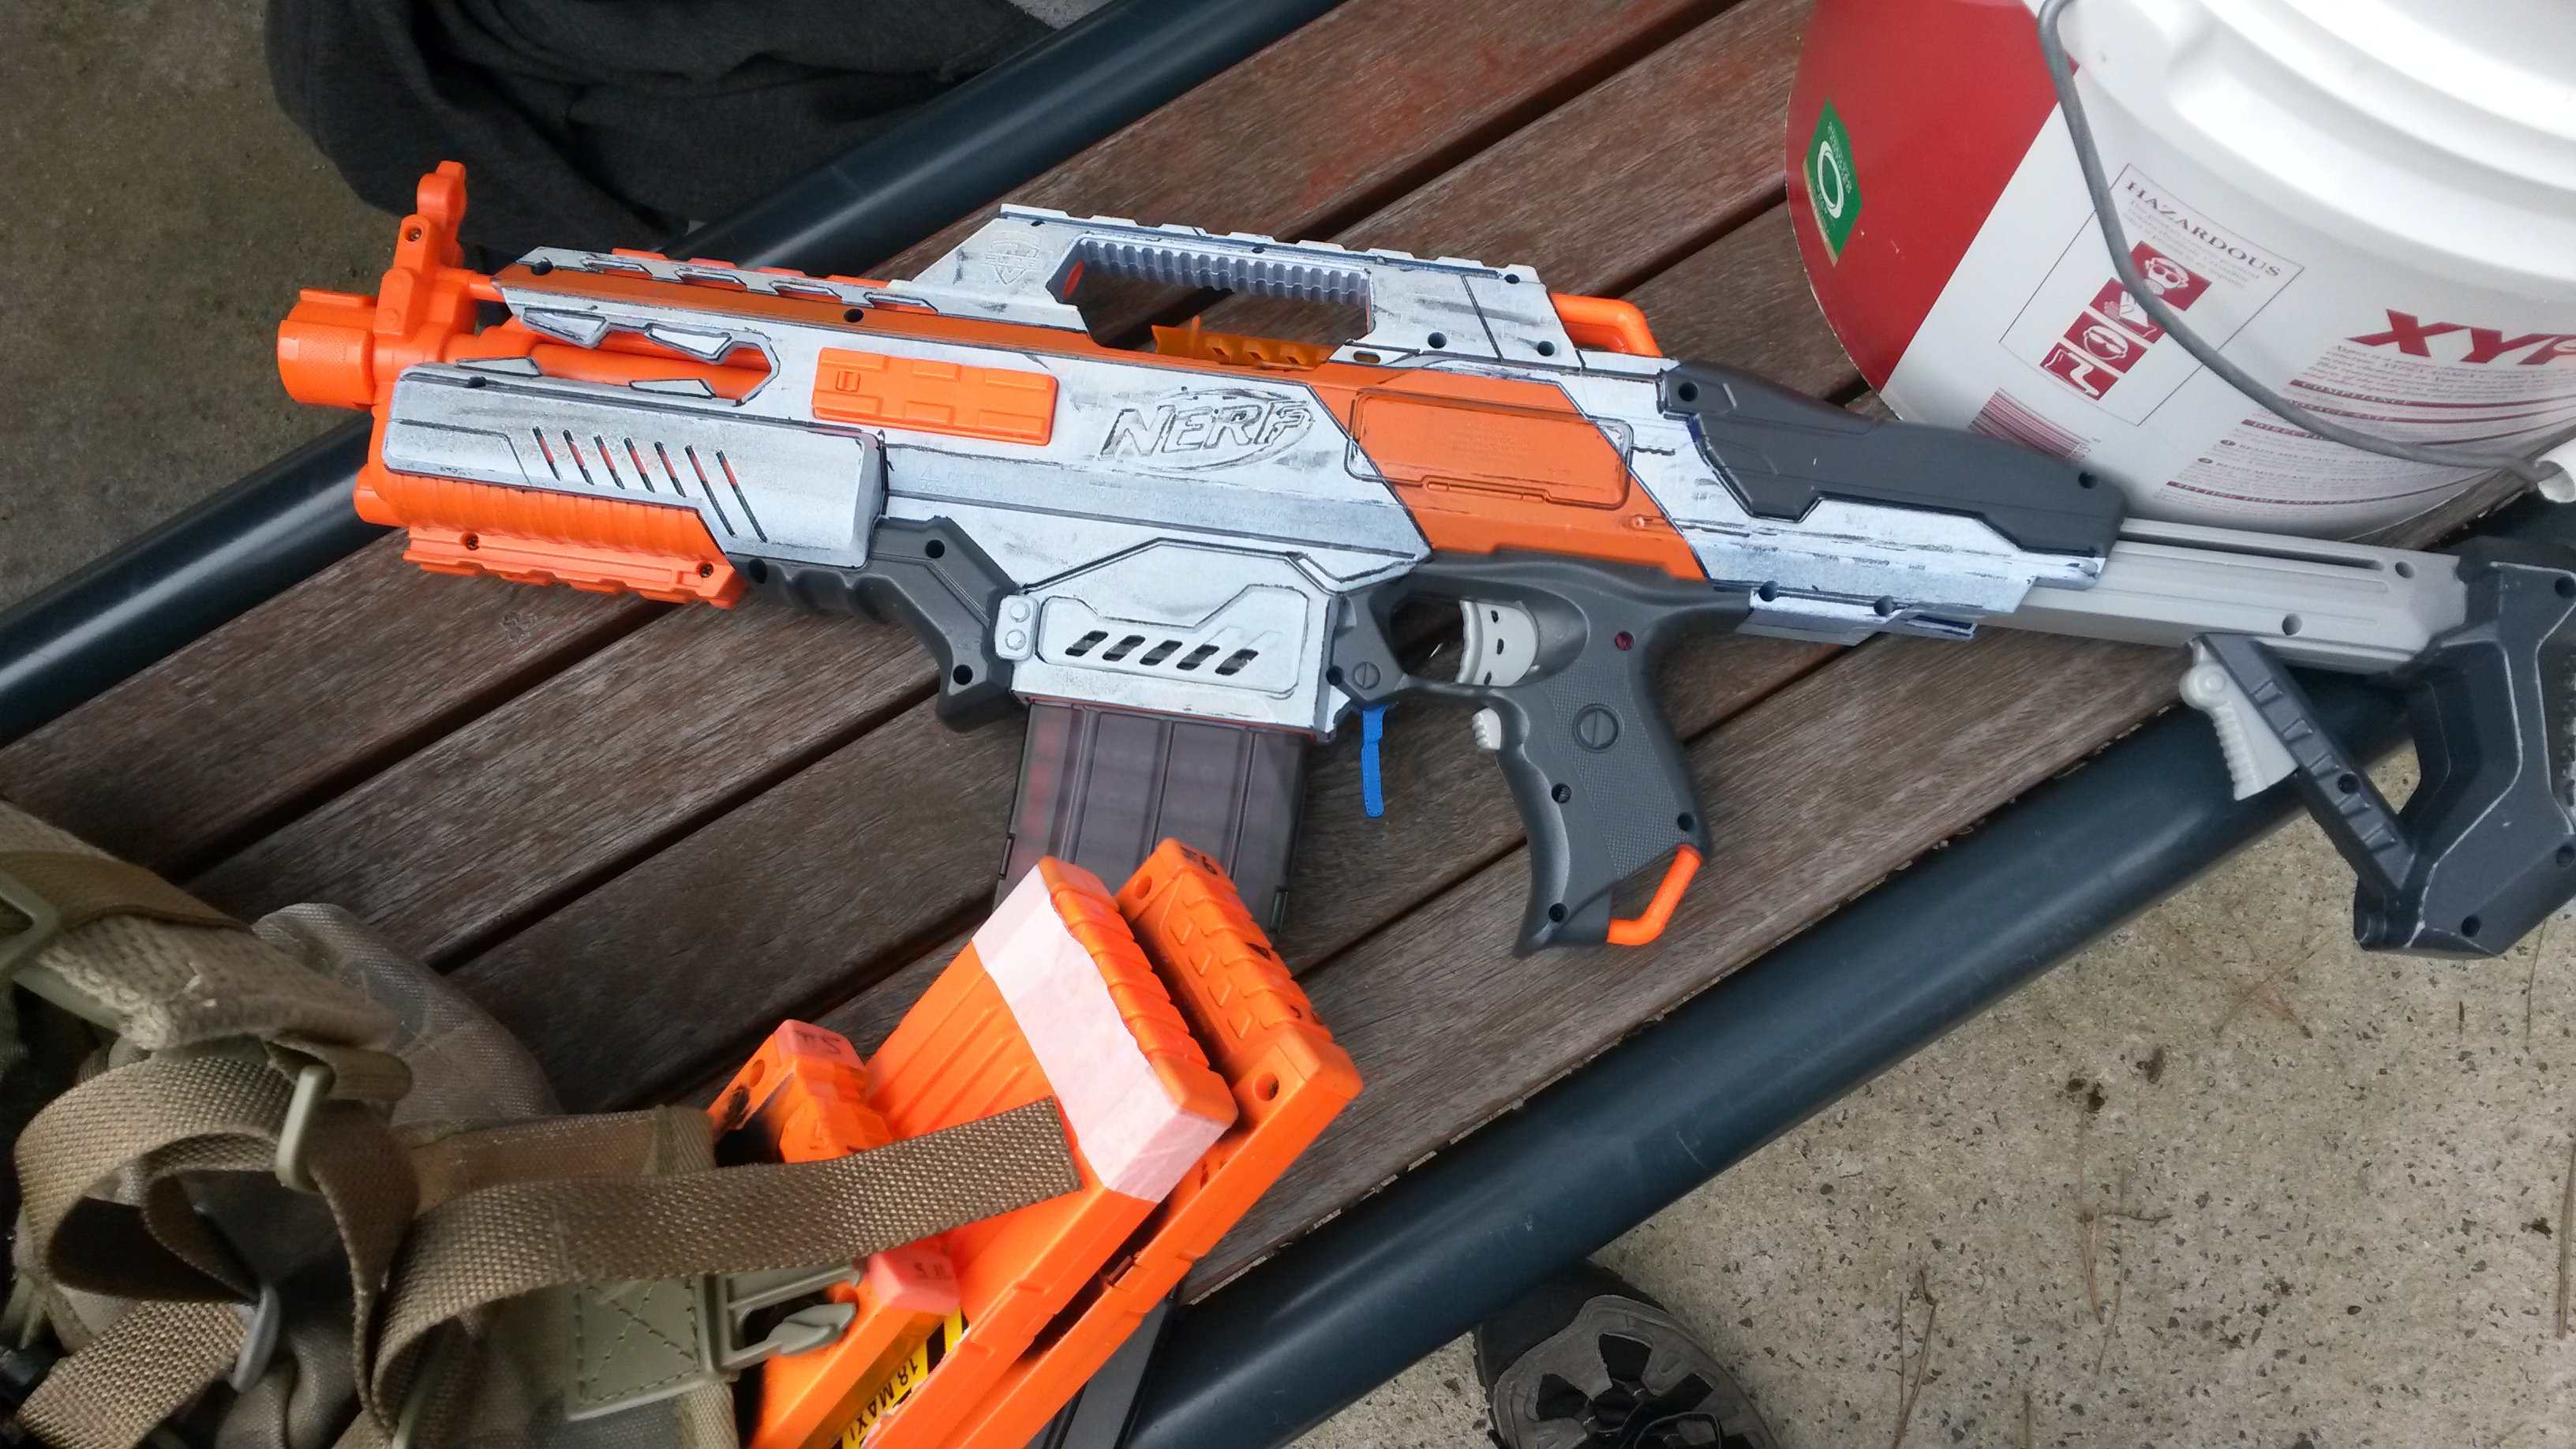
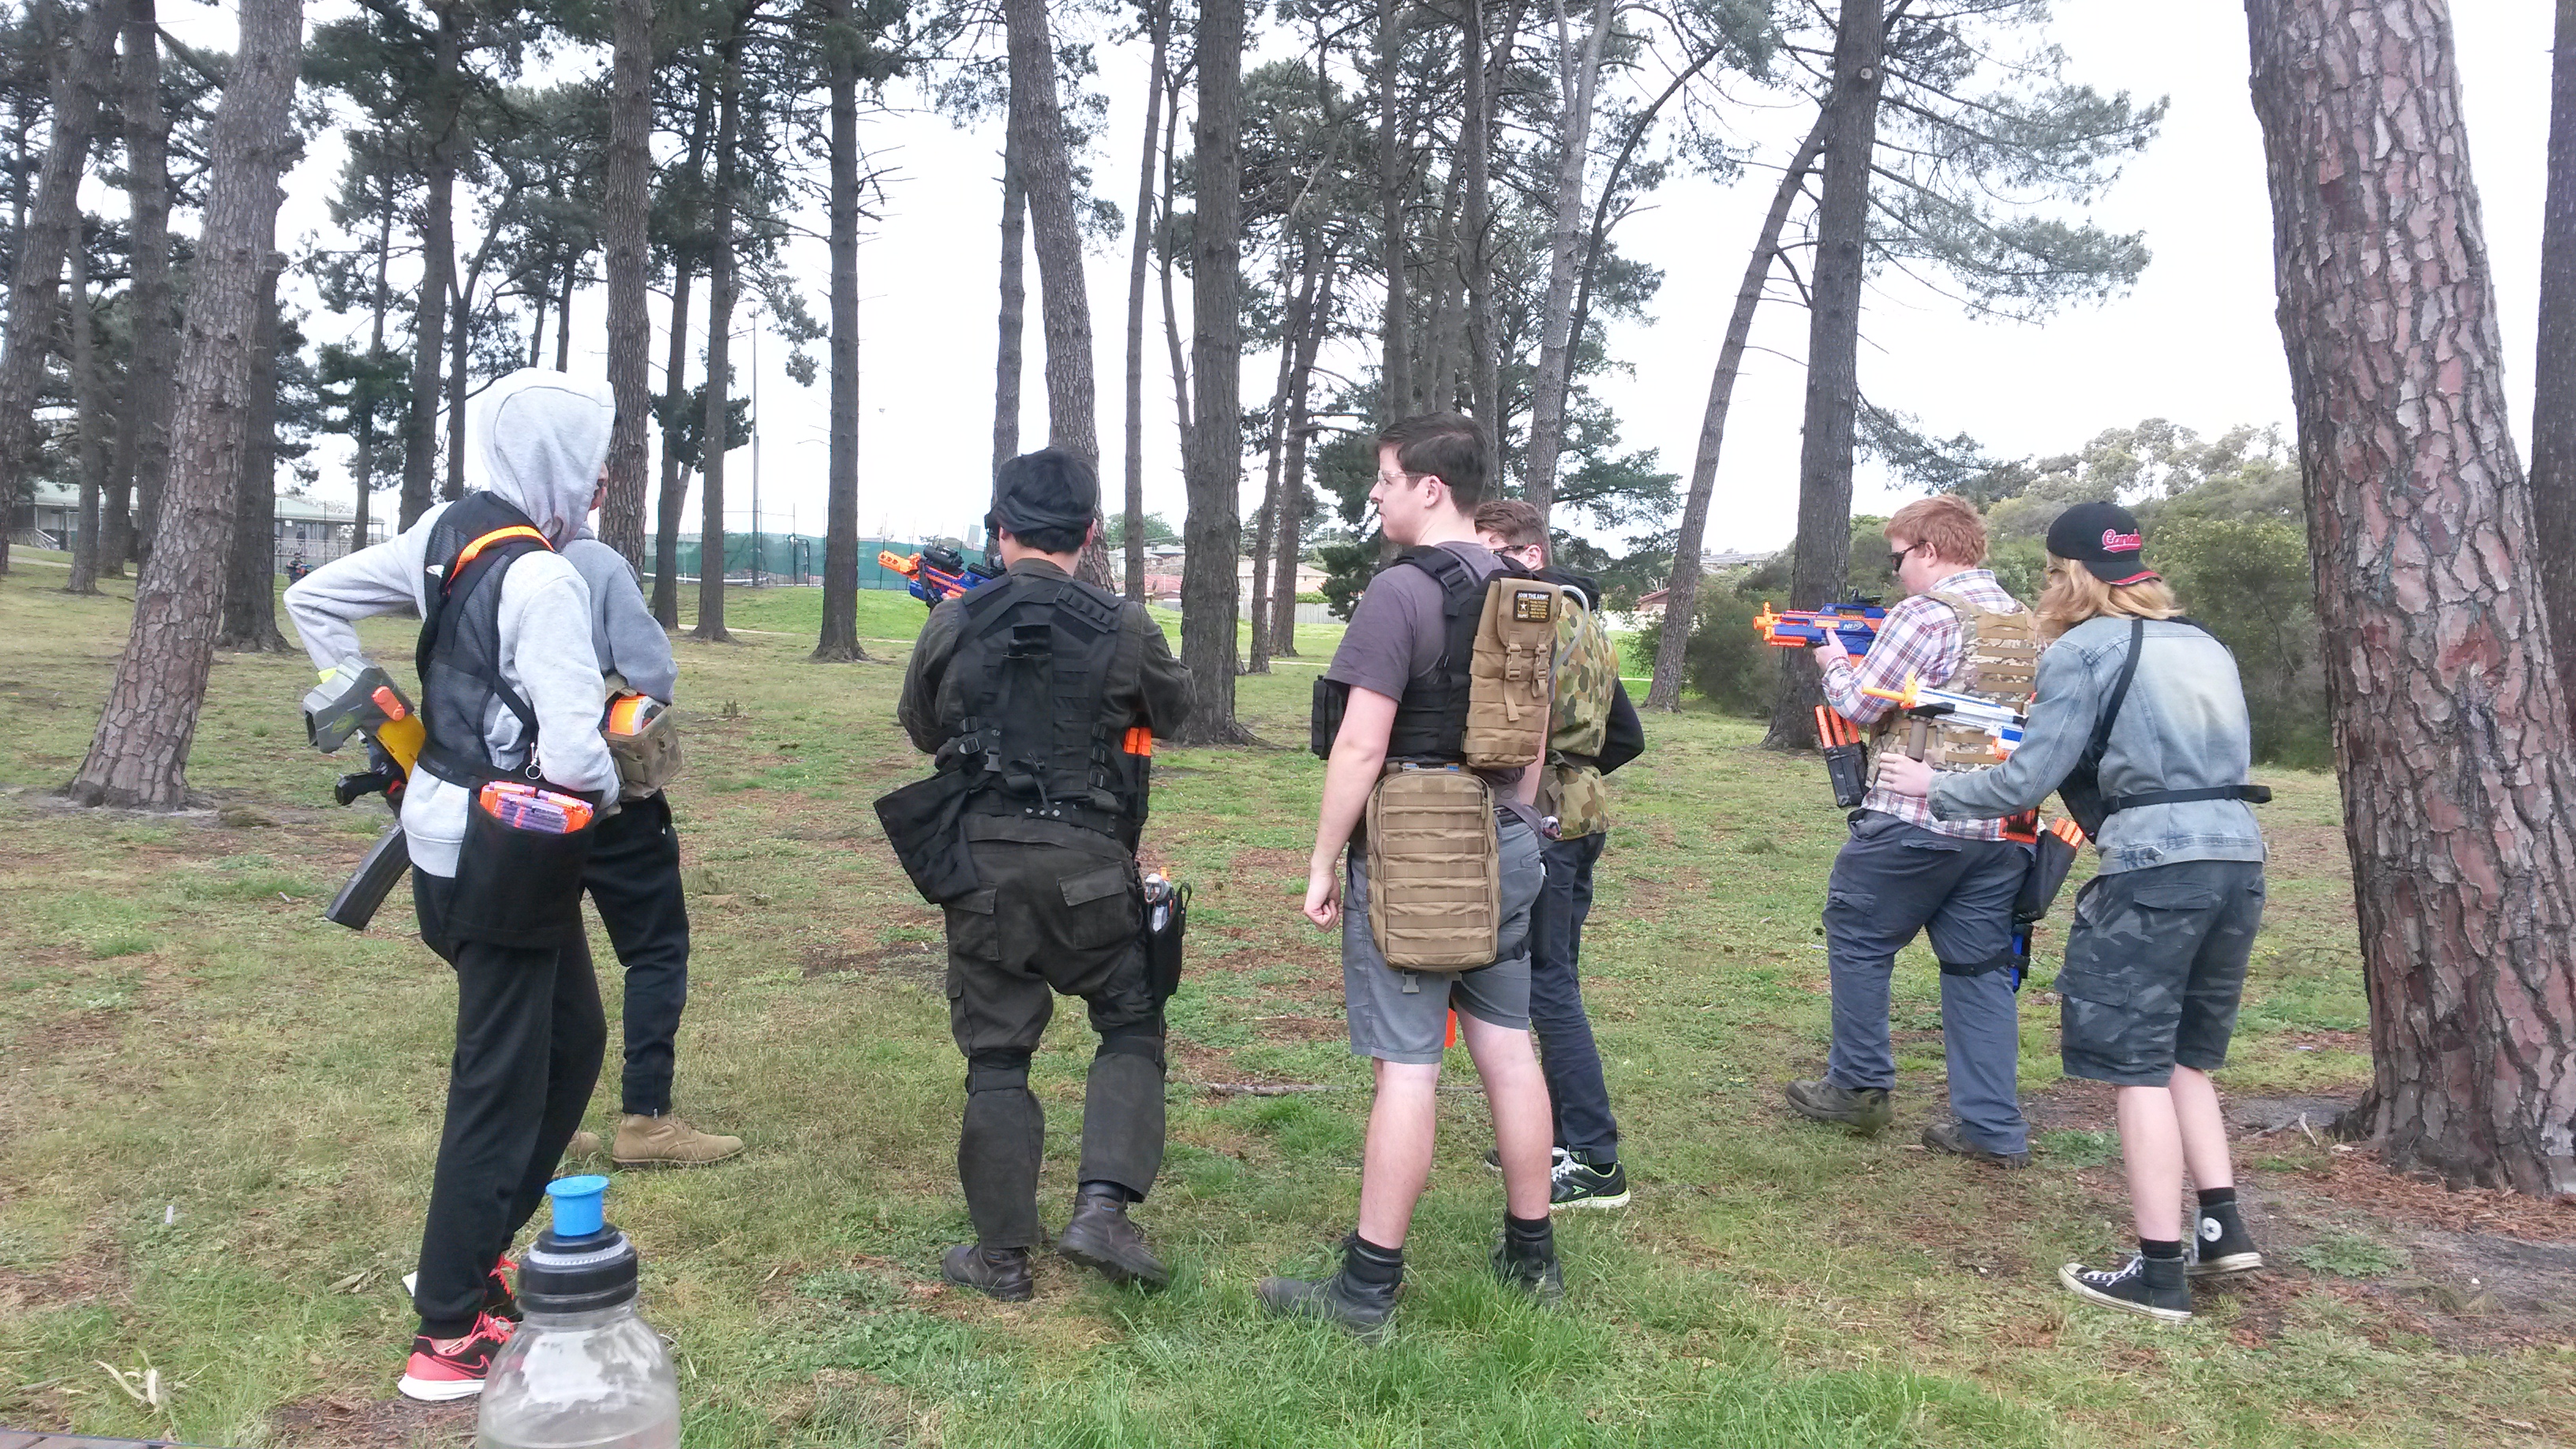
Since there were a lot of different blasters there, I’ve generalised them and only listed down the ones that I saw as significant or noteworthy, or remember for that matter. Being that I can’t be everywhere at once, it’s entirely possible I completely missed some blasters.
Recurring/Regular:

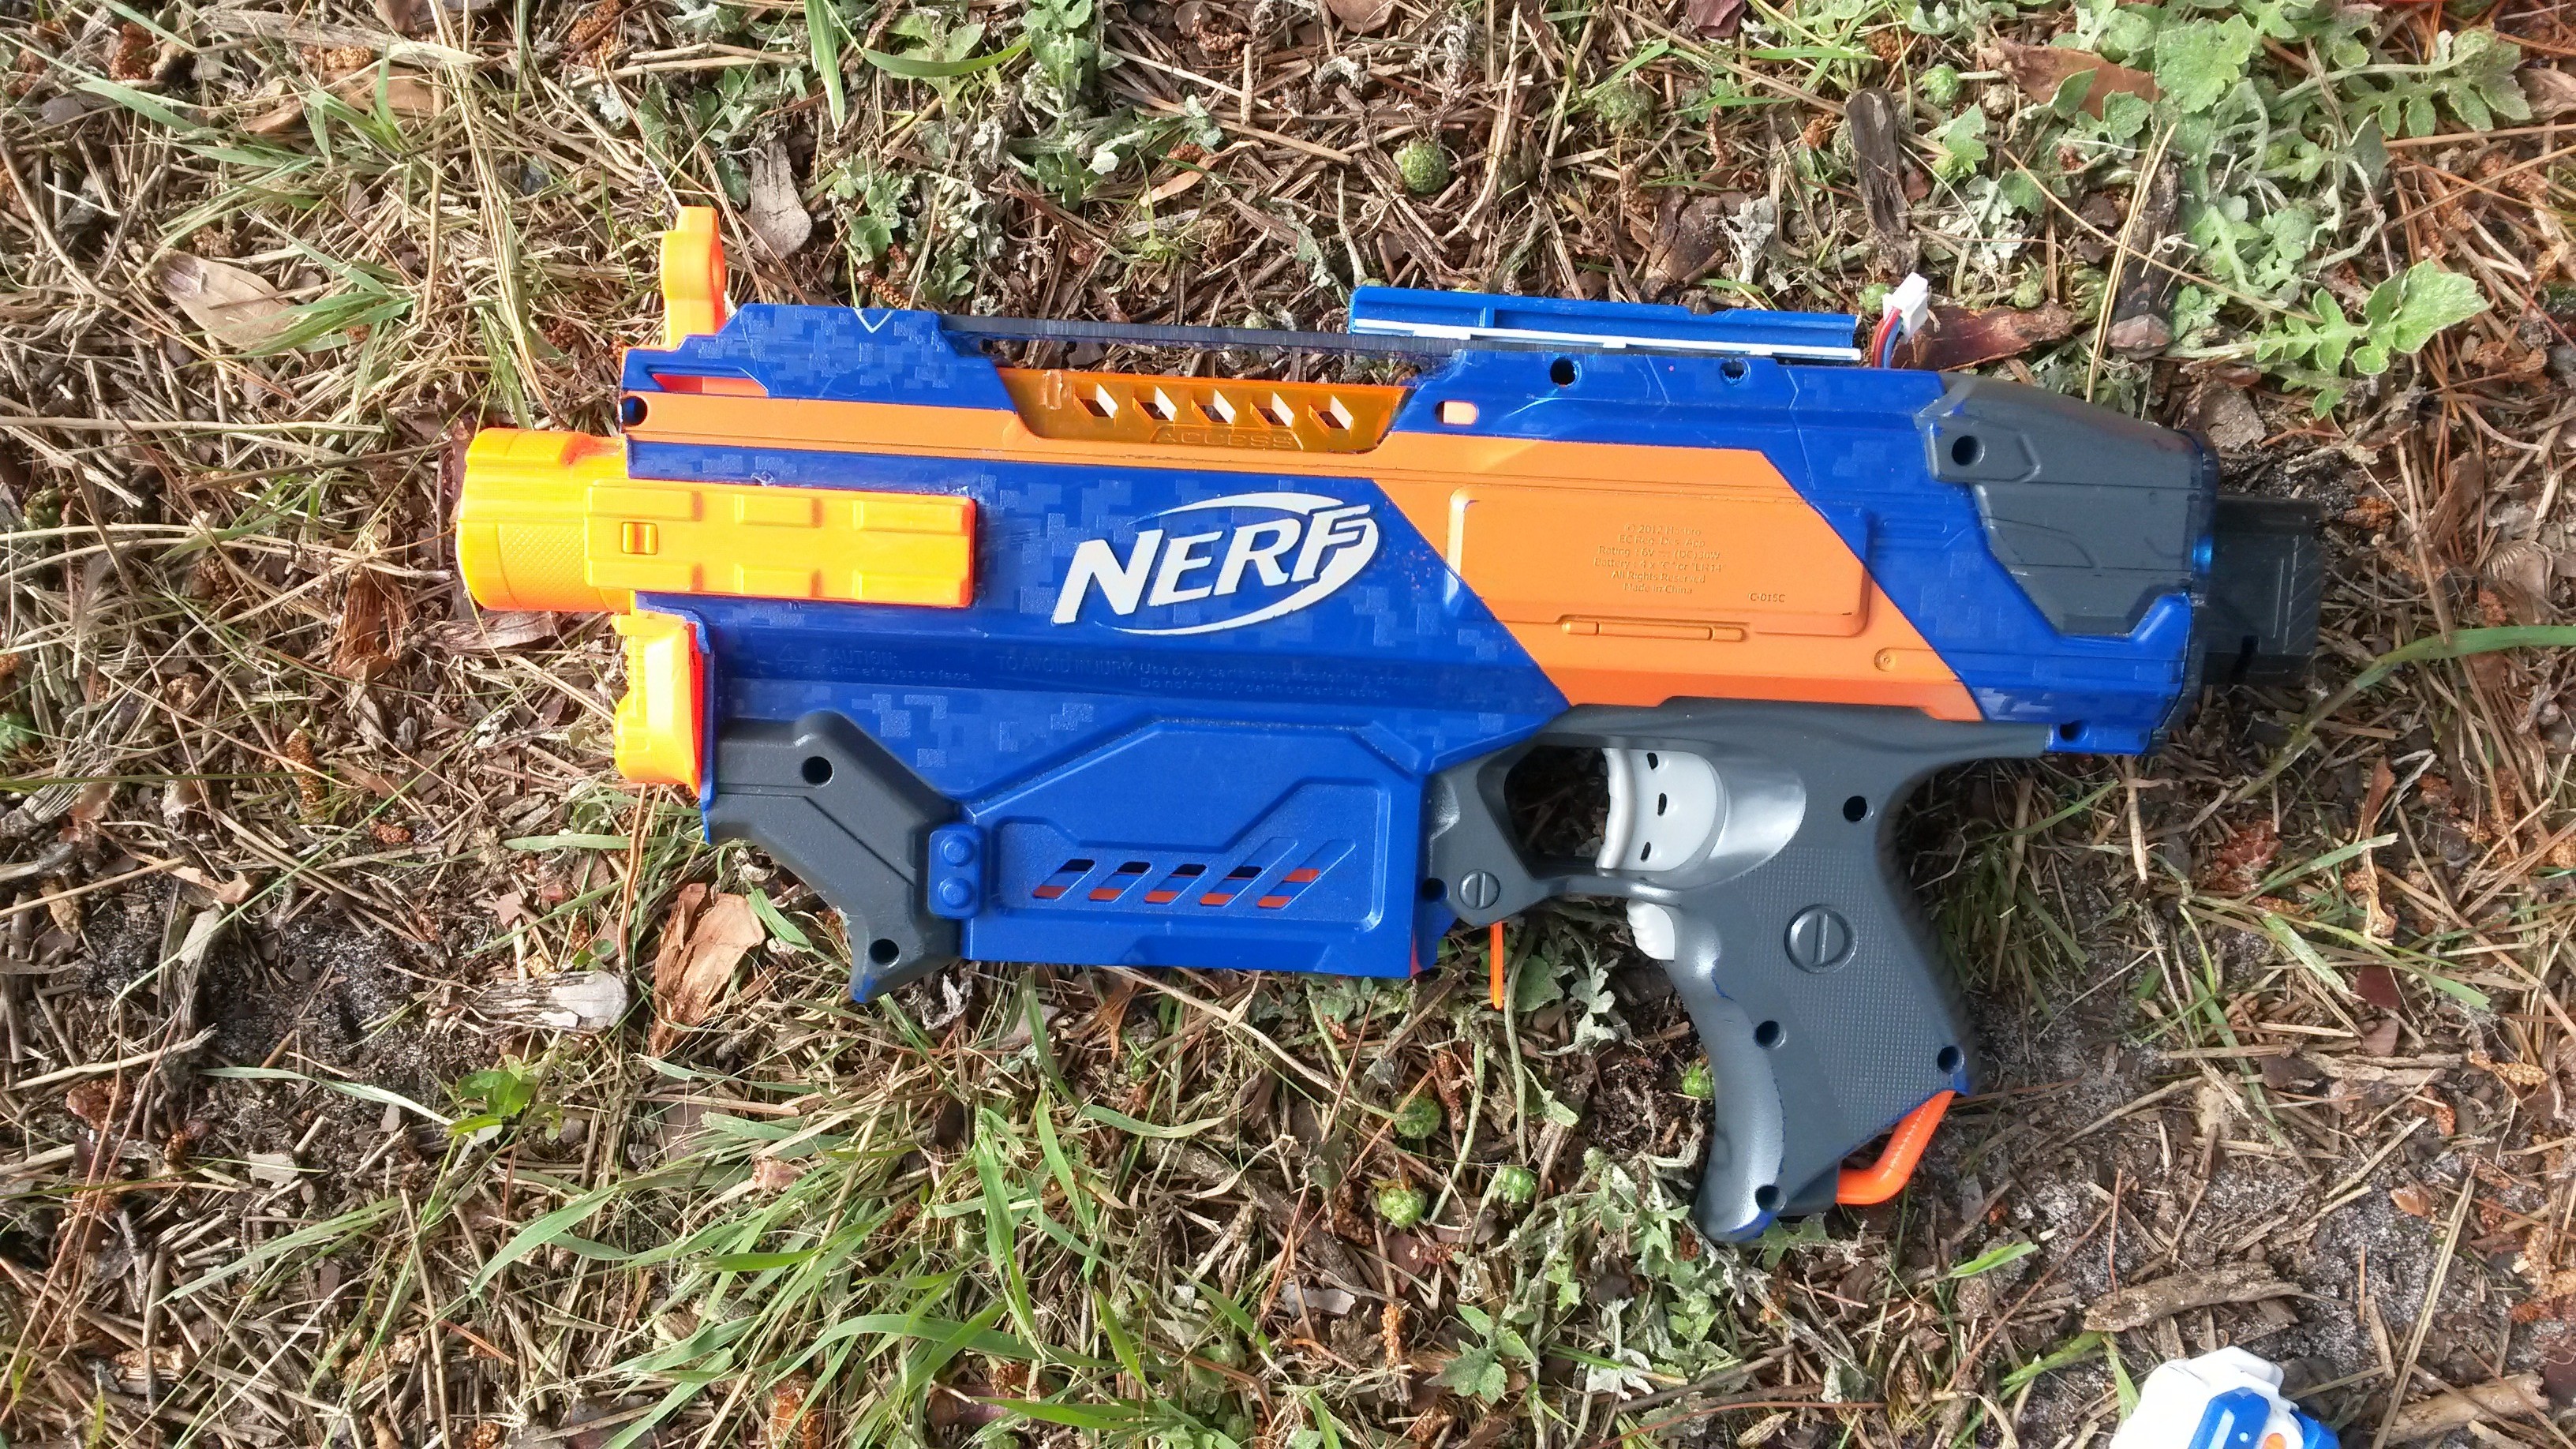
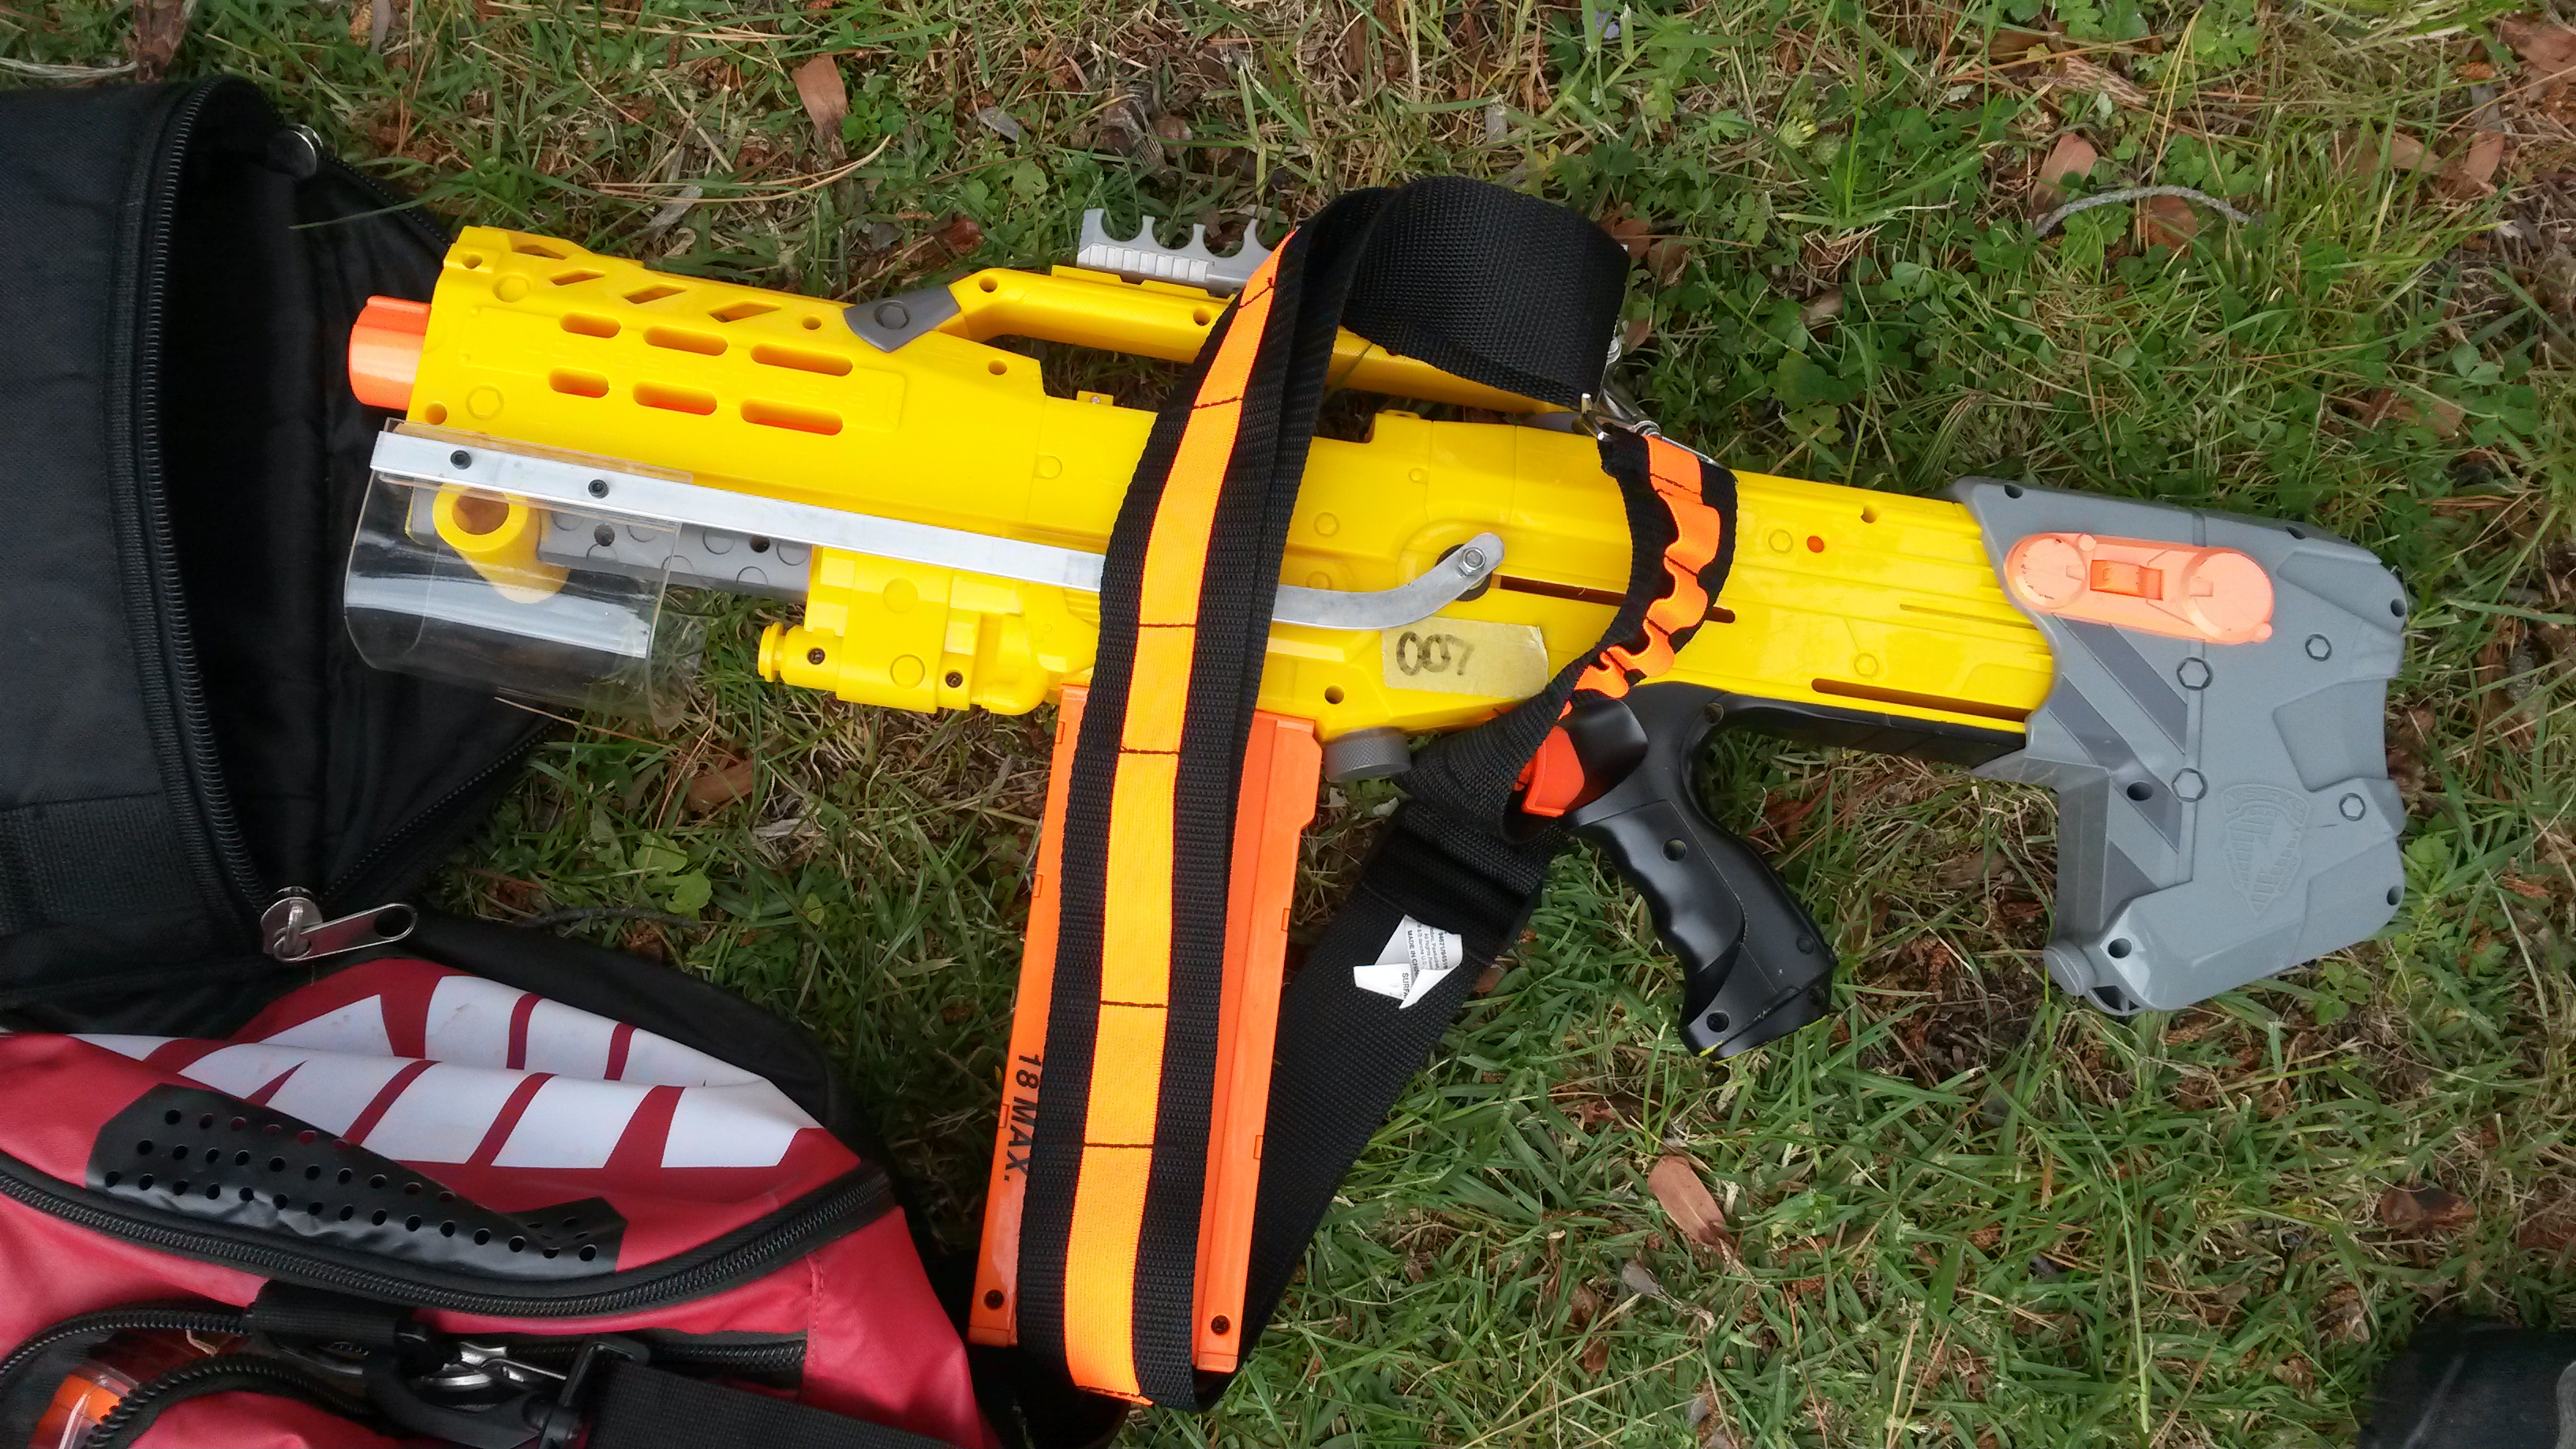
Elite Rapidstrike (various motors, LiPos) – standard high ROF staple flywheeler. Devastatingly effective in close range, but also usable at longer ranges from accuracy in volume and burst fire. Often eat through a lot of darts and are more difficult to control than most other blasters.
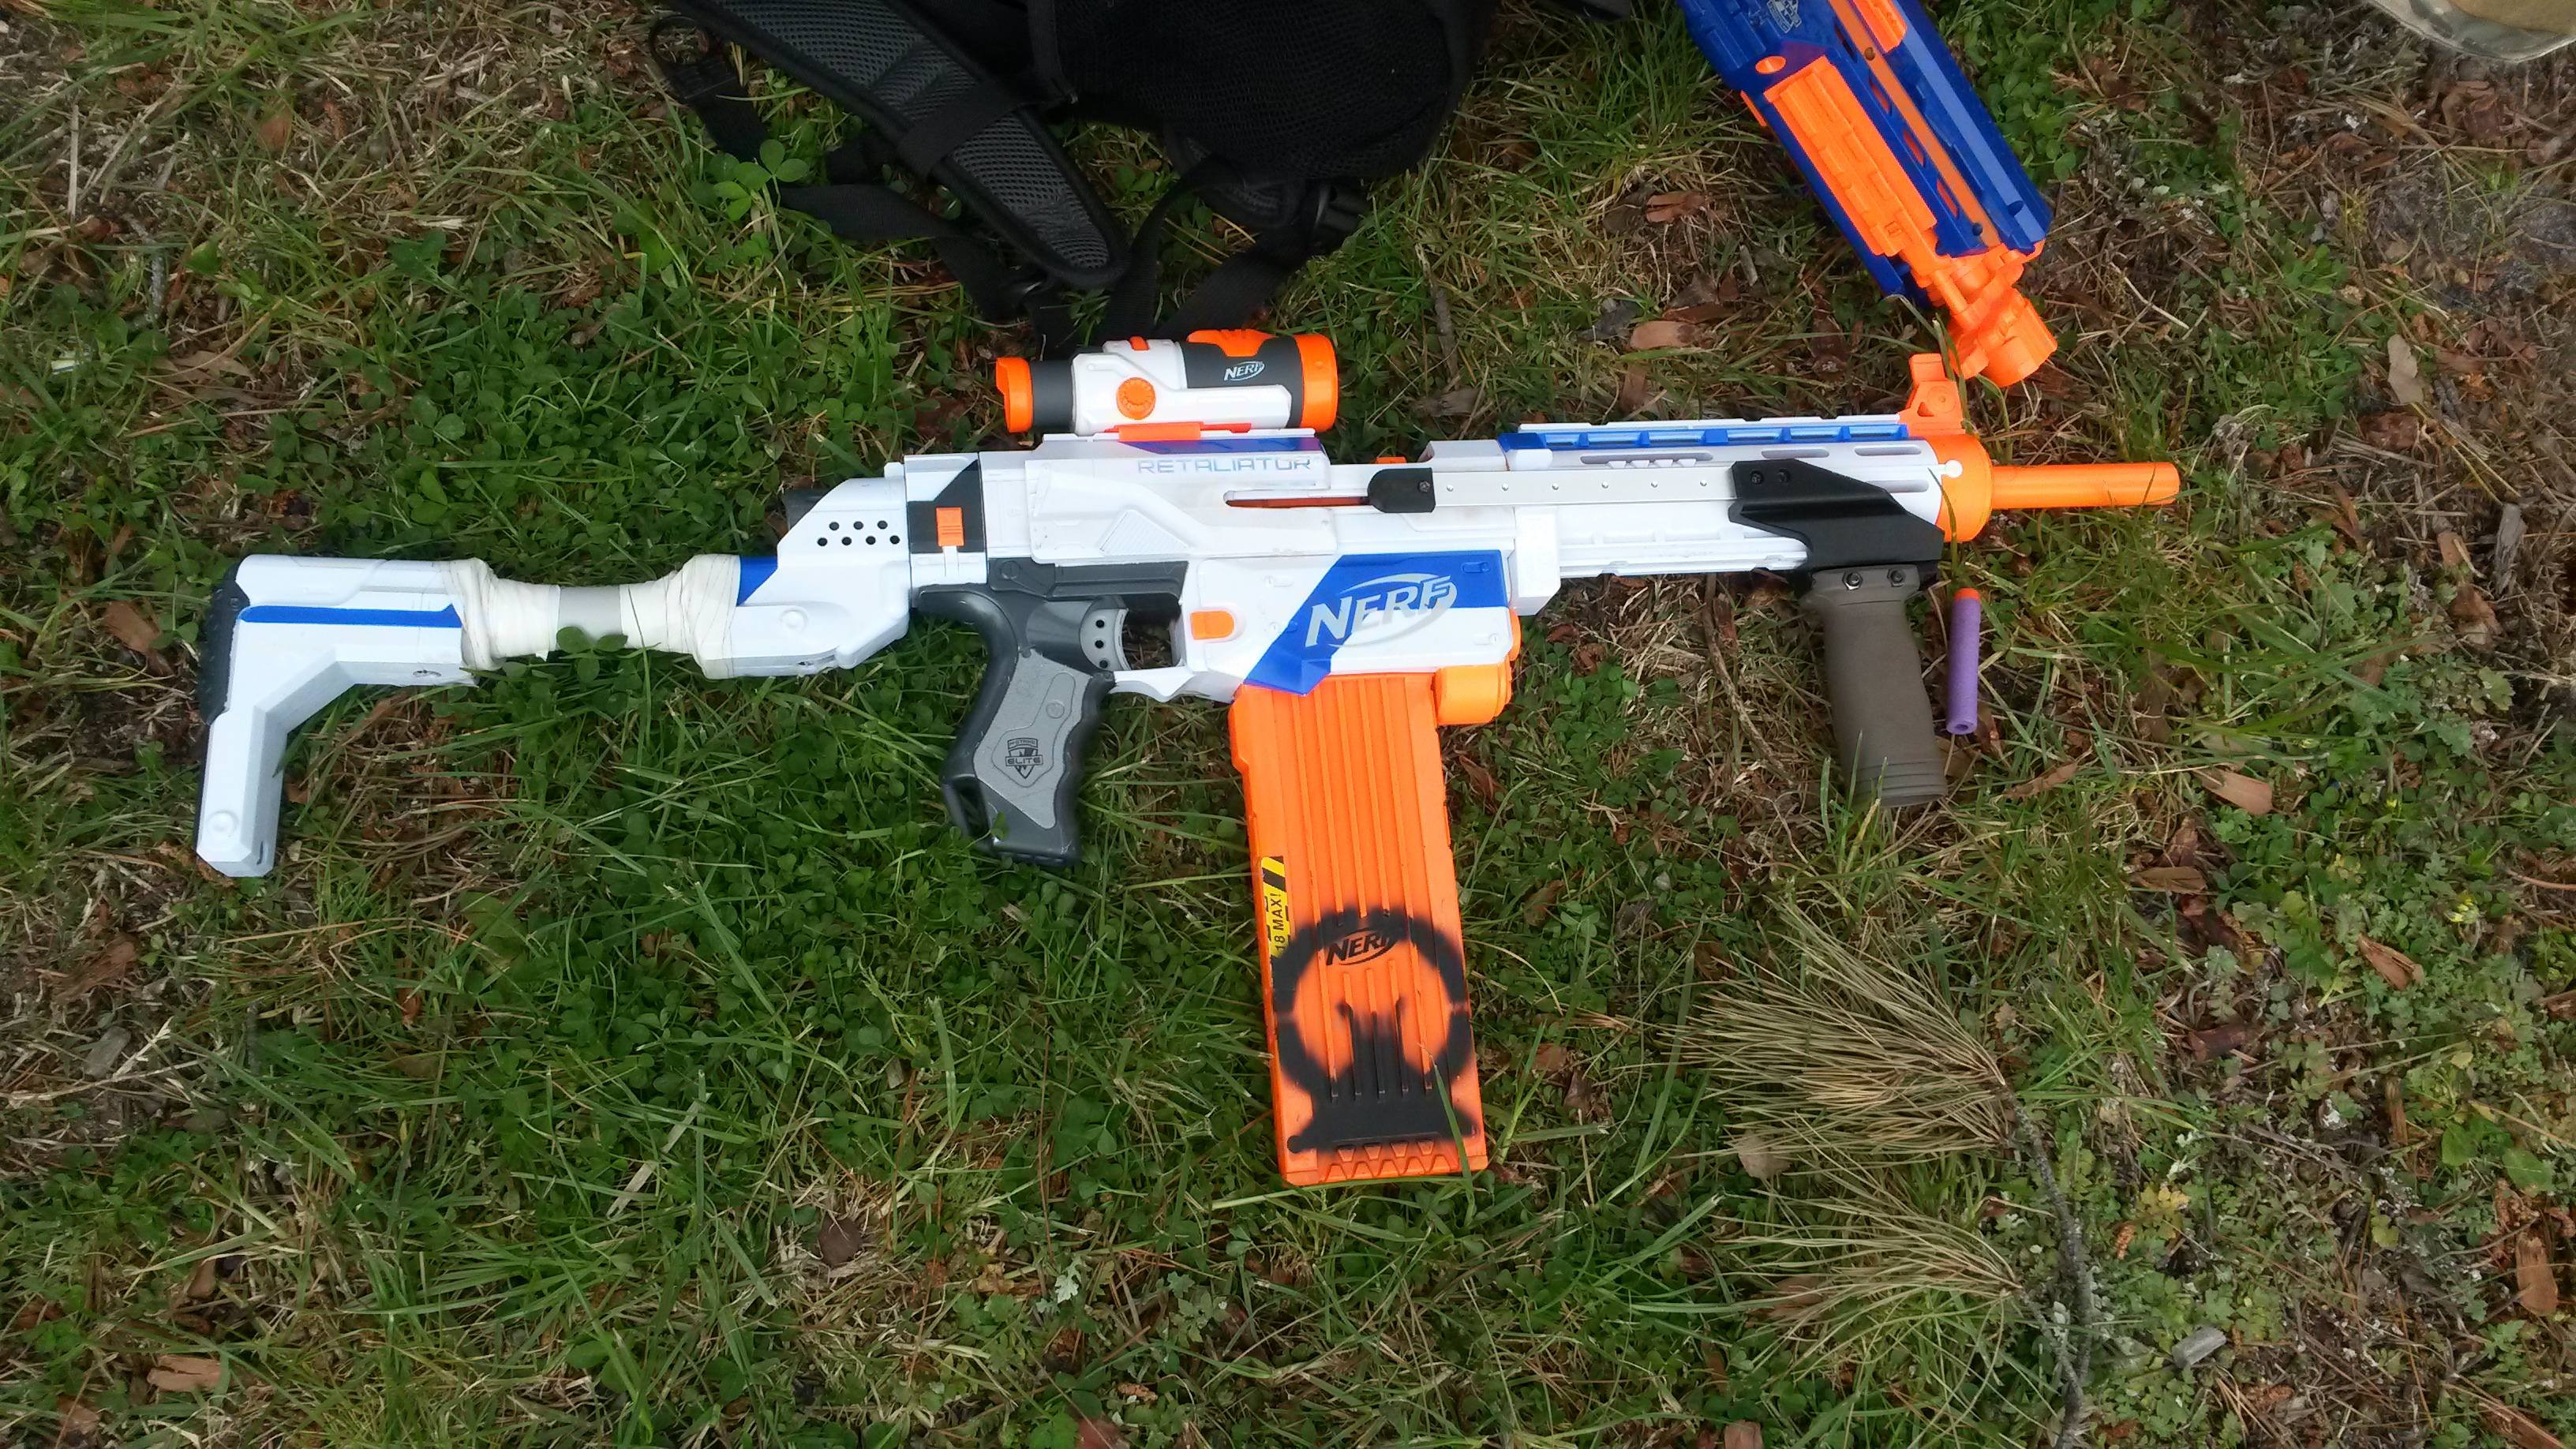
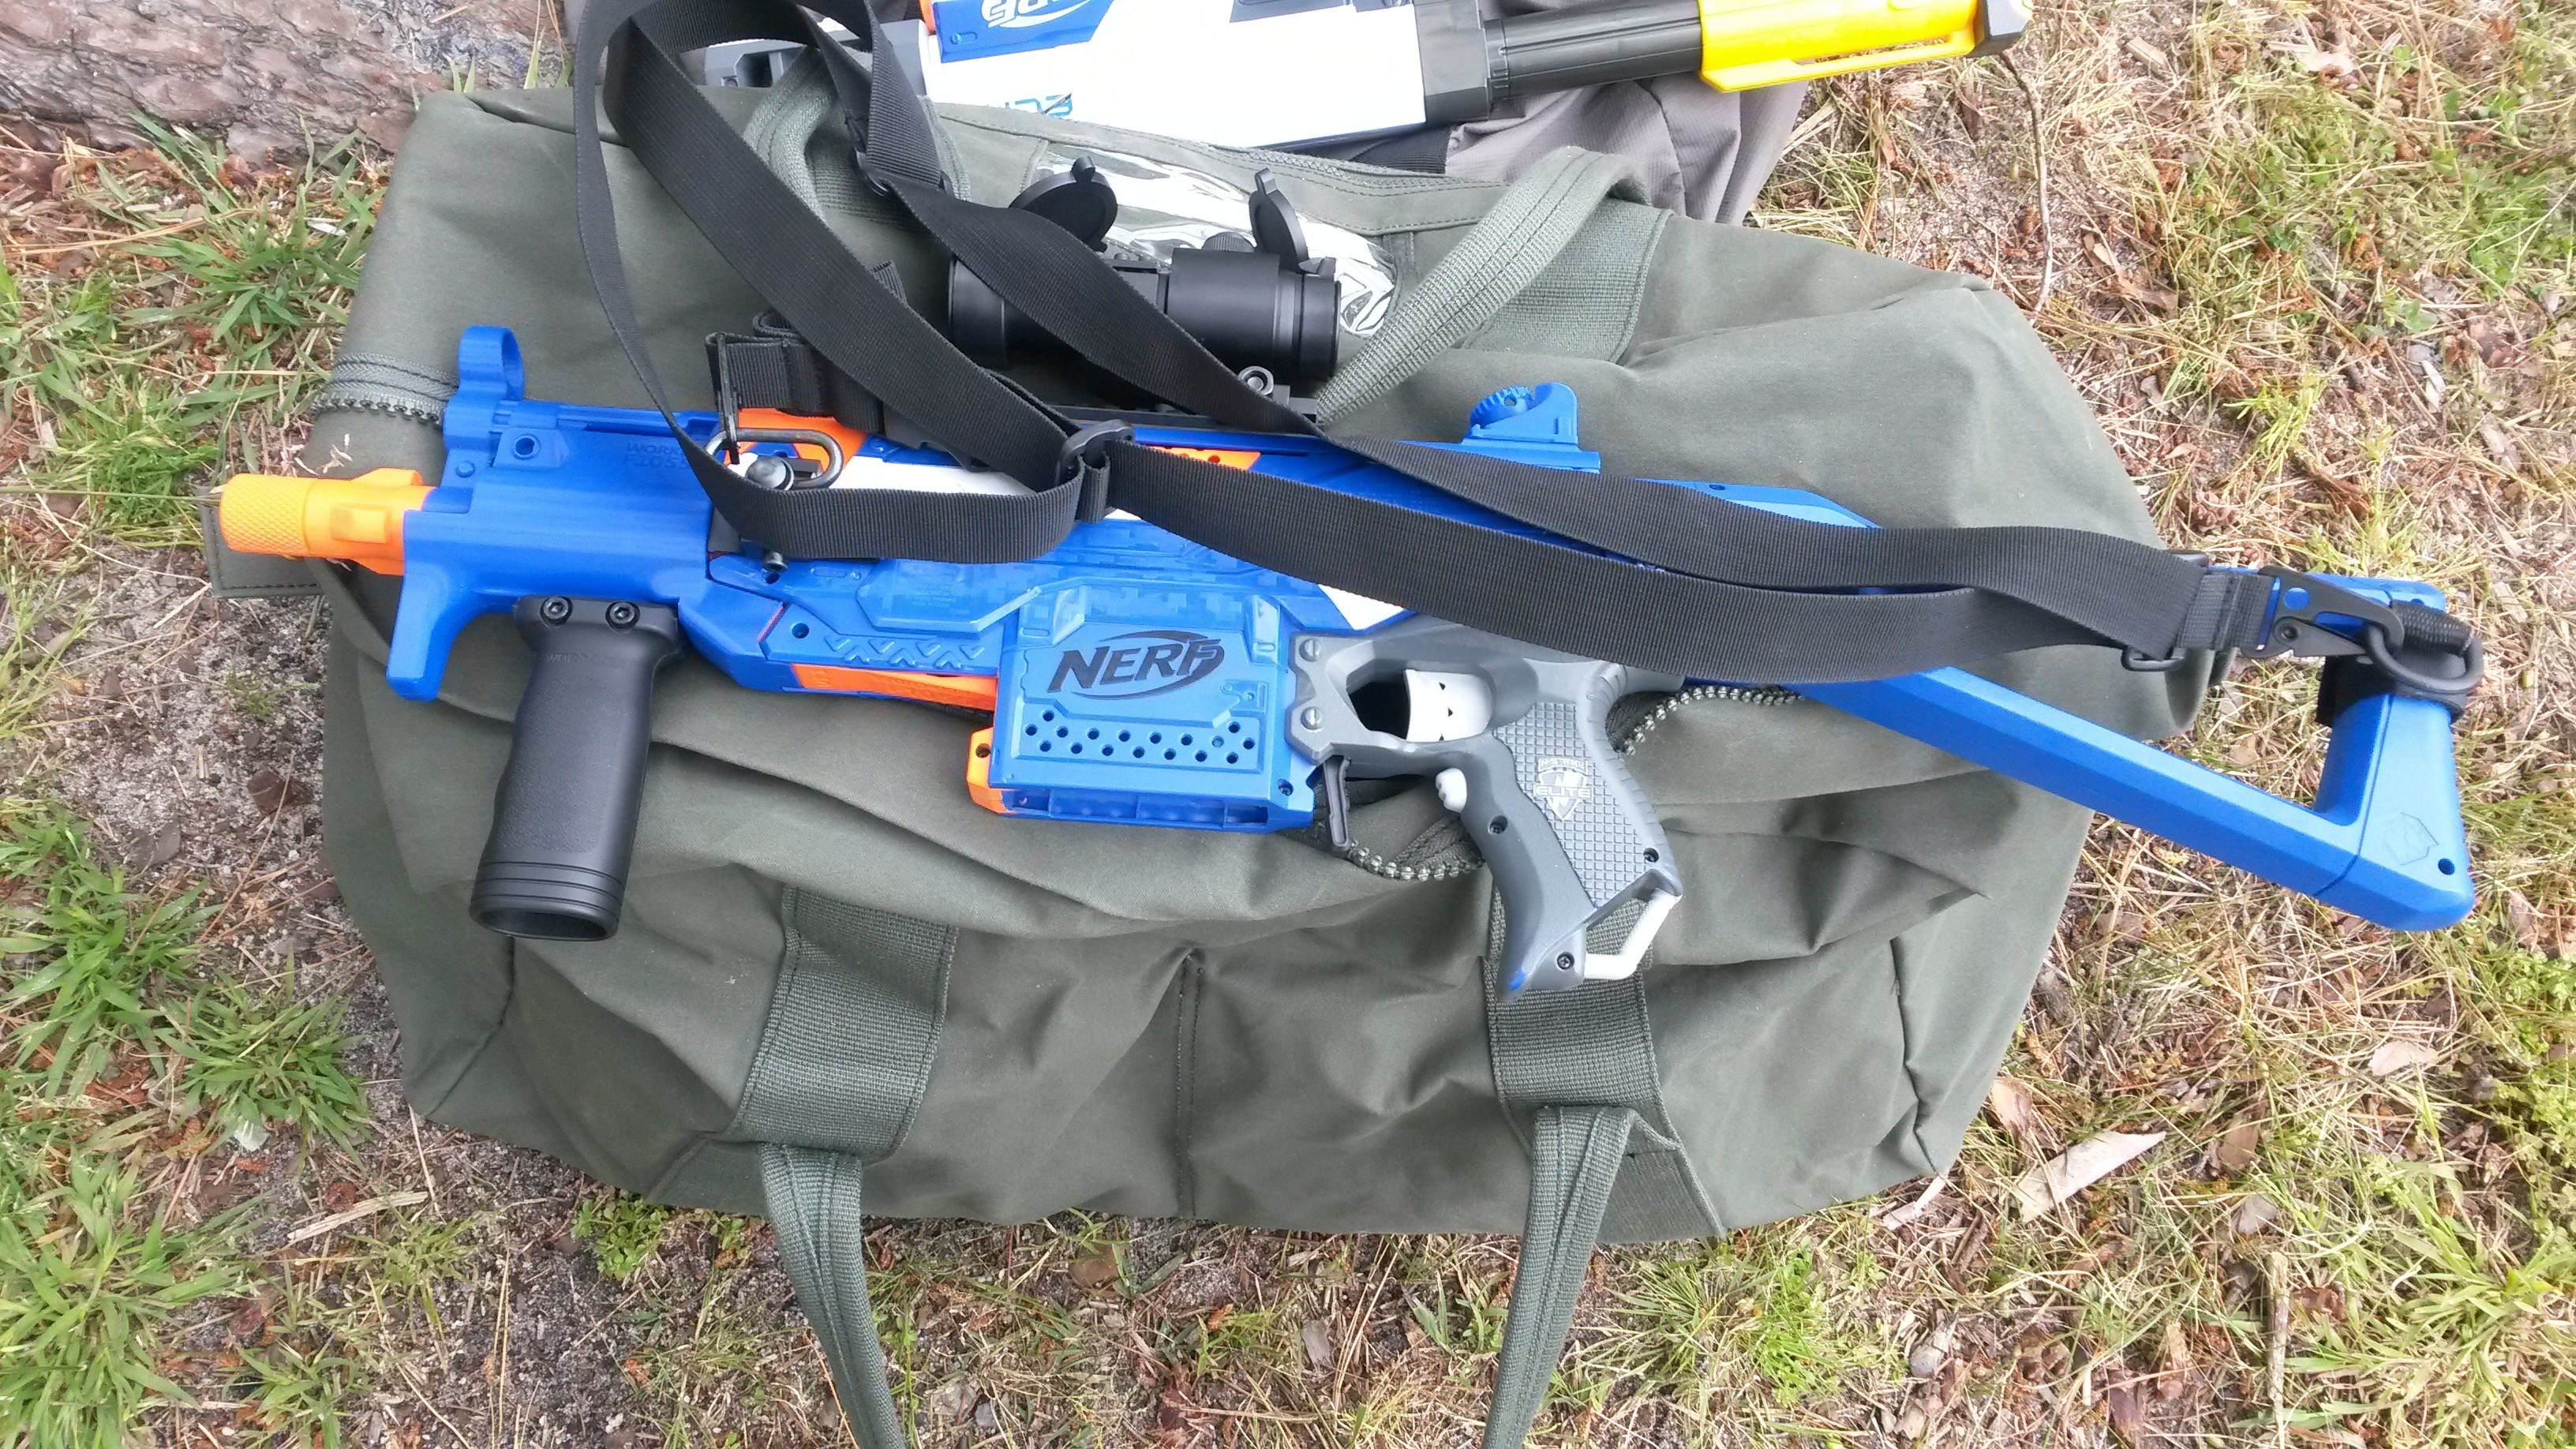
Elite Retaliator (various springs, pump grips) – standard all round springer. Usable ROF and solid power, as well as being very easy to build, making it quite a good entry level blaster. Being outclassed in ROF by flywheelers, and in range by Longshots (and other high power springers) makes it a very middle-ground blaster, decent in close to mid range.
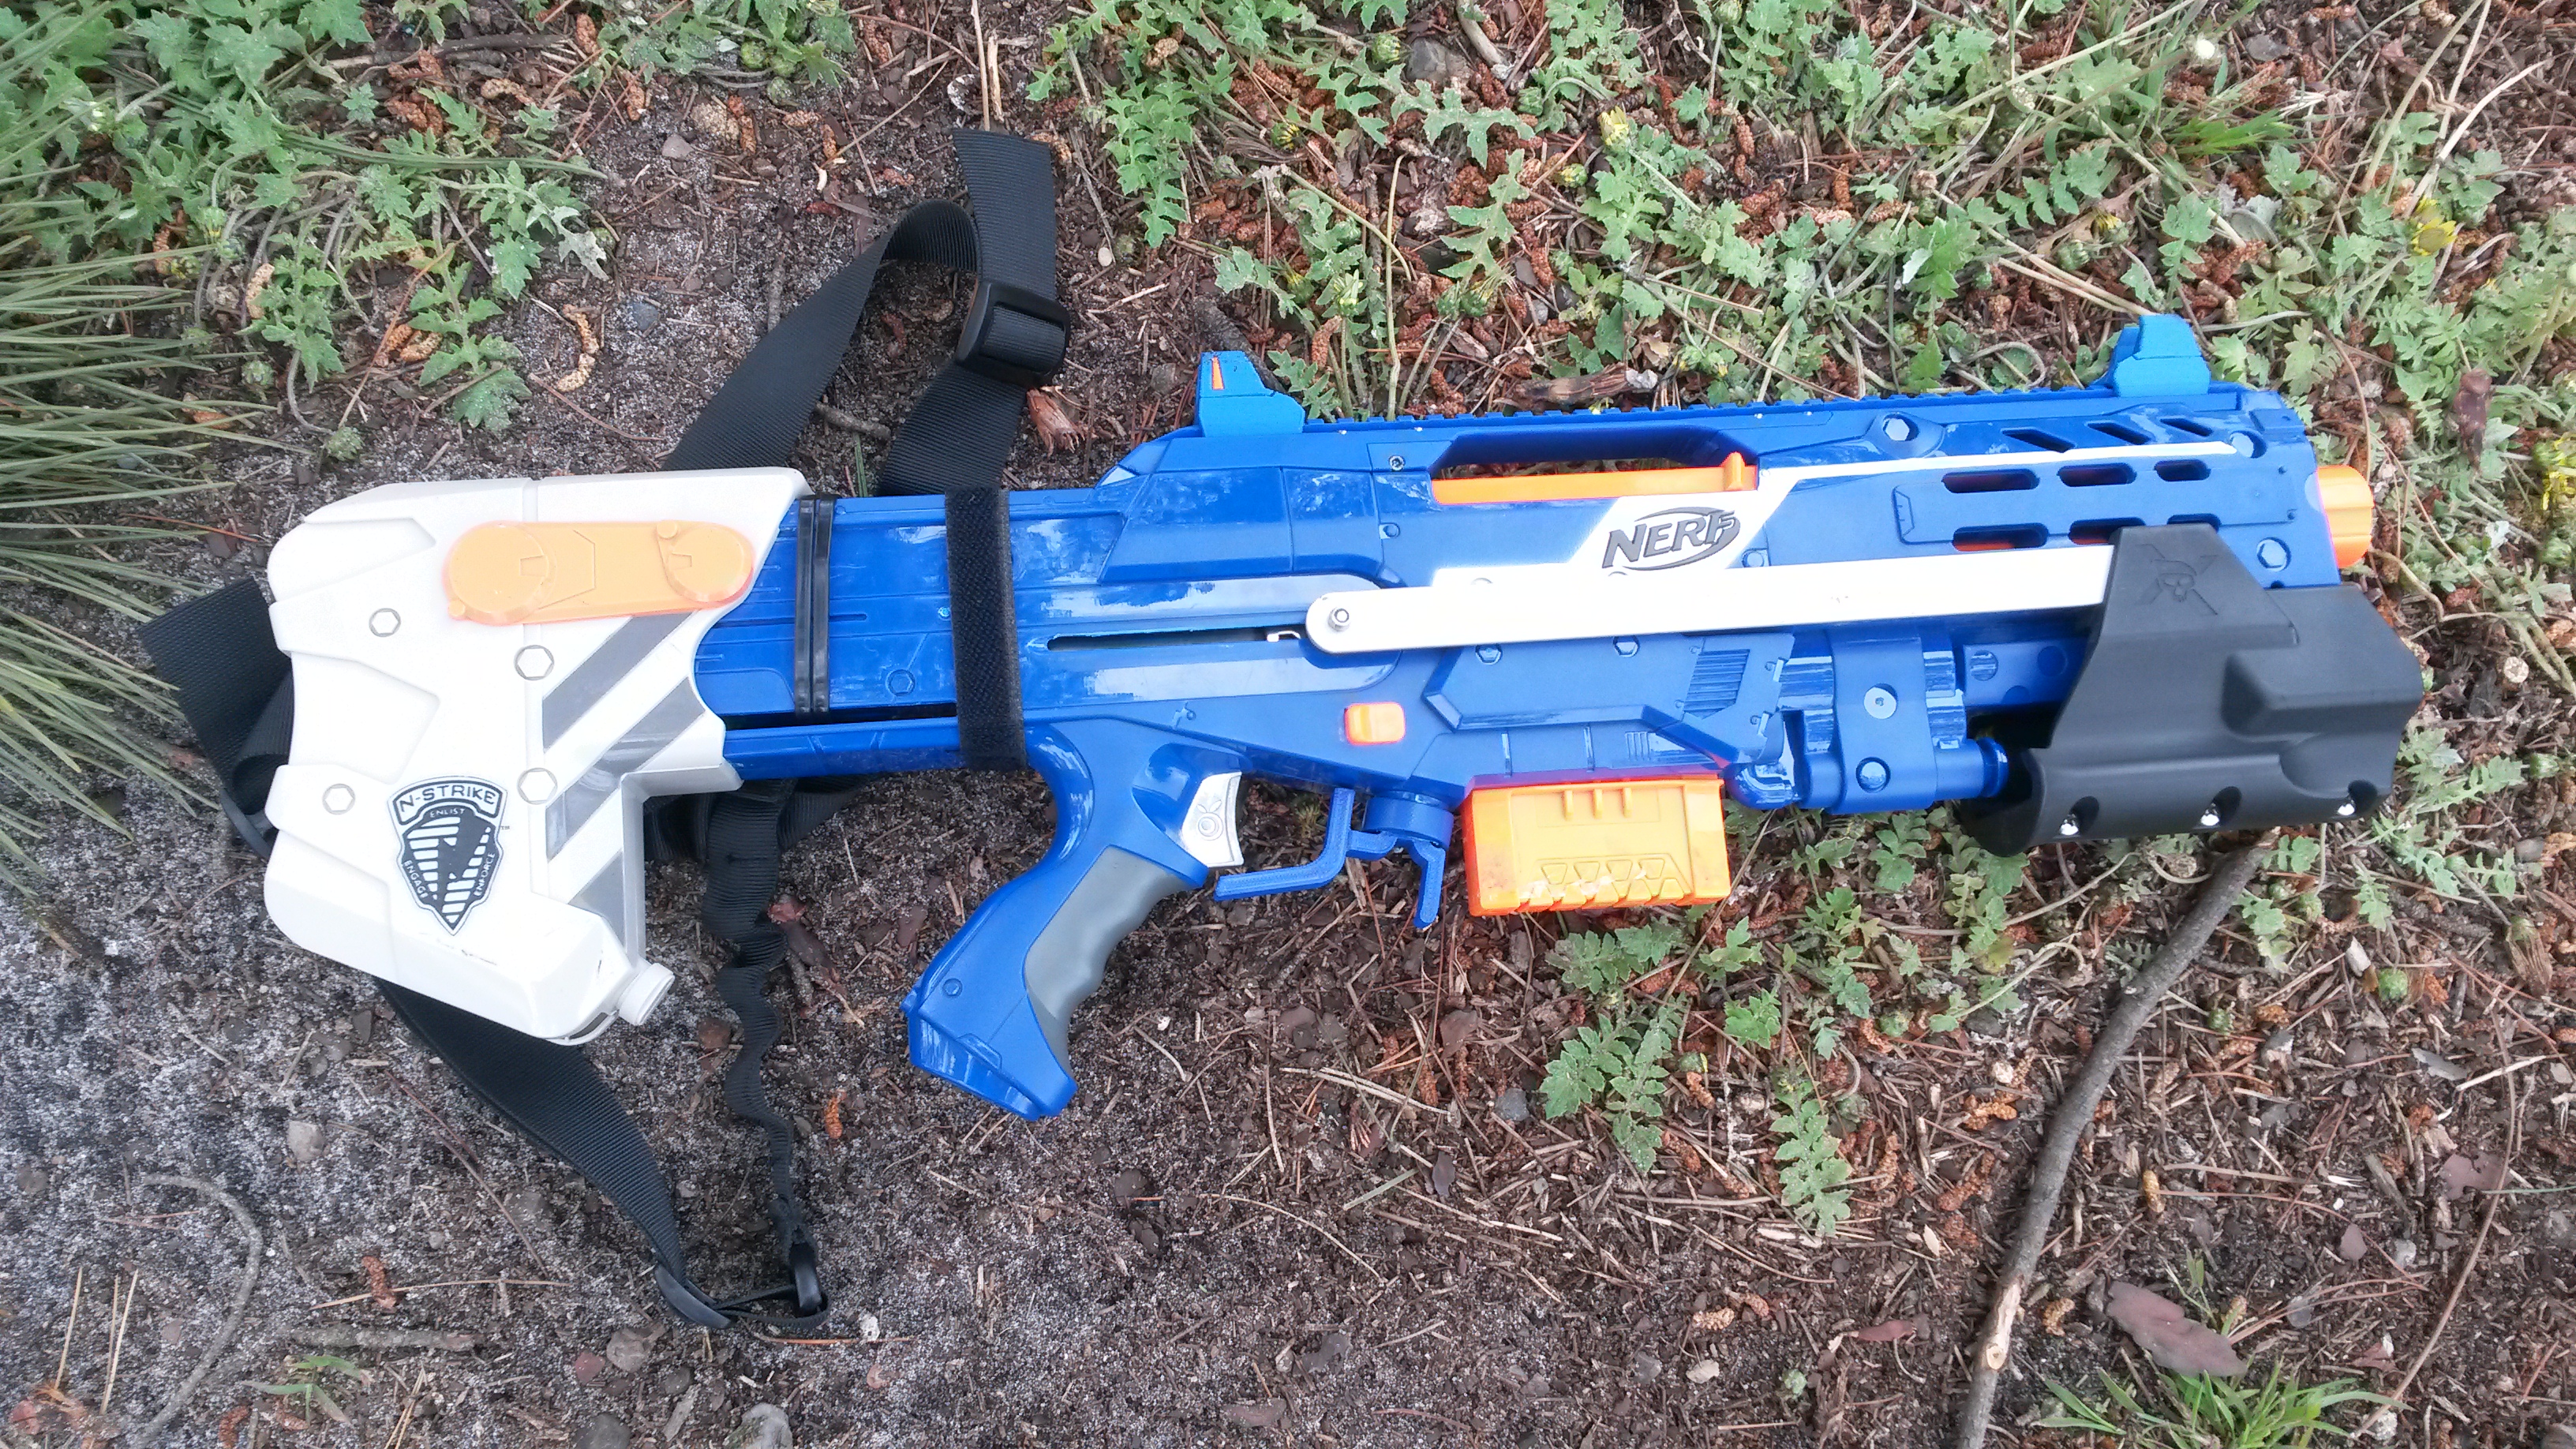
N-Strike Longshot (various internal setups, pump grips) – standard high power springer. Typically quite strong spring loads in its rather large plunger result in quite high power, though even with a pump grip suffers from quite low ROF. Most effective at mid to long range cover fire and potshots, being quite vulnerable in close range.

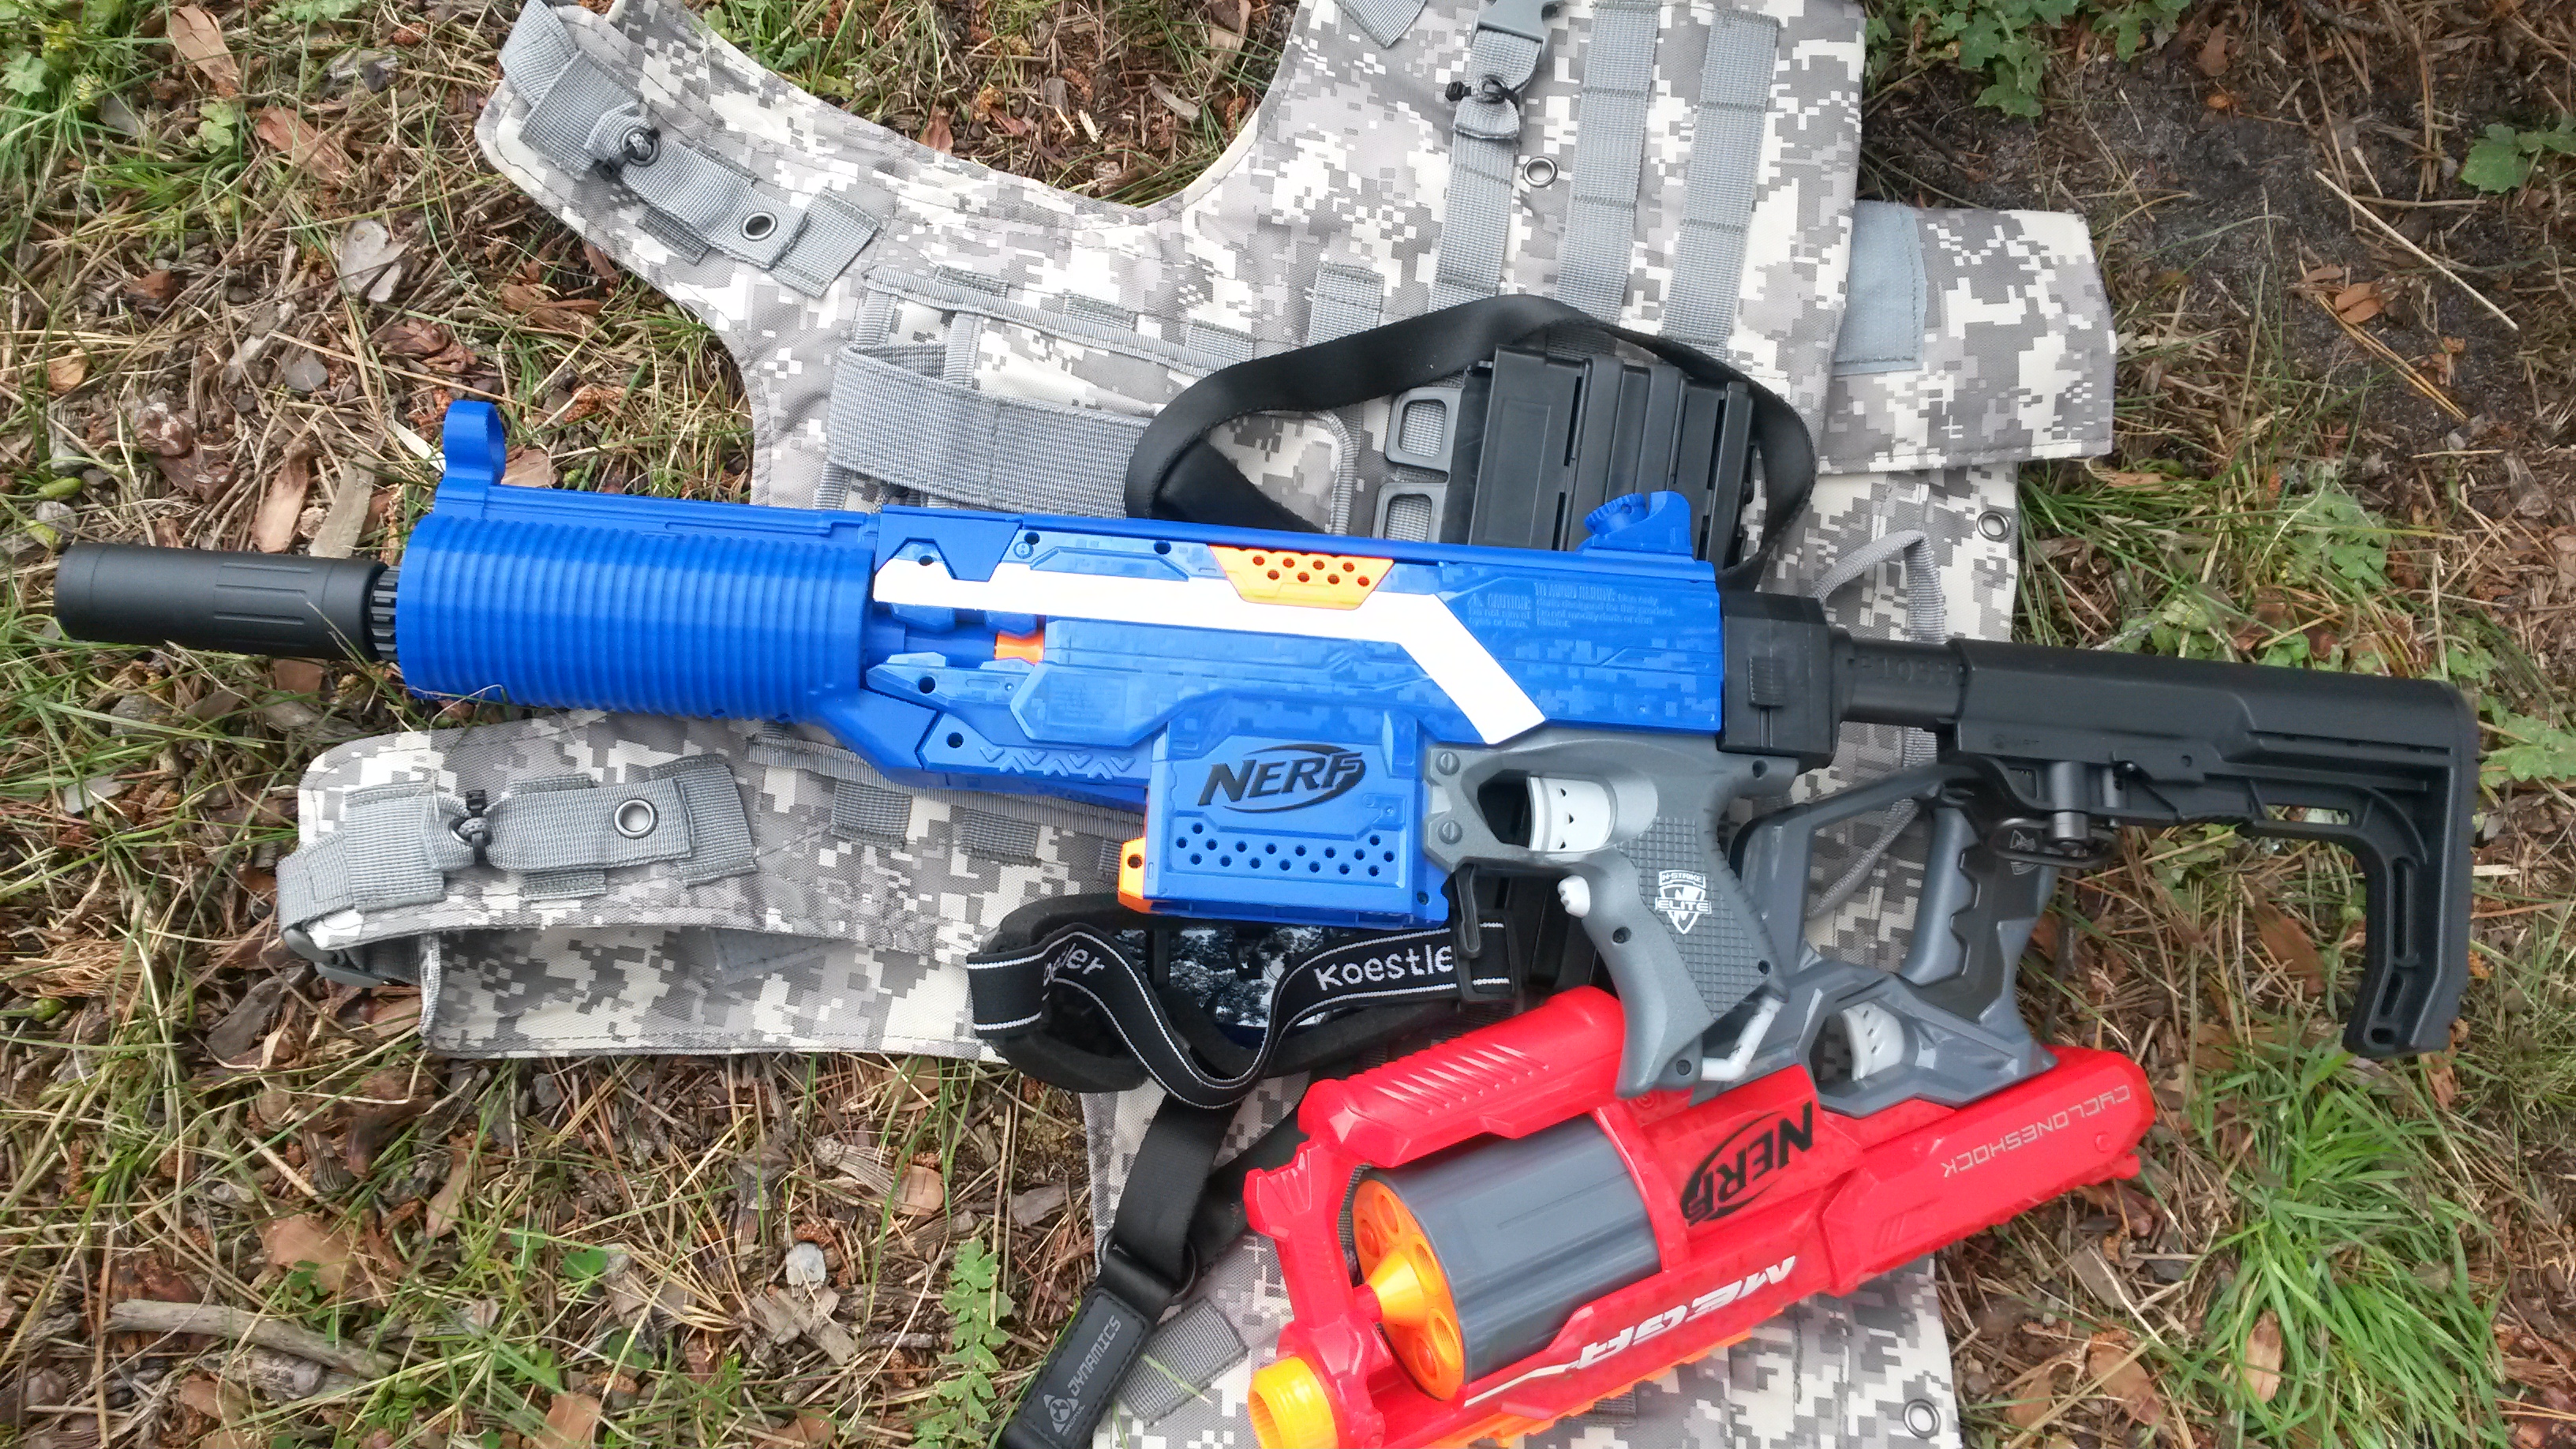
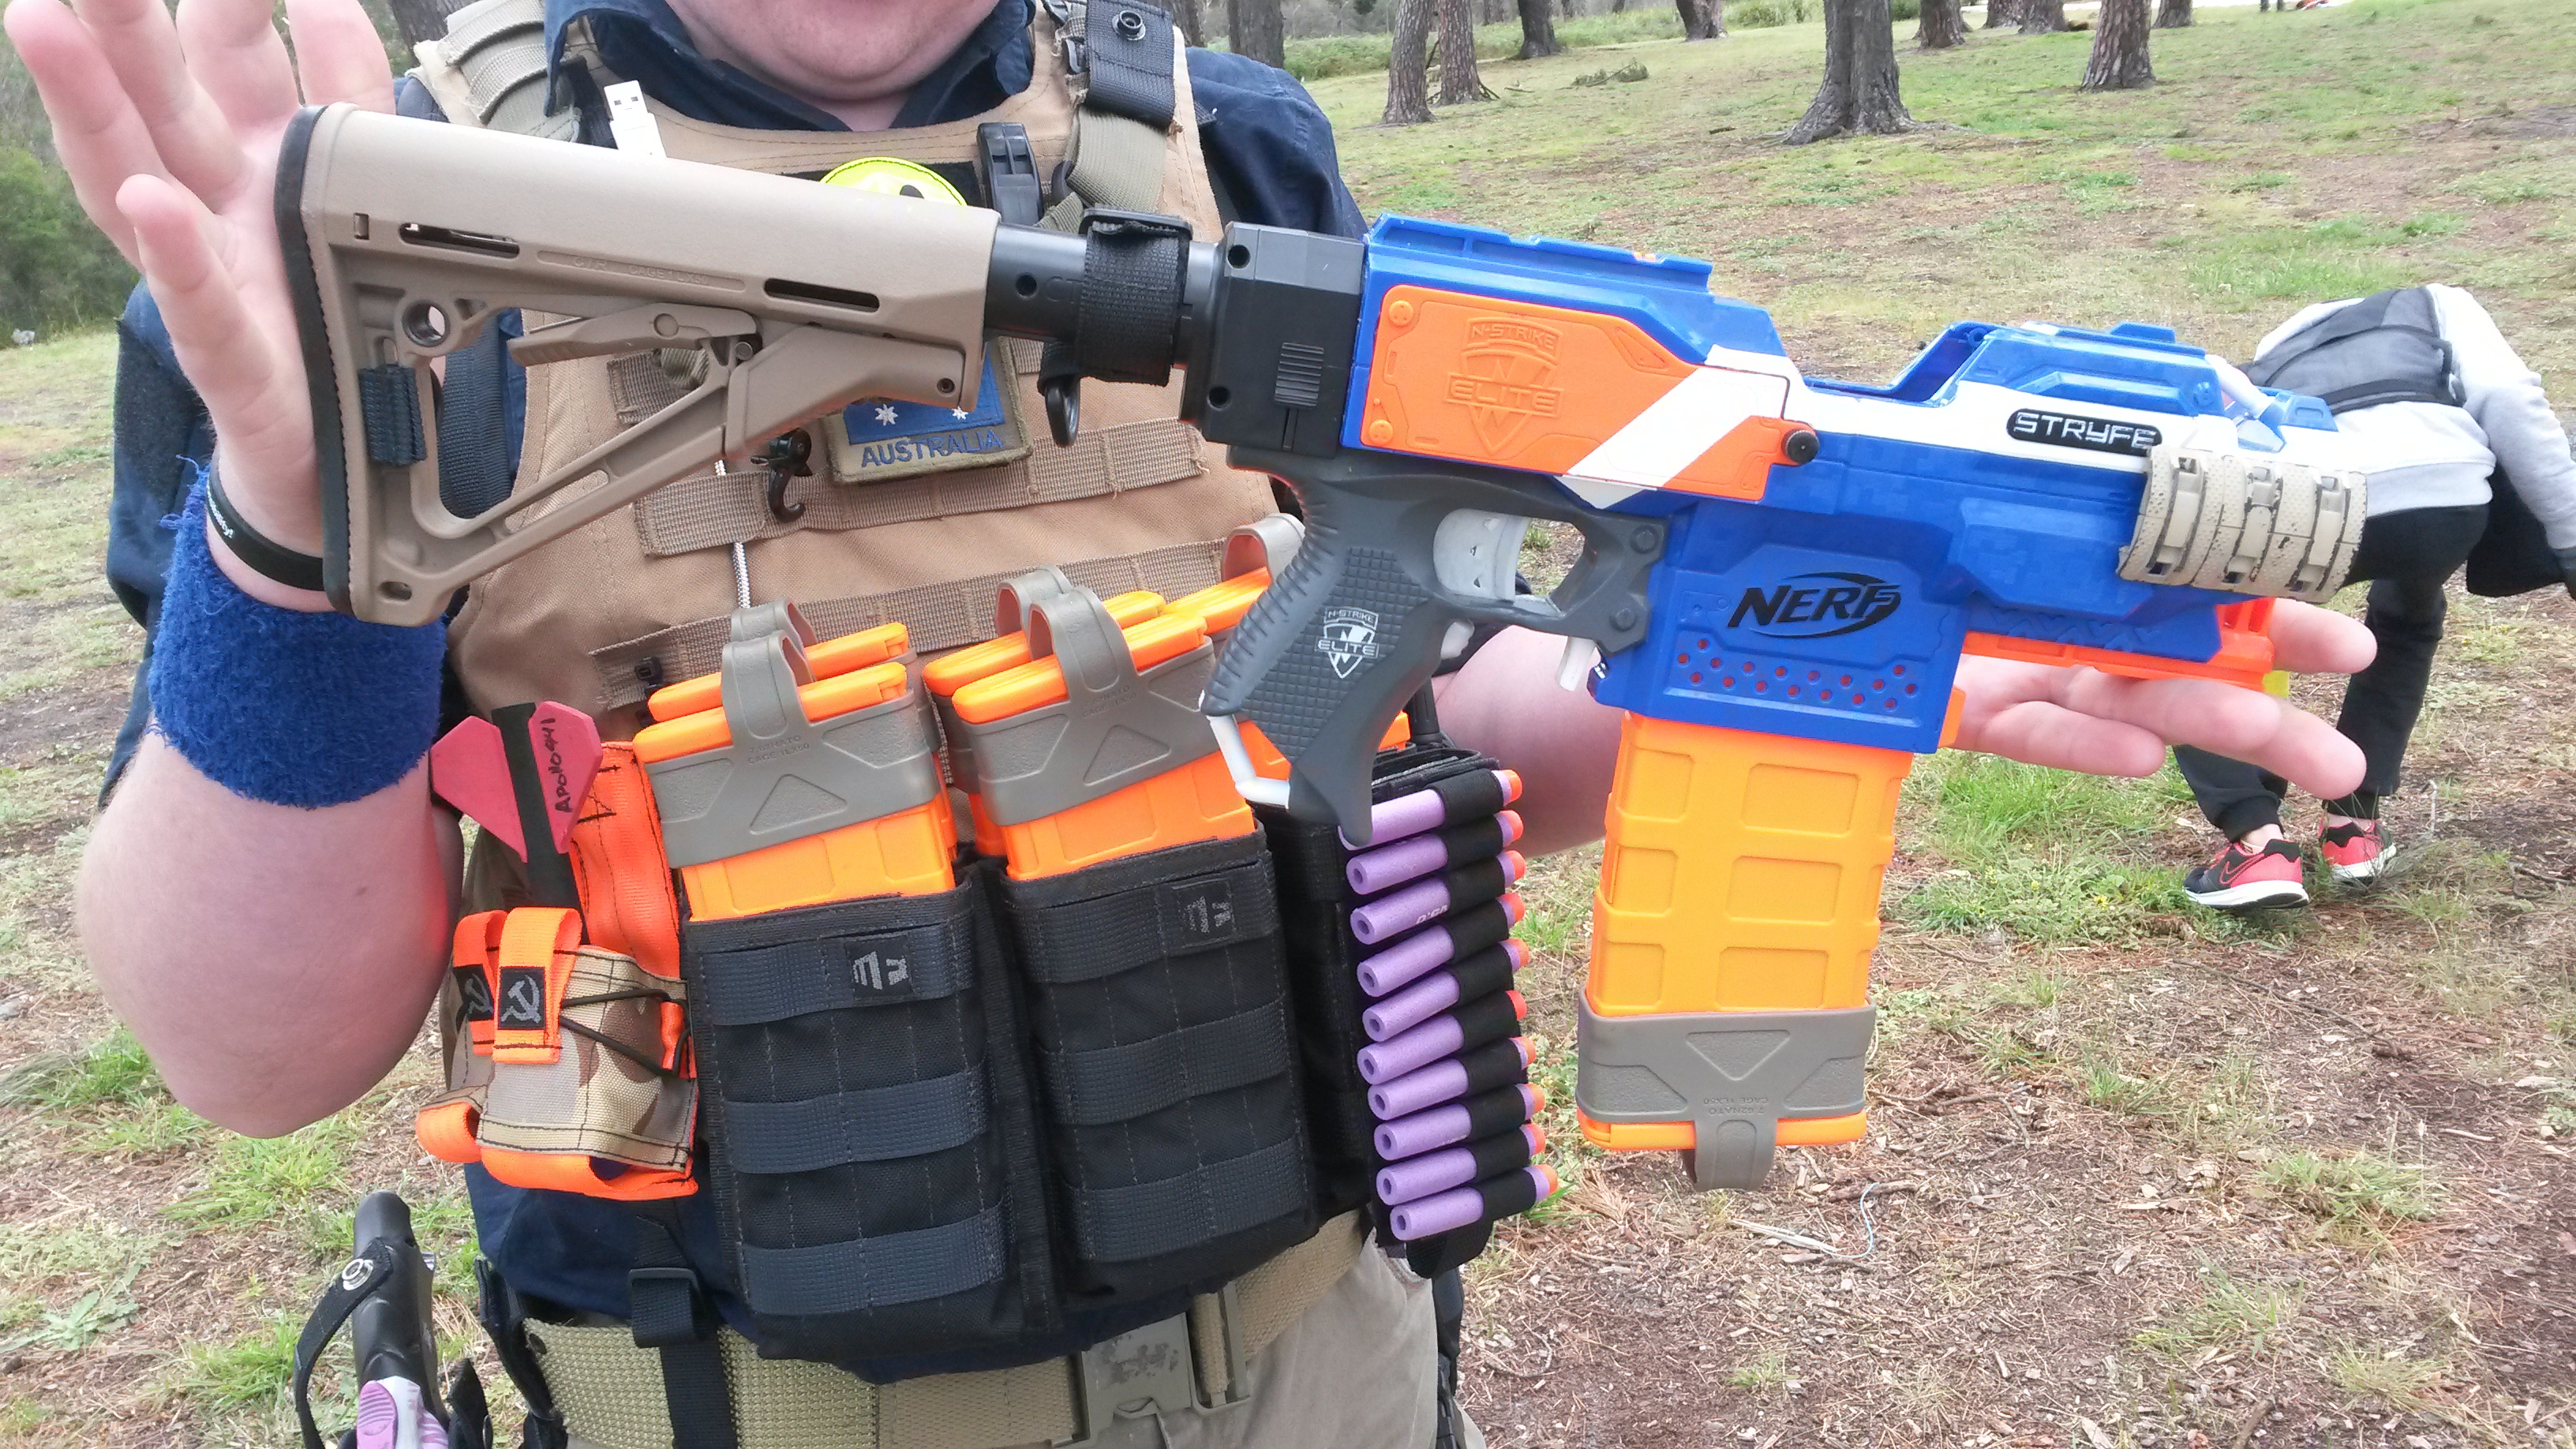
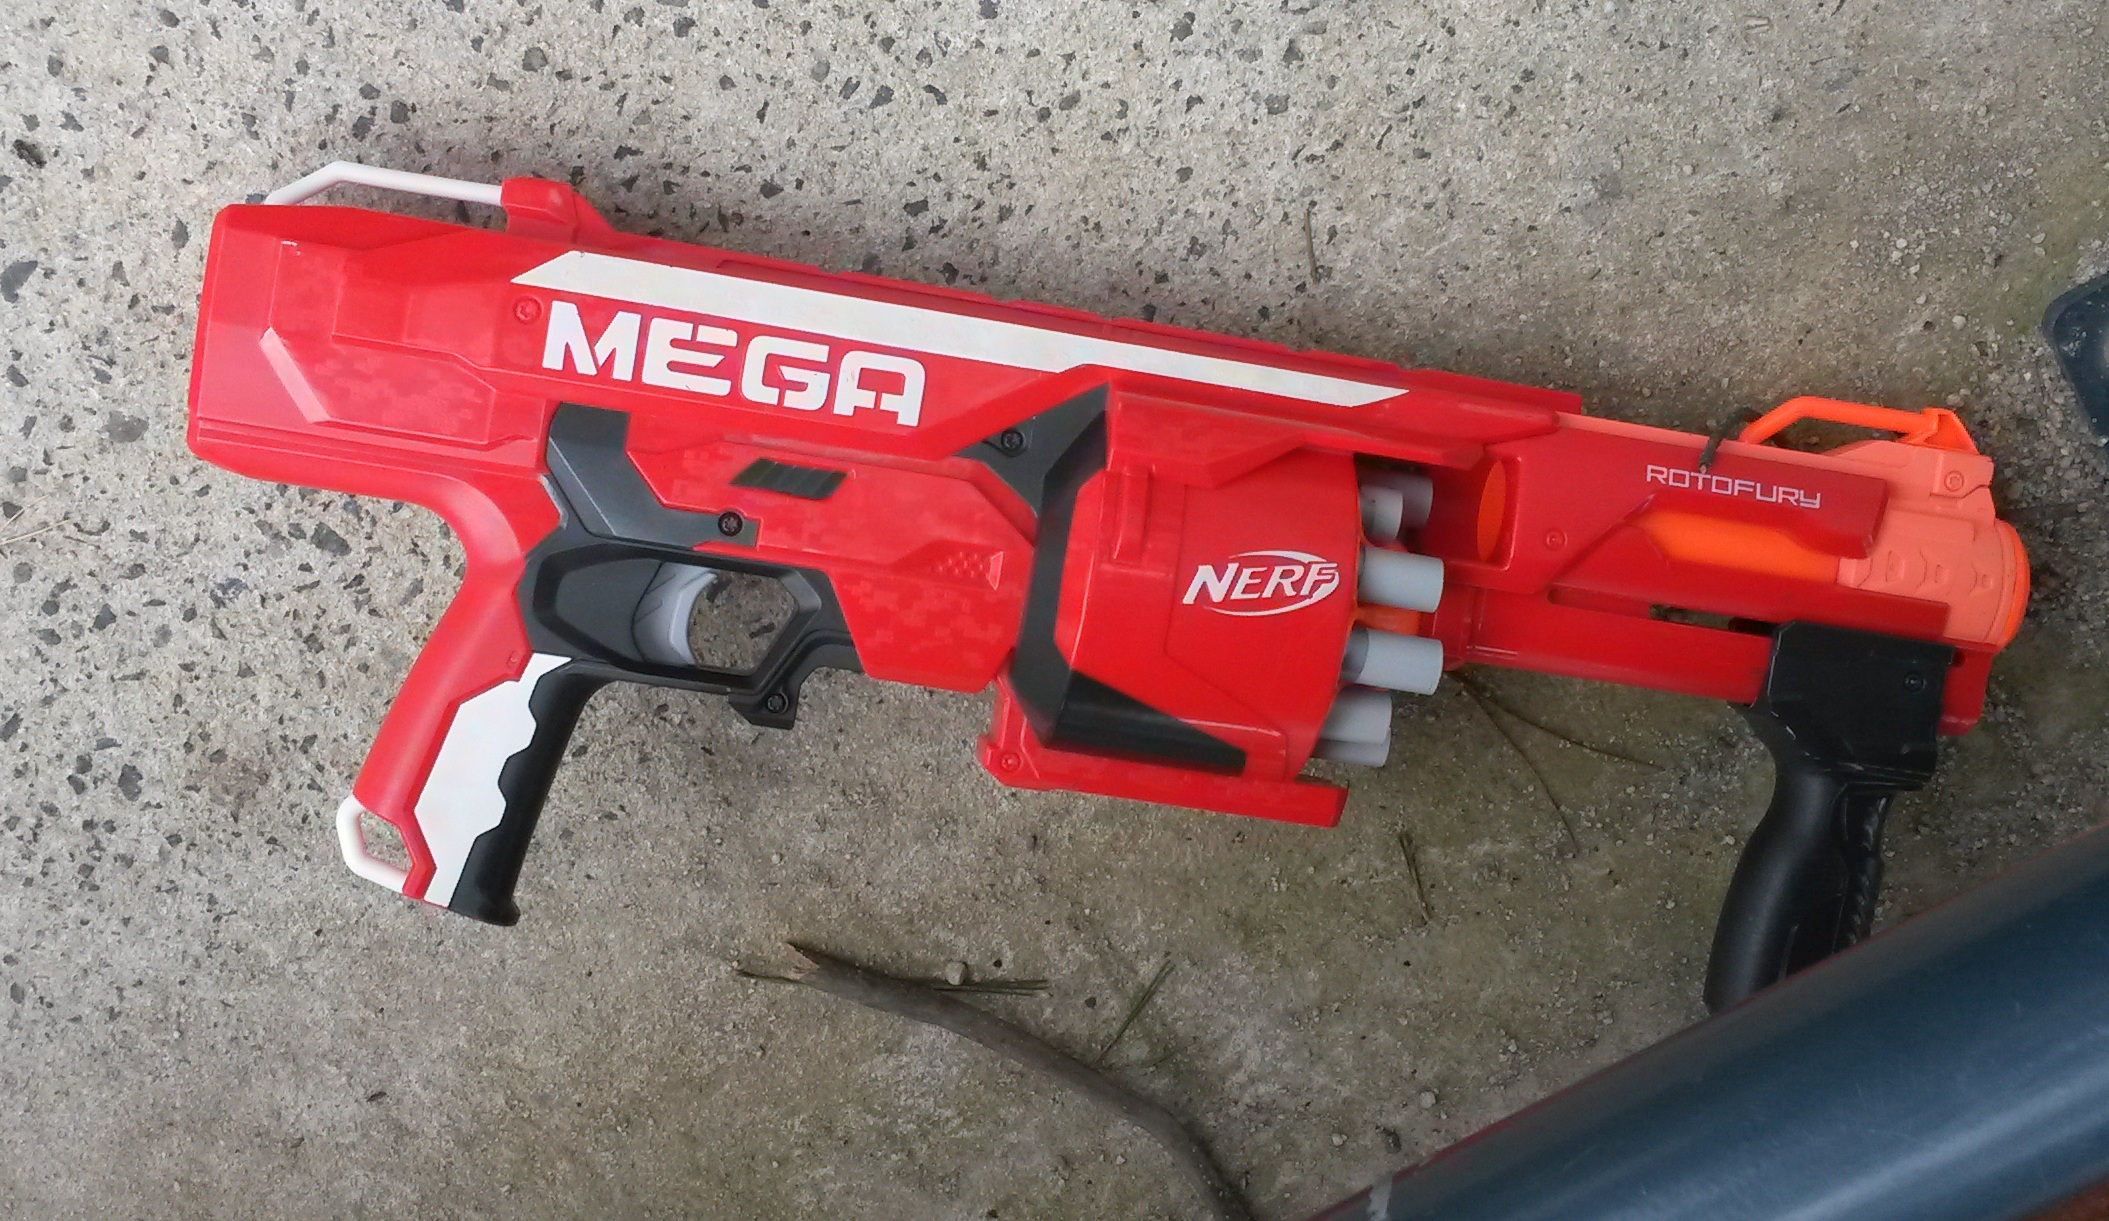
Elite Stryfe (various motors, LiPos) – standard all round flywheeler. Effective at close to mid range, and also relatively easy to build, making it a popular and very effective entry level blaster. A lot easier to control than a Rapidstrike, though not capable of as high a ROF.
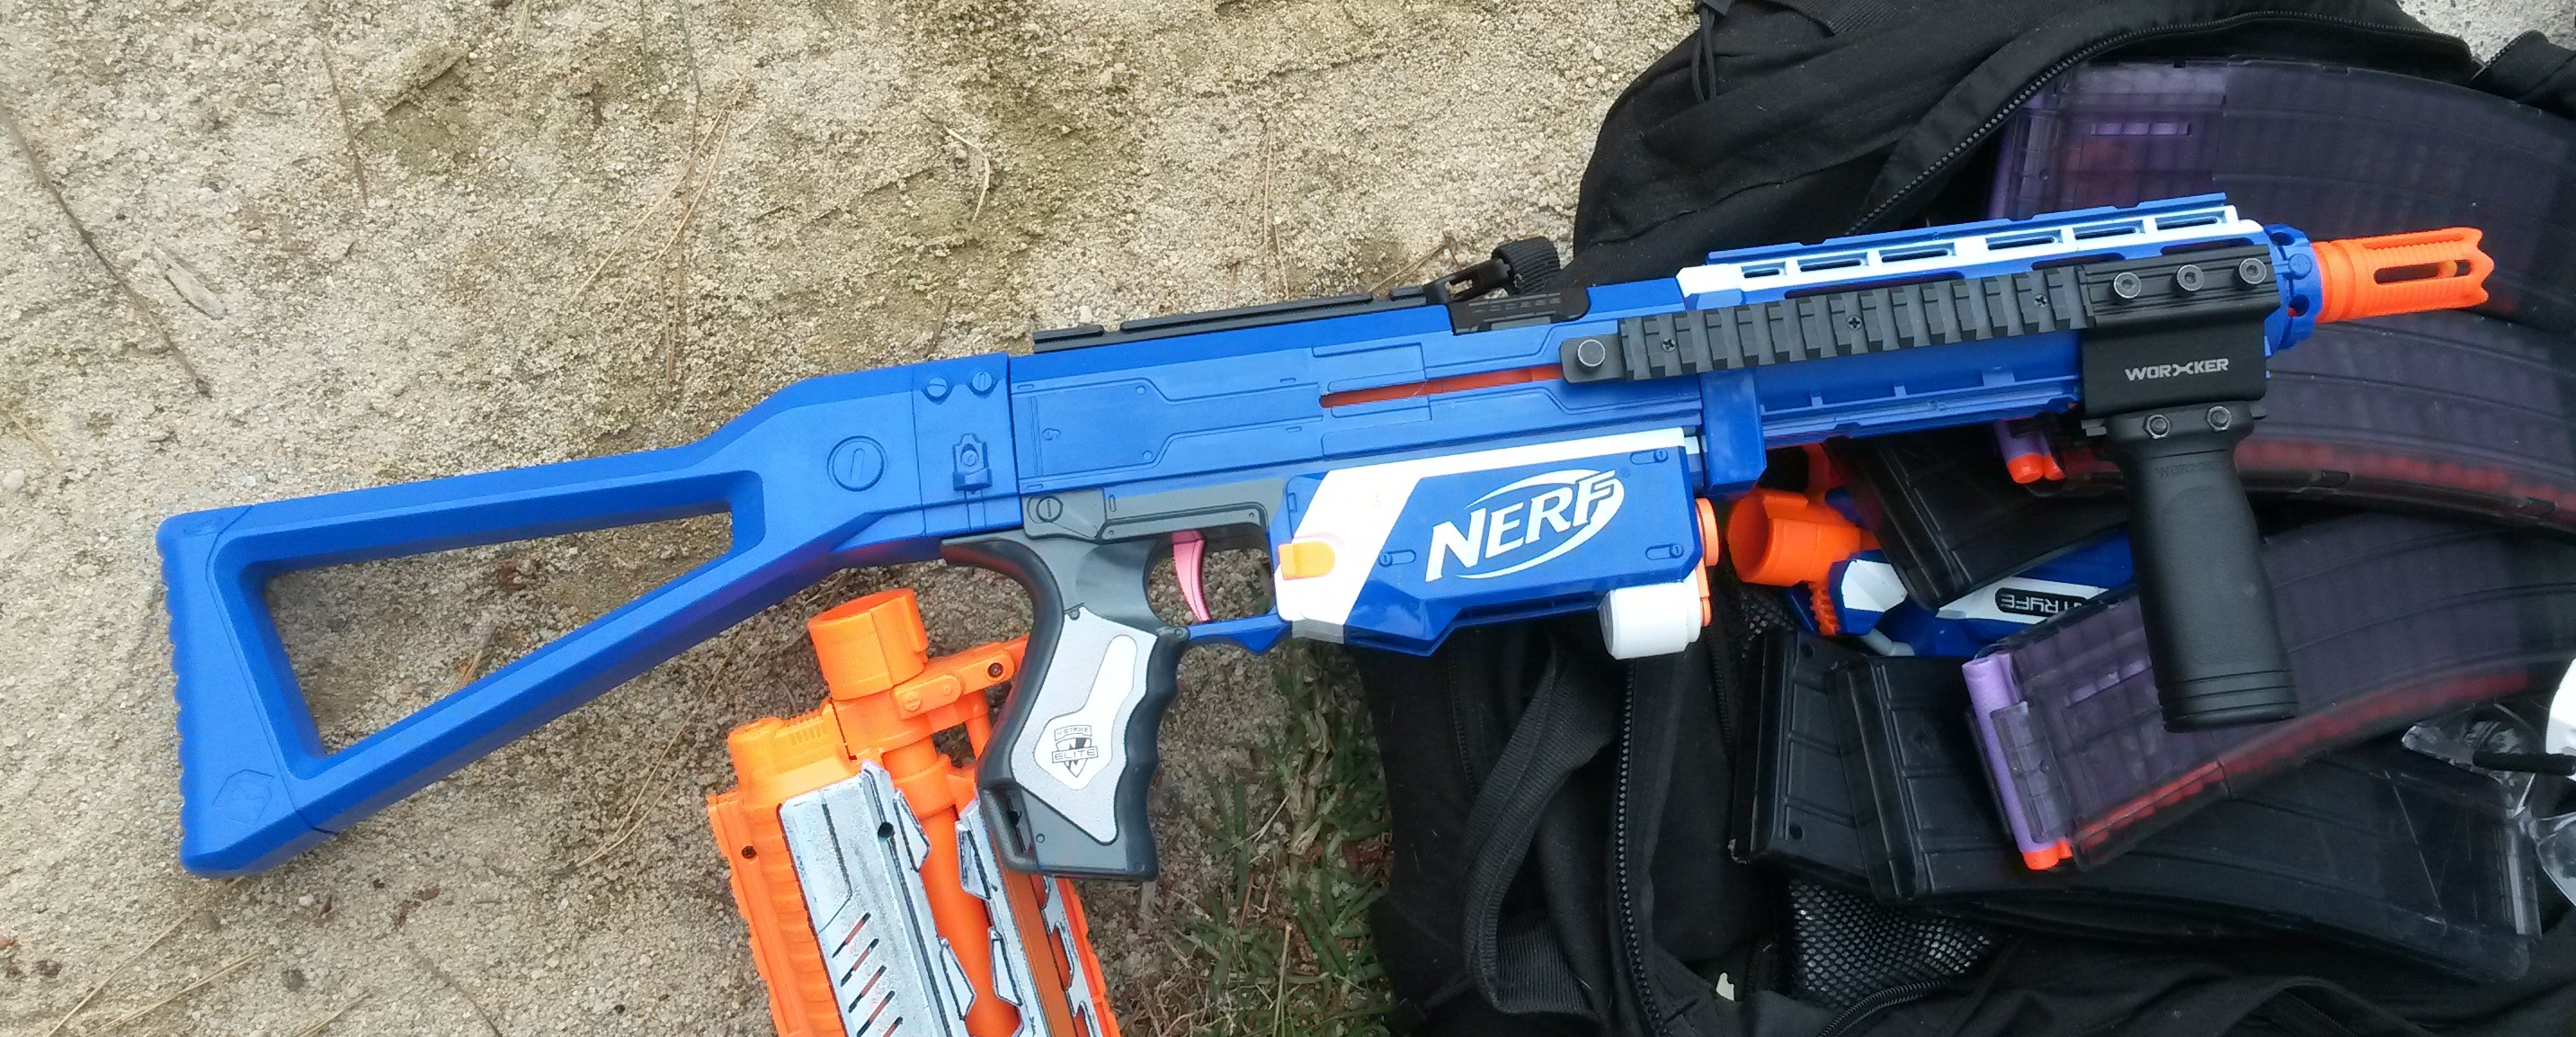
New/Infrequent:

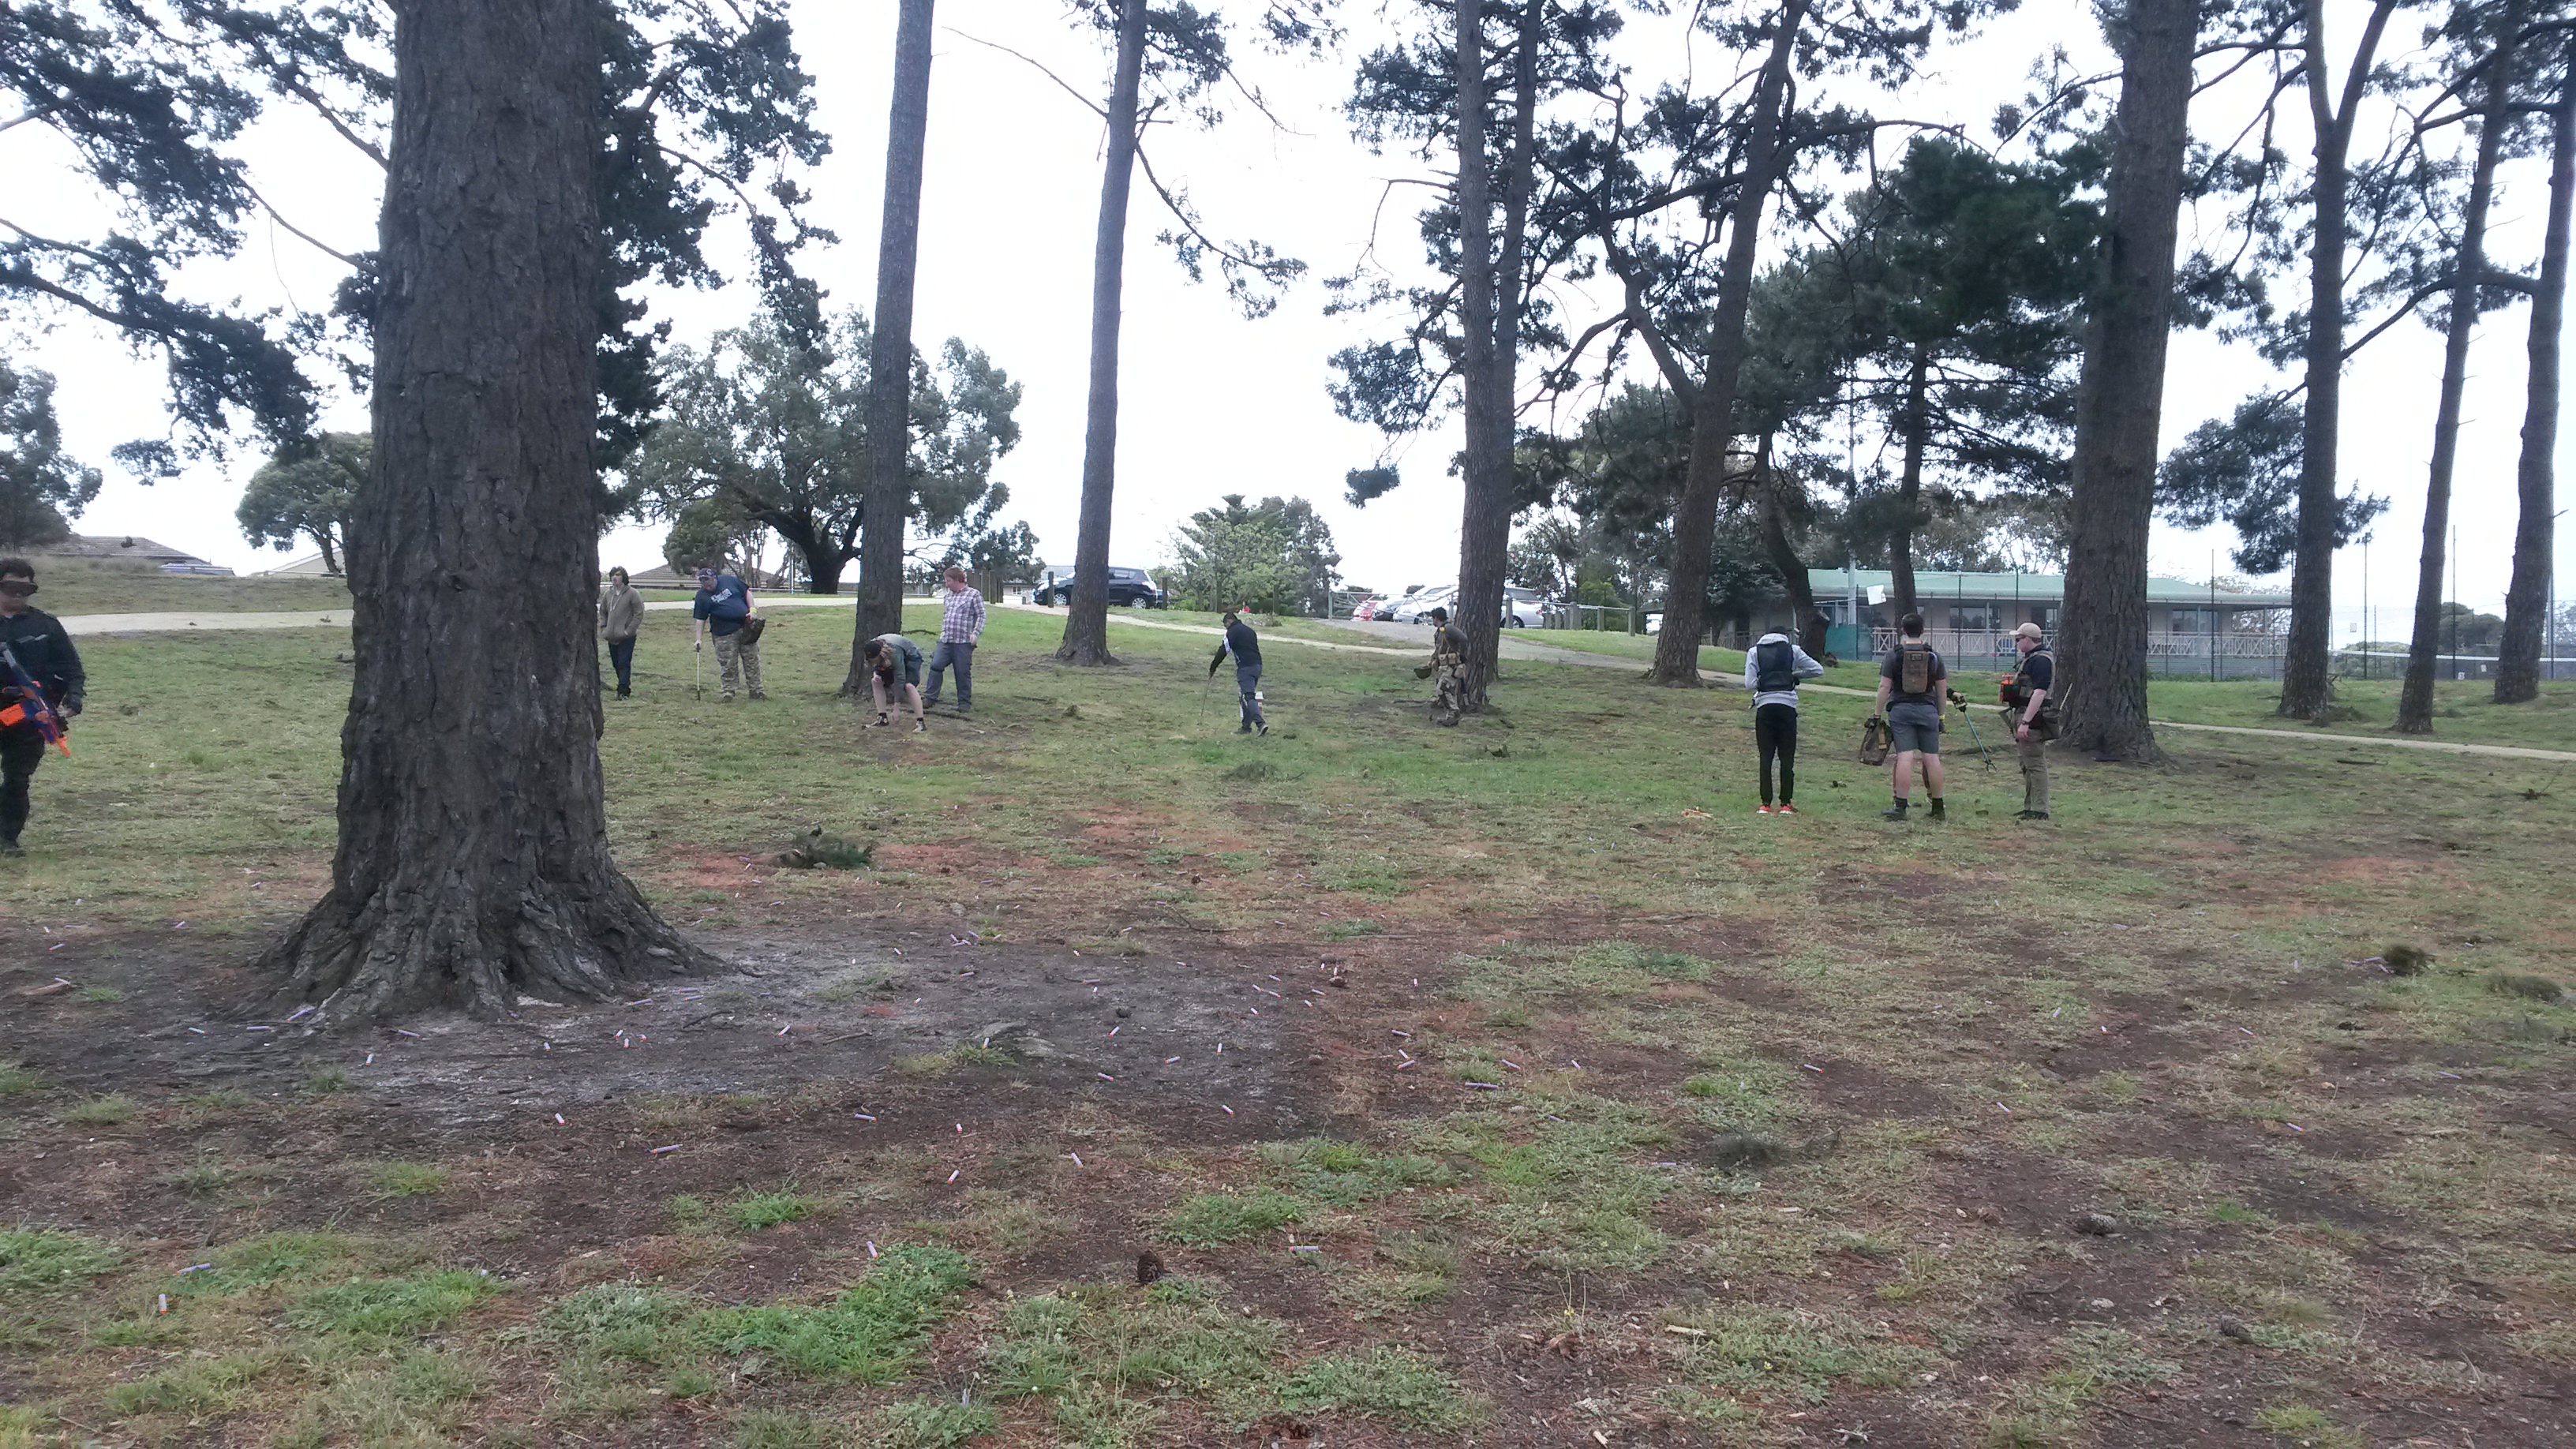
It was quite cold today, peaking maybe around 14C. It was overcast for the majority of the day but thankfully it didn’t rain during the time we were there. We played our first game with a player count of 12, which increased to around 14 by the second half of the day.
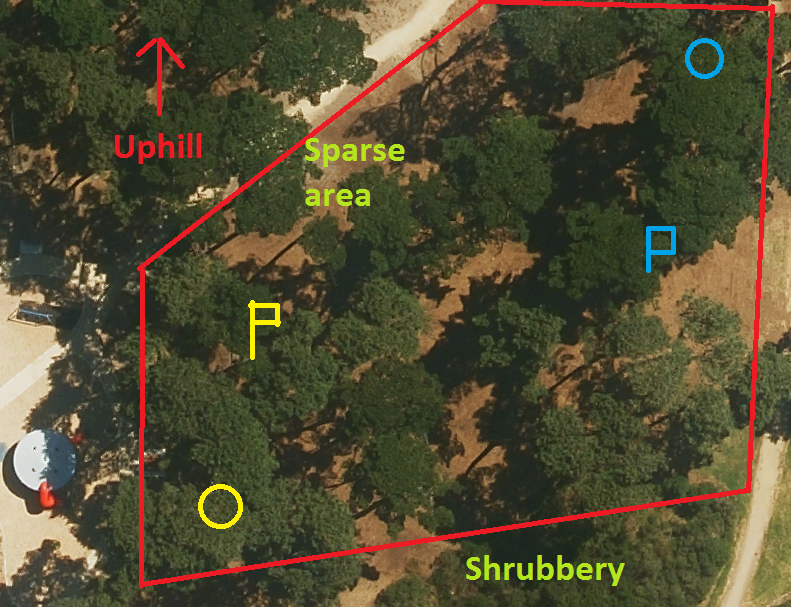
In the first round, my team started in the south-west corner. I moved to engage along the north line of trees, and was able to quickly down and eliminate both enemy players there. This gave my team the opportunity to corner the remaining enemy players in the south-east area, with half of us engaging from the west, and half of us moving along the north. Because the enemy players were primarily focused on my teammates to the west, I was able to get several good hits on them firing down from the north. Mopping up the remaining enemies was a simple task, resulting in a quick rout and victory.
In the second round, starting from the north-east corner, I moved to the middle of the play area, and was able to get several good hits on enemy players. I was however pinned down so unable to move in to eliminate them, and my team failed to move up in time to capitalise. As a result, I was only able to eliminate one enemy player, and our team did not achieve a significantly better position. I was downed roughly in the middle of the south tree line, however the rest of my team was still quite far back, and so when a teammate did come to try and get the revive, they were also downed. We ended up losing all players along the southern line, leaving our team with just 2 players, and the enemy team at near full strength. That ended quickly in a rout and a defeat.
In the third round, again starting from the south-west, I once again moved to a central position along the northern tree line. I was able to get several hits on enemy players along the southern line, however our team had also lost a few players on the south line. While the enemies along the northern line were suppressed, I made a run for the southern line. I was able to down one enemy who was also moving south, as the remaining enemy player on the south line, and was able to eliminate all of the downed players. During that time, though my team ceded their position along the north line, they were able to down the remaining two enemy players for a good victory.
The first round once again demonstrated the lethality of flanking, especially with this play area. If you can clear the northern line to surround the enemy team, you get to fire down on them from uphill, which is a distinctly superior advantage to being able to fire up at them from the southern line. Because the only cover in this play area is a bunch of thin trees, it is almost impossible to find cover that protects from both forward and side arcs, so to protect yourself from one arc, you make yourself vulnerable to the other. I exploited exactly that, firing down on the enemy team from the north, who were otherwise focused on my teammates to the west.
The third round was another demonstration of the vulnerability to angles that this play area has. Although I didn’t execute a flanking maneuver as such, I was still firing on enemy players from their side arc. Since they were focused on protecting themselves from a frontal attack, the thinness of these trees exposed them to a side attack, and I was able to catch out quite a few players with this tactic. This tactic however also requires your enemies to be focused forward, as naturally if you can fire down on them, they can fire up at you.


One of our players went to cook sausages, our usual lunch, so we were down to 11 players. This naturally makes regular symmetric games quite a pain, so we decided to try out Black Hawk Down.
In the first round we played with 4 SF vs 7 Insurgents. The SF team chose to take a shield, and so operated on 3 second revives. This round was quite a back-and-forth affair, at times it looked like the Insurgents had a clear advantage, at others it looked like the SF team would win. At the start of the round, I moved into position along the north line. Three of the SF players, including their shield, started to move from the northern line towards the southern line, and I had a clear shot at them. Though I was able to achieve a few hits, in an unlucky turn of events the fourth SF player, still in the north, was able to hit my blaster as well as the other Insurgent near me. Thankfully (for the Insurgents) neither of us was the Insurgent medic. They were able to move forward and eliminate us both, and by that time the remaining SF players had reached the southern line. In a surprising turn of events, the remaining 5 Insurgents in the south were able to down the SF shield and the two other SF players nearby, leaving just 1 SF player against 5 Insurgents, including their medic. This naturally resulted in an Insurgent victory.

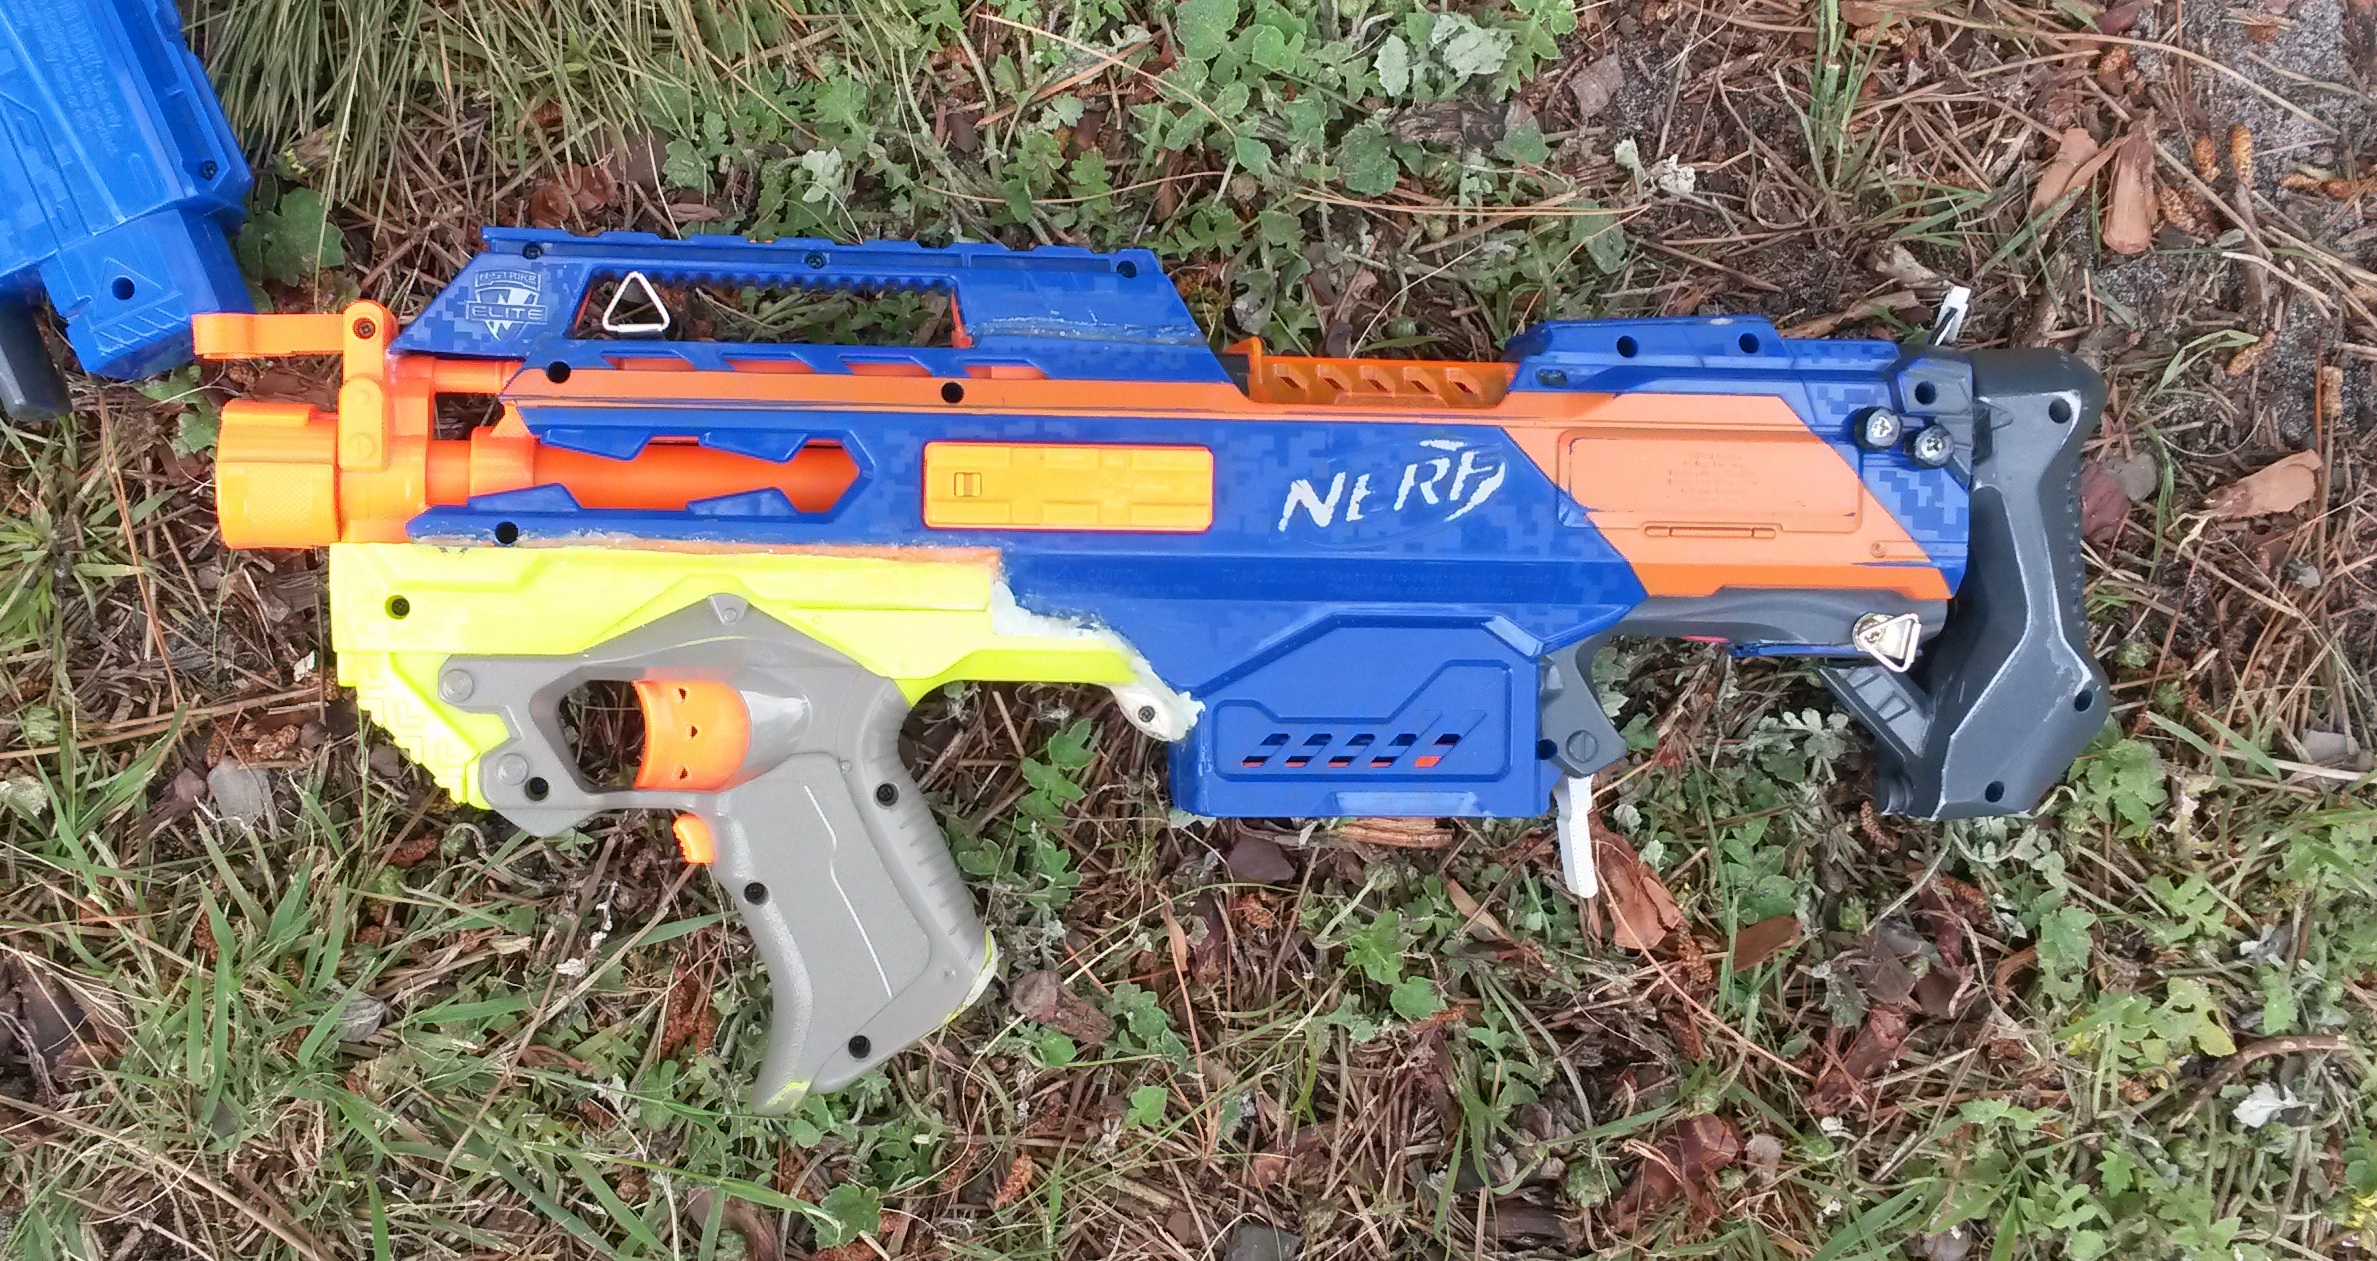
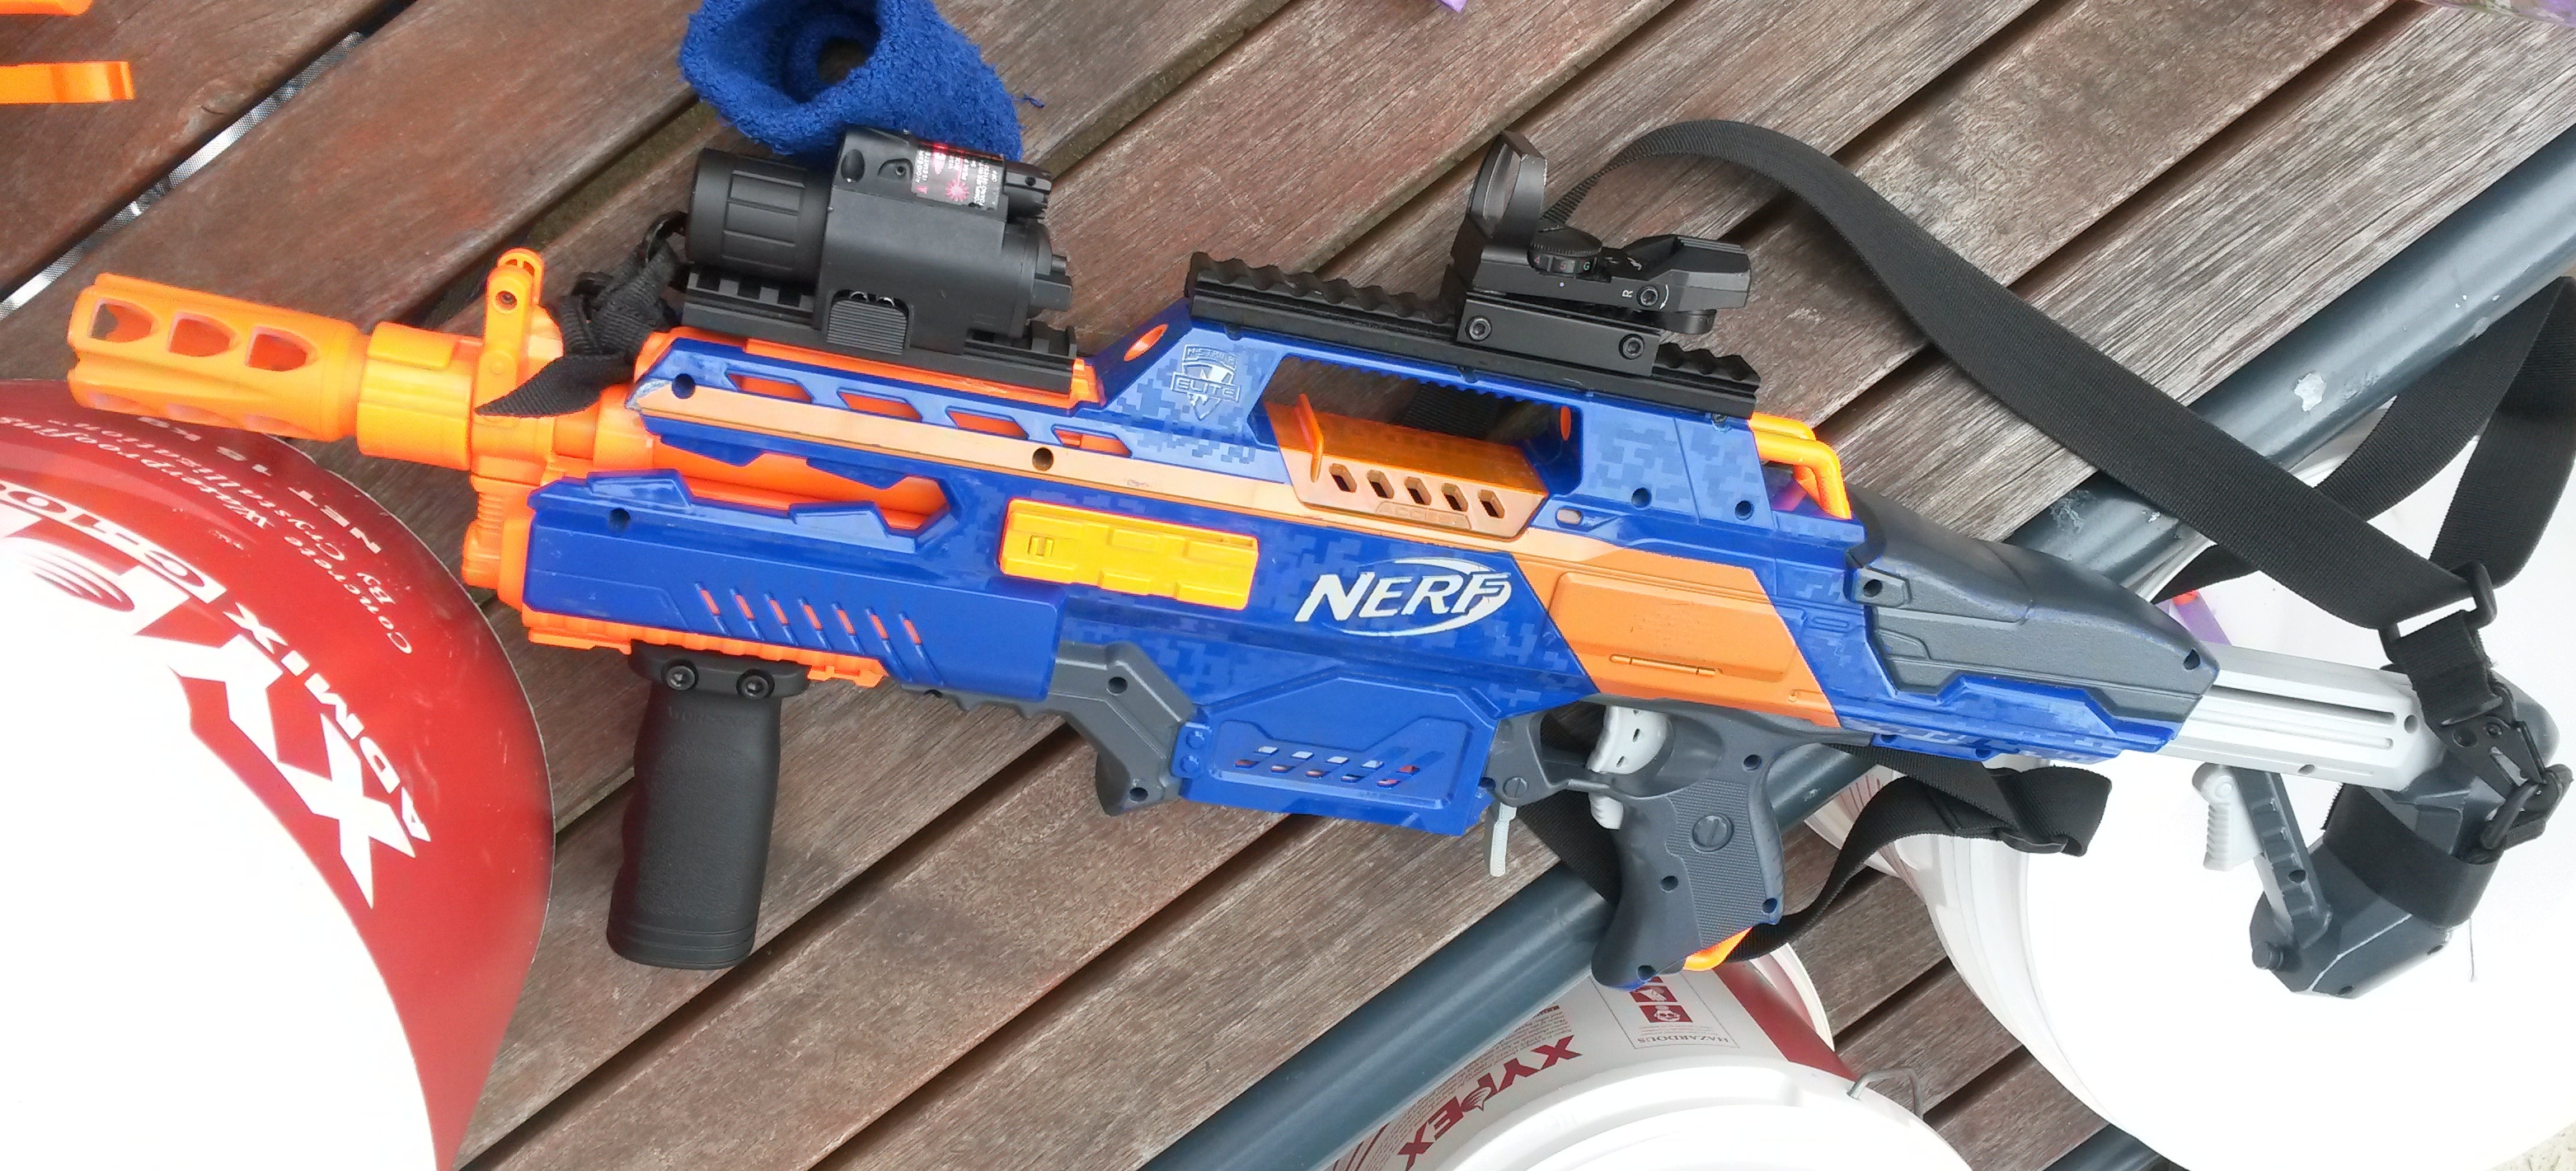
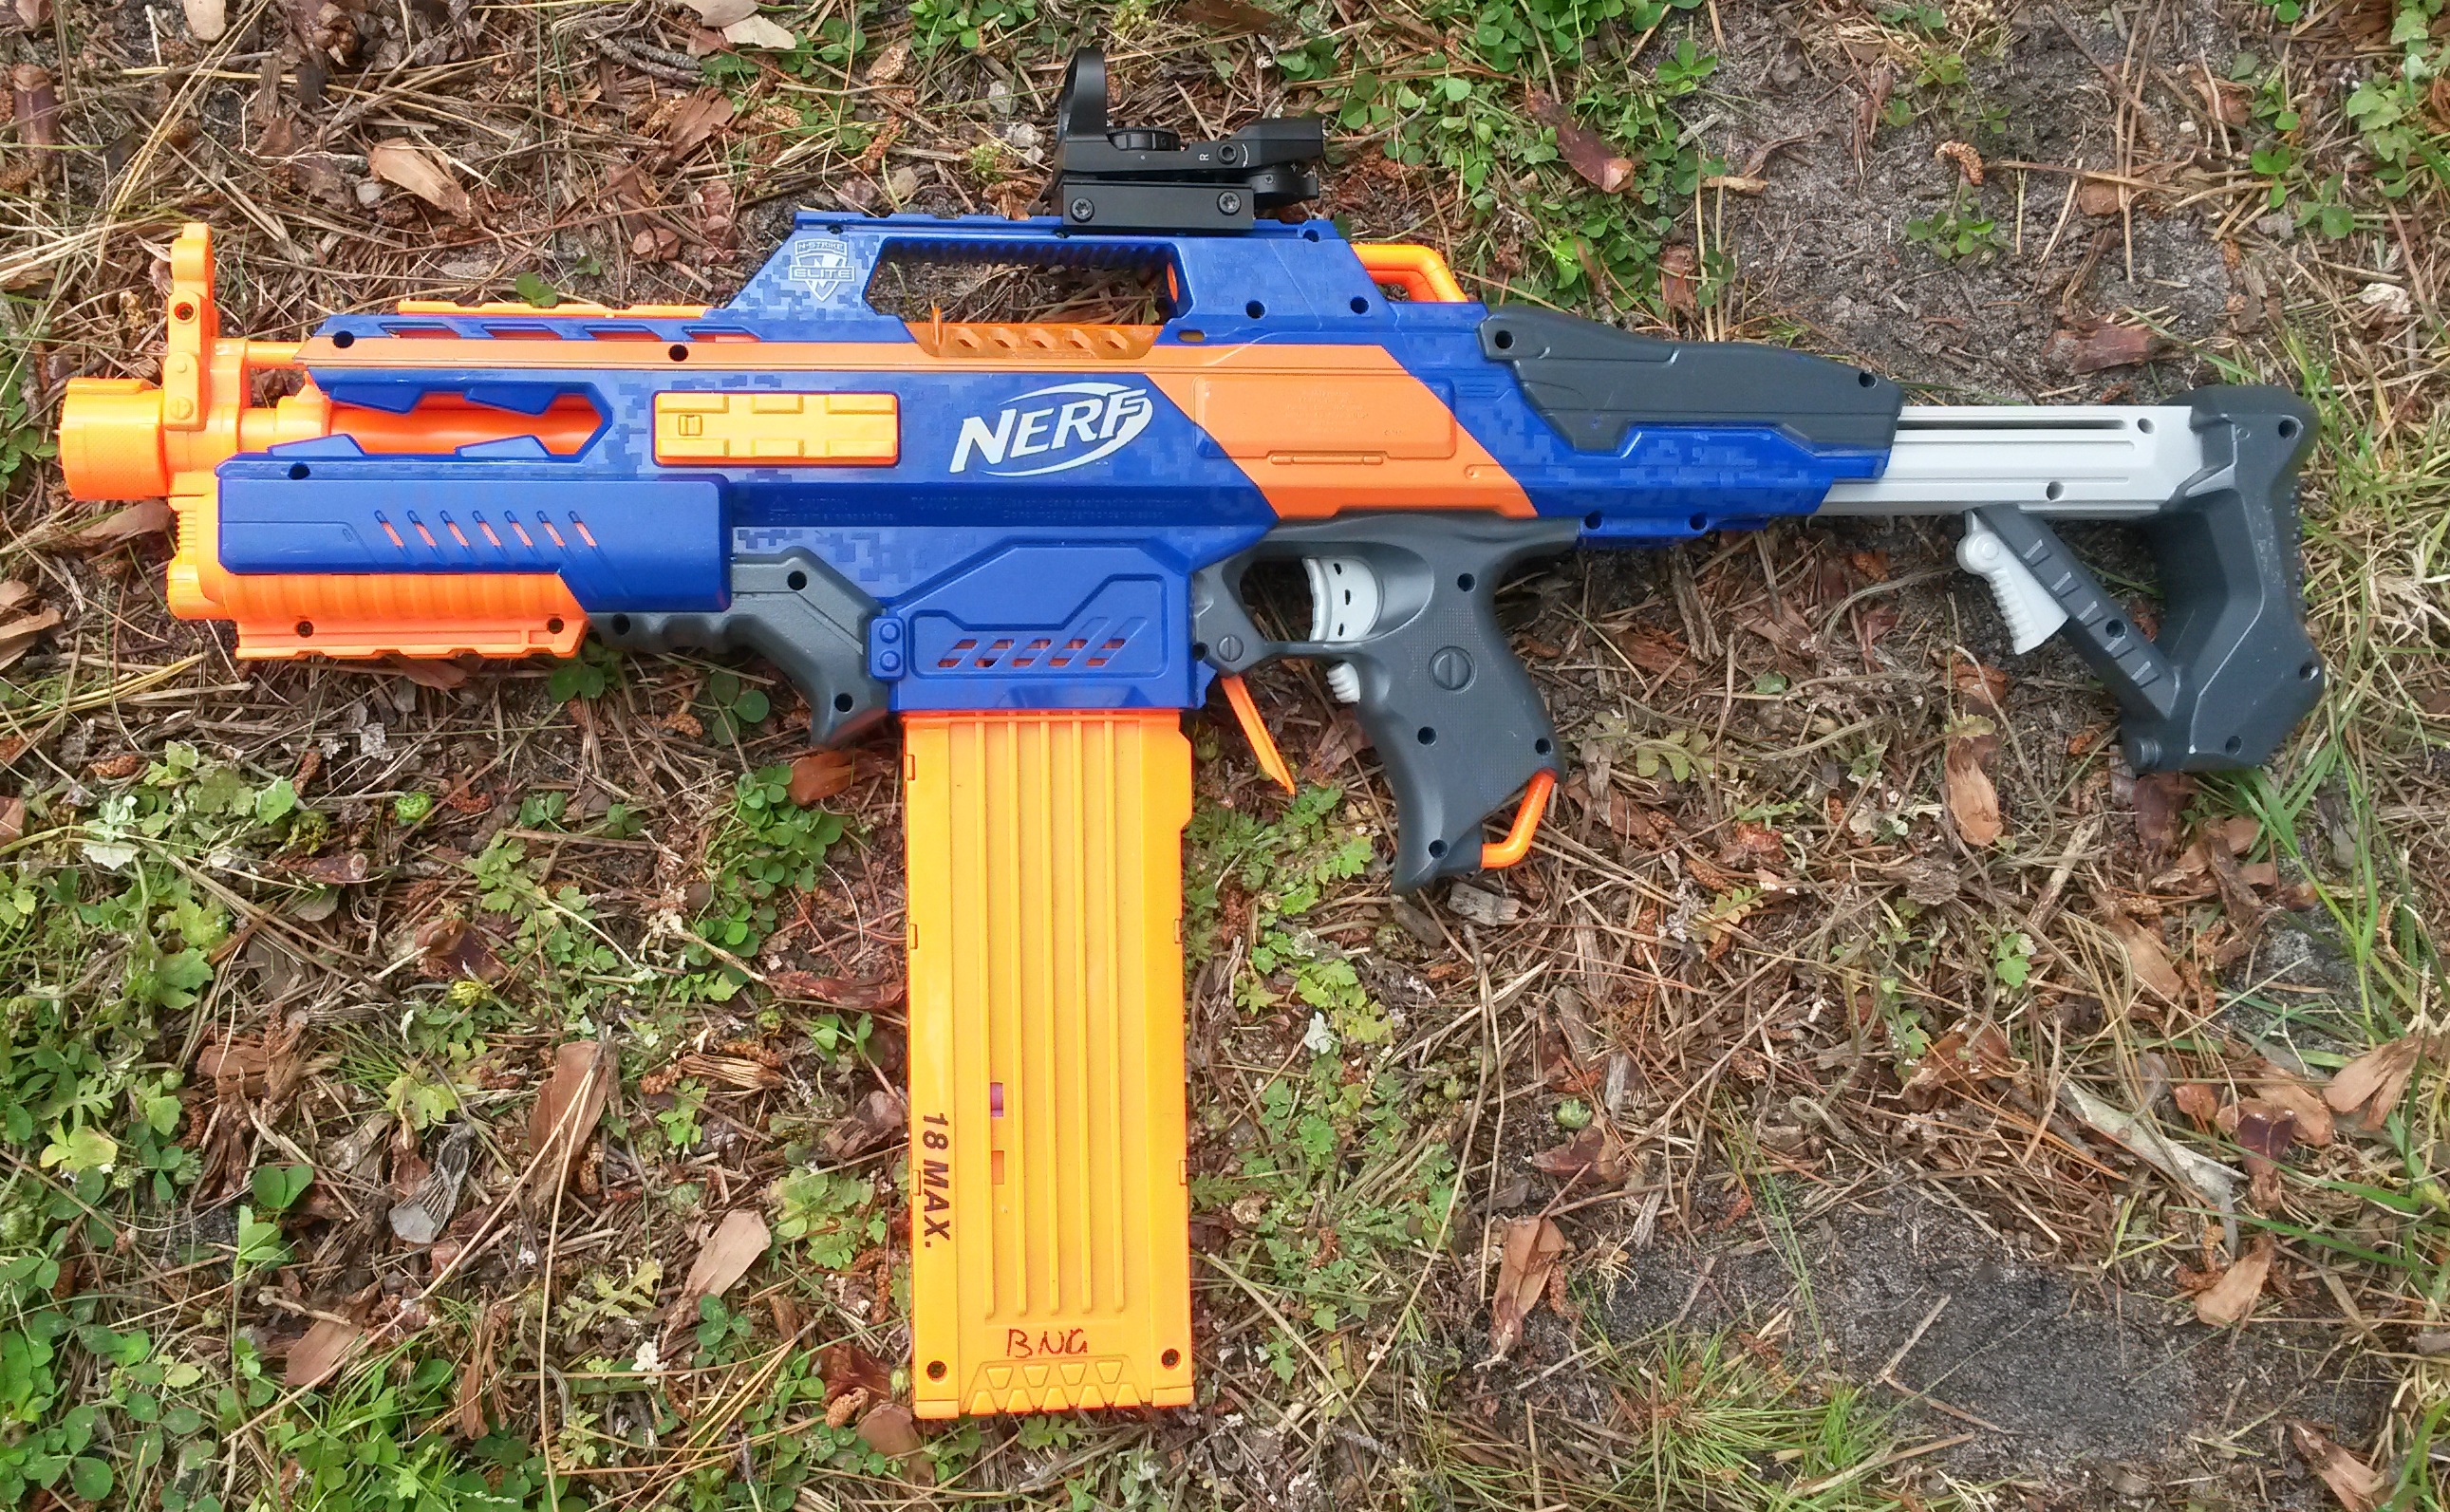
I sat out of the second round, as a particular issue had arisen in my Bullpup RS regarding the alignment of the flywheels. There was some obvious flywheel grinding occuring, which can be heard in the video once it’s uploaded. I was eventually able to fix this, at least temporarily. Meanwhile, the other players played another round of BHD, with 3 SF and 7 Insurgents. Because of the even greater numbers disparity, the SF team were given both the shield as well as instant revives. The SF team played very defensively however, and allowed themselves to get cornered in the far north-east. Despite the terrain, shield and revive advantage, they left themselves no maneuvering room and were easily overwhelmed by a numerically superior Insurgents team. I can’t comment further as I was focused on fixing my Bullpup RS.

After the lunch break, we played a pair of CTF rounds. By this time, a few more players had rocked for a total player count of 14 or so. We also had shields and medics in play, one each per team. These two CTF rounds played out very differently.
In the first round, my team started in the south-west. I ran along the southern line as usual, taking up position near the enemy flag with one teammate. Surprisingly, we were faced with just one defender. A lucky shot from my teammate downed the defender, giving me the opportunity to steal the flag. The majority of the enemy team had pushed along the north line to attack our flag, but my team had been able to hold them off, giving me the space to return the flag for the quick win.
The second round lasted much longer, at around 8 minutes long – far longer than a typical round. My team started in the north-east corner. As usual, I made advances along the north line, but was fended off every time. Likewise, while both teams made pushes towards each other’s flags, neither team got close enough to make a run. This progressed up until the enemy team were able to down quite a few of my teammates, including myself. This gave them the opportunity to run for the flag, however a few of us were able to chase down and hit the flag runner. This short period was an absolute mess, players of both teams all over the place, but we were eventually able to return our flag. The stalemate continued, to the point where most players ran critically low or completely out of ammo. In the dying moments of the game, our shield player was able to break through the enemy team’s defensive line and steal the flag, with just about every other player on their last mag, or already on their sidearms.

The first round was a perfect example of poor team coordination and overpressing. The enemy team threw just about all of their players at our flag, along the north line. As mentioned earlier, their defence consisted of just a single player, which is by all means a very small defence. For this strategy to work, the enemy team would have had to break through our defensive line and stolen the flag very quickly, before we had a chance to beat their defence. Both of the shields were in action at our flag, our shield covering our flag and their shield trying to push through. Given their slight numerical advantage, the enemy team could have made a big (although most likely slow) push through, forcing back our defenders and giving them an opportunity at our flag (and in turn preventing us from returning their flag). This was not the case however, and the enemy shield pushed forward too quickly, being left vulnerable and downed. This stalled their offensive momentum, and without a shield to reliably push forward against our shield, the enemy team were not able to make sufficient progress. Eventually we were able to down their one defender and steal their flag, and because of the aforementioned enemy losses I had a clear run back to our flag. Had the enemy team left a few more defenders, and made a more progressive shield offensive, I think the round would have lasted much longer, and they would have had a solid chance.

The second round I think really showed off the power of the shield. The enemy shield was single-handedly responsible for making my life awful, and stopping all of my attempts to push through and steal the enemy flag. They were also primarily responsible for the push that allowed them to steal our flag. The power of the shield is especially evident in this play area, with thin cover sparsely spread around. In this sort of area, there isn’t enough cover to execute a really good flanking maneuver against an enemy shield, and the shield has plenty of room to move around to escape your flanking anyway. I think that especially in this play area, with a respectable player count, the shield is unnecessary and is perhaps too powerful. With a high player count, flanking becomes even less viable, as you now have to contend with multiple enemy players, not just the shield. This leaves only grenades as a reliable anti-shield device, and trying to get a good throw off while under fire is ridiculously hard. I don’t think I’ve ever seen anyone get a good grenade throw against a shield. With that, the only reliable way to fend off a shield is now your own shield, and so the game becomes a shield vs shield competition, which inevitably will eat through heaps of mags for minimal result. I like the dynamic that the shield adds to games, but I think that in this play area with such a high player count, it over-centralises the game and is far too dominant.
In the first round, my team got off to a good start, downing several enemy players quickly. However, we failed to capitalise, with my team remaining passive and not taking up a good aggressive position. This allowed the enemy team to regroup and return to a good neutral position. This pattern of play repeated a few times, several enemy players being downed but my team not moving forward to secure the advantage. Several minutes passed of relative stalemate, before the enemy team began to make inroads towards our VIP. They were eventually able to take down our VIP, This put us at a distinct disadvantage and we were unable to make any inroads towards their VIP, resulting in our defeat.
The second round progressed relatively normally, neither side gaining much advantage, and both teams remaining relatively neutral for much of the game. Suddenly, our VIP was out of the game due to a blaster malfunction. The LiPo in their Stryfe had reached critically low voltage (the default setting being 3.3V per cell) which took them out of the game. We were given one last respawn each before being unable to respawn. Despite this we were in fact able to down their VIP, and although we lost, the enemy team had just one or two players still alive. Due to the circumstances of this round, I won’t be adding any further comments as it doesn’t represent a typical full VIP round.
This MLF event was quite competitive and intense, with a lot of back-and-forth and also a lot of ammo consumption, with so many longer games. Today’s event in particular demonstrated some of the more intricate facets of the game in coordination and tactics.
You can also find the same Nerf Game Report on my own blog: Outback Nerf