


We had some solid games today at MHvZ. The on-off rain did dirsupt play a little, however we managed to miss the majority of it. In this Nerf Game Report I’ll be describing the blasters that saw use, the game modes we played and how the rounds played out.
Gamemodes:
Regular:
- (Regular) Survival – Standard HvZ gametype, humans try to survive for a given amount of time (or until the last human falls). Zombies are given access to upgrades at various times, we used Infectors at 5 minutes, Tanks at 10 minutes and Husk at 15 minutes. Last human to fall wins.
- Secret VIP – There are 3 special players in this game: the VIP, the General and the Traitor. The VIP is a human who the other humans are trying to protect and is restricted to a given area (we used the usual tambark area), while the Traitor is a zombie masquerading as a human. When stunned, zombies must move outside of the VIP’s area before counting down their stun. The only person who knows the VIP’s identity is the General, while all original zombies know the Traitor’s identity. Everyone knows the identity of the General, making them the only guaranteed trustworthy human. The Traitor acts as a human, but can at any point do a single Traitor zombie tag, revealing that they are the Traitor, and thus turning into a regular zombie. Additionally, if a human hits another human, the hit human is stunned as if they were a zombie, however they can still fire their blaster. If the humans protect the VIP for a given period of time (e.g. 15 minutes), the humans win. If the zombies successfully tag the VIP, the zombies win. Zombie upgrades are unlocked on a timer like Survival, with Infectors available from the start, 5 minutes for Tanks and 10 minutes for Husk. If a human is hit by a grenade, they are instantly turned into a zombie. This is the only way to actively eliminate the Traitor.
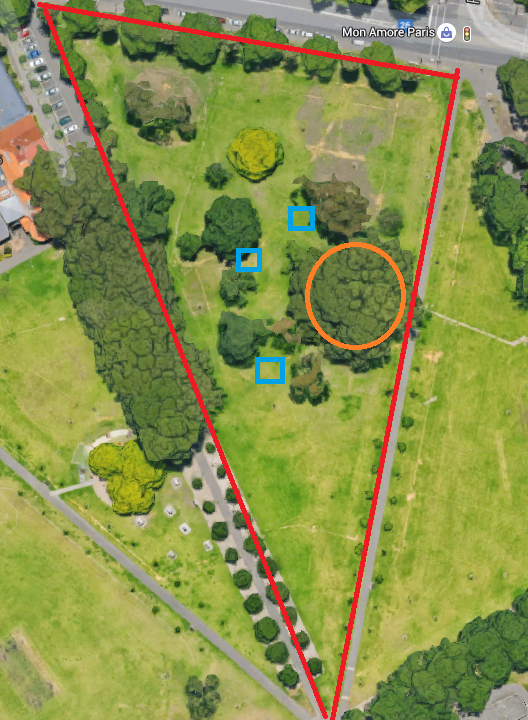
- Defence Survival – The three zombie upgrades of Infector, Tank and Husk are spread throughout three separated squares, about 2-3m wide. Zombies can pick up the upgrades if they touch the desired upgrade inside the squares. If a zombie is stunned within a square, they must move outside of the square before counting down their stun. Zombies are only allowed one upgrade at a time. Once all upgrades from a given square are removed, the zombies no longer have to leave that square to un-stun.
New/Infrequent:
- Squad Survival – Humans are split into small squads. When hit by a dart, a human must respawn at a tree. During this time, they cannot shoot however are still vulnerable to zombies. Humans can respawn three times at a tree, after which another dart hit will turn them into a zombie. The last squad with surviving members wins. Zombie upgrades operate on timers, as with Regular Survival.
Zombie rules:
Zombies tag humans with their hands onto any body part, blaster, tactical gear, etc, turning the human into a zombie. If a human hits a zombie with a dart, the zombie is stunned for a count of 25. A human can also stun a zombie with melee, but only with a direct hit to the back.
There are 3 standard zombie upgrades/mutations/perks:
- Infector – zombies get to use foam swords, pool noodles, etc. Tags with said foam melee weapons on humans count as regular tags. Said melee weapons can also be used to block darts.
- Tank – zombies get to use shields, which block darts. The shields cannot be used to tag humans, presumably as a precaution against shieldbashing which could cause significant injury.
- Husk – a zombie gets to use a ranged attack, in this case a Vortex Mega Howler. A ranged Husk attack counts as a regular zombie tag. The Husk may move from the place they were stunned to retrieve their ammo, but do not count down their stun timer until they return to their original stun place.
Zombie upgrades cannot be stacked, so a zombie can only have one upgrade at any time.
If in play, grenades can stun a zombie with a hit to a shield, and can be reused at will. If human vs human rules are in effect, a grenade hit to a human will turn that human into a zombie immediately.
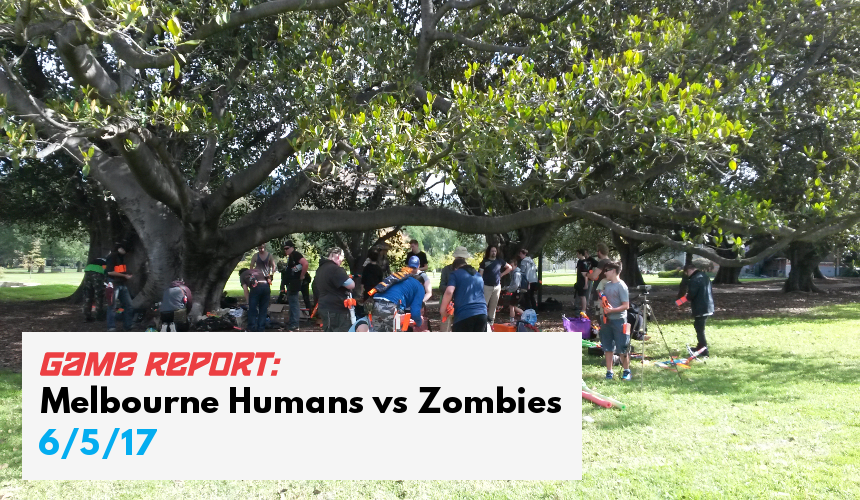
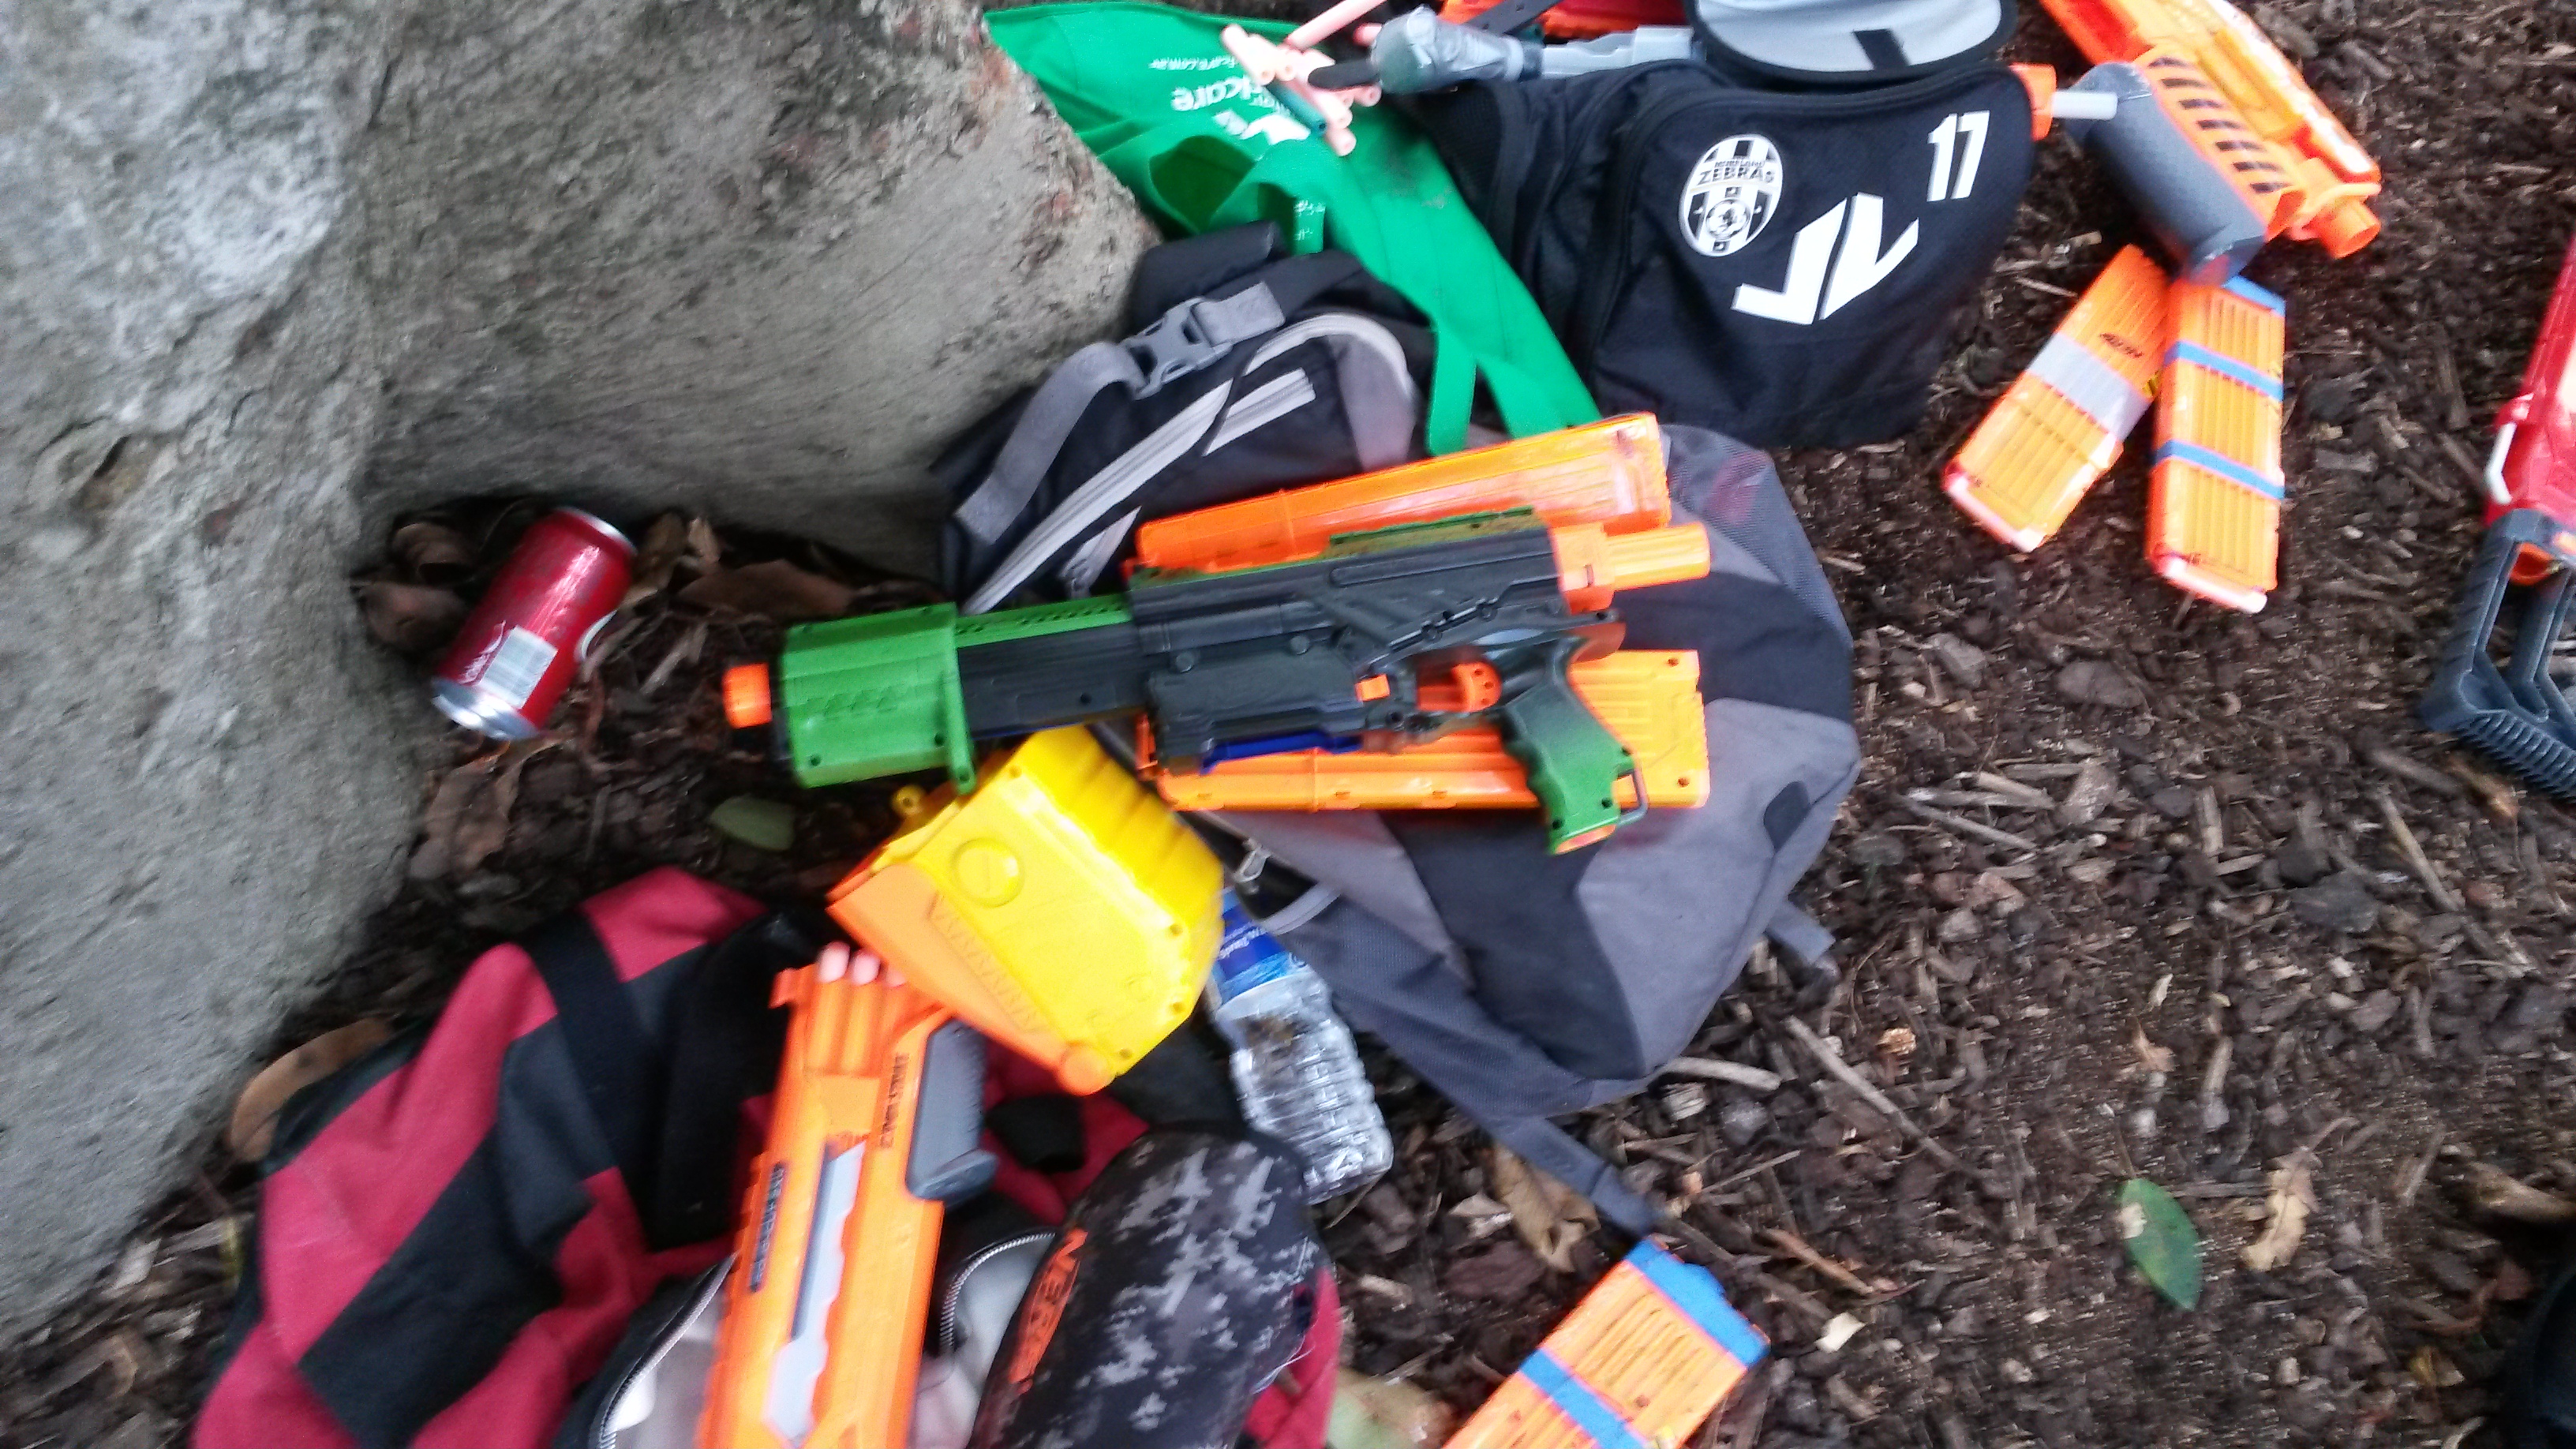
Blasters:
Since there were a lot of different blasters there, I’ve generalised them and only listed down the ones that I saw as significant or noteworthy, or remember for that matter. Being that I can’t be everywhere at once, it’s entirely possible I completely missed some blasters.
Regulars/Recurring:

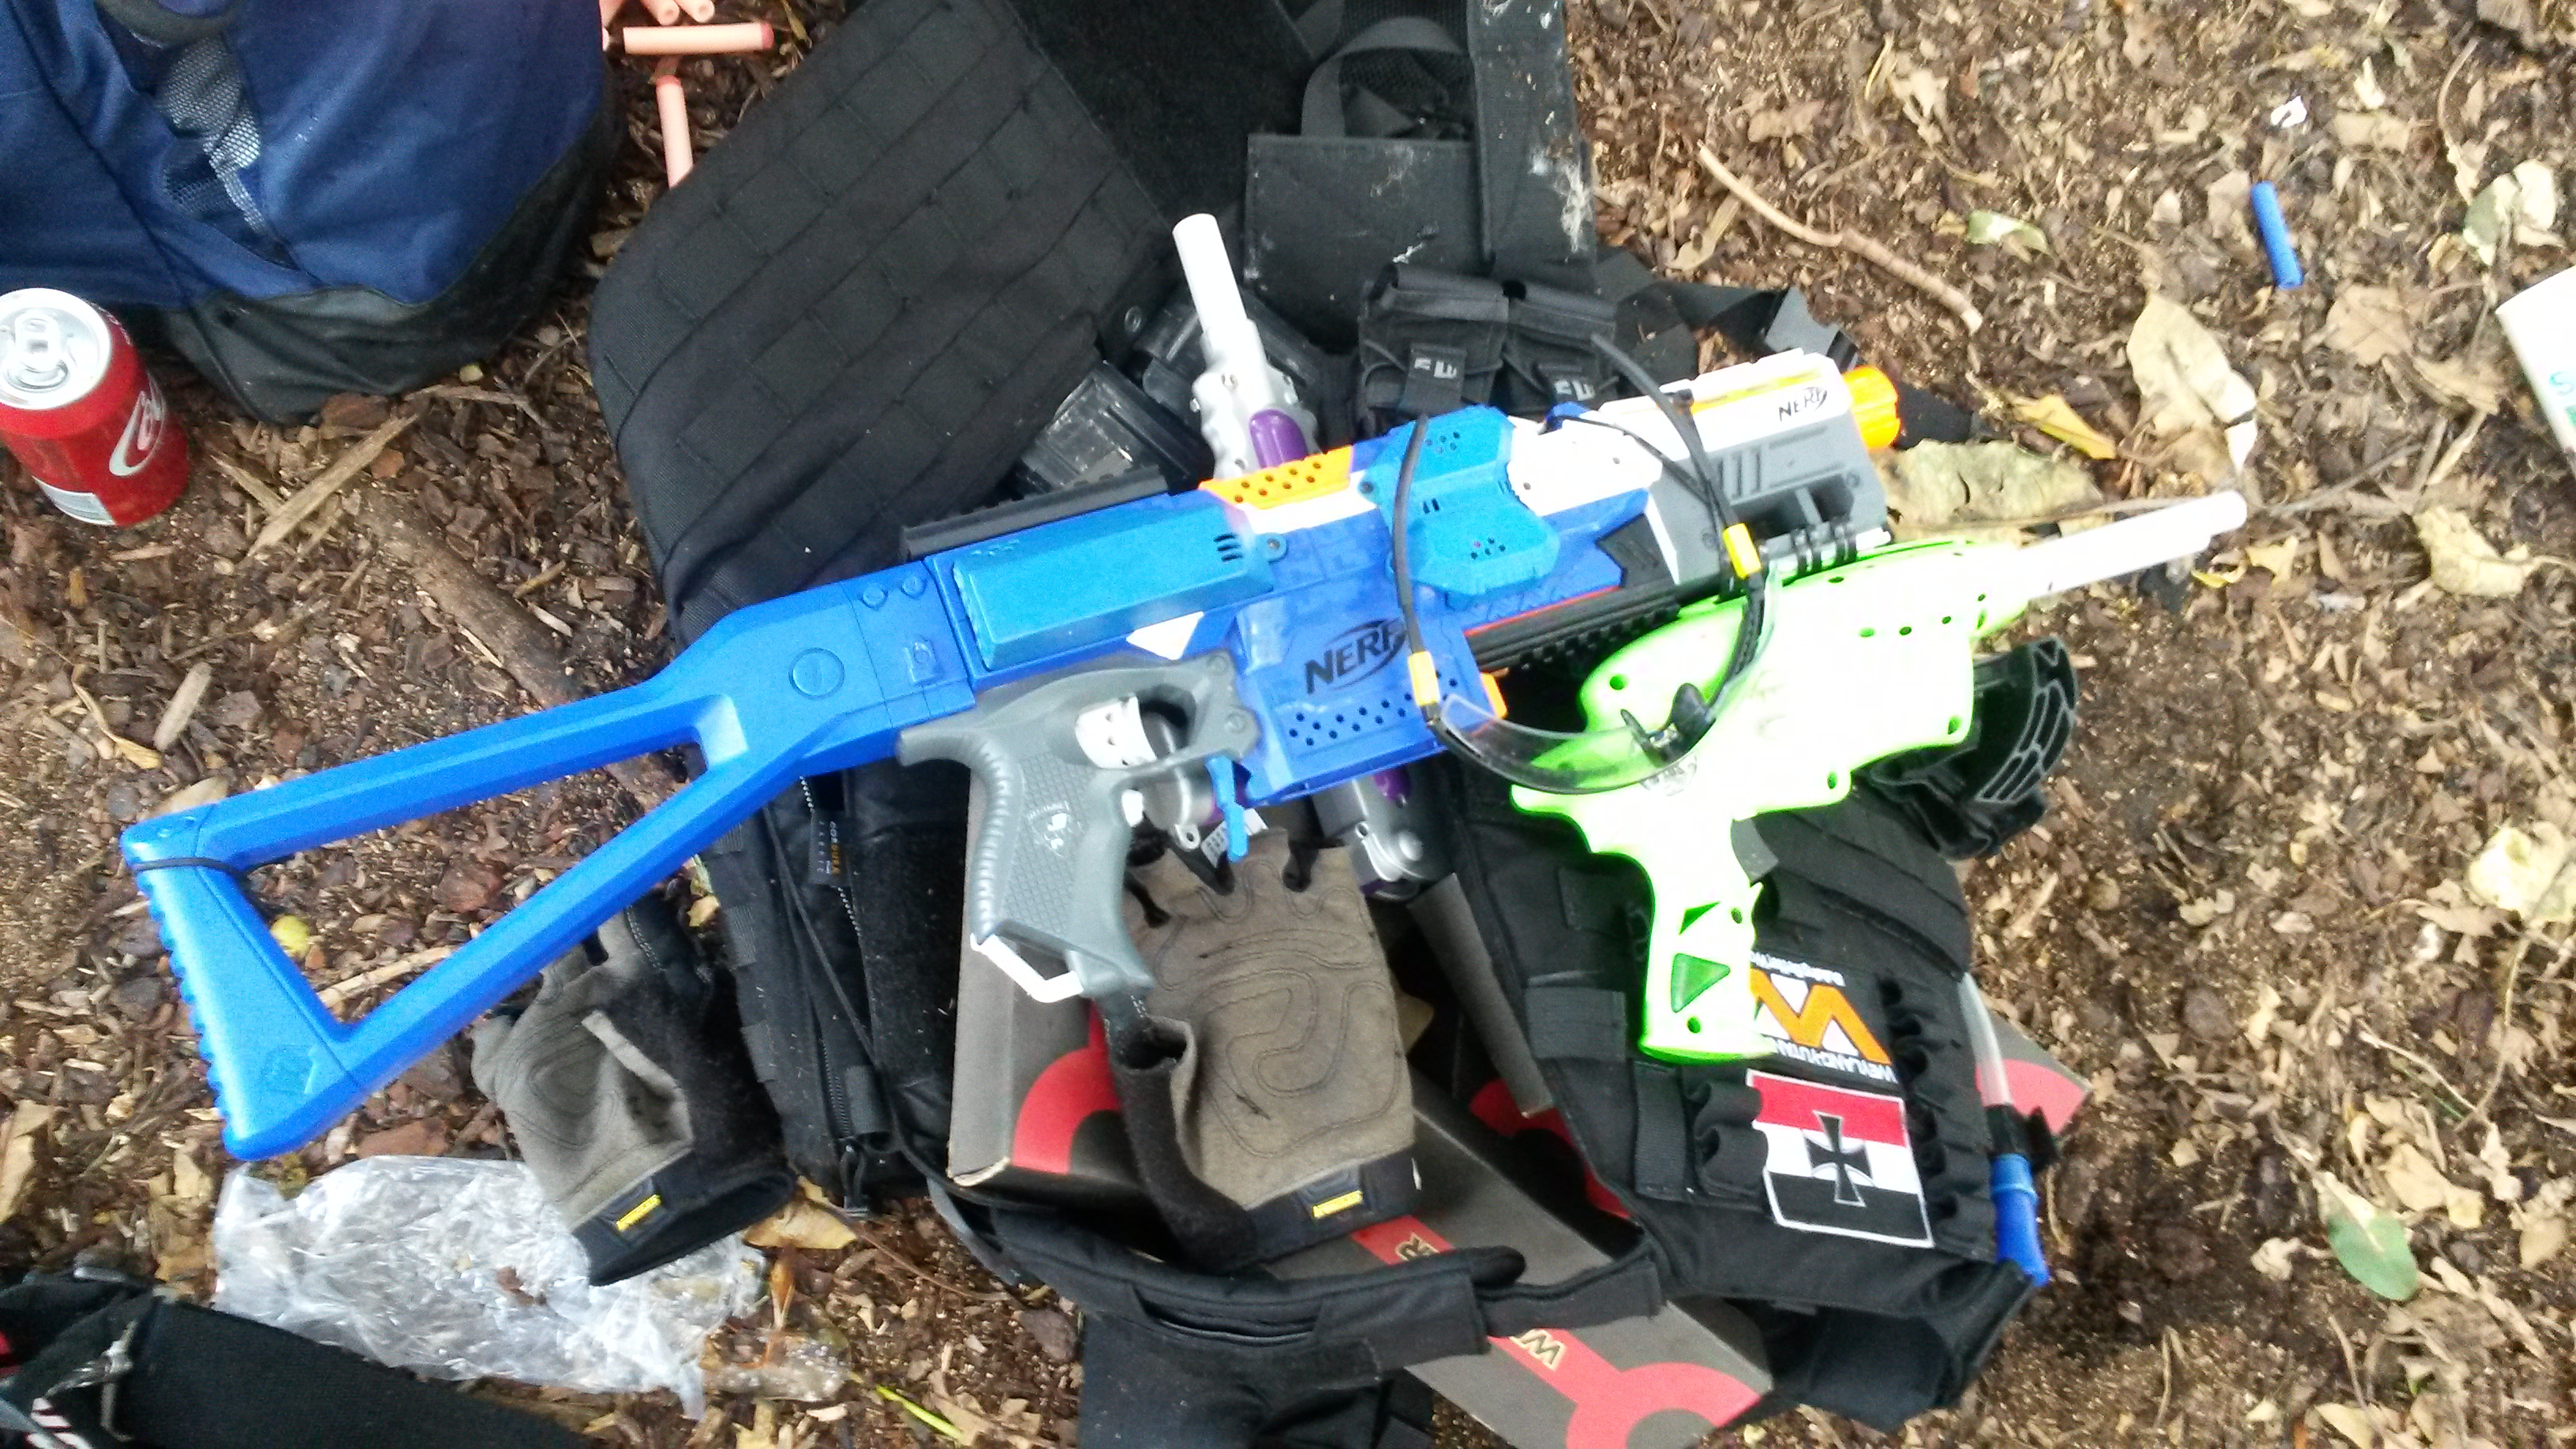
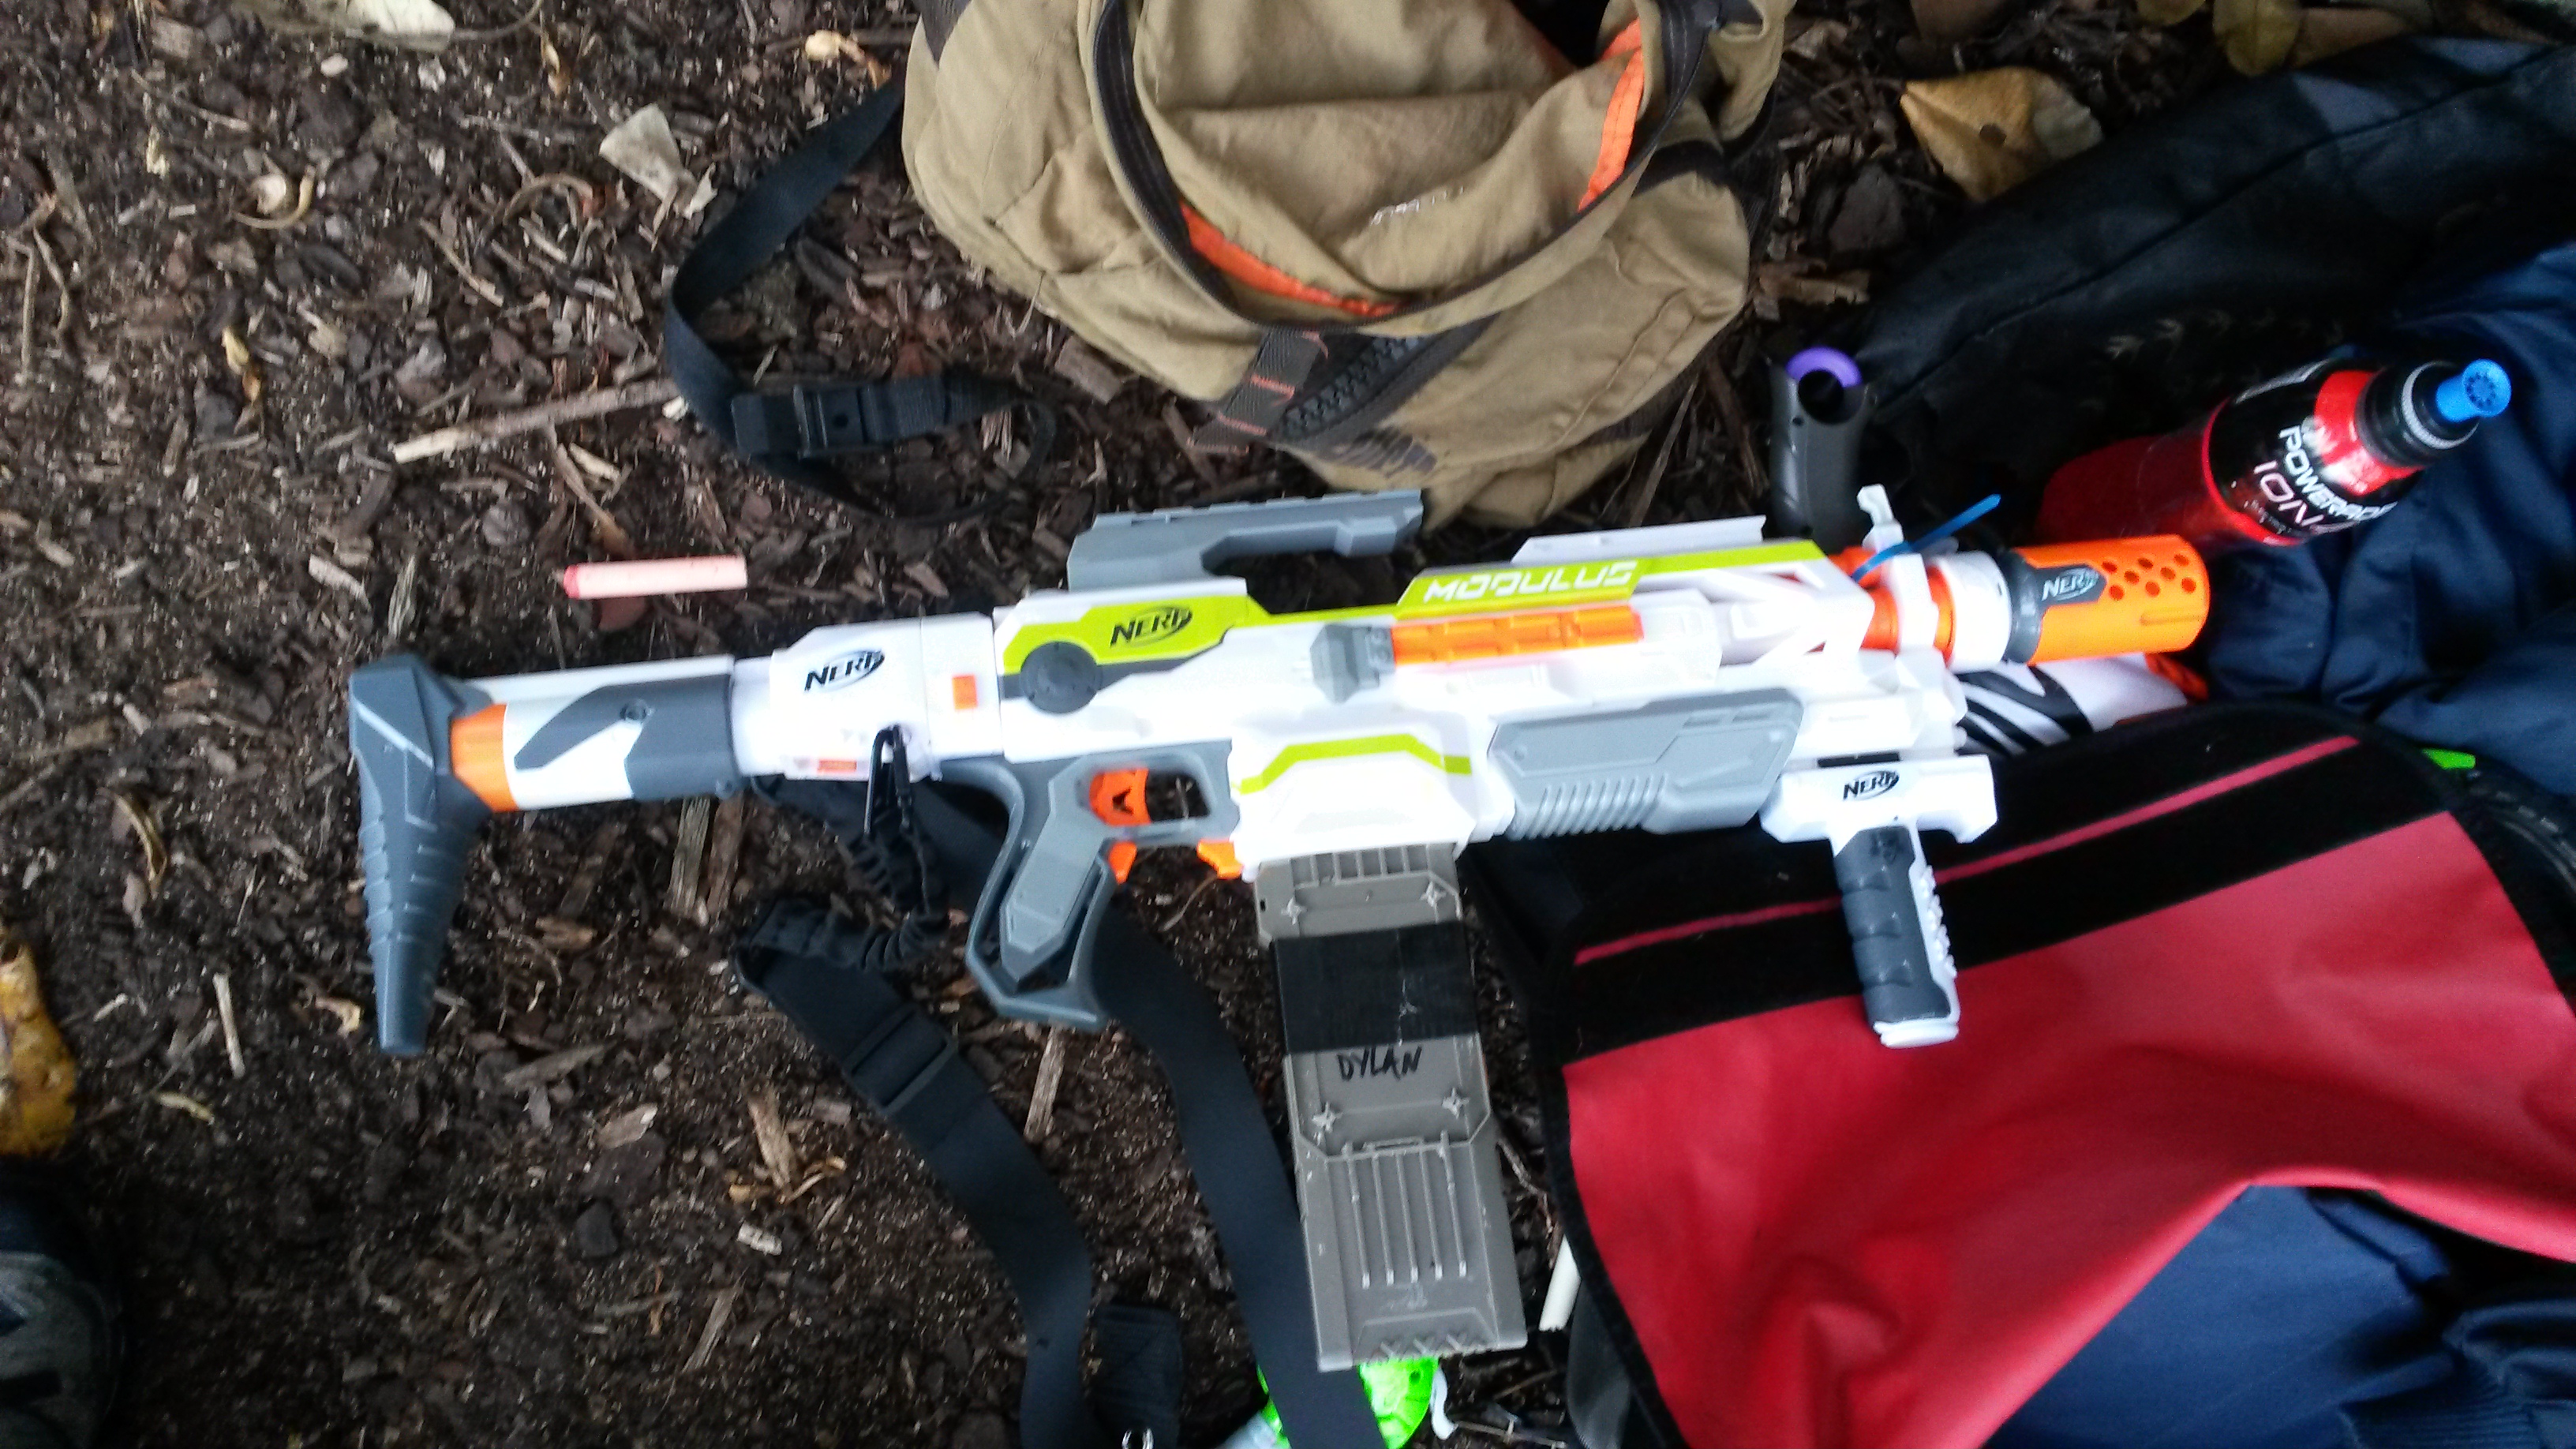
Elite Stryfe (various motors, LiPos) – the standard semi-auto flywheeler at MHvZ. Compact, reliable and effective, they are one of the most popular blasters (if not the most popular blaster) at Melbourne events.

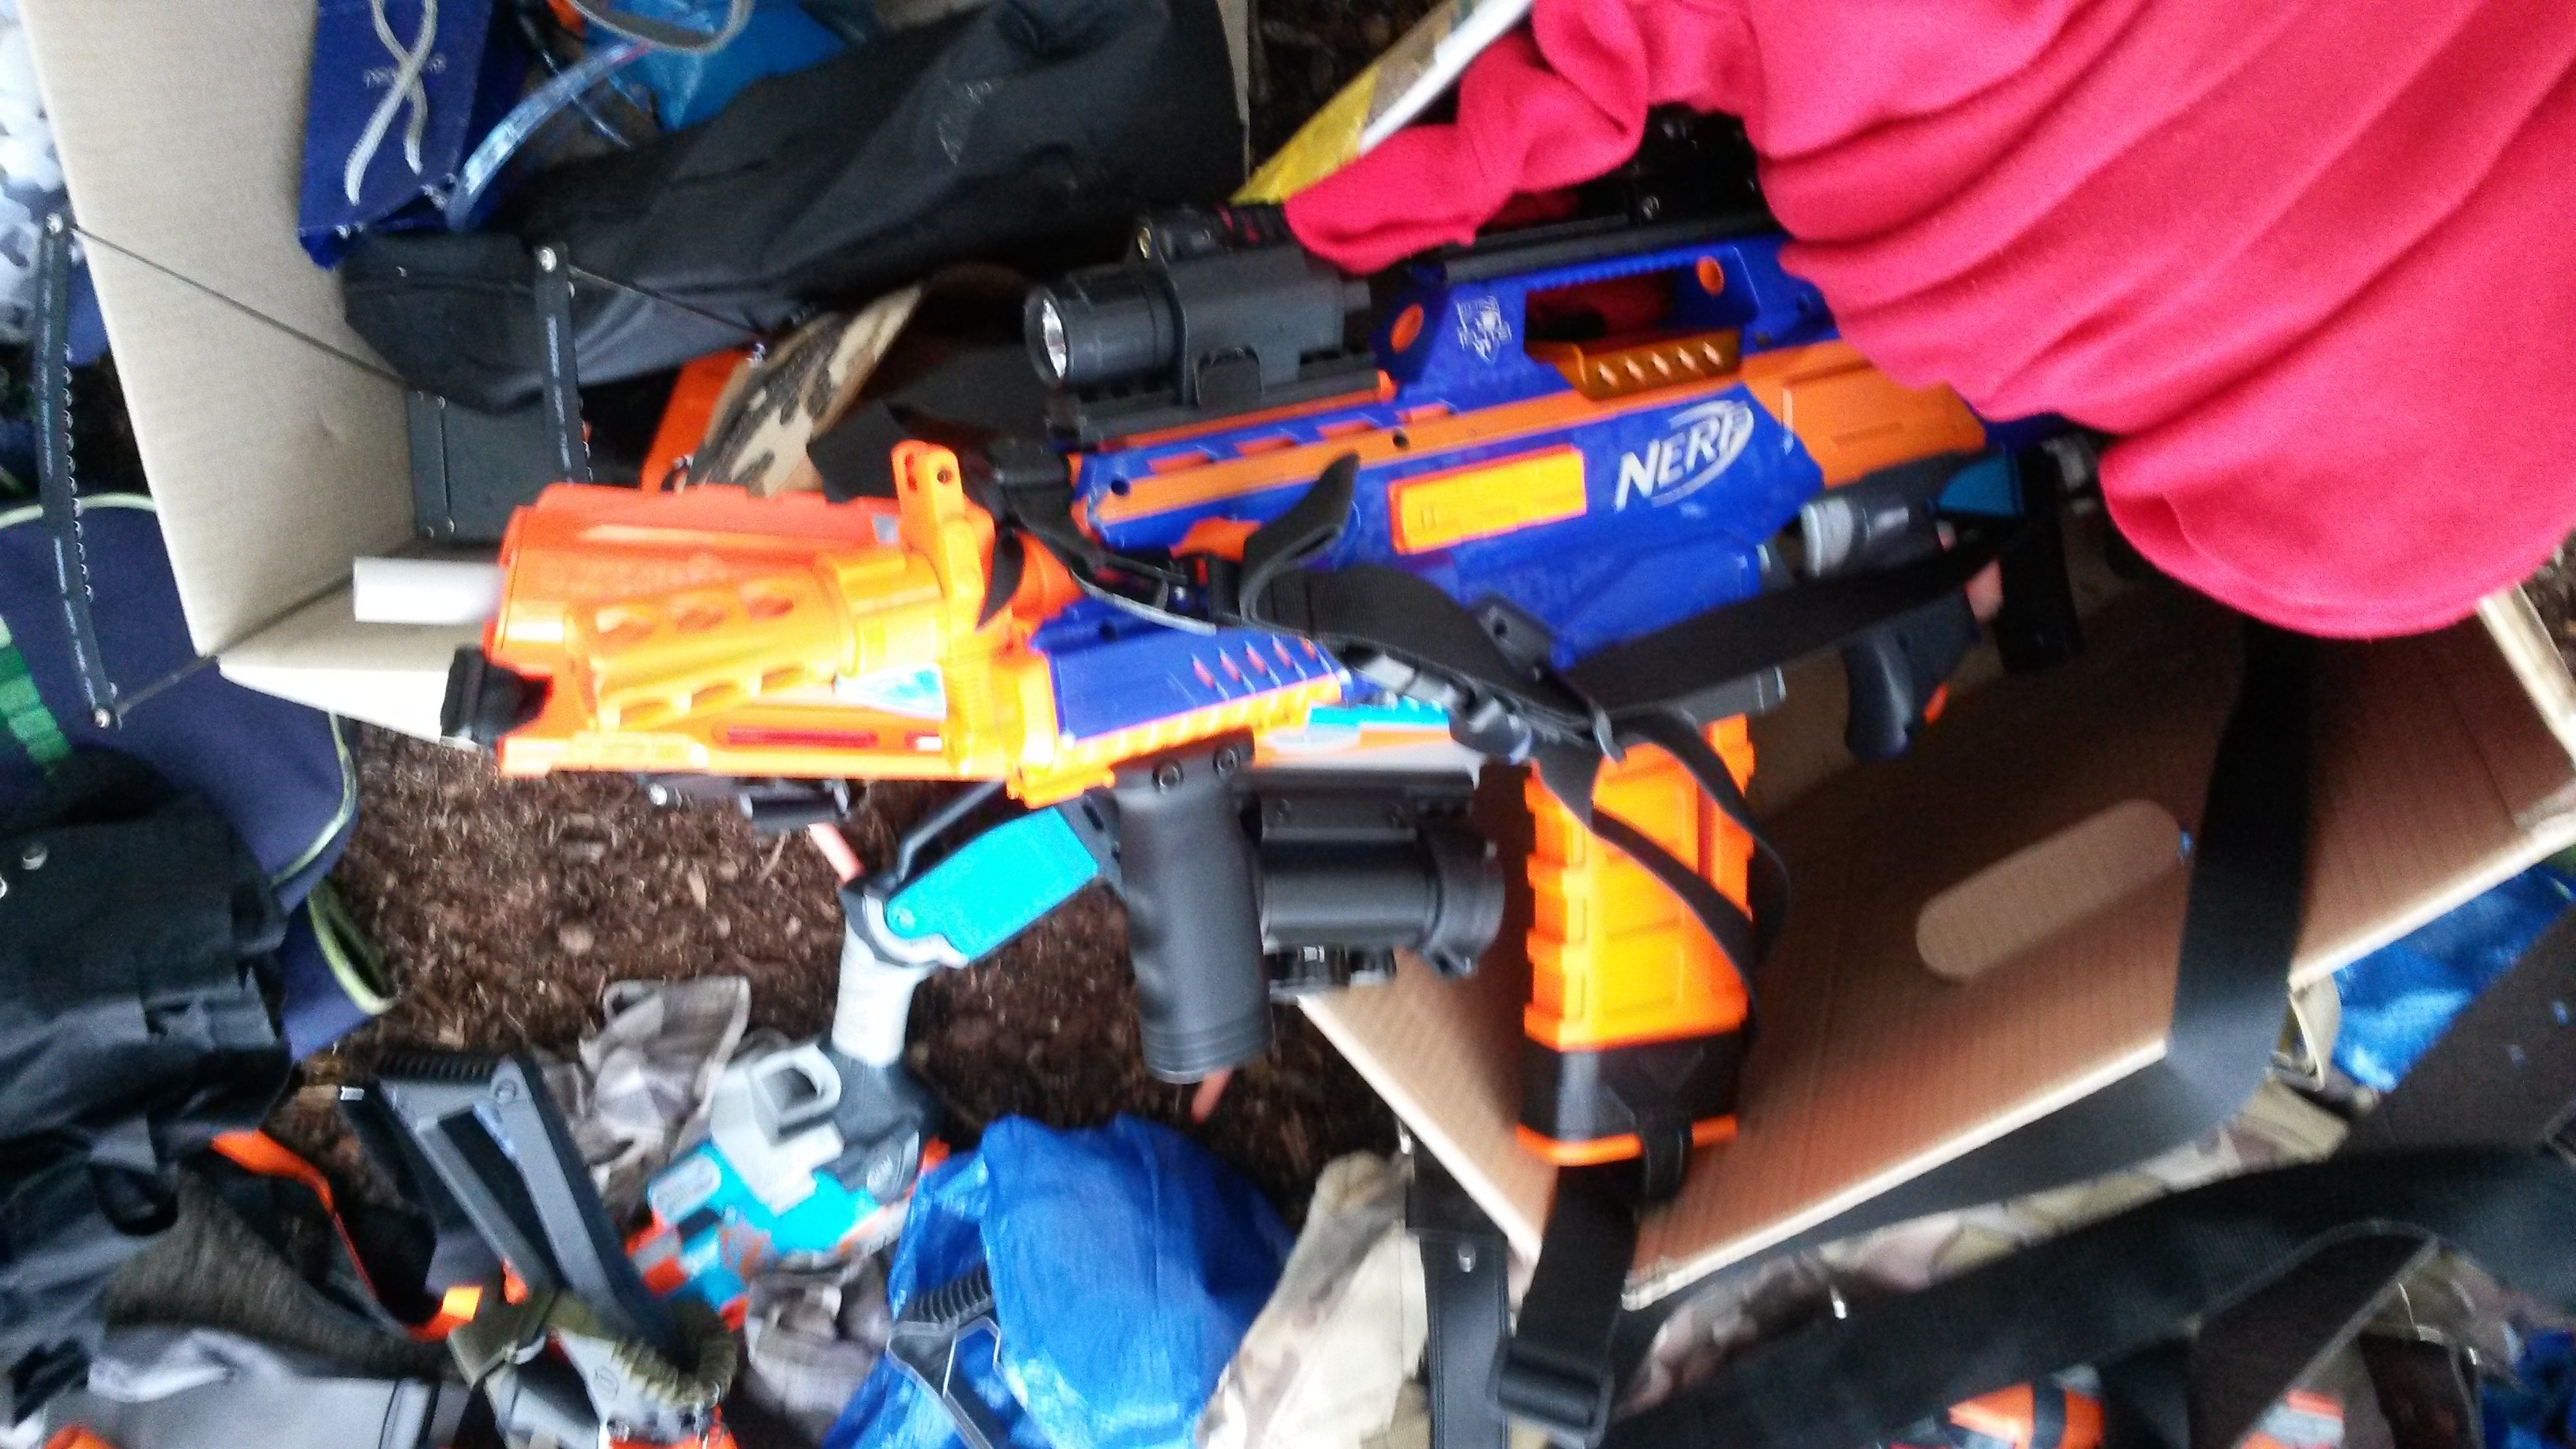
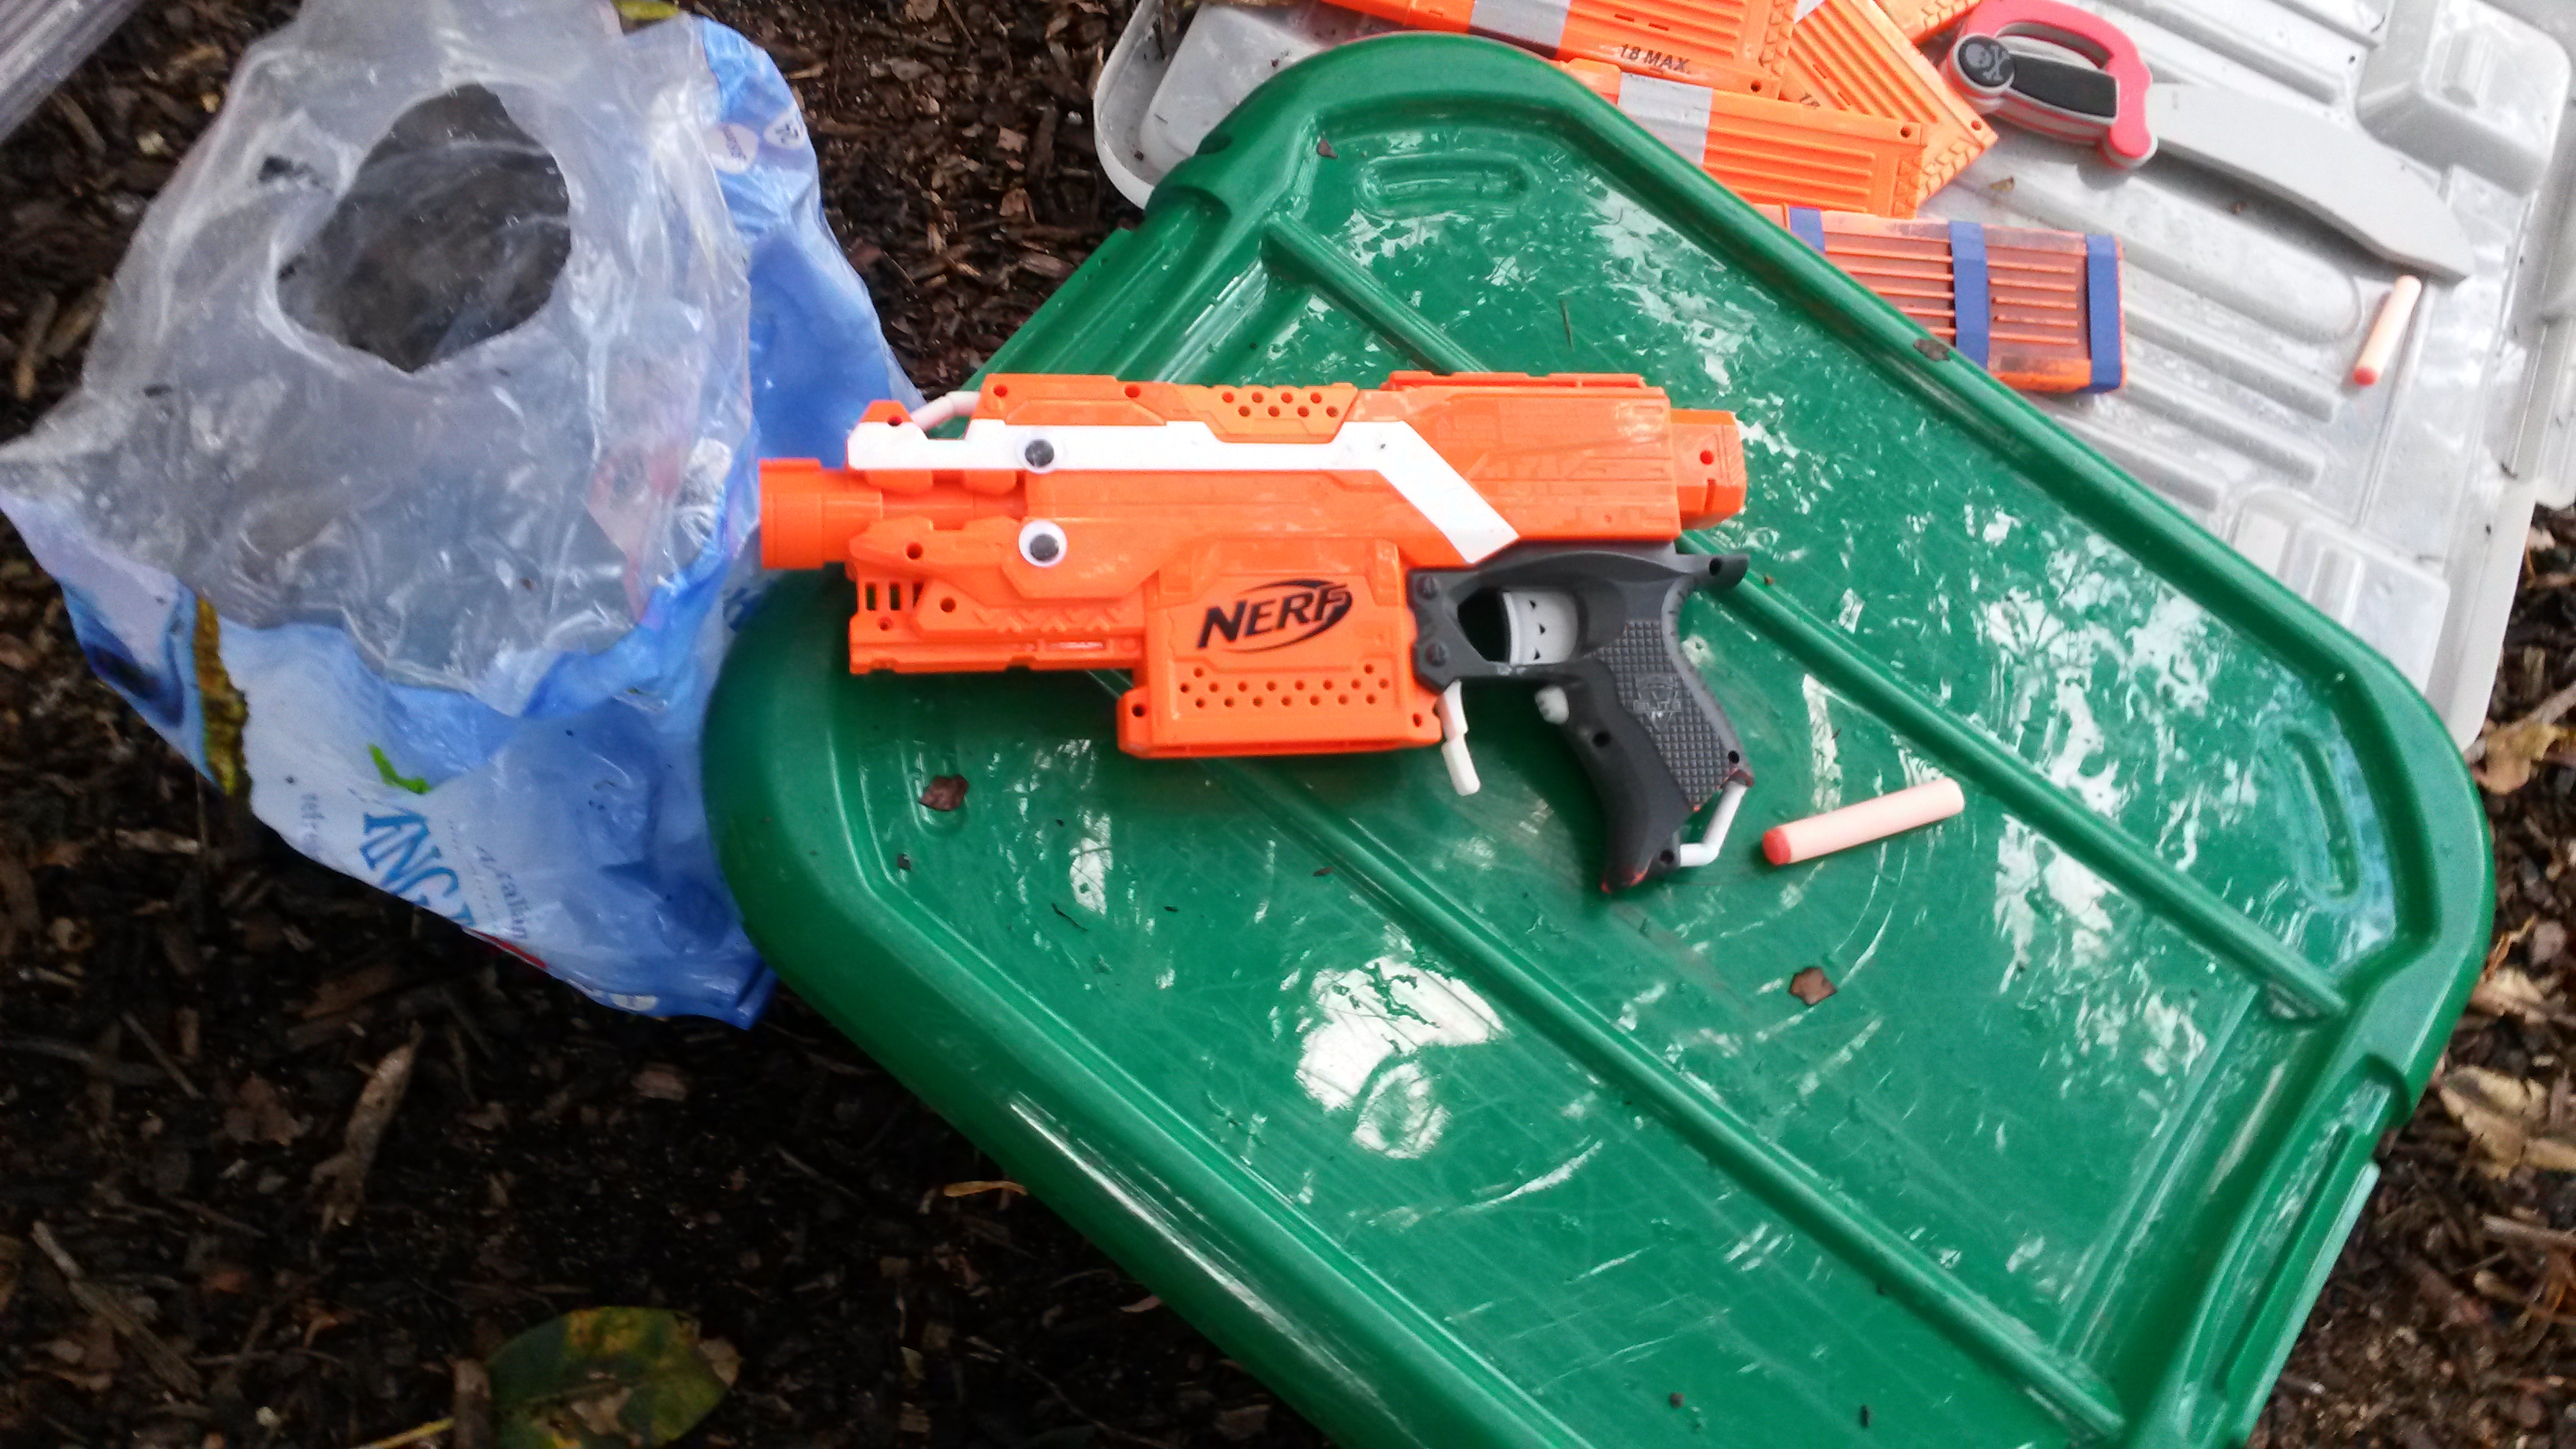
Elite Rapidstrike (various motors, LiPos) – the standard full-auto blaster at MHvZ. Capable of very impressive volumes of fire, though require a lot of trigger discipline and ammo to be effective over a longer time.


New/Infrequent:

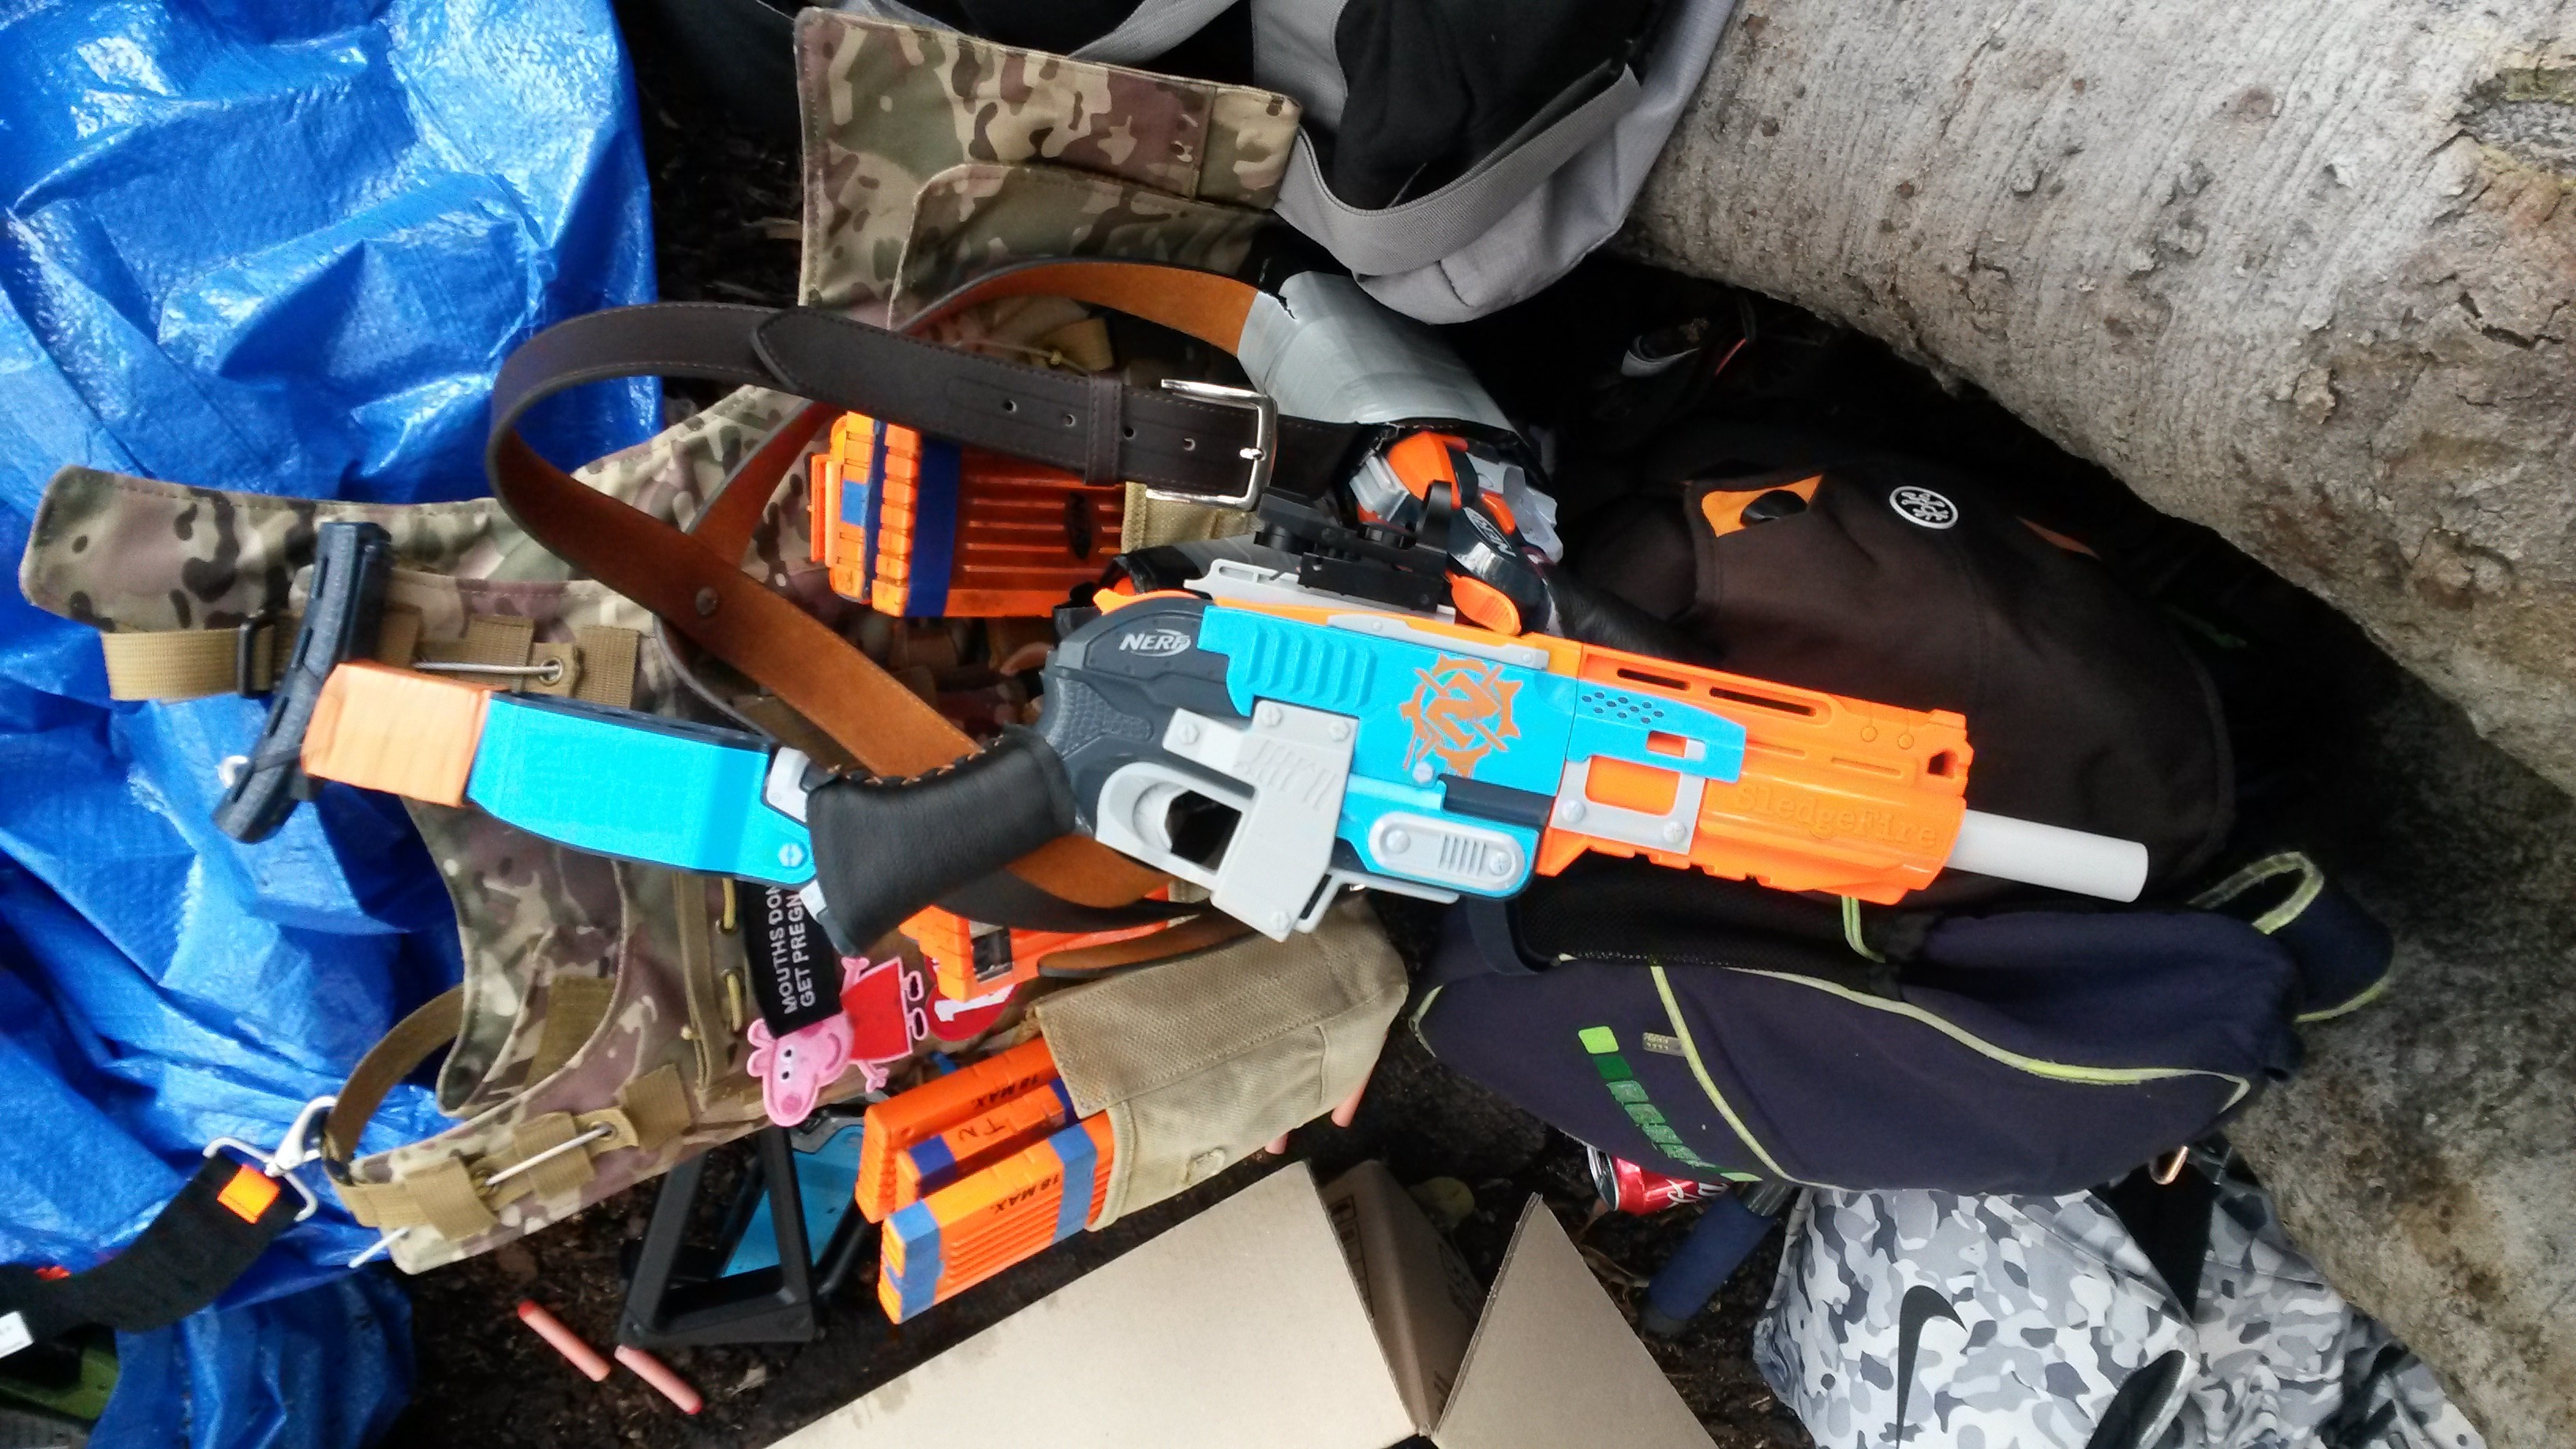
ZS Sledgefire (singled, various upgrade springs) – high power, single shot springers. Effective at mid-to-long range fire support, especially useful for picking off unaware sombies from a distance. Vulnerable in close quarters and larger groups due to their single shot nature, necessitating backup or a secondary blaster for late-game survivability.
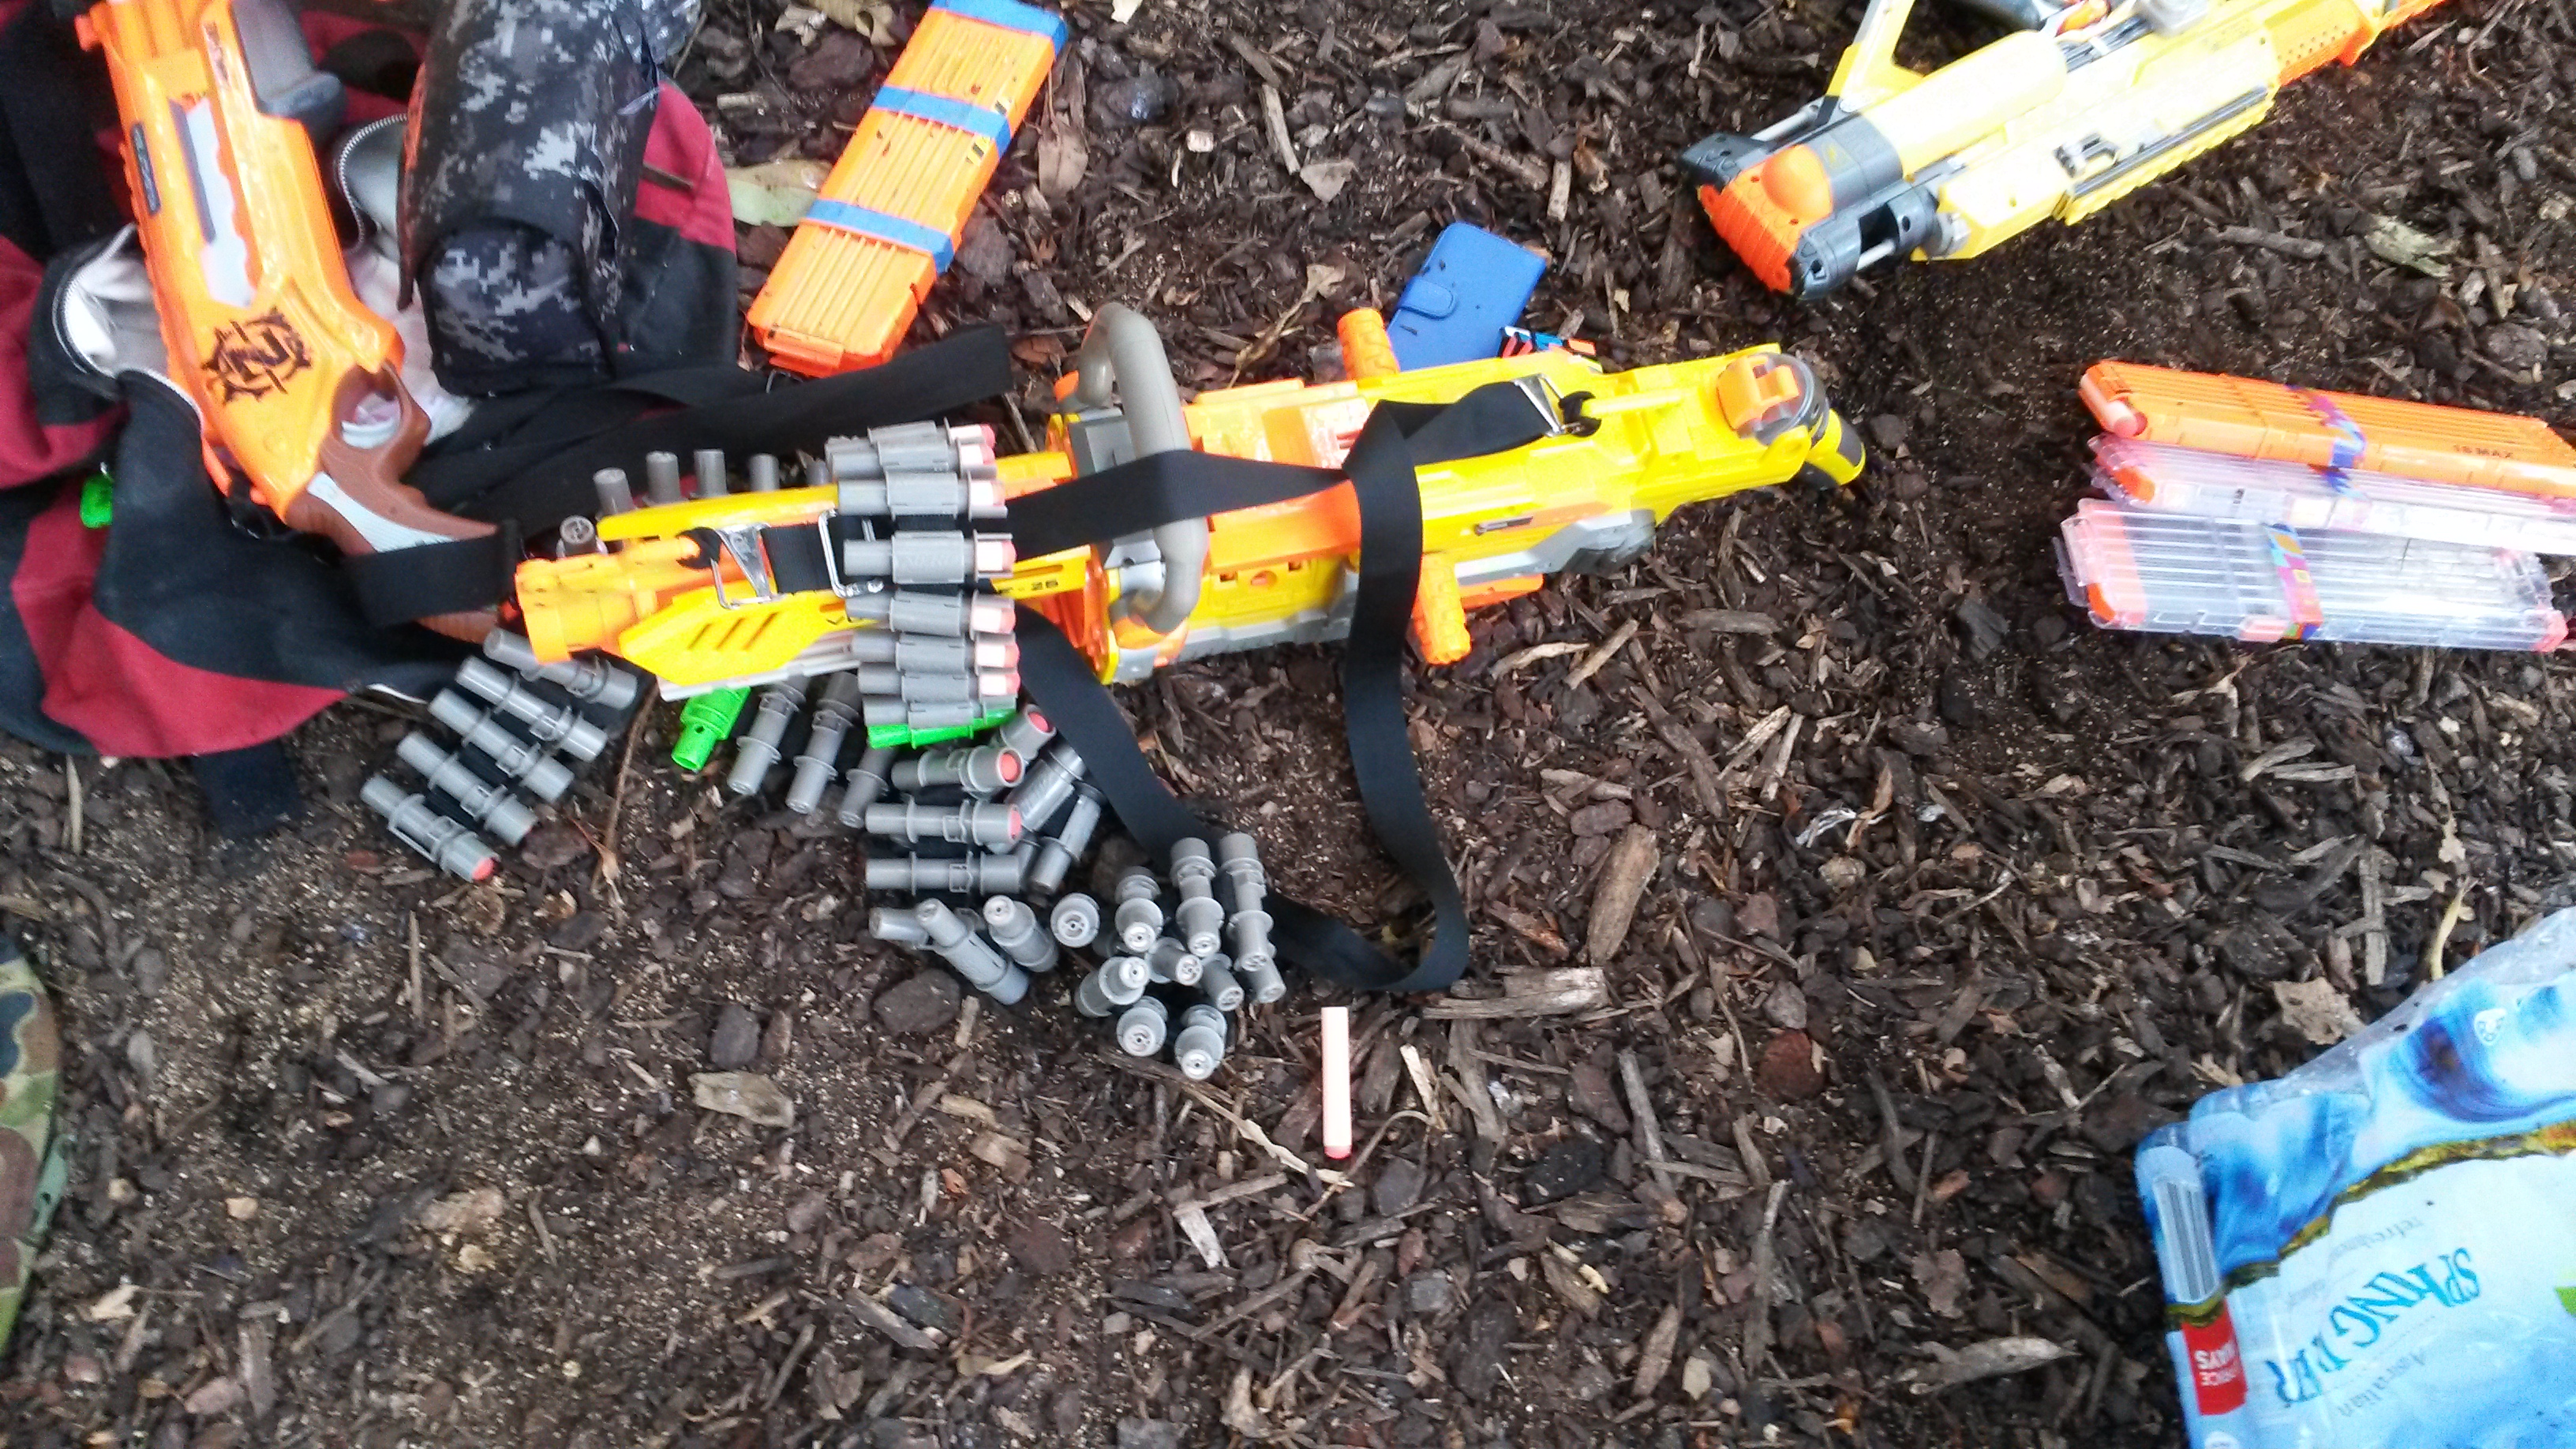

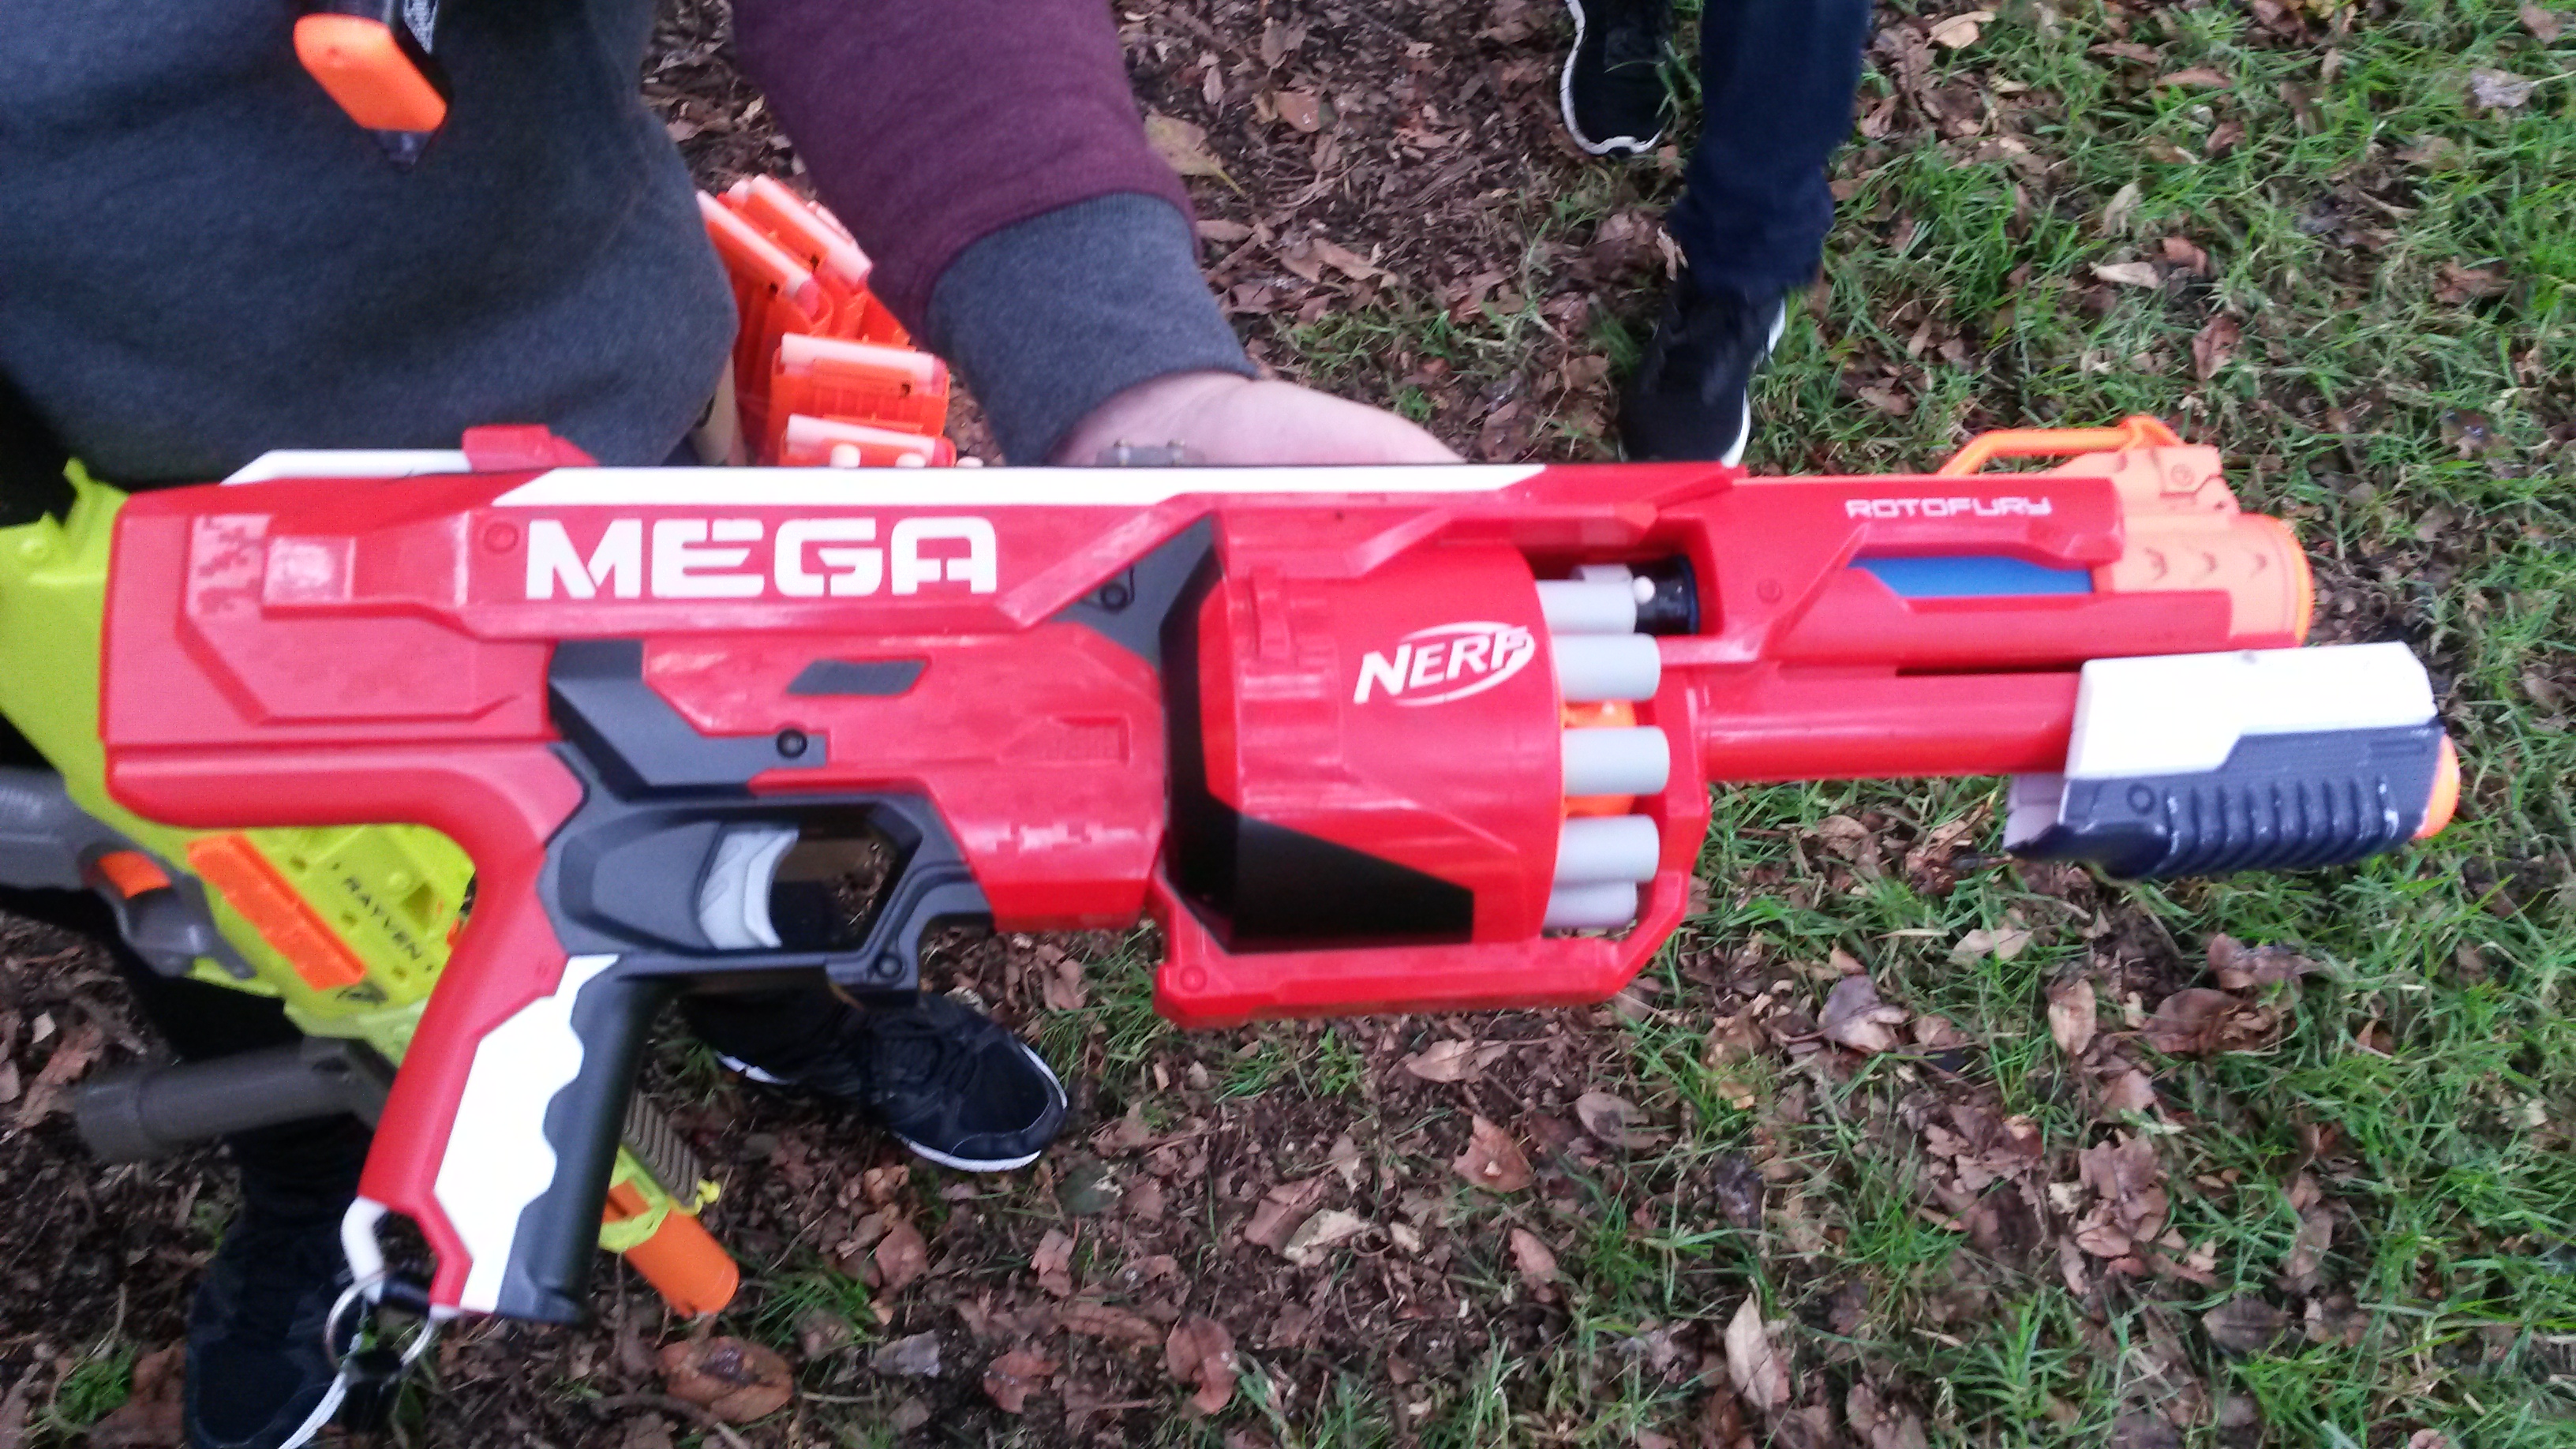

Mega Rotofury (rebarreled, various upgrade springs) – high power springers capable of fairly fast successive shots, unlike the other high power springers featured. The 10 dart cylinder coupled with pump action allows a Rotofury to be much more effective against multiple zombies and in close quarters than the other high power springers. ROF wise they still pale in comparison to more conventional springers and flywheelers, but are quite effective at mid range combat.
The zombies returned not too long after, having tagged the majority of the humans, and outside of my group of humans there were few other survivors. Facing essentially a full zombie horde, we lost much of our group in the first few charges. One other human, along with myself, were able to escape the onslaught, and managed to survive on our own. A combination of firepower and coordination allowed us to fend off just about any zombie charge, and in particular coordination helped us in fighting off any Tanks. Eventually both of us ran out of darts and were overwhelmed by the sheer number of zombies.

The zombies really started to make progress once Tank shields were made available. With such a high density of humans, along with a grenade in the mix, a typical Tank charge was rarely able to tag any humans. While there were a few tags from the Tanks themselves, many more came from the rest of the zombies. Importantly, while the Tank themselves would typically get surrounded and hosed down, they would draw the attention of the majority of humans in the area. Furthermore, after successfully stopping a Tank, there would often be a short lull in human concentration and awareness as the humans regrouped from the Tank charge. This small gap in concentration was enough for many a zombie to get a sneaky tag or two. I myself was able to make at least two tags this way, and I am a very defensive and conservative zombie who rarely, if ever, makes any tags. The human group did survive fairly well considering, rarely leaving opportunities for a zombie to make more than one or two tags before hosing them down. In the final minutes of the game, we were able to tag the last few remaining humans, with the VIP being the very last human, for a tight zombie victory.
Once the humans returned to the tambark (or were tagged), the round went on as per usual. In comparison with the previous round, the human group was much more adept at maintaining situational awareness during and after Tank charges. A small group of humans would focus on the Tank(s) while the rest of the nearby humans would watch for other zombies. There were a lot less casualties to sneaky zombie strikes during and after Tank charges. As a result, even with the release of the Husk with 5 minutes remaining, the human group was able to maintain quite a solid defence, leading to a decisive human victory. I do not know what happened to the Traitor, but I do not recall any friendly fire occurring so I have to assume that they simply used their Traitor tag on someone without causing a commotion.
Conversely, as I have described before, I have successfully fended off Tanks and a large number of zombies with the help of just a few fellow humans, sometimes even just one other human. Instead of focusing on the Tank from the get-go, our usual strategy involves stunning as many other zombies as possible, giving us the space and freedom to easily push back the Tank at our own pace. This tactic really demonstrates the vulnerability of Tanks when faced with multiple humans alone, as while they can easily block and approach a lone human, they can’t block multiple directions at once. In the second round, Tank charges were often performed with a lot less secondary zombie backup, and as a result could be picked off and stopped much more easily.
Another contributing factor was Tank placement. In the first round, the two Tanks were usually far away from each other, often on opposite sides of the VIP’s area. As such, a simultaneous Tank charge could disorient and divide the human group in the middle, greatly reducing the effectiveness of the human defences. In the mayhem and chaos, there were often also many opportunities for any unnoticed zombies to slip in and tag some humans. Conversely, in the second round, the two Tanks spent some time together, essentially forming a super-Tank. While this offered the Tanks and nearby zombies superior protection, it was also much easier for the humans to focus on, and many a Tank push was repelled by flanking humans.

This was shown even more obviously in the second round, where the zombies failed to make significant inroads for the entire round. A Traitor attack from within just before a Tank charge is one of the best ways for the zombies to shatter the human defences, and I’ve seen it executed extremely well in previous events. In the second round, timed well it may have been enough for the zombies to get the upper hand and tag the VIP. Instead, what I saw was one of the most decisive human victories in a Secret VIP round.
We were able to hold off the zombies from the Husk square until approached by Tanks from the newly-liberated Tank square, after which we retreated. We moved to link up with some of the surviving human groups, however a lapse in situational awareness allowed a zombie to approach from behind and tag us. The remaining human groups didn’t fare too well, being tagged out within just a few more minutes.
In general it was poor situational awareness and coordination that caused such a quick collapse of the human group. While there is not much that can be done defensively once the Tank square has been breached, the remaining humans could and should have linked up quickly. Once regrouped, the humans would have had a much better chance at surviving for a decent amount of extra time. Instead the separate human groups were much more easily and quickly picked off by the ever-growing horde.
The human competitivity of Squad Survival drastically shortens its play time compared to other Survival gamemodes. The humans are limited to much smaller groups than usual, and have to contest with one another, not just the ever-present zombie threat. The human vs human aspect freely boosts zombie numbers, while also adding an extra threat and distraction, which all give the zombies a massive advantage compared to other Survivals. Not only is it far easier for zombies to tag unsuspecting or distracted humans, but their numbers also grow from the humans fighting one another. The added human competitivity also adds some variety to the game and the event, which some players particularly enjoy. While I personally prefer the purely humans vs zombies gamemodes, I certainly don’t mind the variety or faster paced rounds of Squad Survival.
You can find the same post on my own blog: Outback Nerf