


Another month, another Melbourne HvZ event. A variety of reasons resulted in a reduced amount of enjoyment for me personally, but the event overall went quite well otherwise.
All HvZ rules can now be found at the link in this Facebook group post: link
Blasters:
Since there were a lot of different blasters there, I’ve generalised them and only listed down the ones that I saw as significant or noteworthy, or remember for that matter. Being that I can’t be everywhere at once, it’s entirely possible I completely missed some blasters.
Recurring/Regulars:

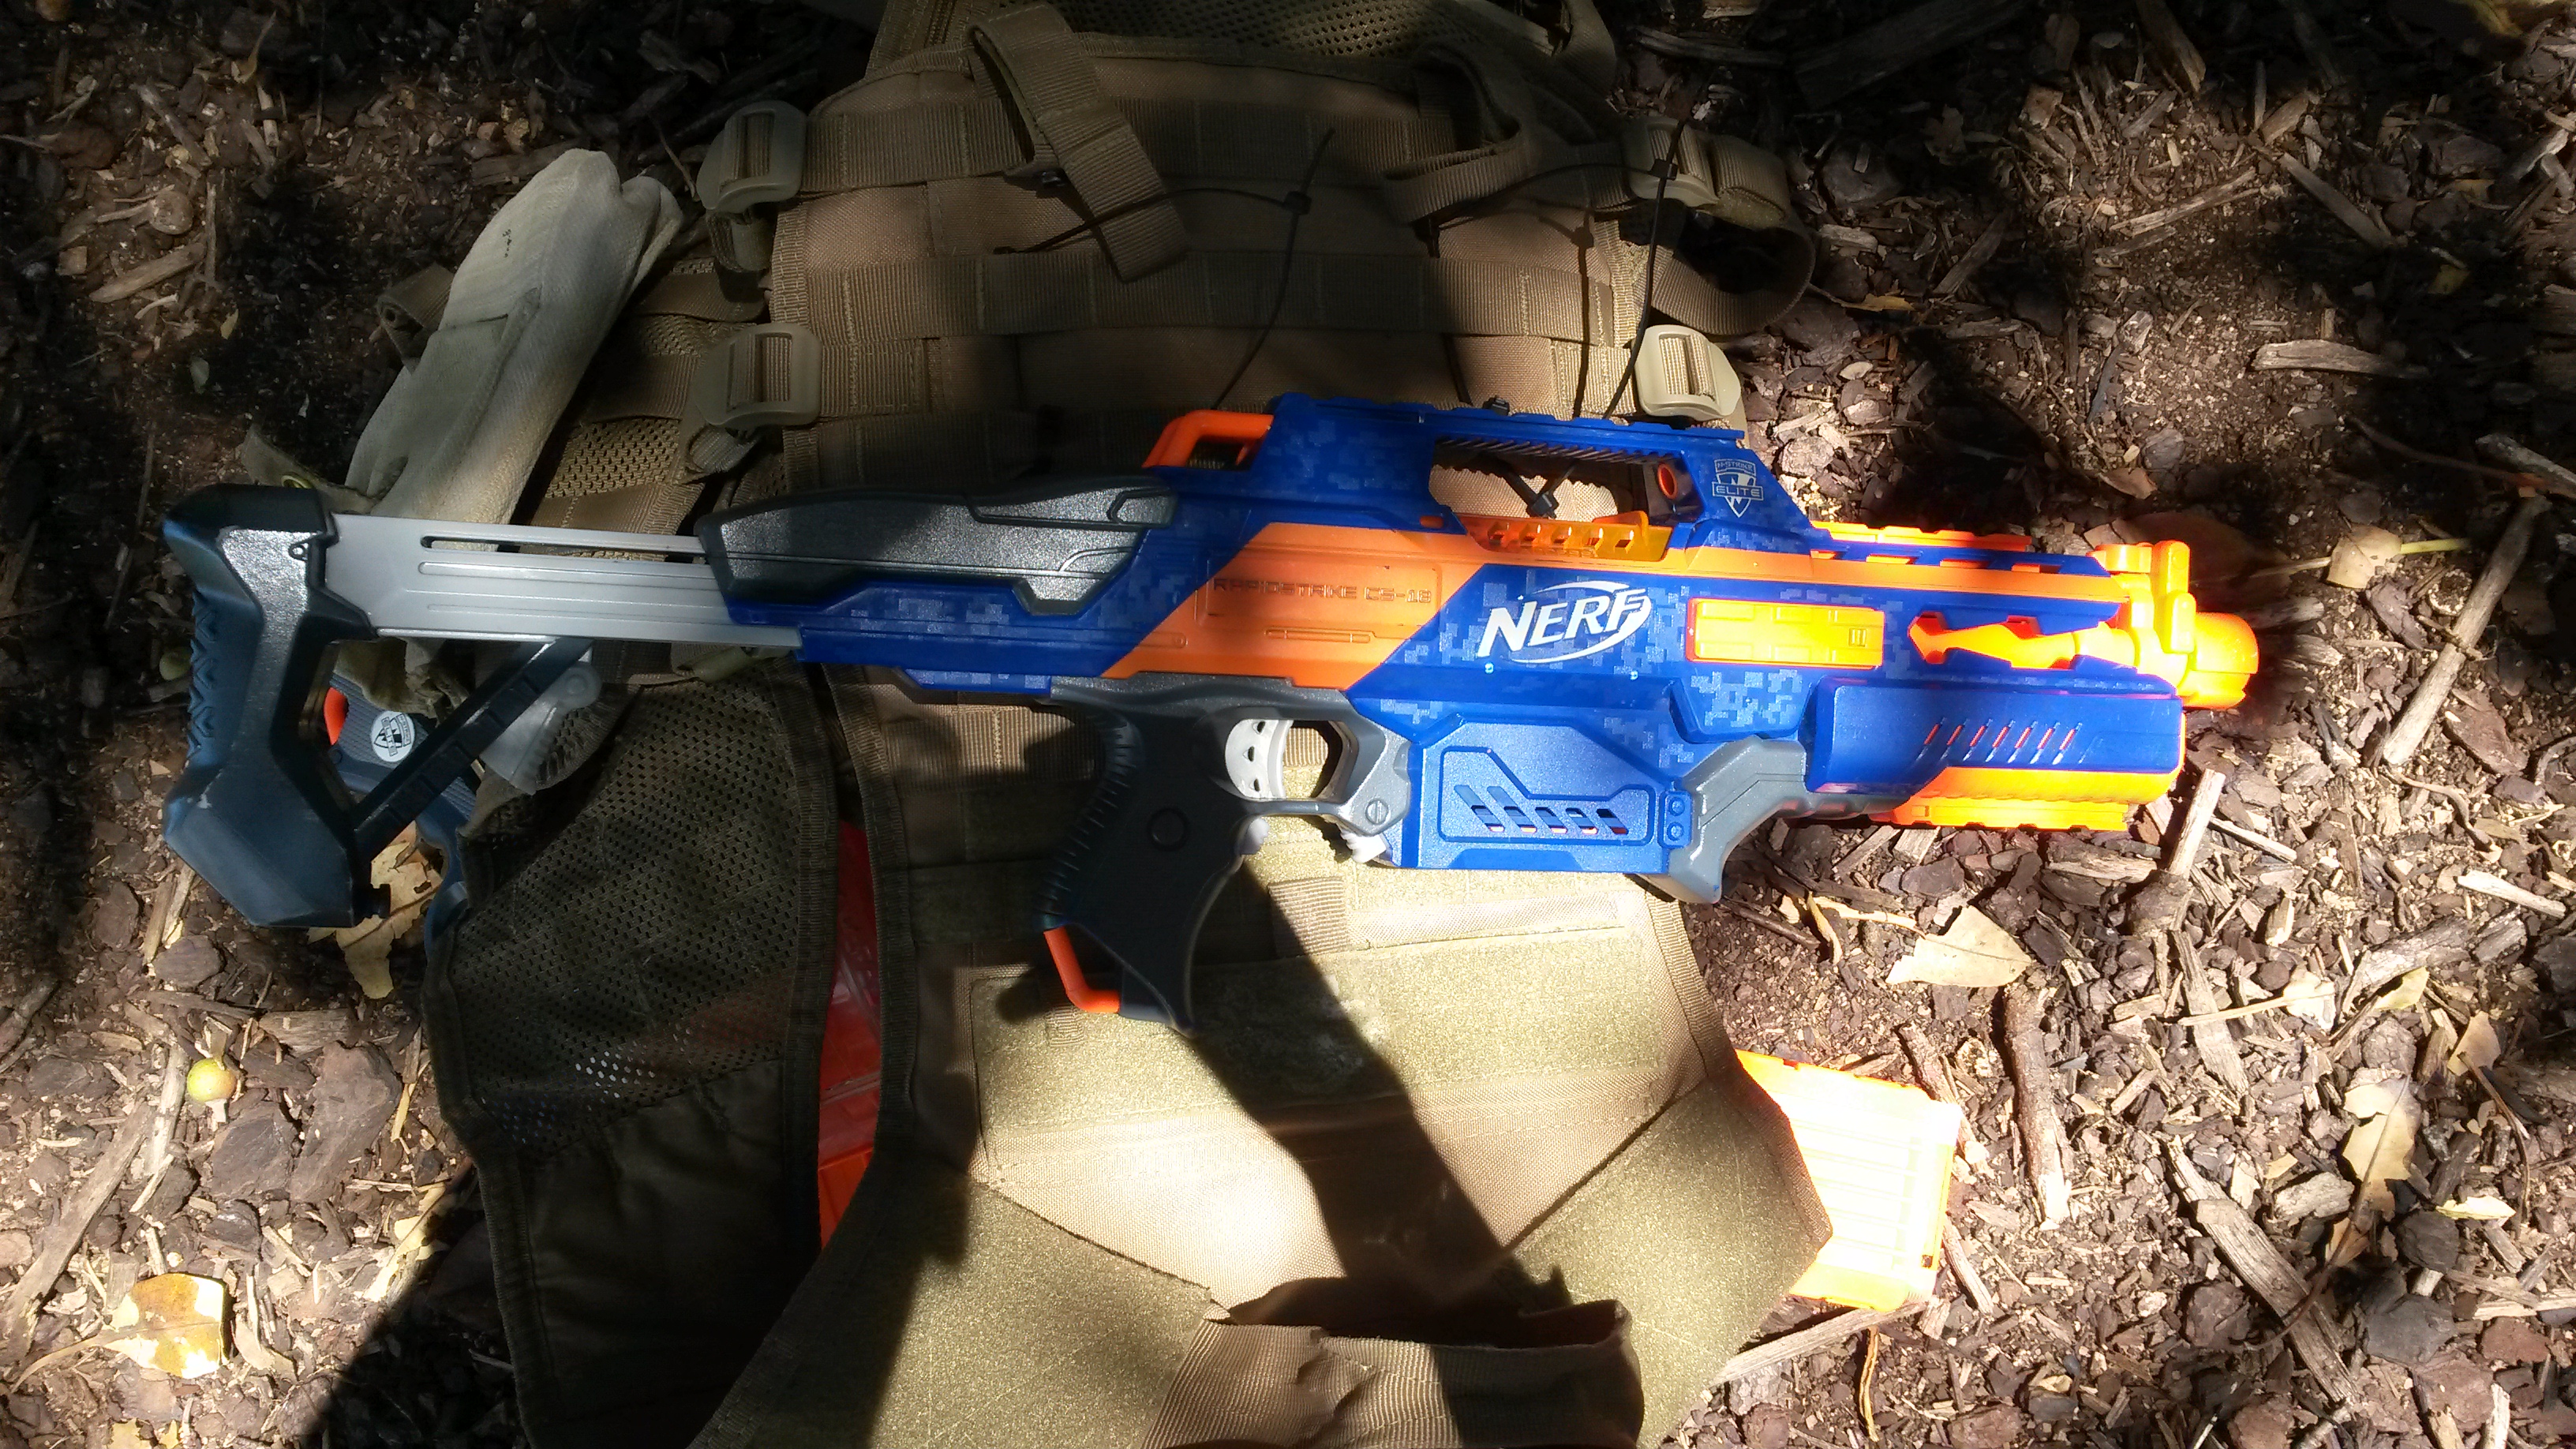
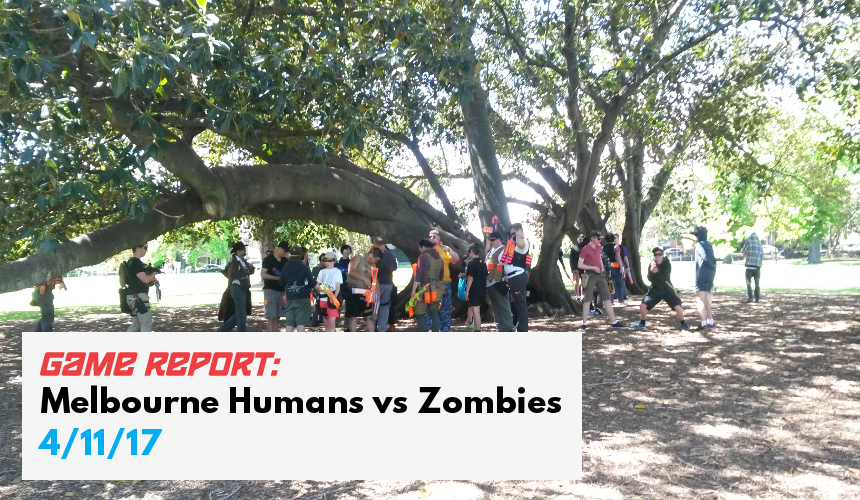
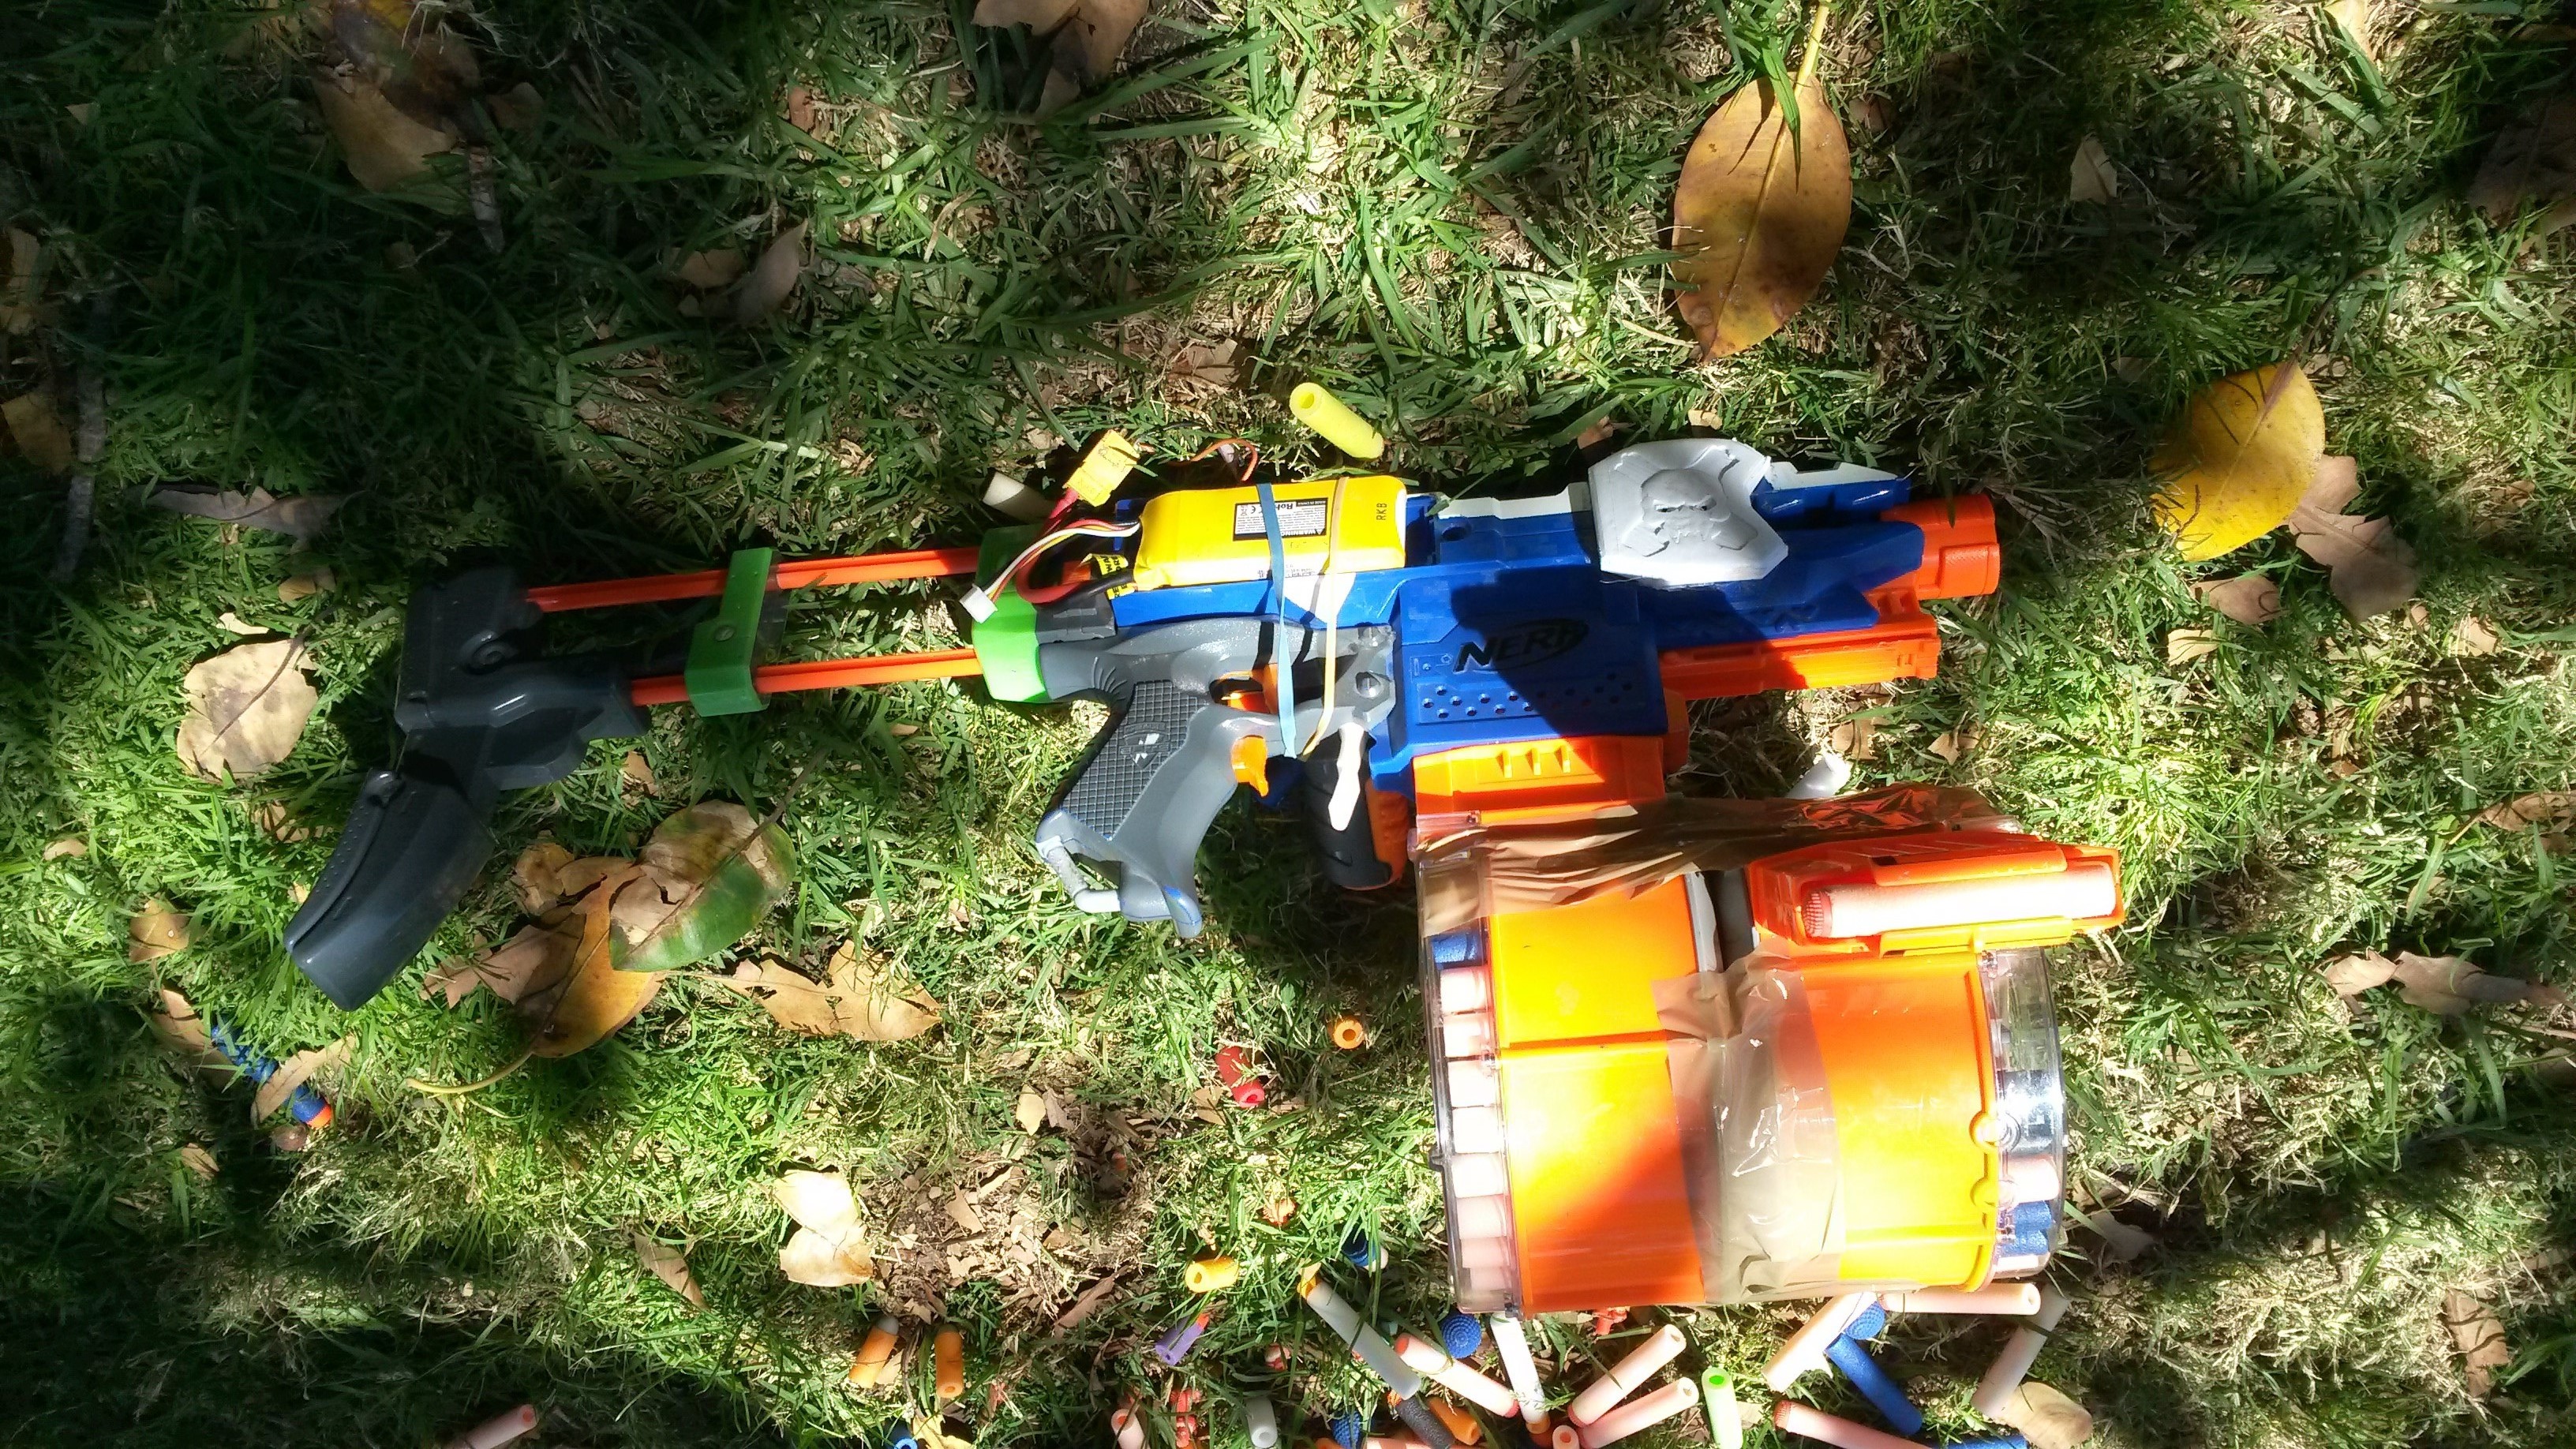
Elite Rapidstrike (various motors, LiPos) – standard full-auto flywheeler. Works very well in close quarters and against groups of zombies, but very ammo-hungry.
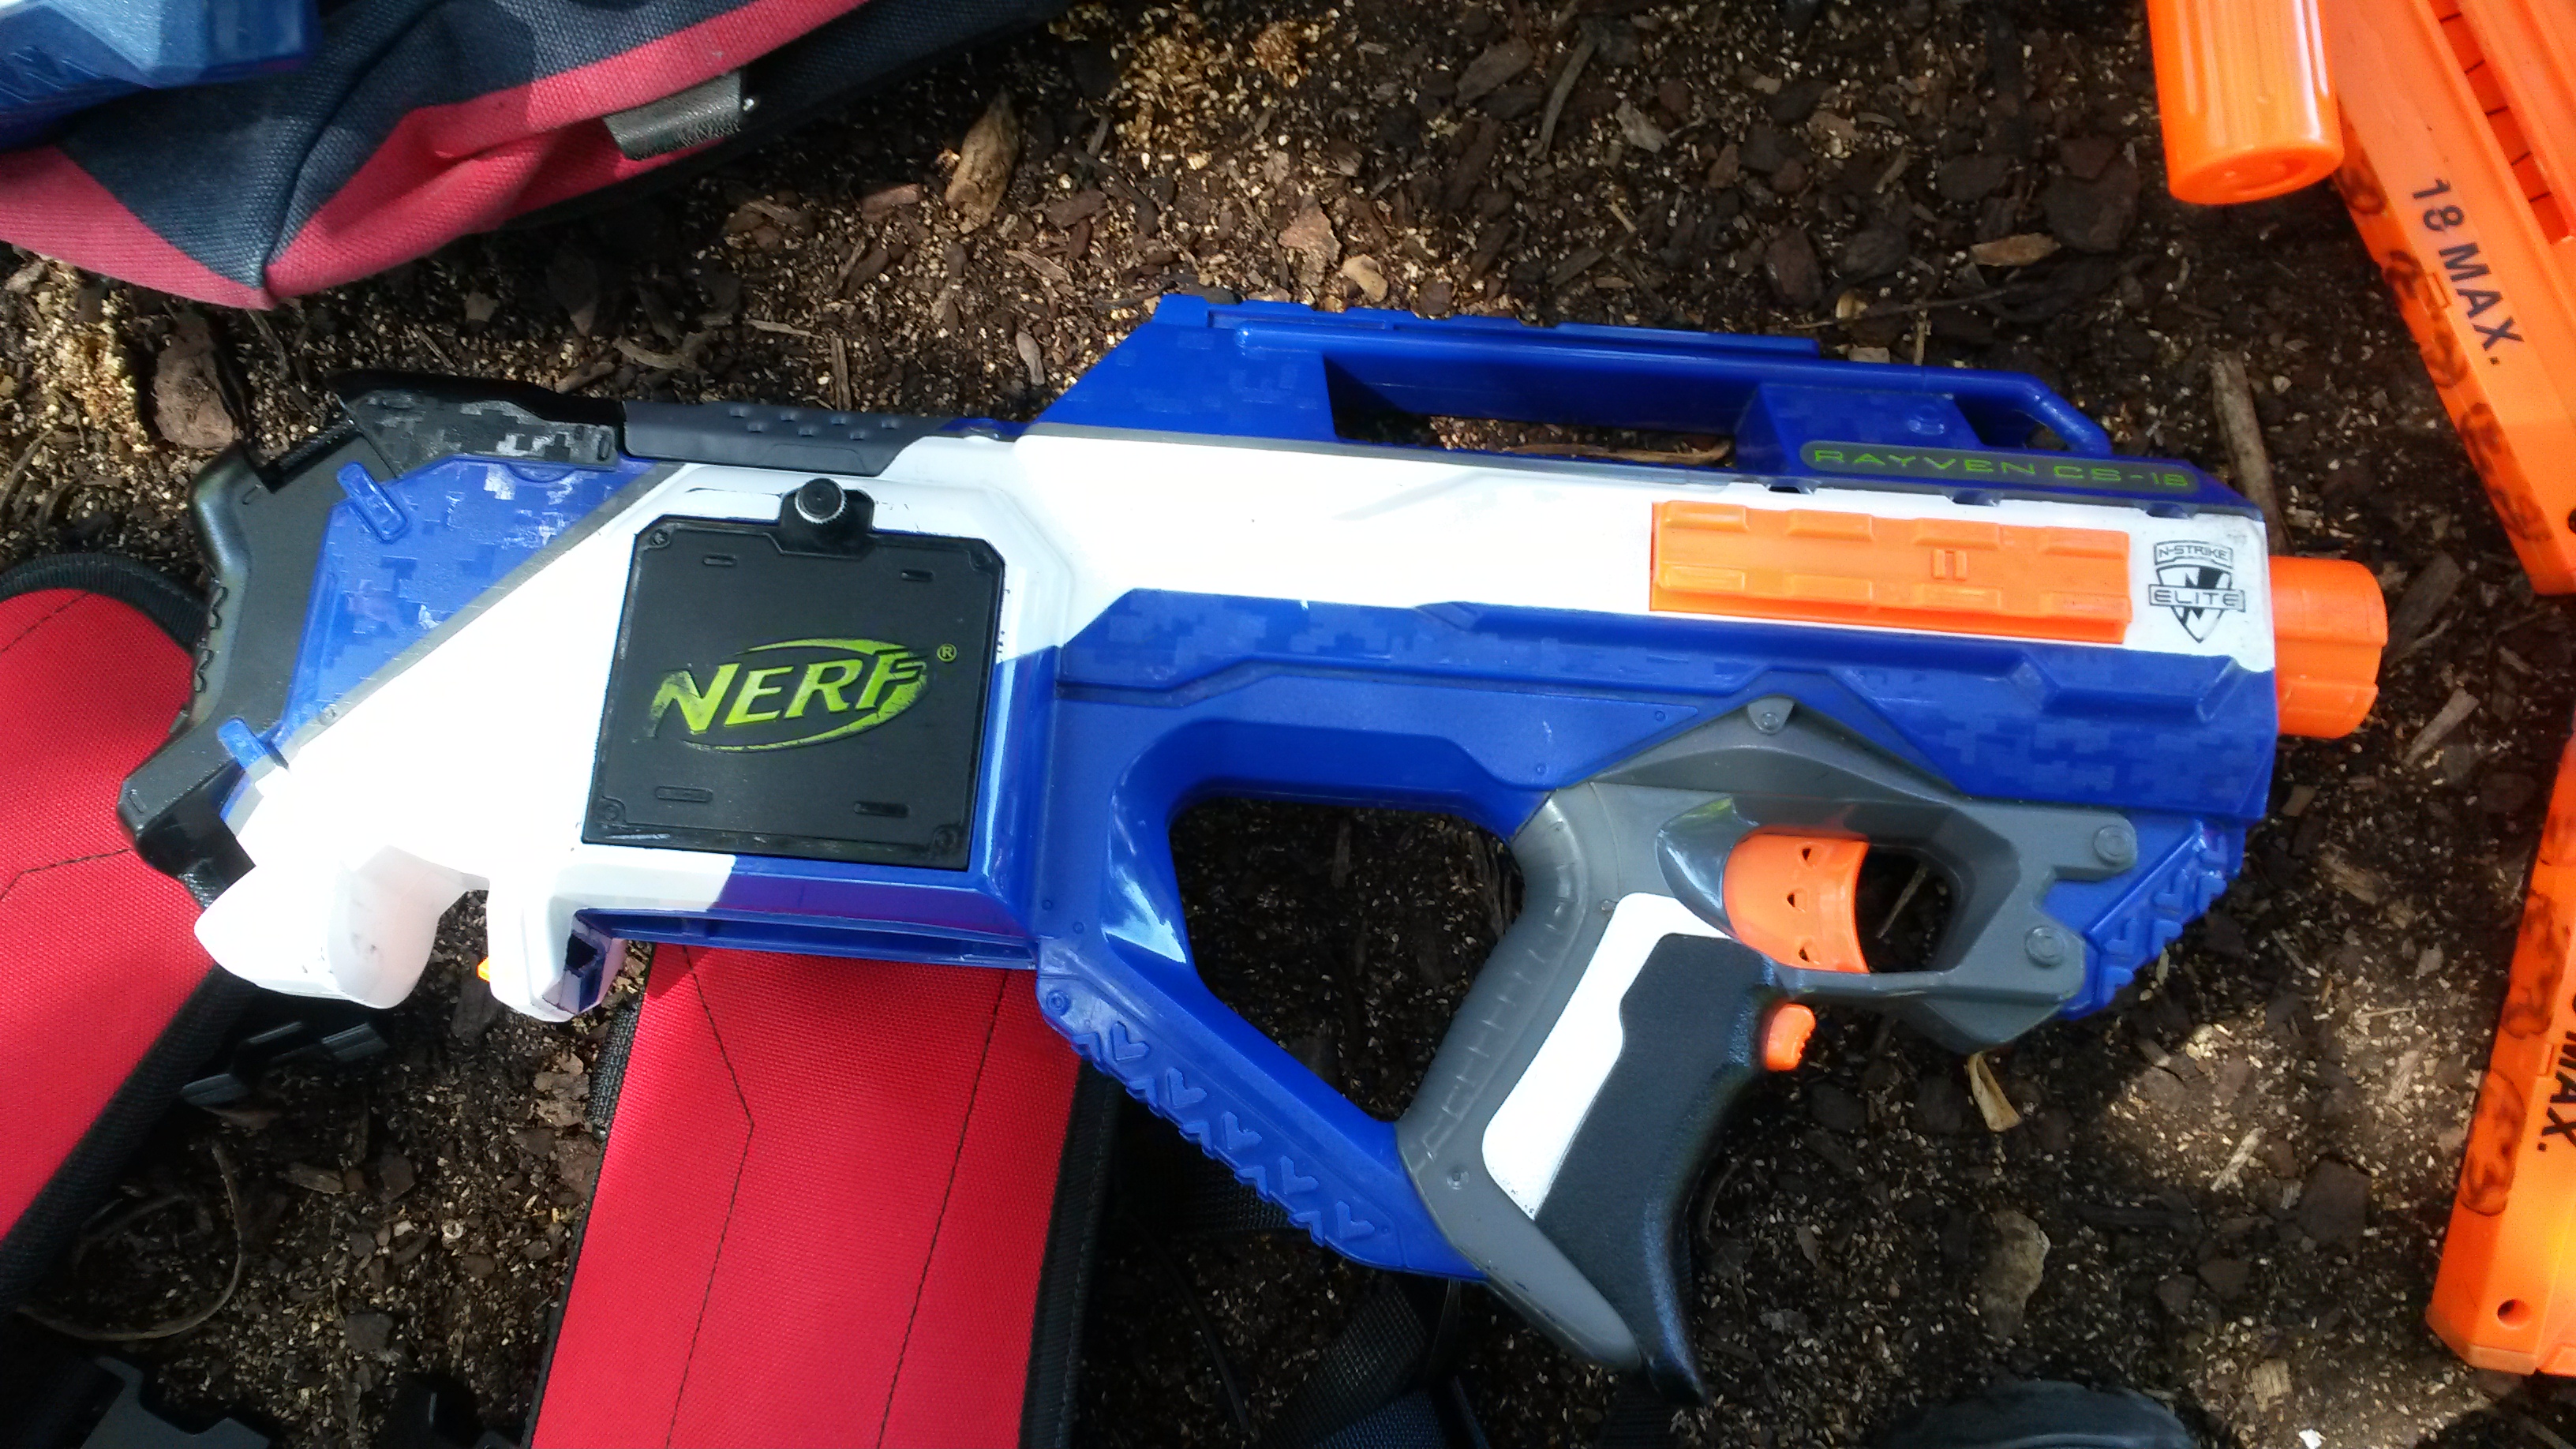
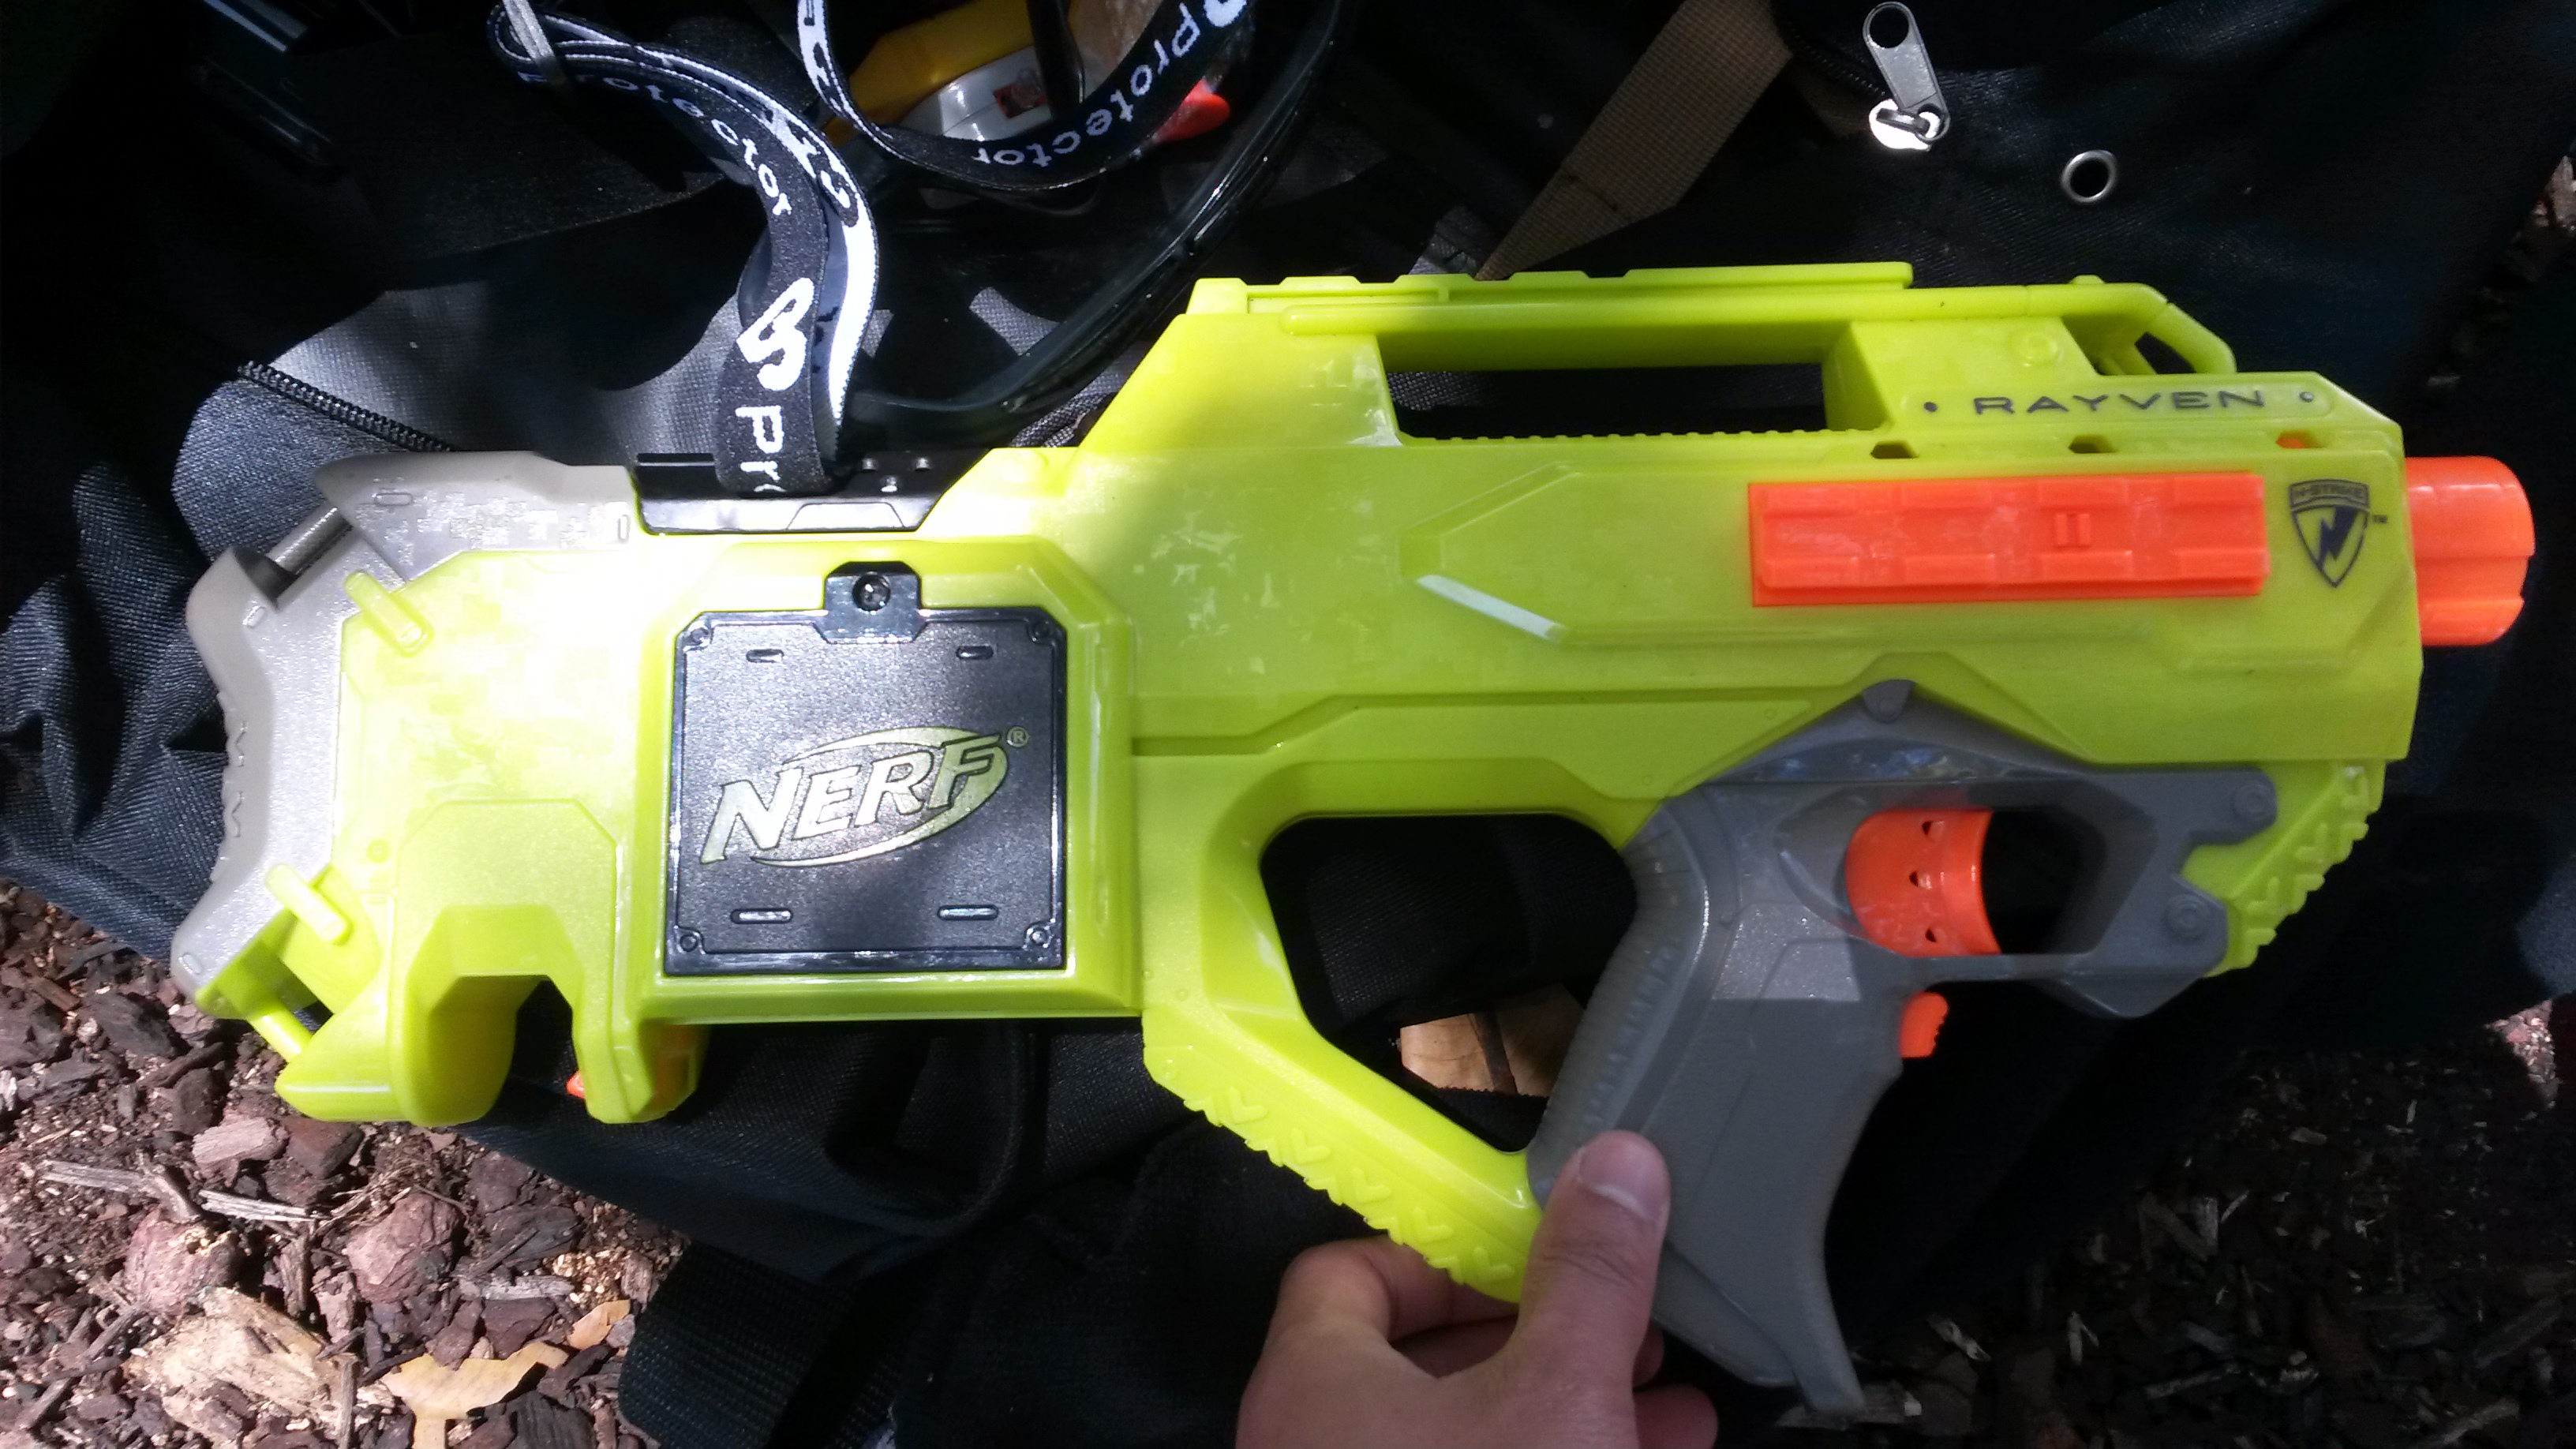
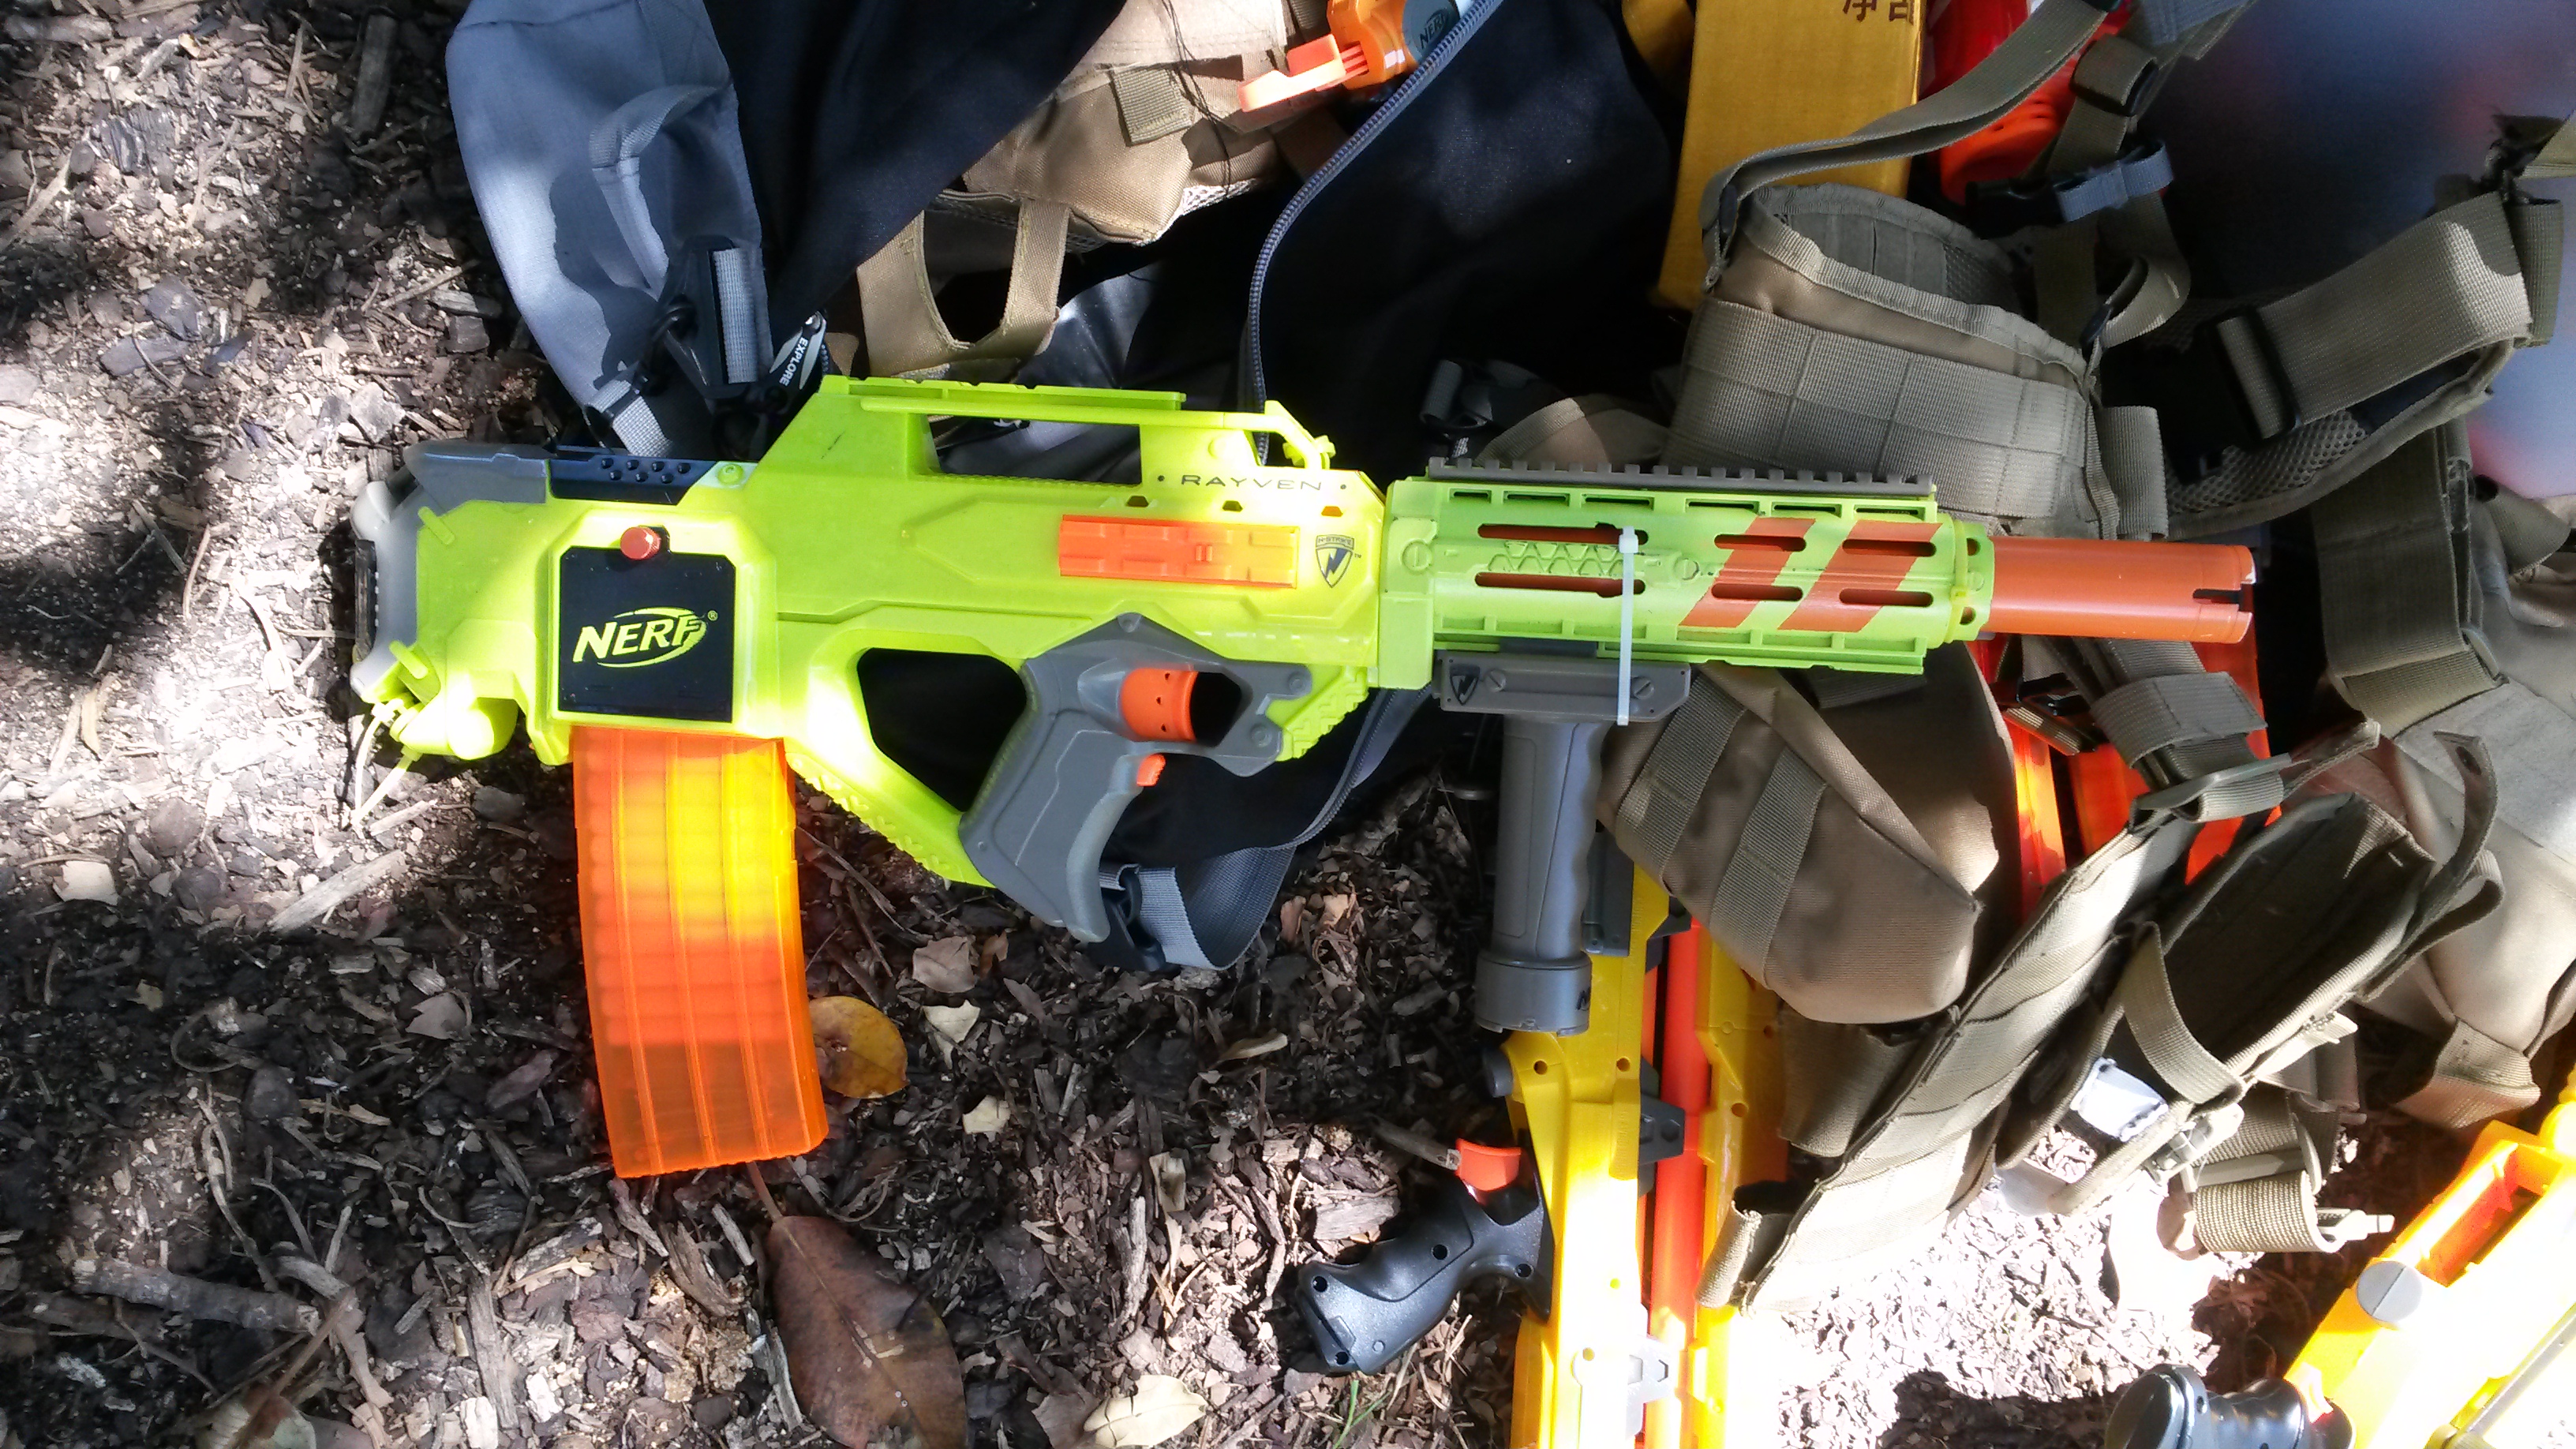

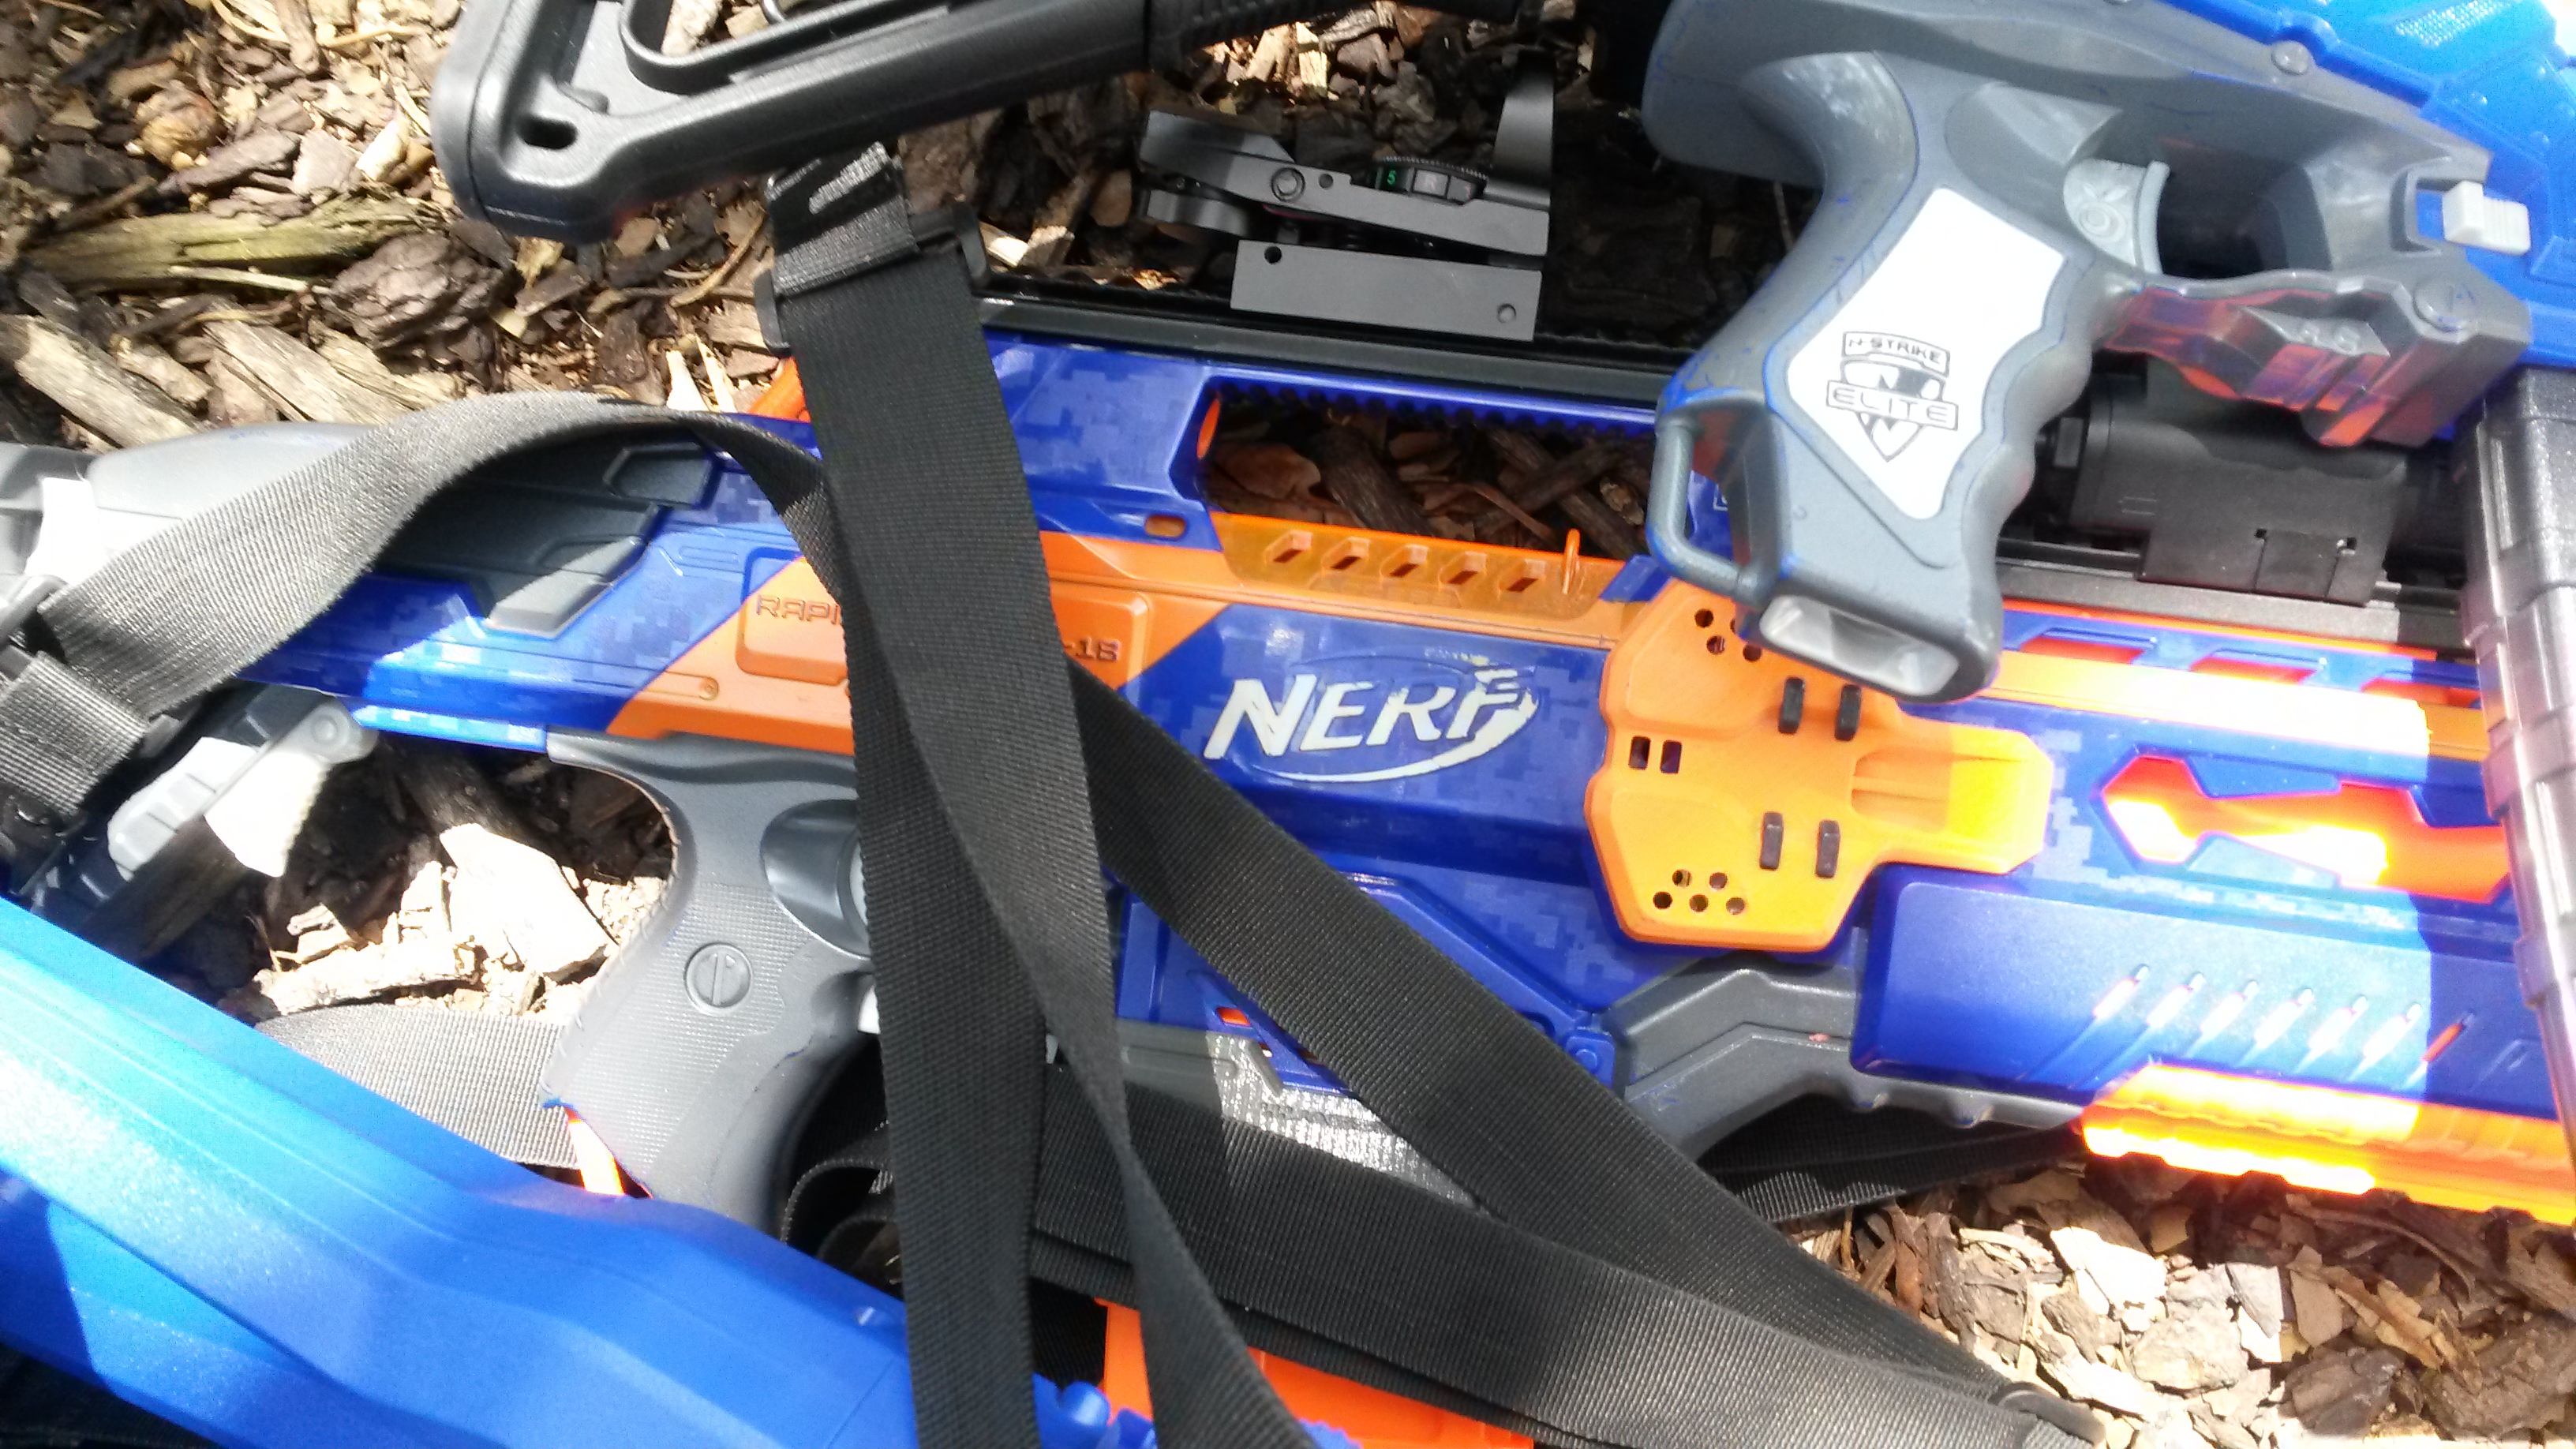
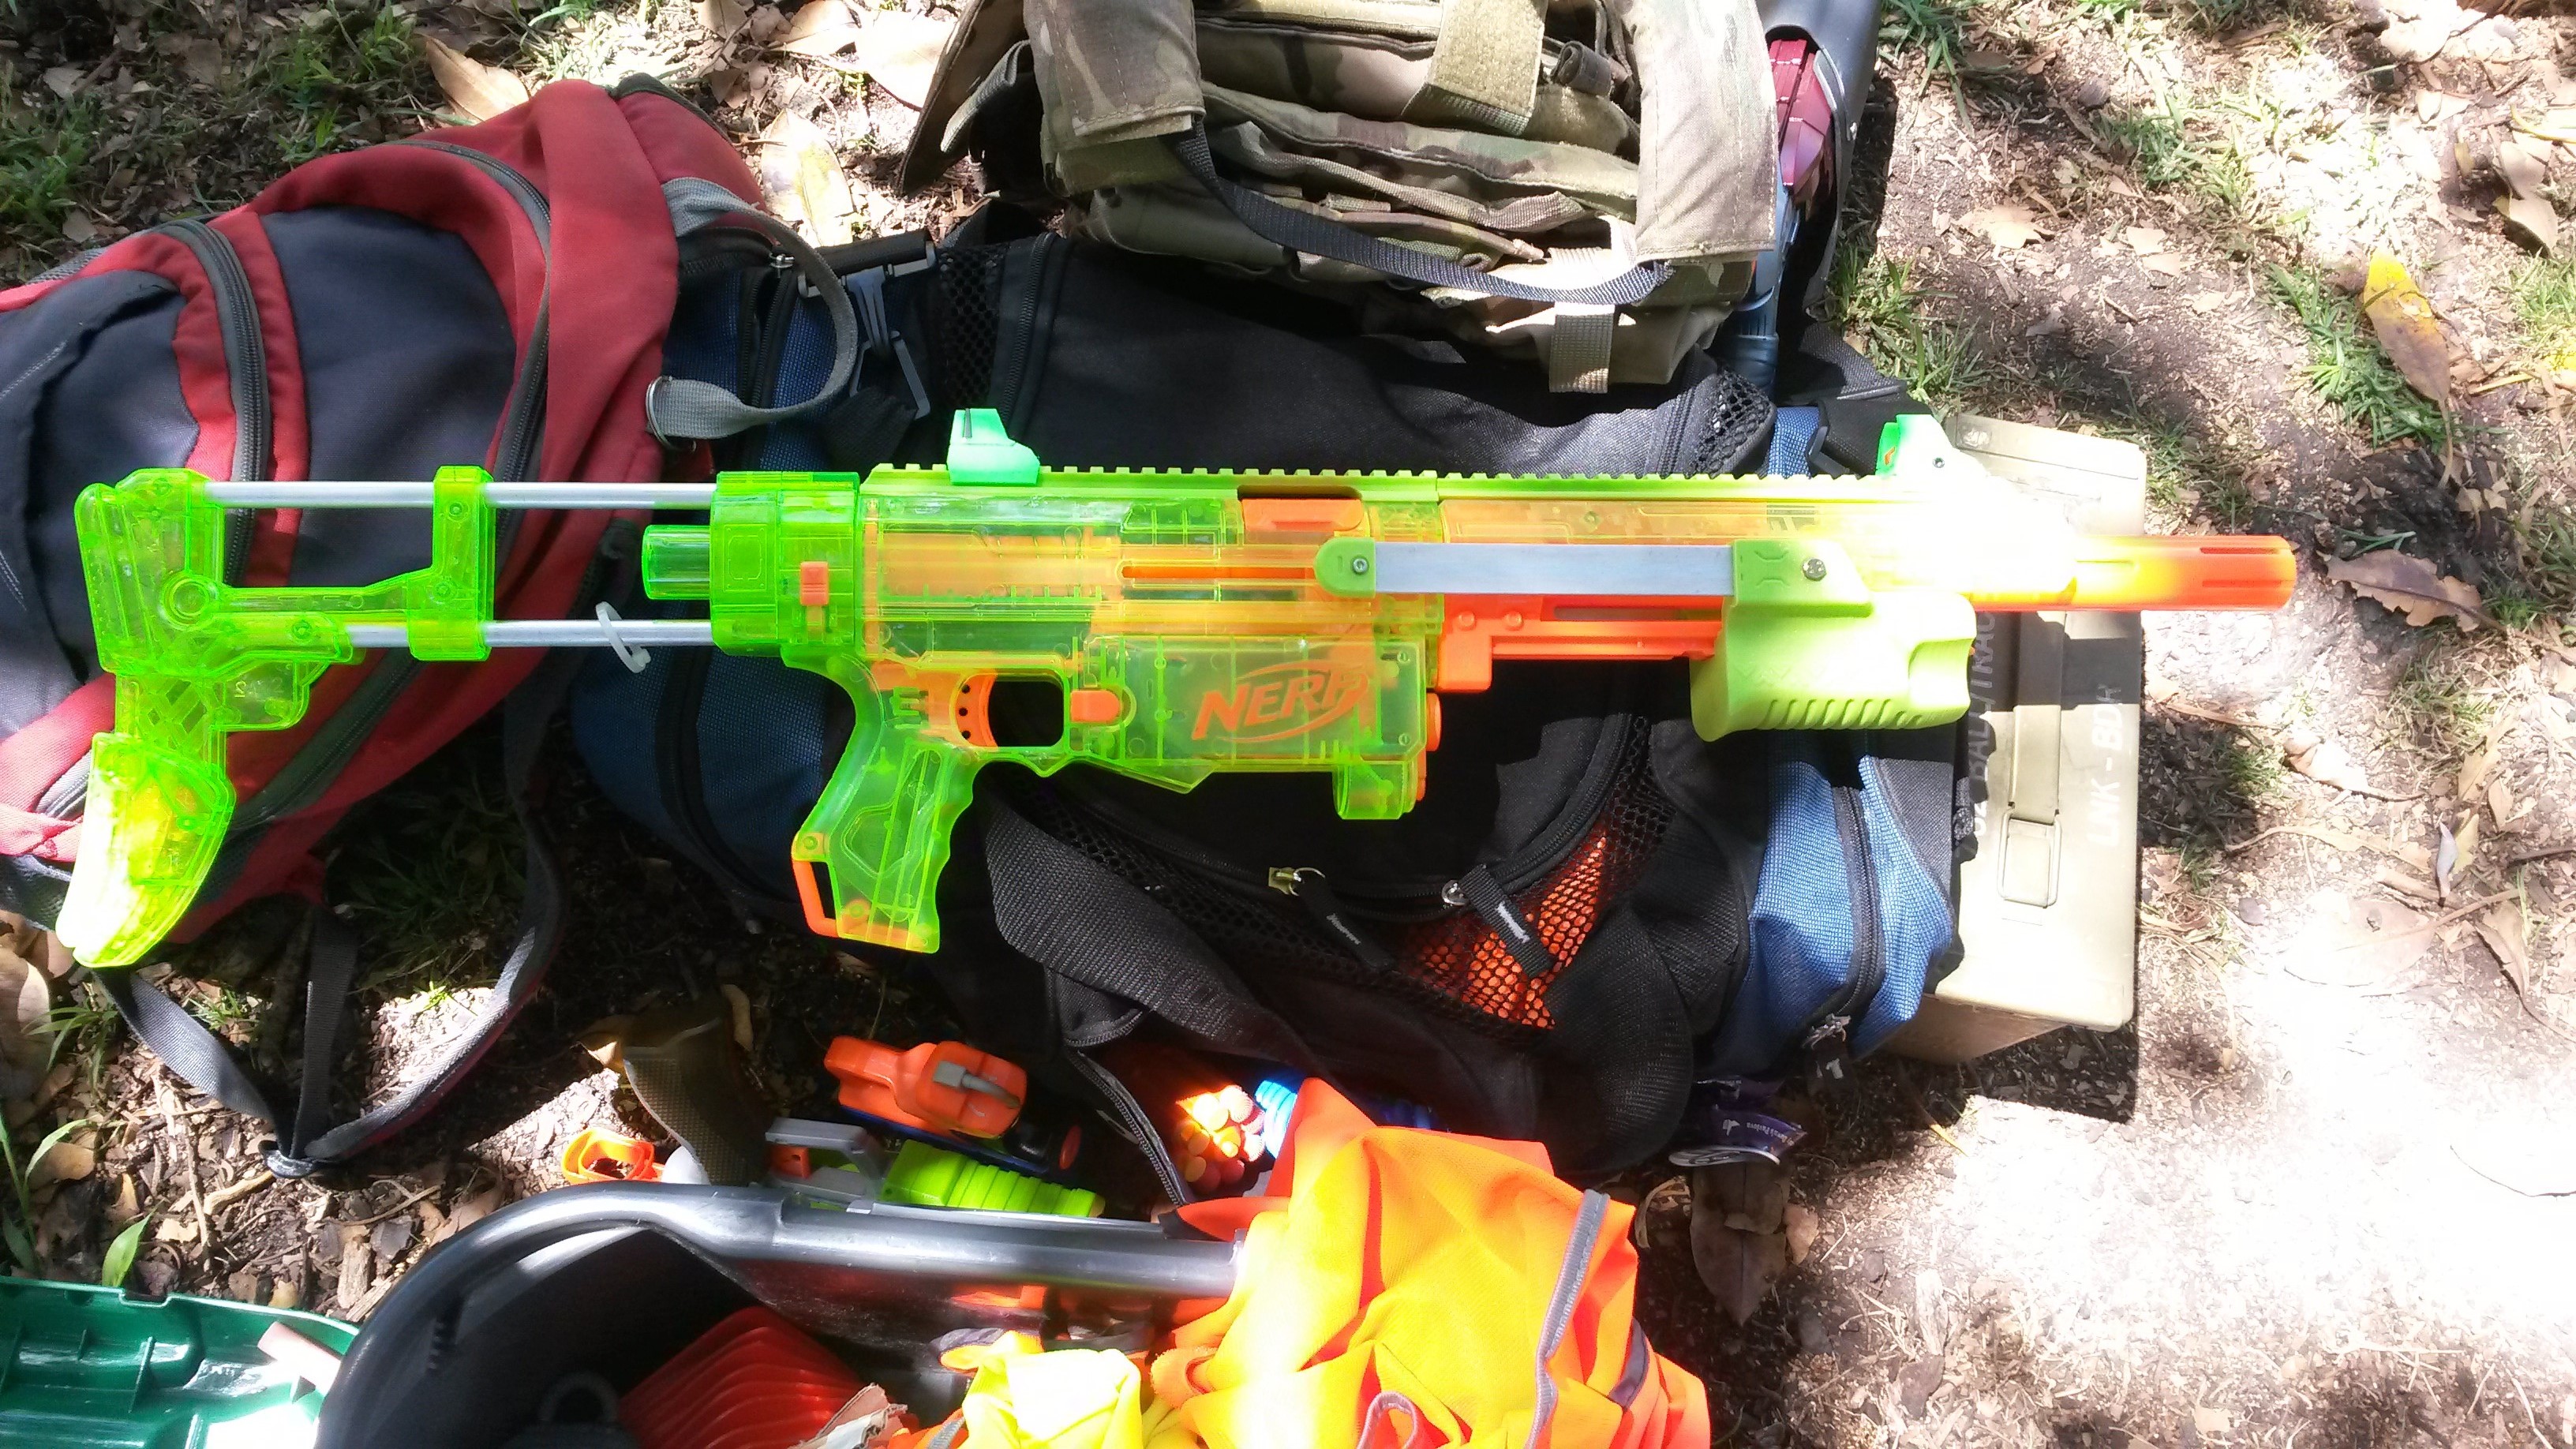
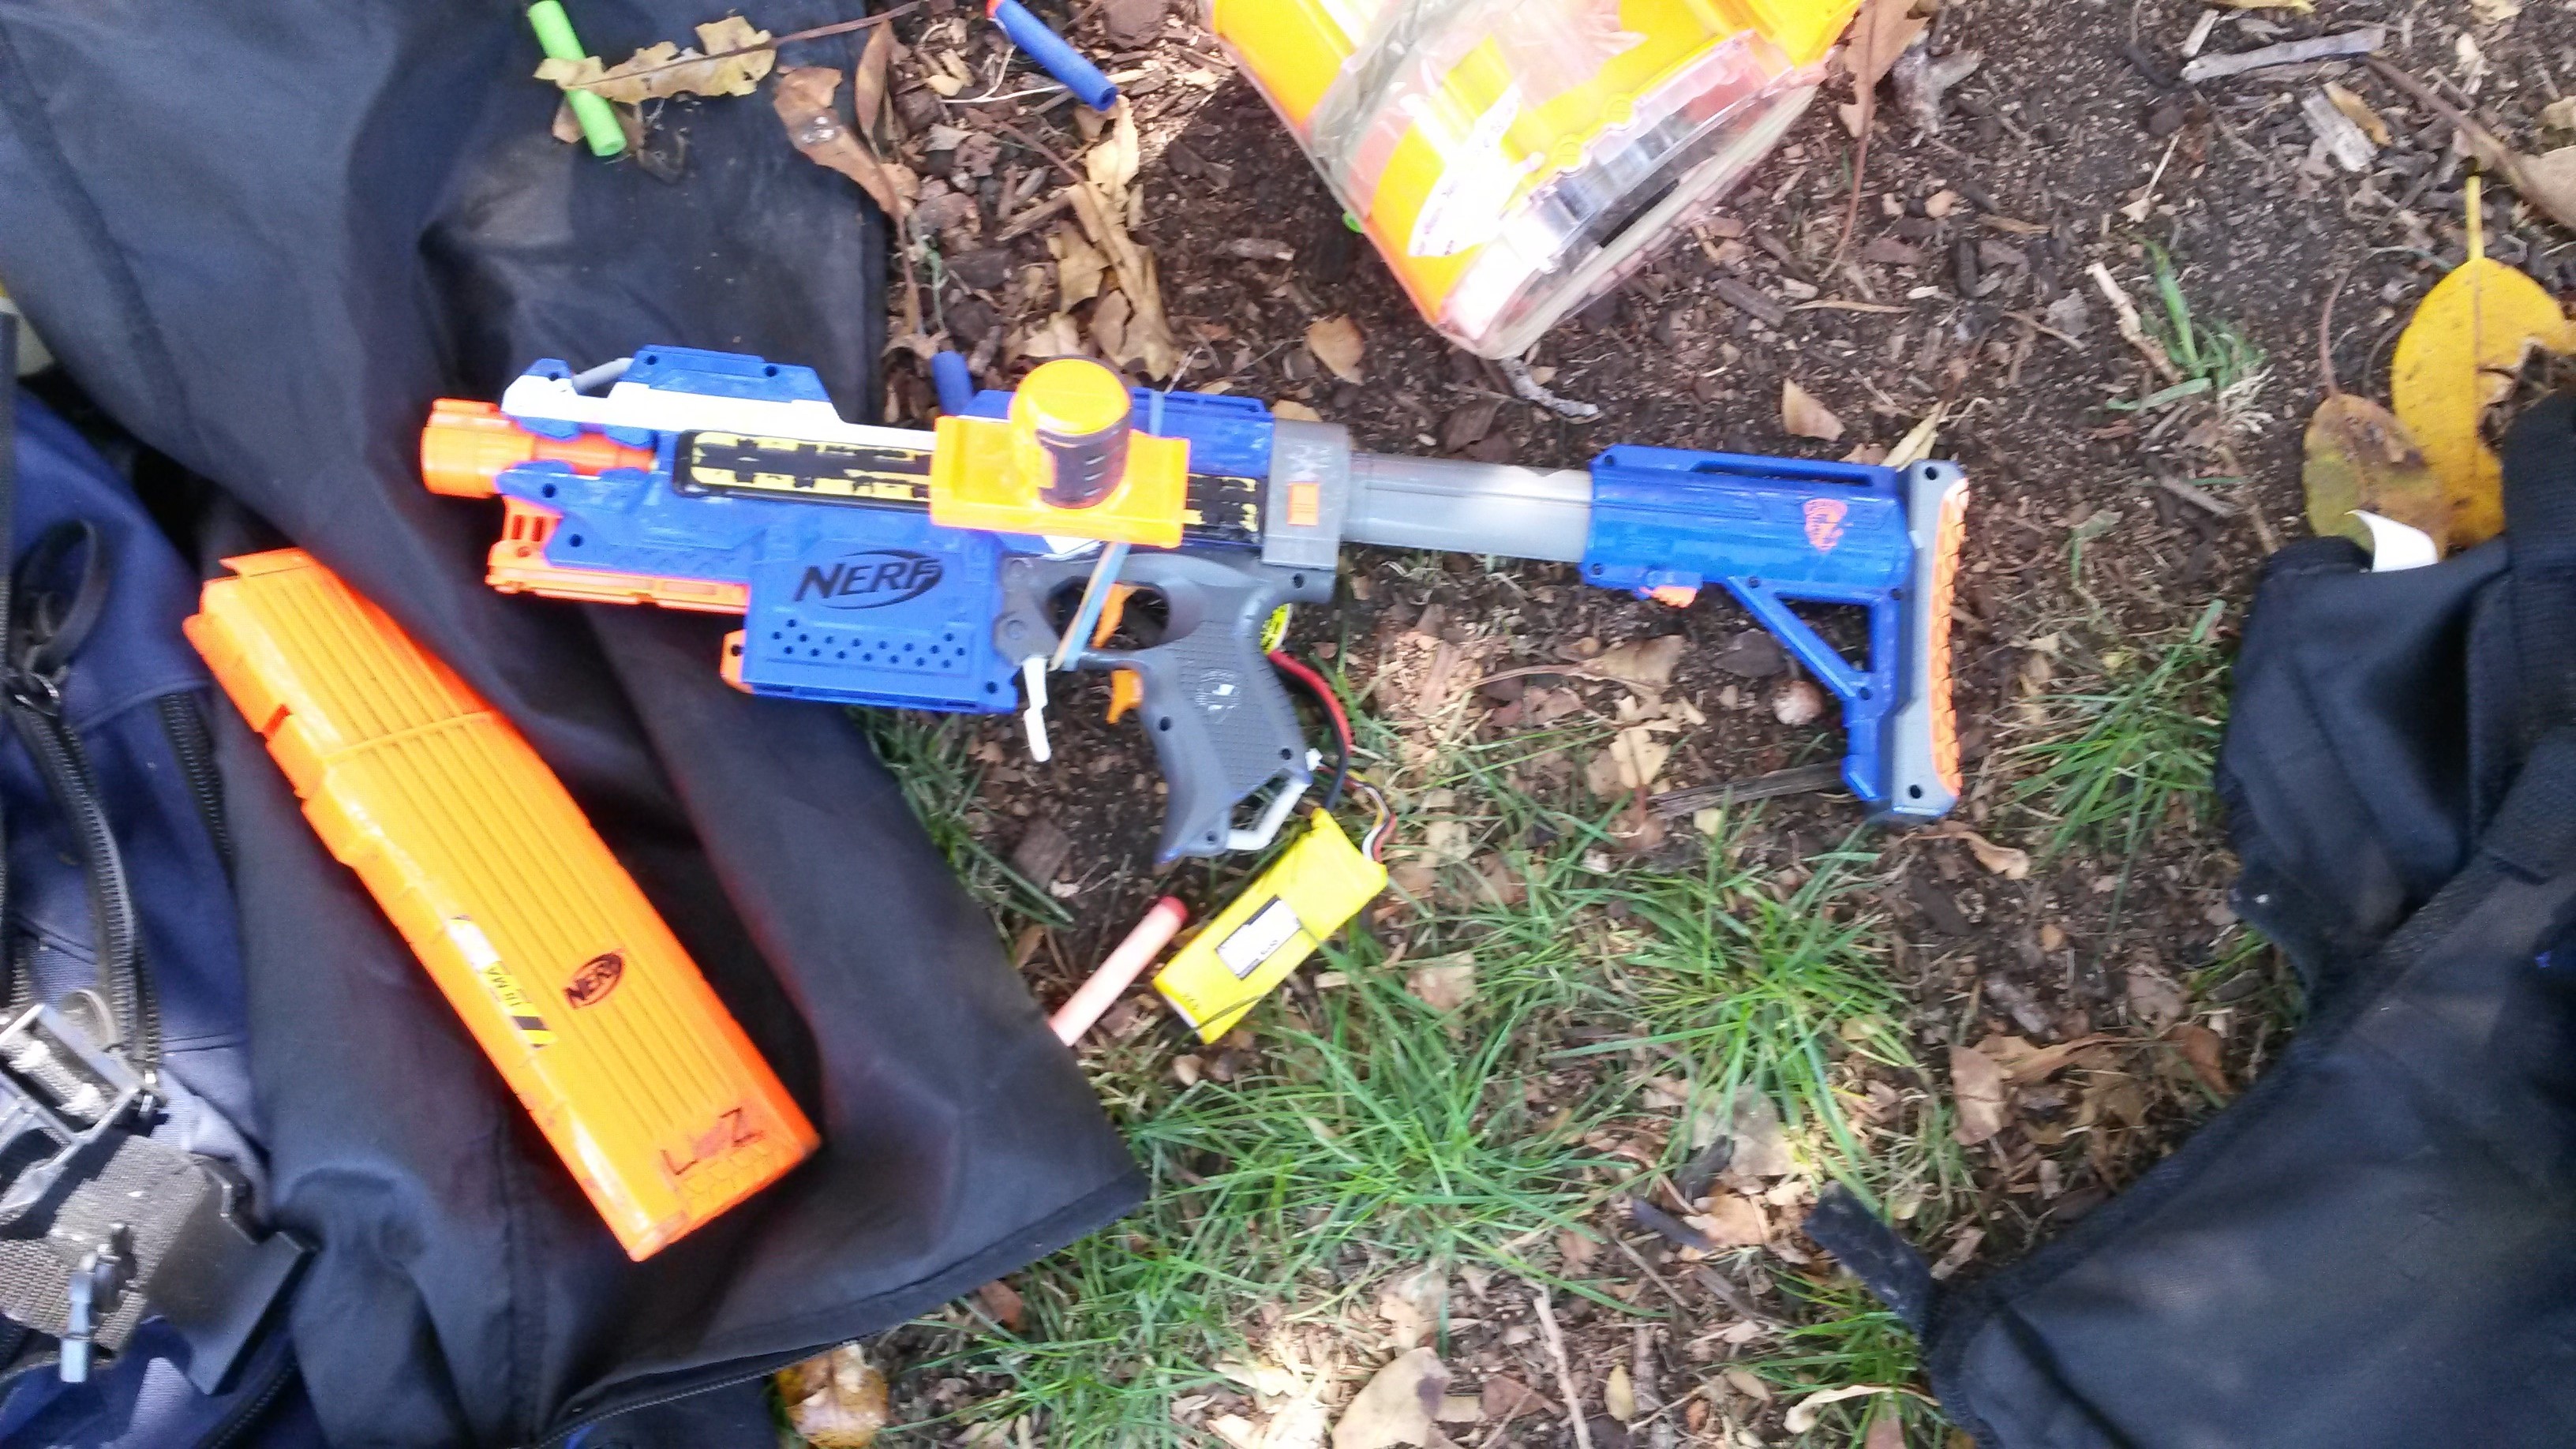
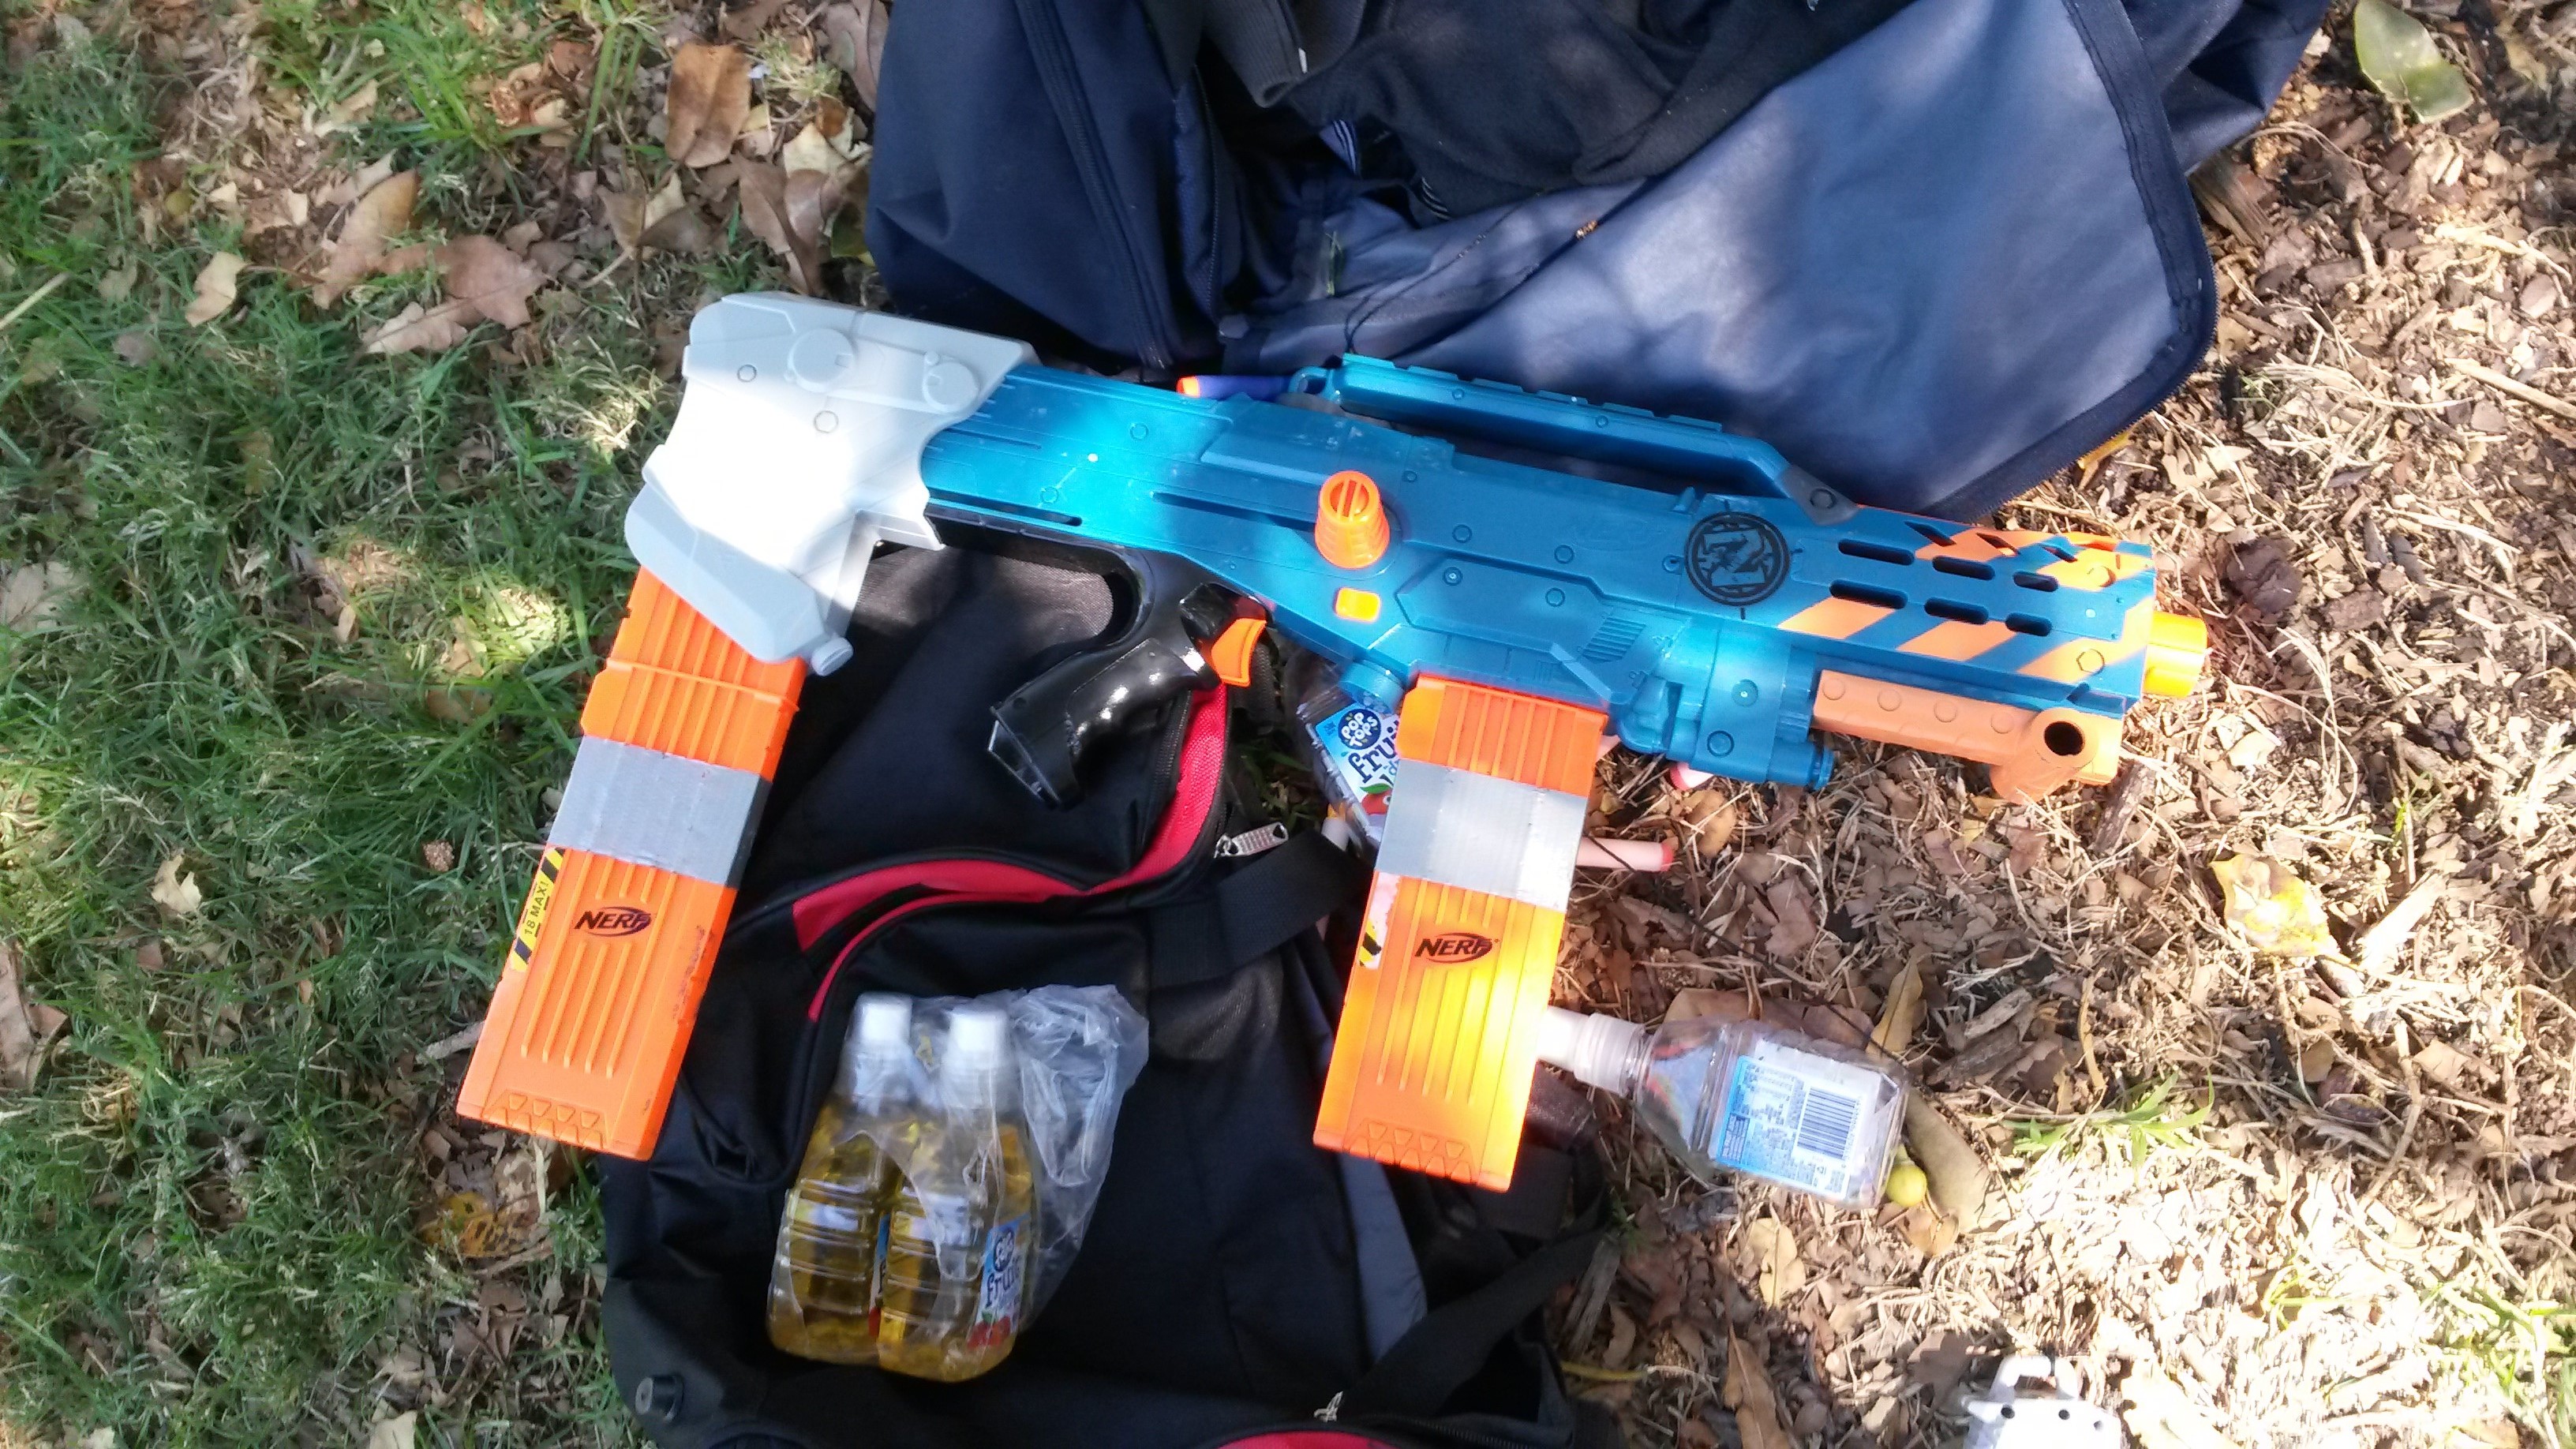
N-Strike/Elite Rayven (various motors, LiPos) – semi-auto bullpup flywheeler. Generally considered to be inferior to the Stryfe for modding due to the longer barrel and a variety of internal issues, but if well built can function just as well as a decent Stryfe build.


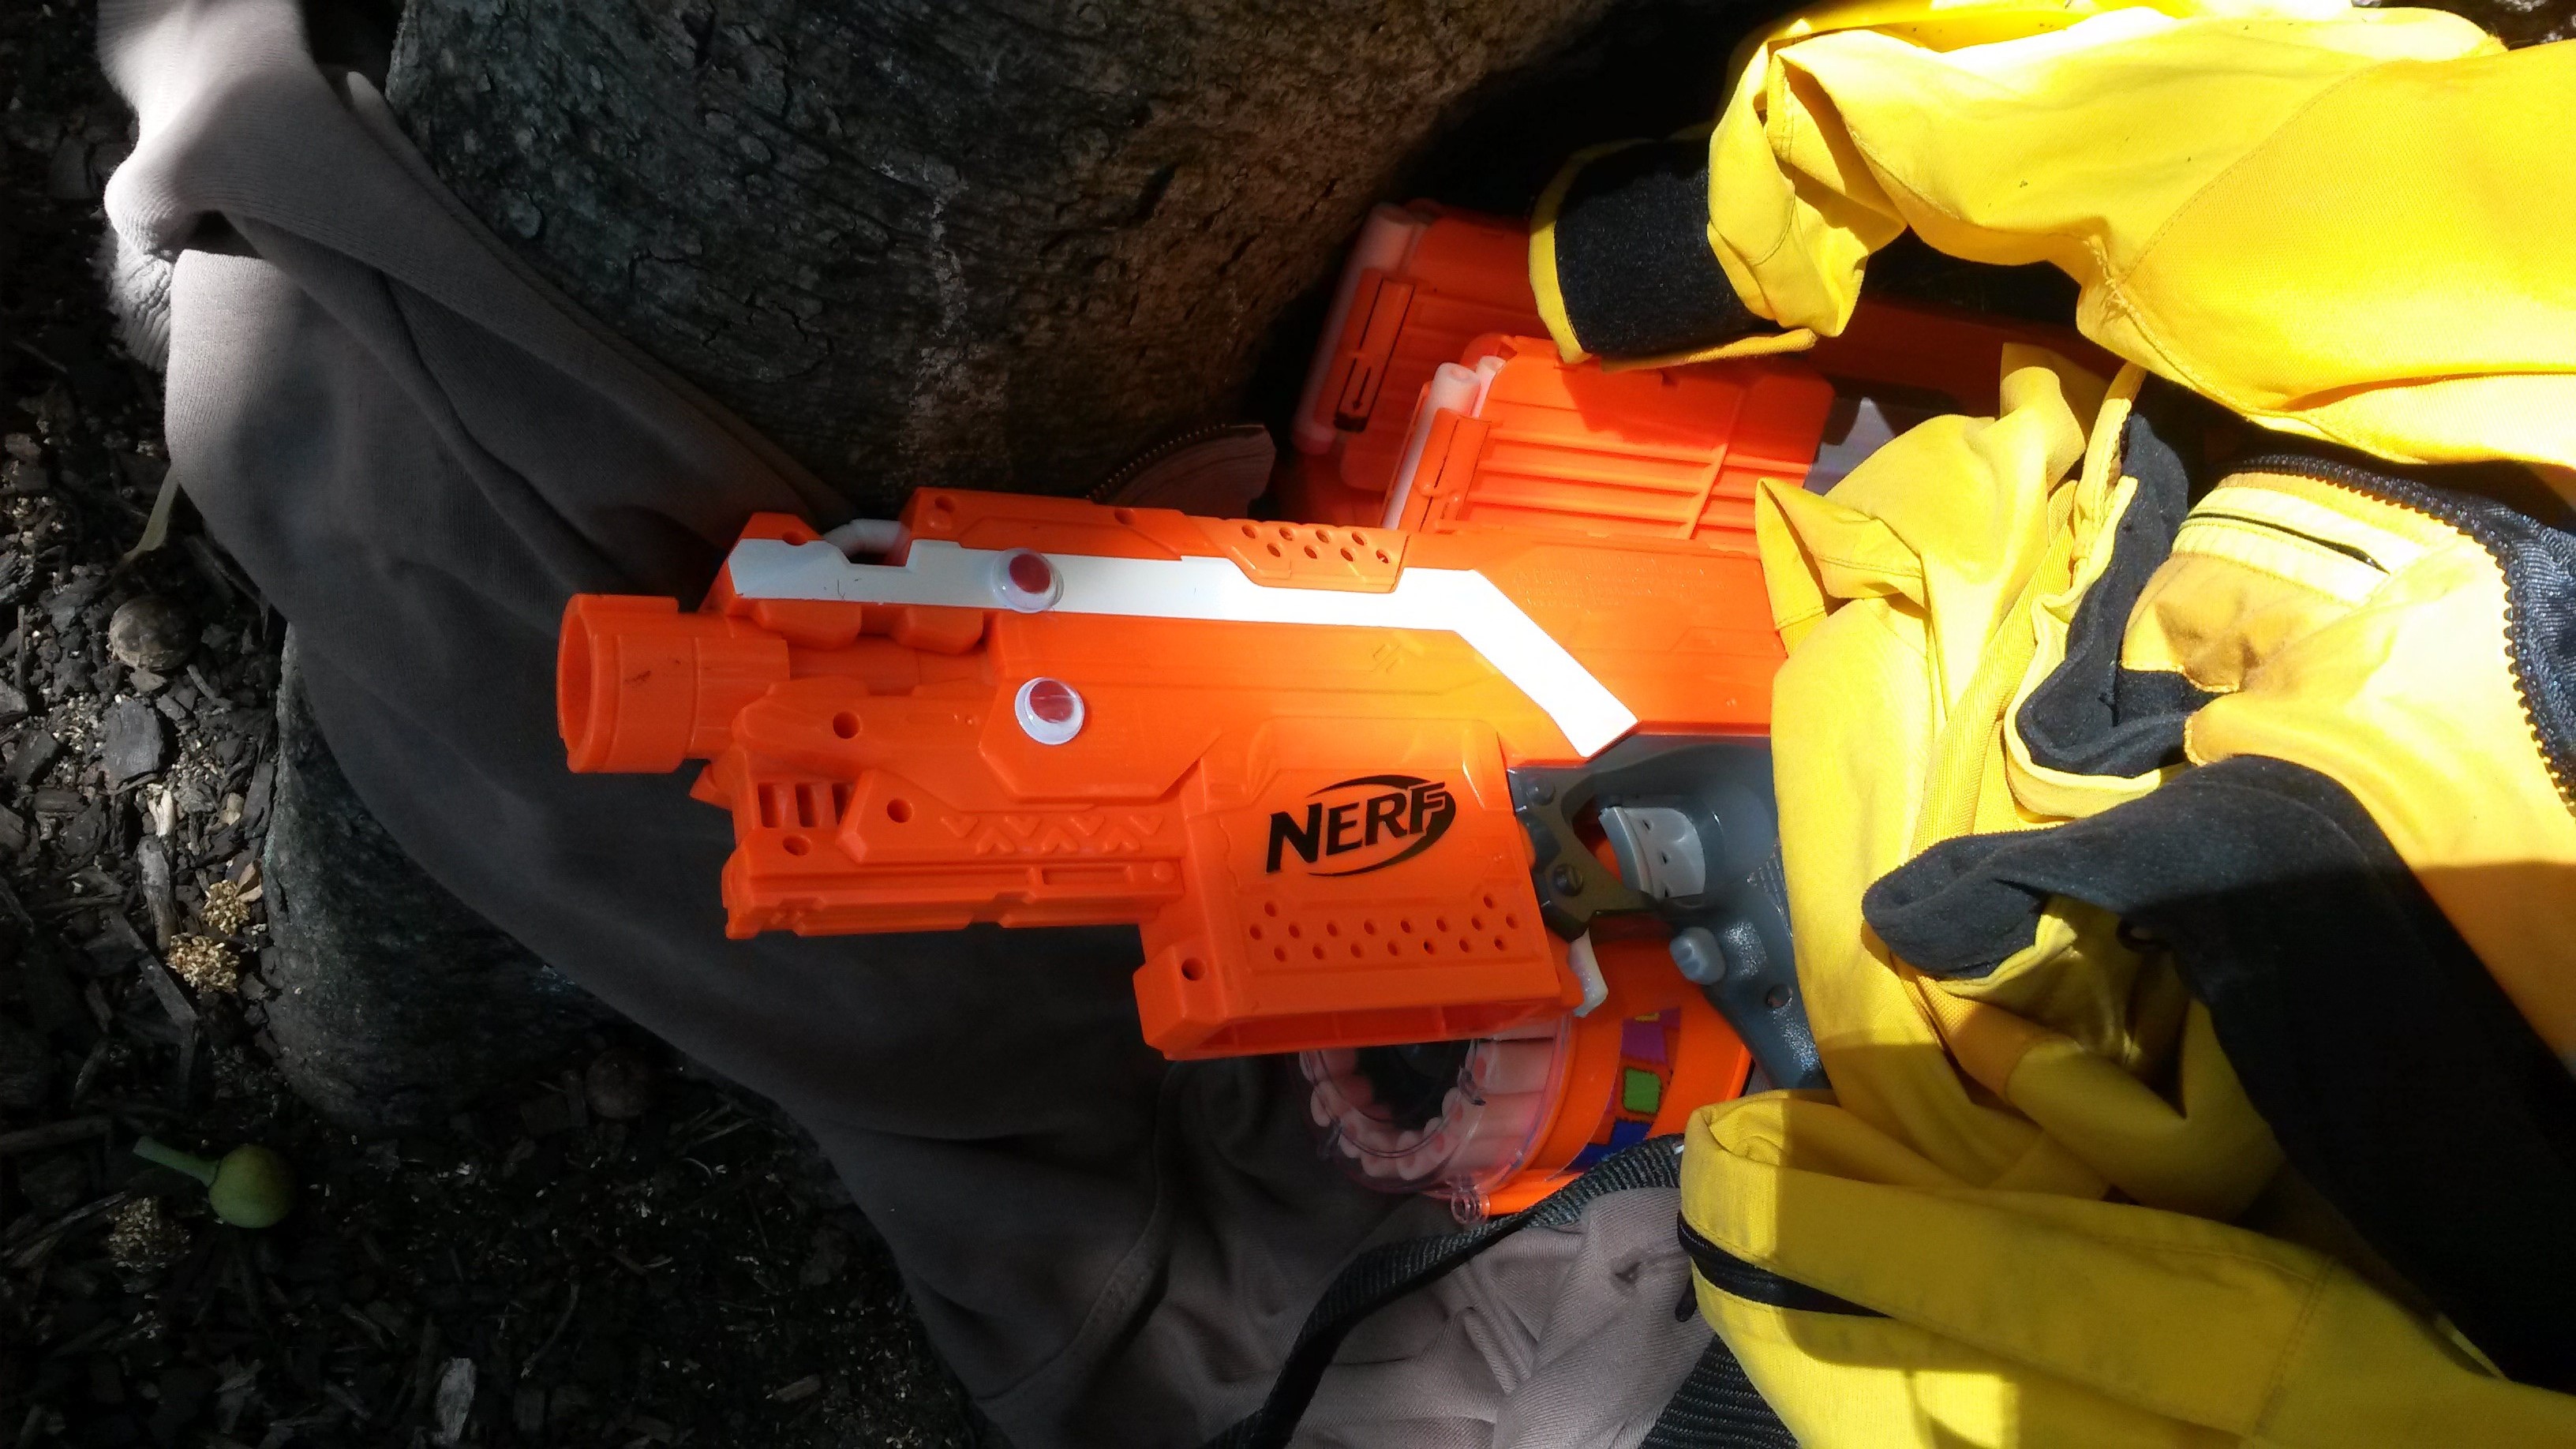
N-Strike/Elite Alpha Trooper (various upgrade springs) – a decent out-of-box pump action springer. Lacks a little power compared to other options, particularly the Retaliator, but still does quite well as a basic all-rounder. Note that they are prone to shooting out its AR, rendering the blaster unusable (the fix being to remove the AR assembly entirely), which actually happened to the one I used.
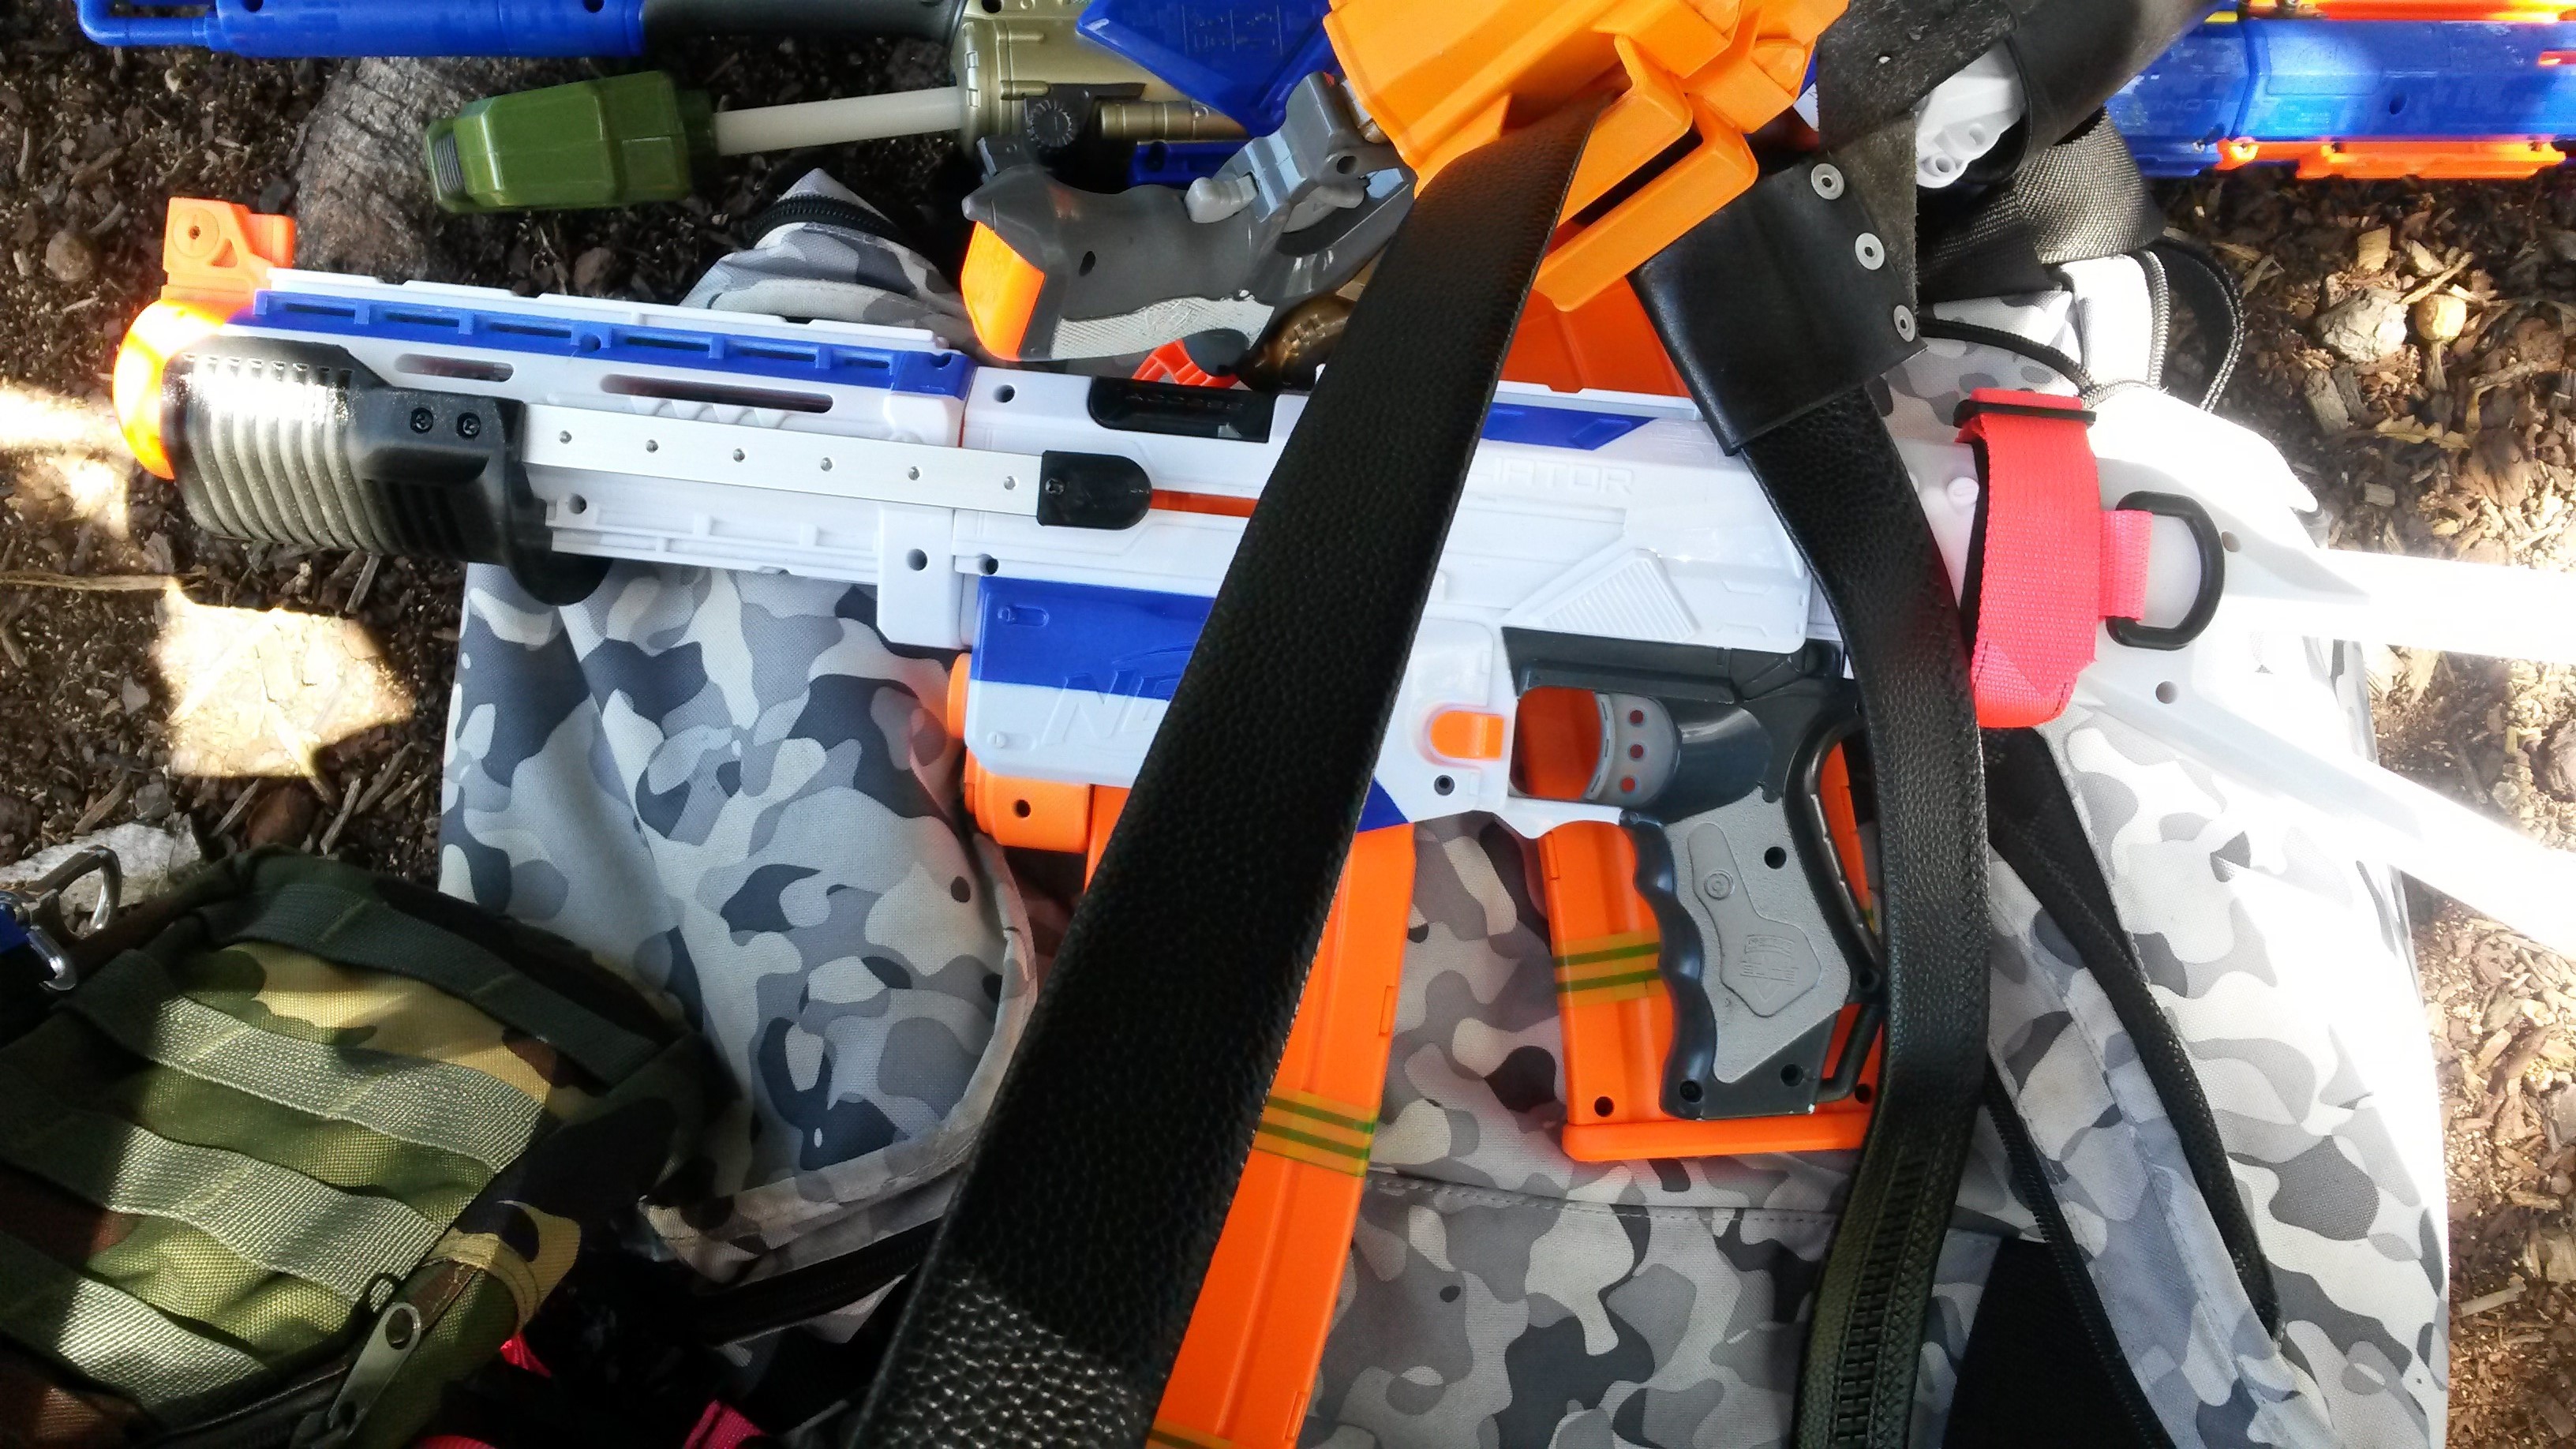
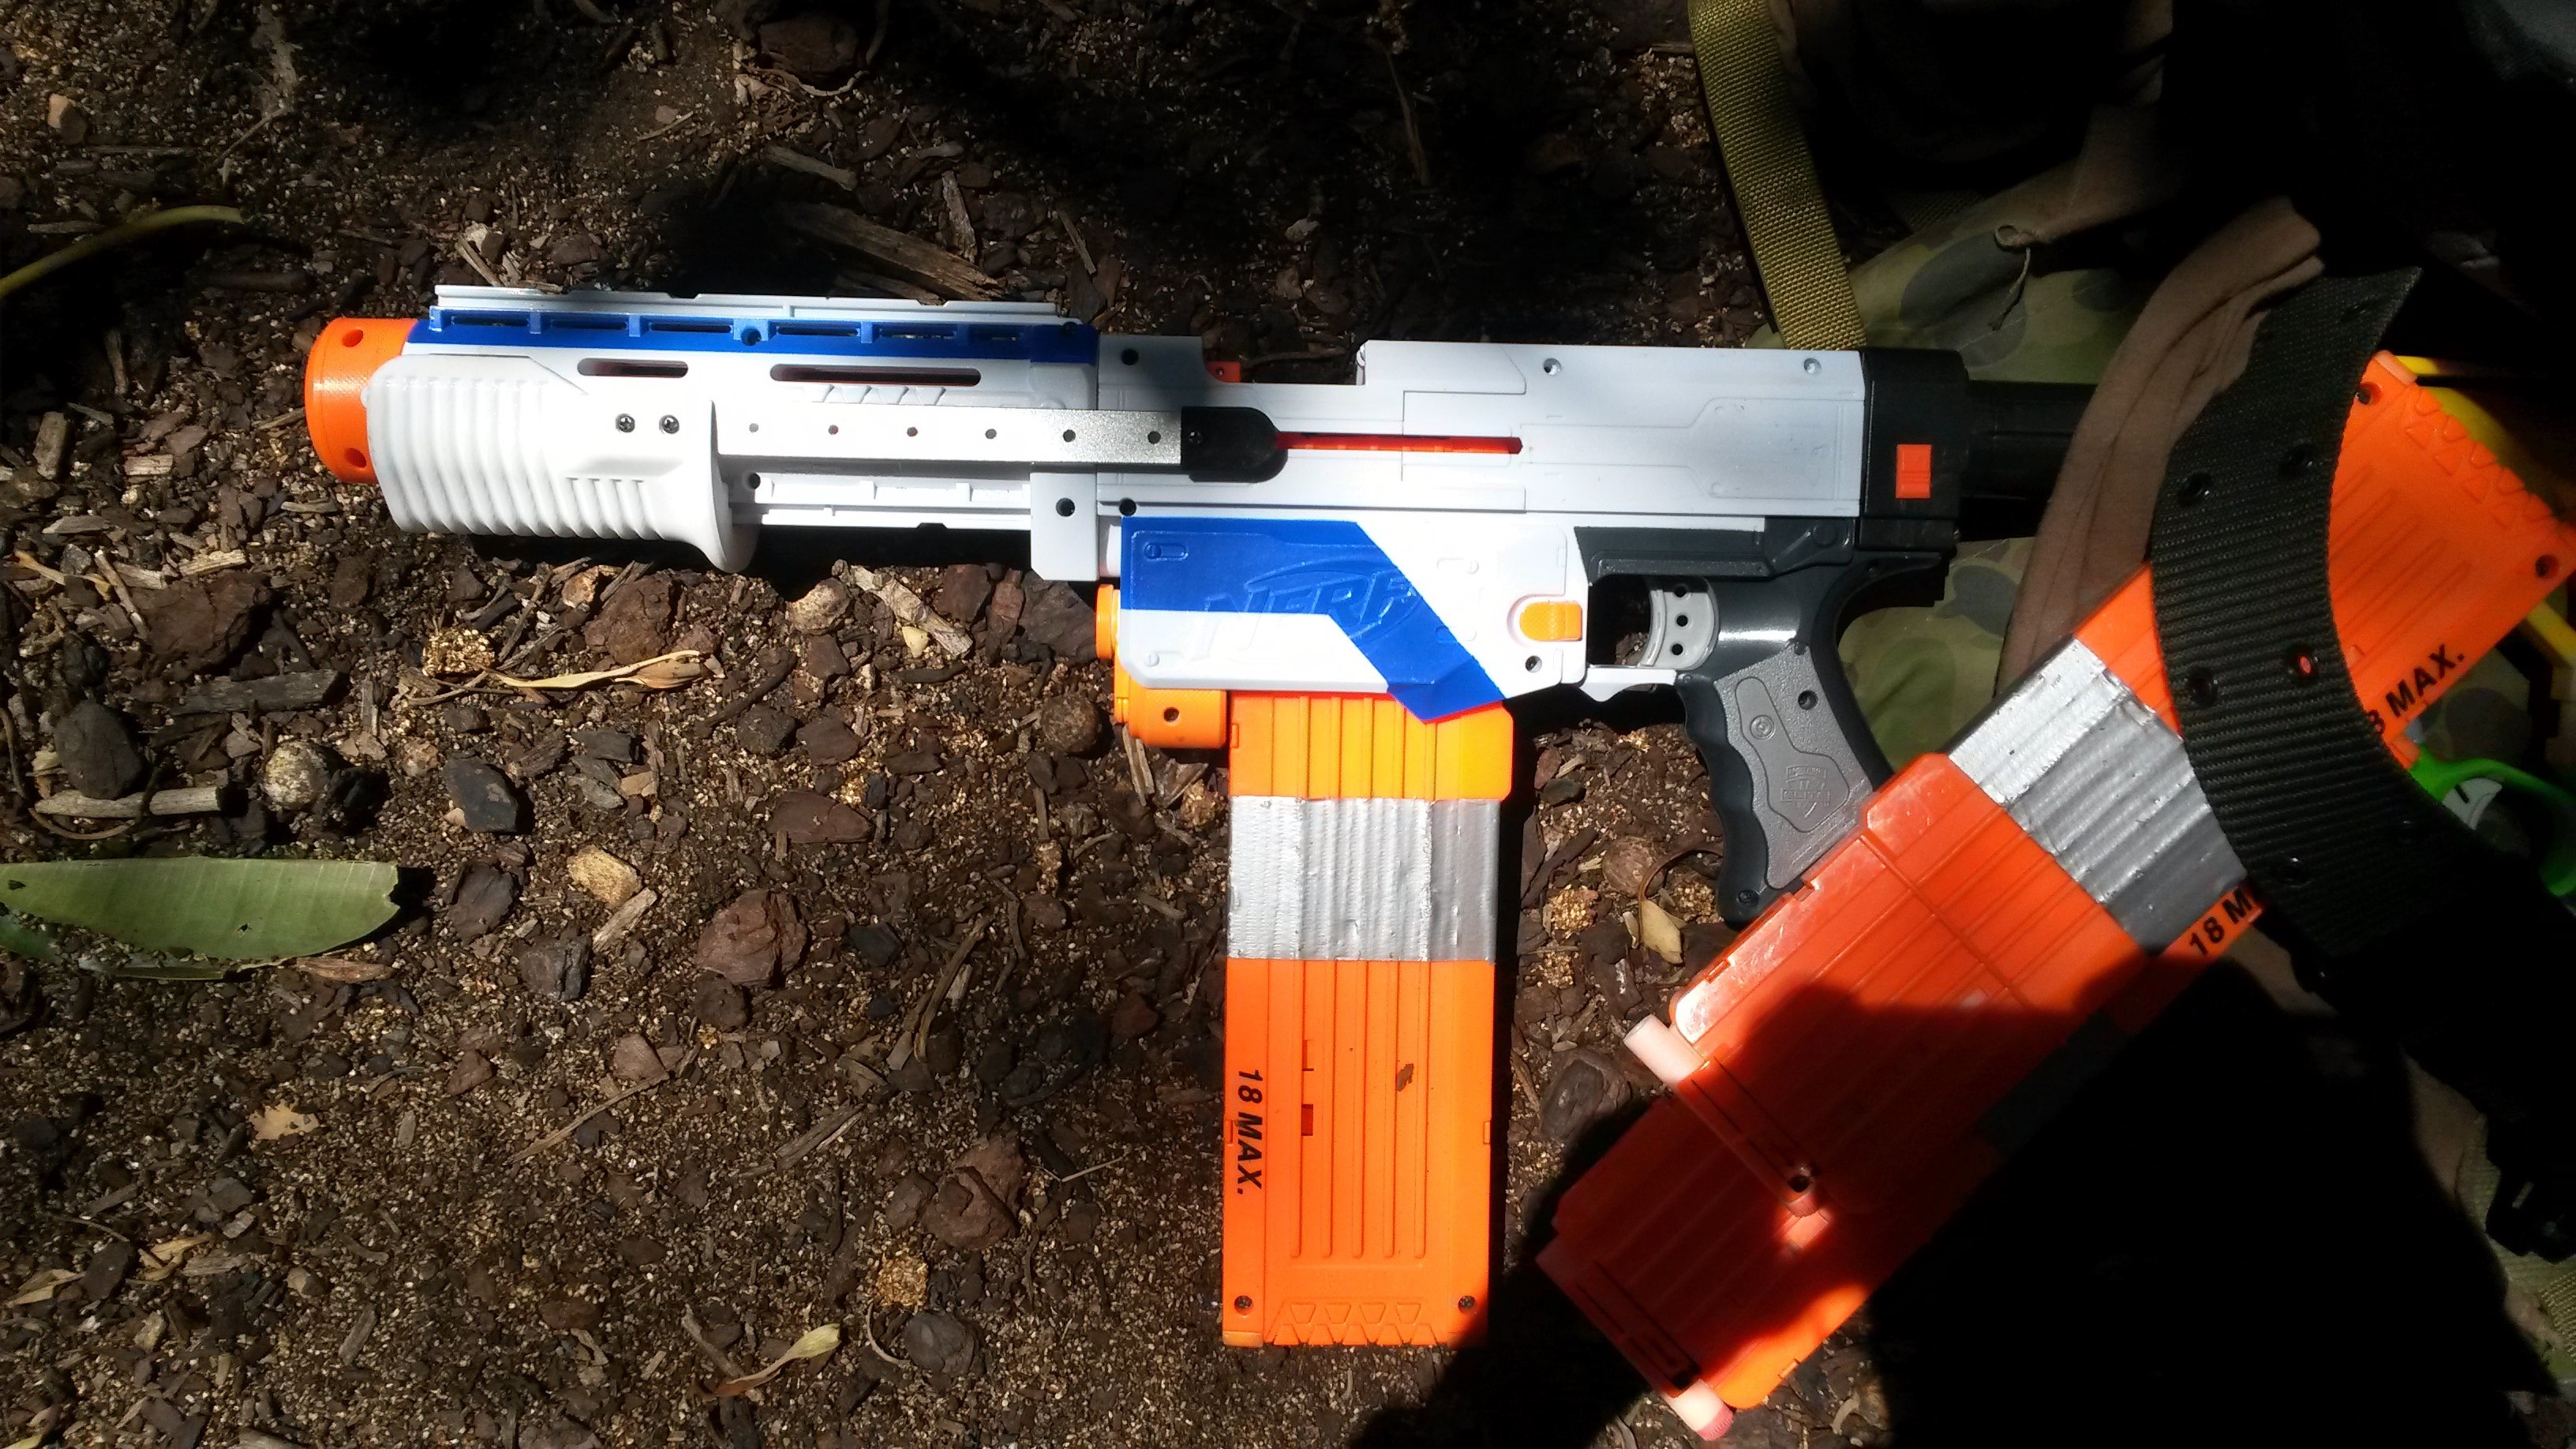
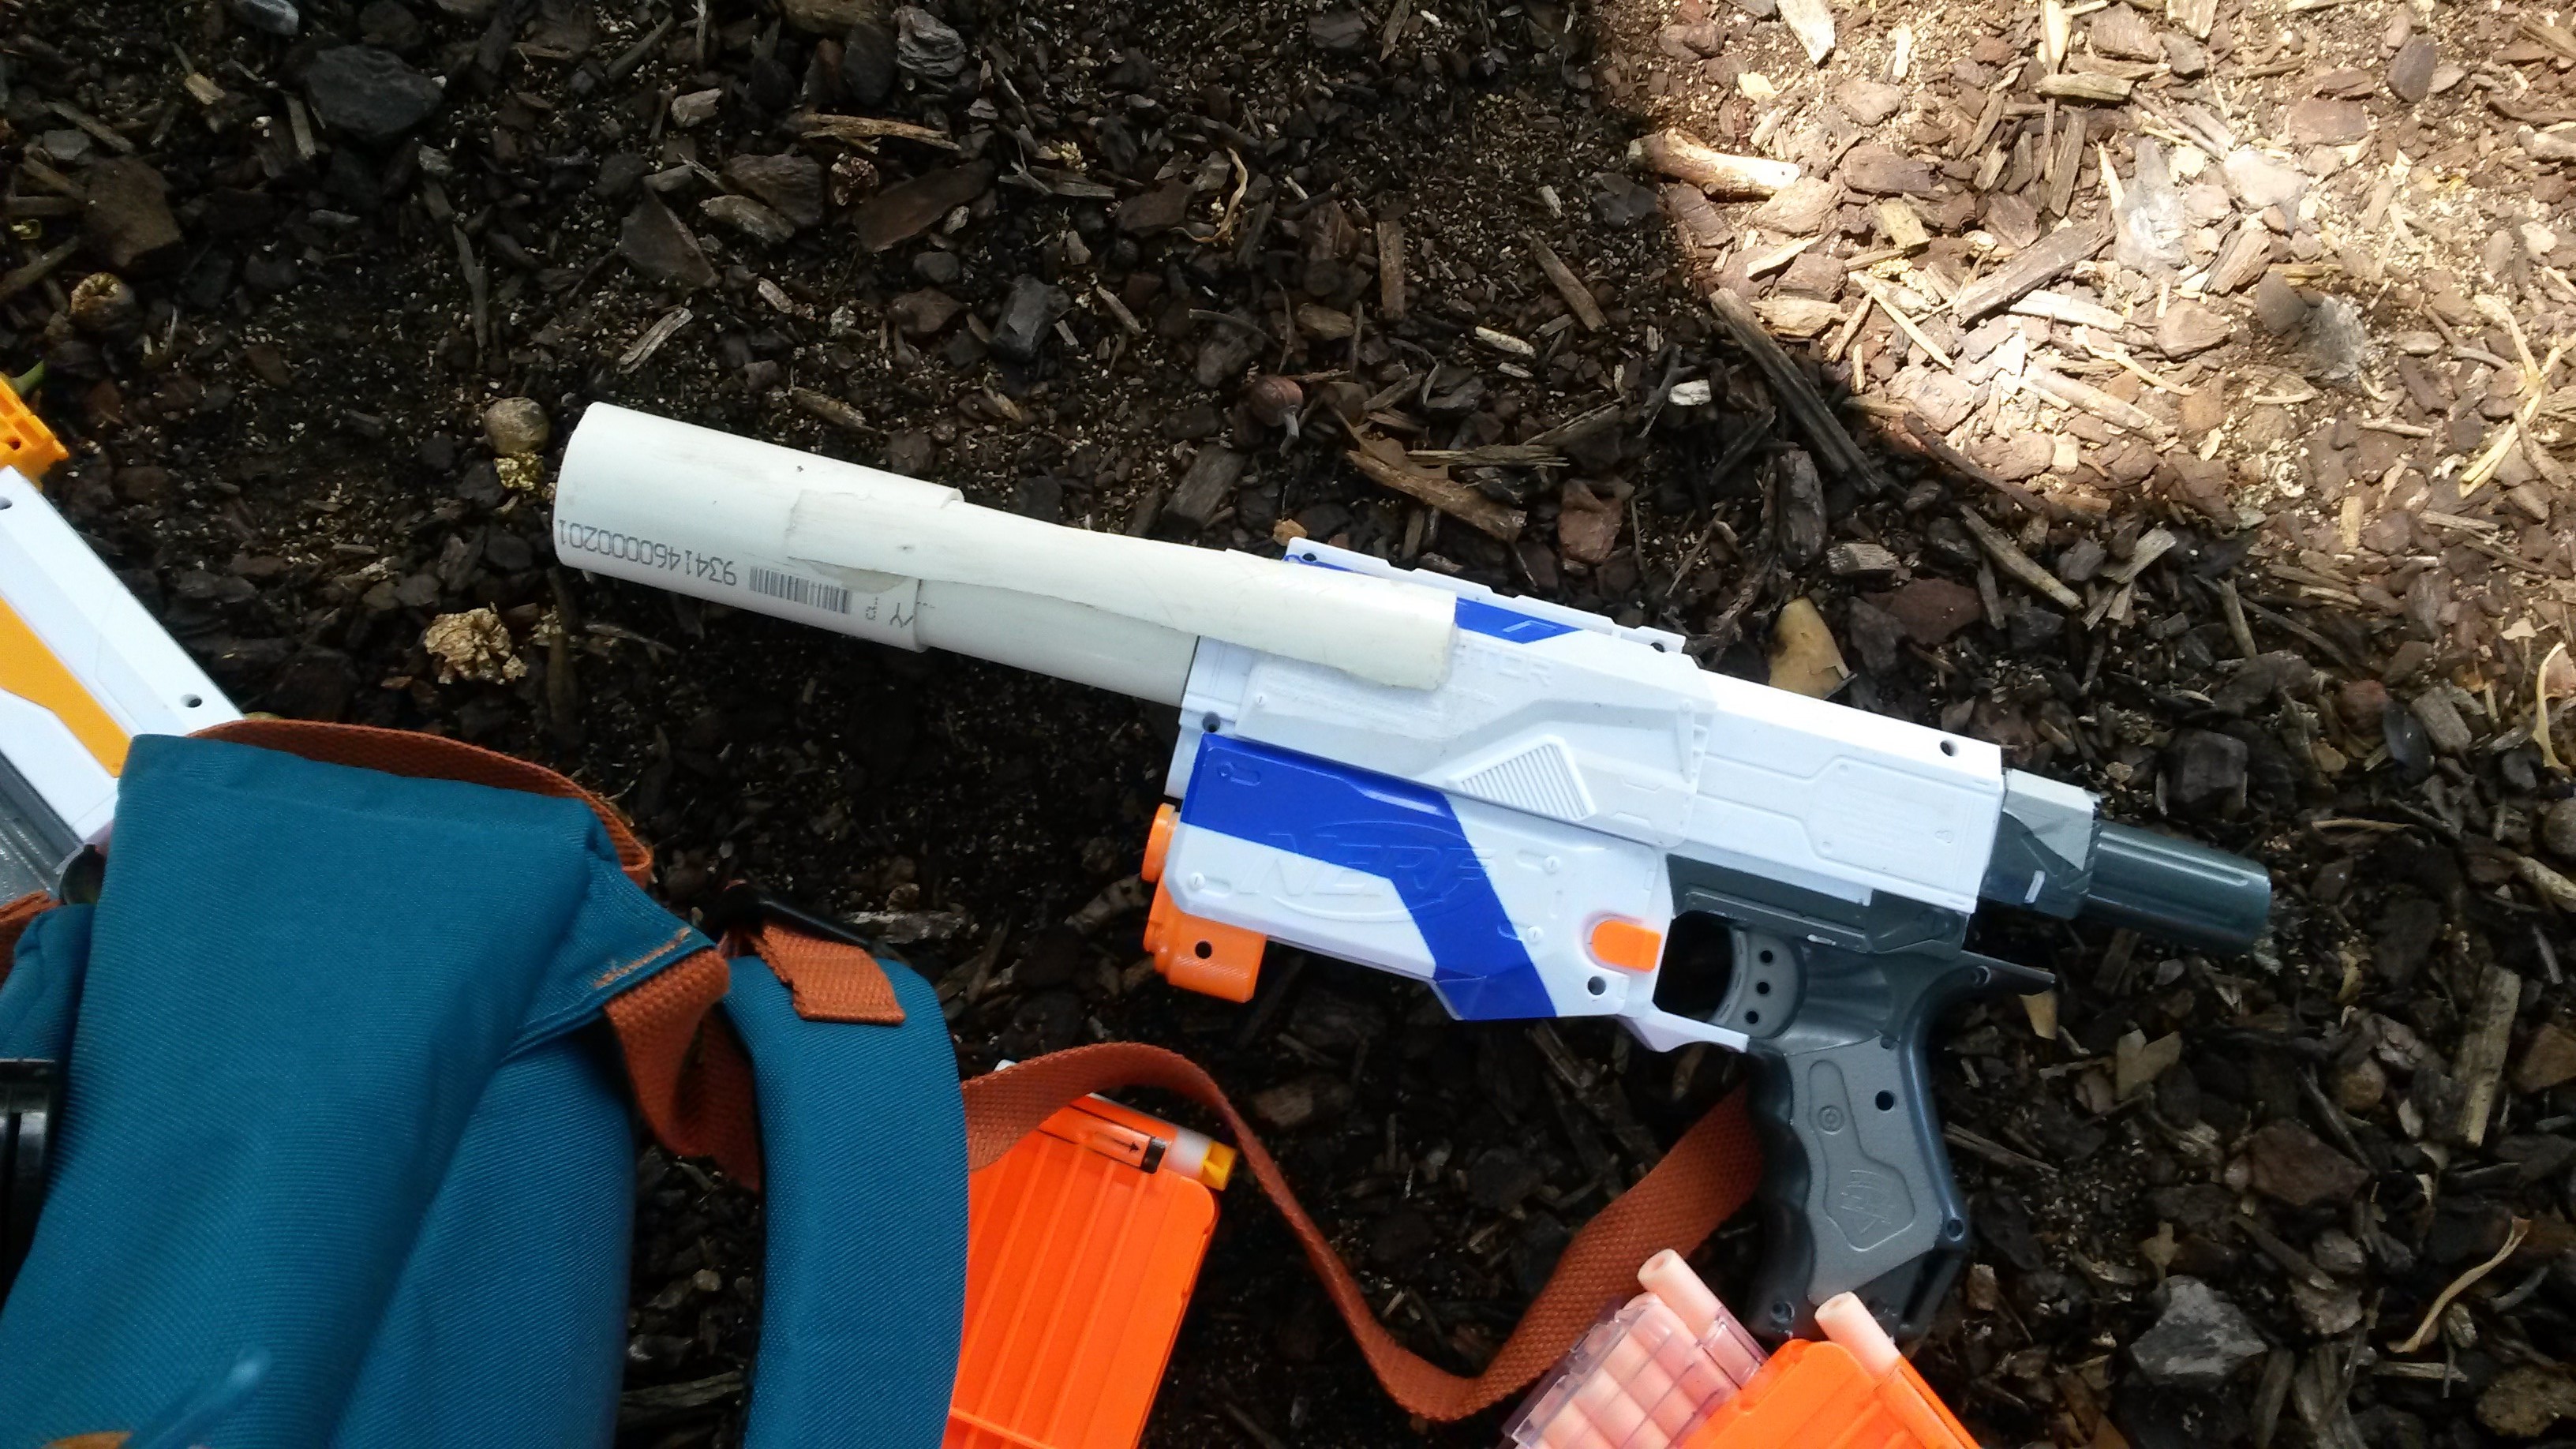
Elite Retaliator (various springs, typically pump grips) – modular mag-fed springer, typically run with an underbarrel pump grip. Packs some good power, easily enough for HvZ, and can be readily customised. A little lacking in ROF compared to flywheelers, but good enough for most combat.

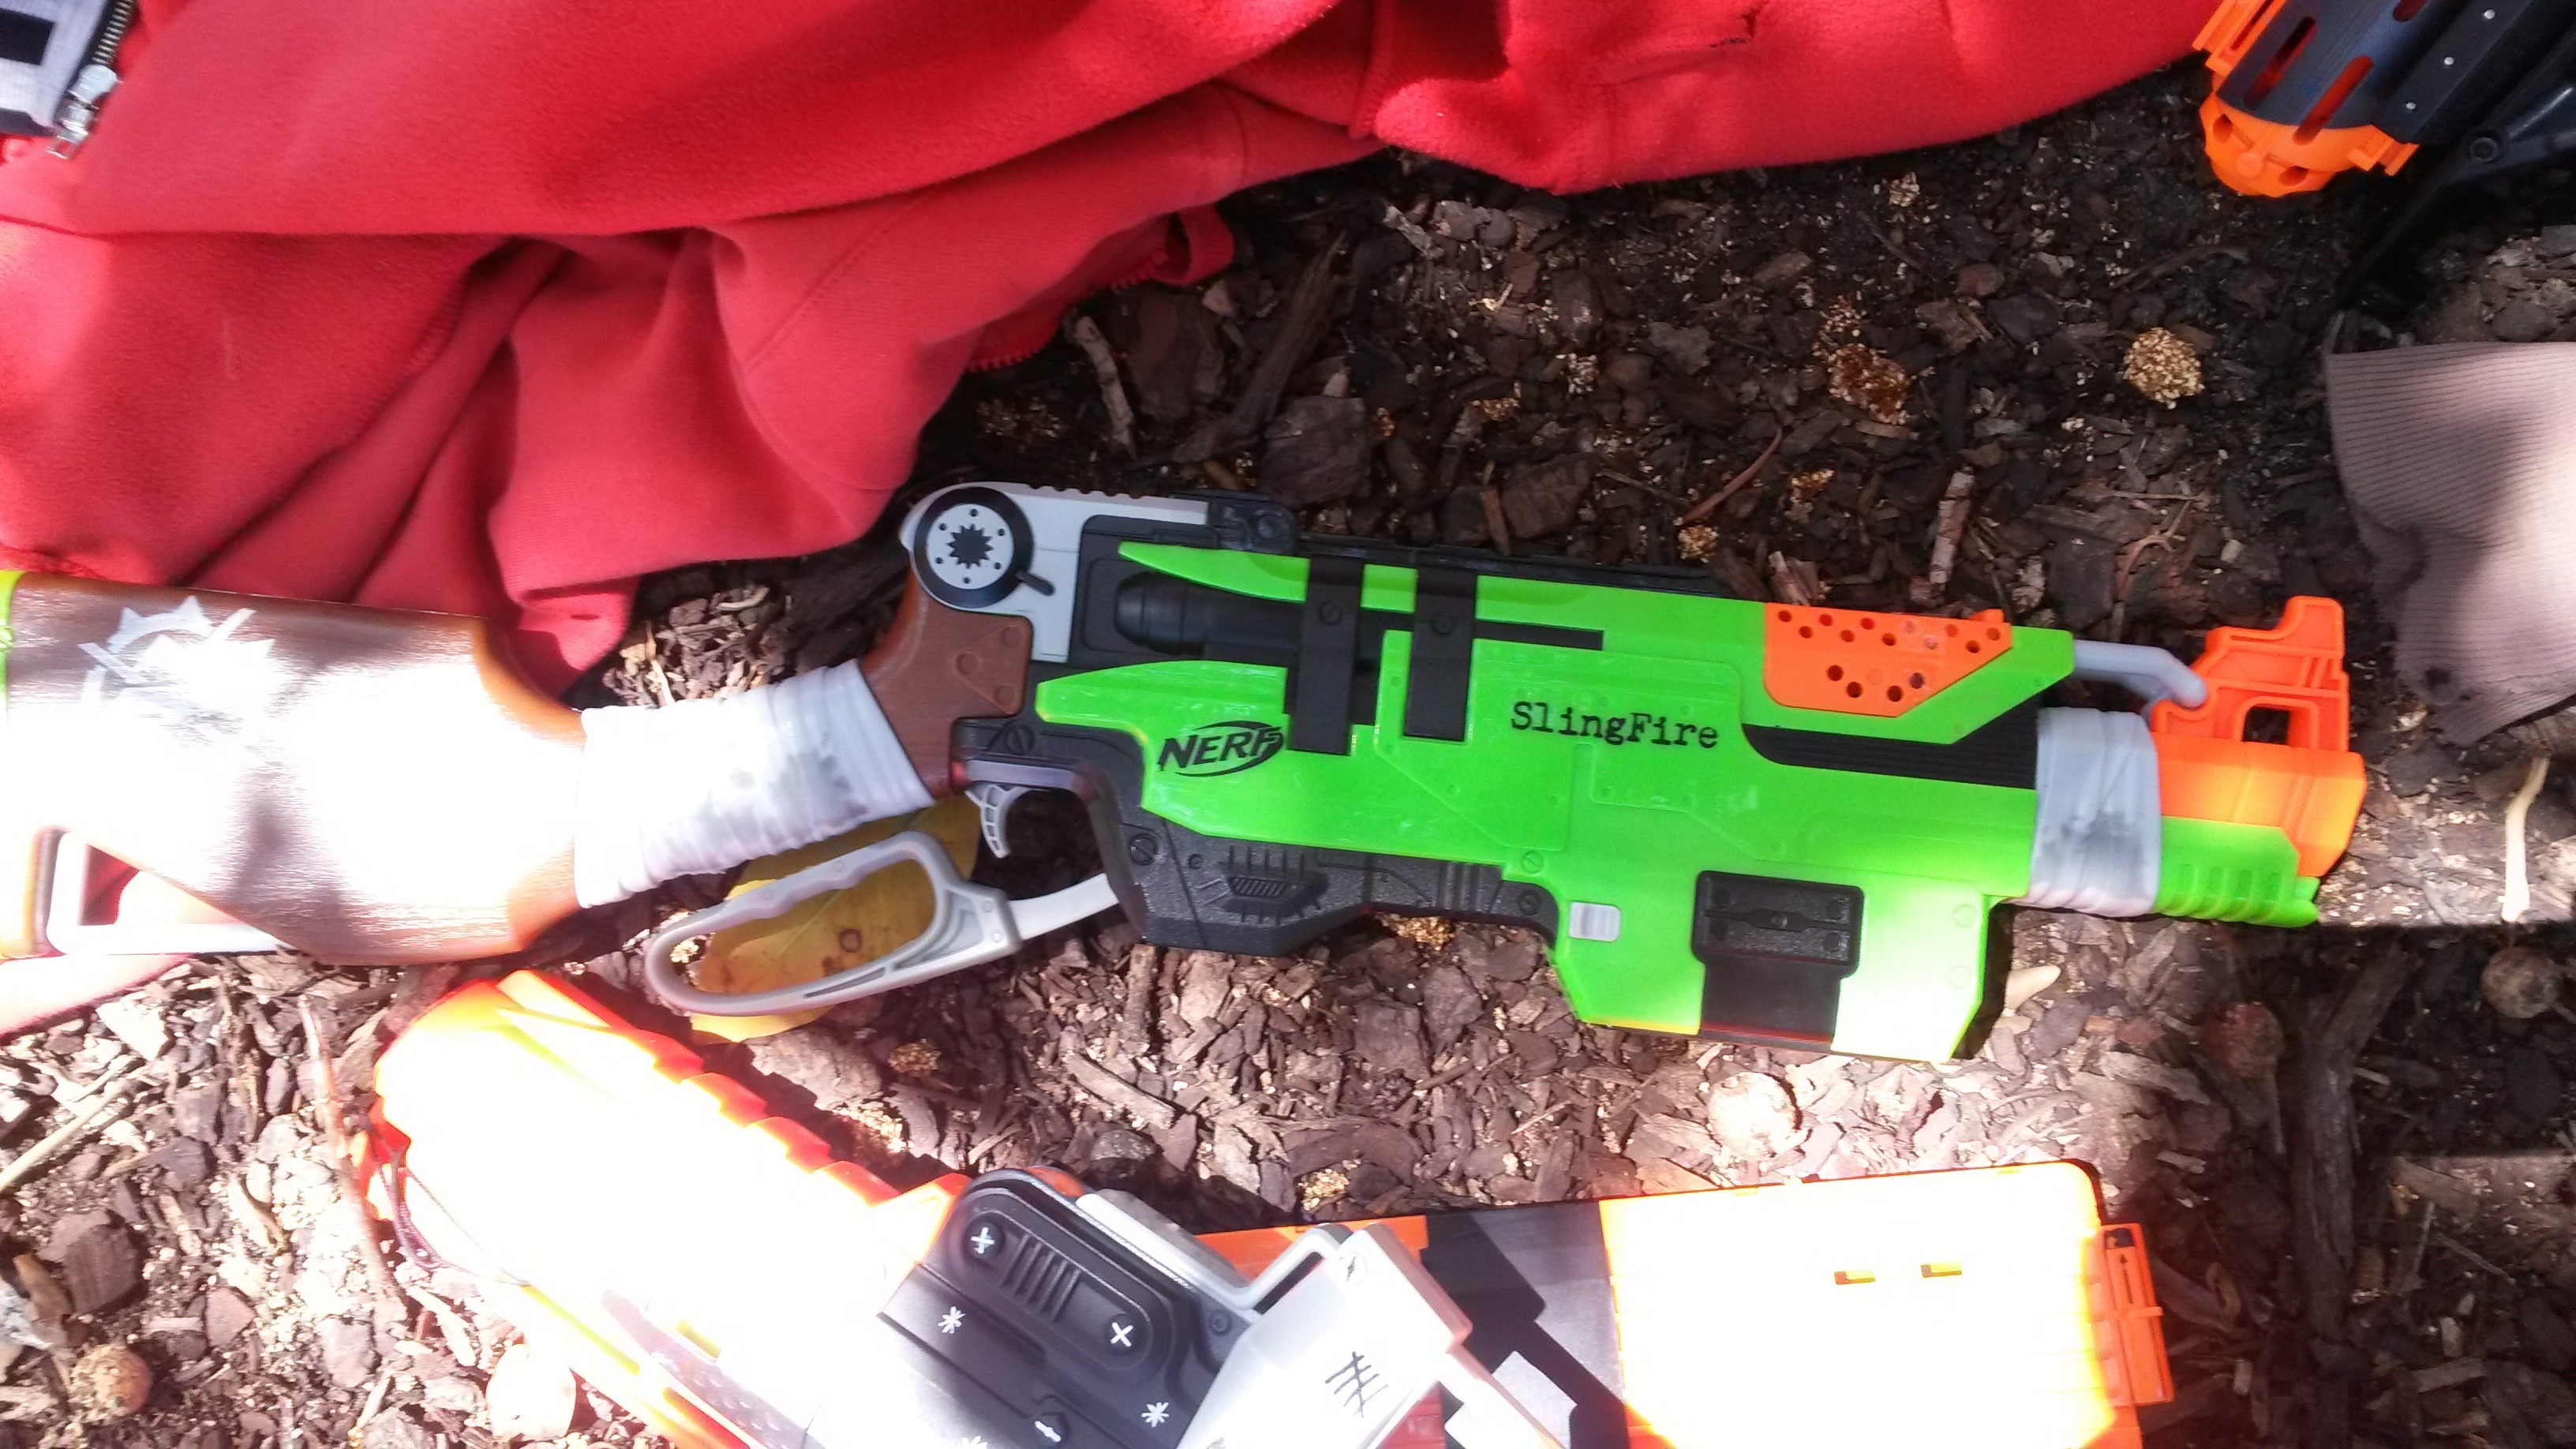
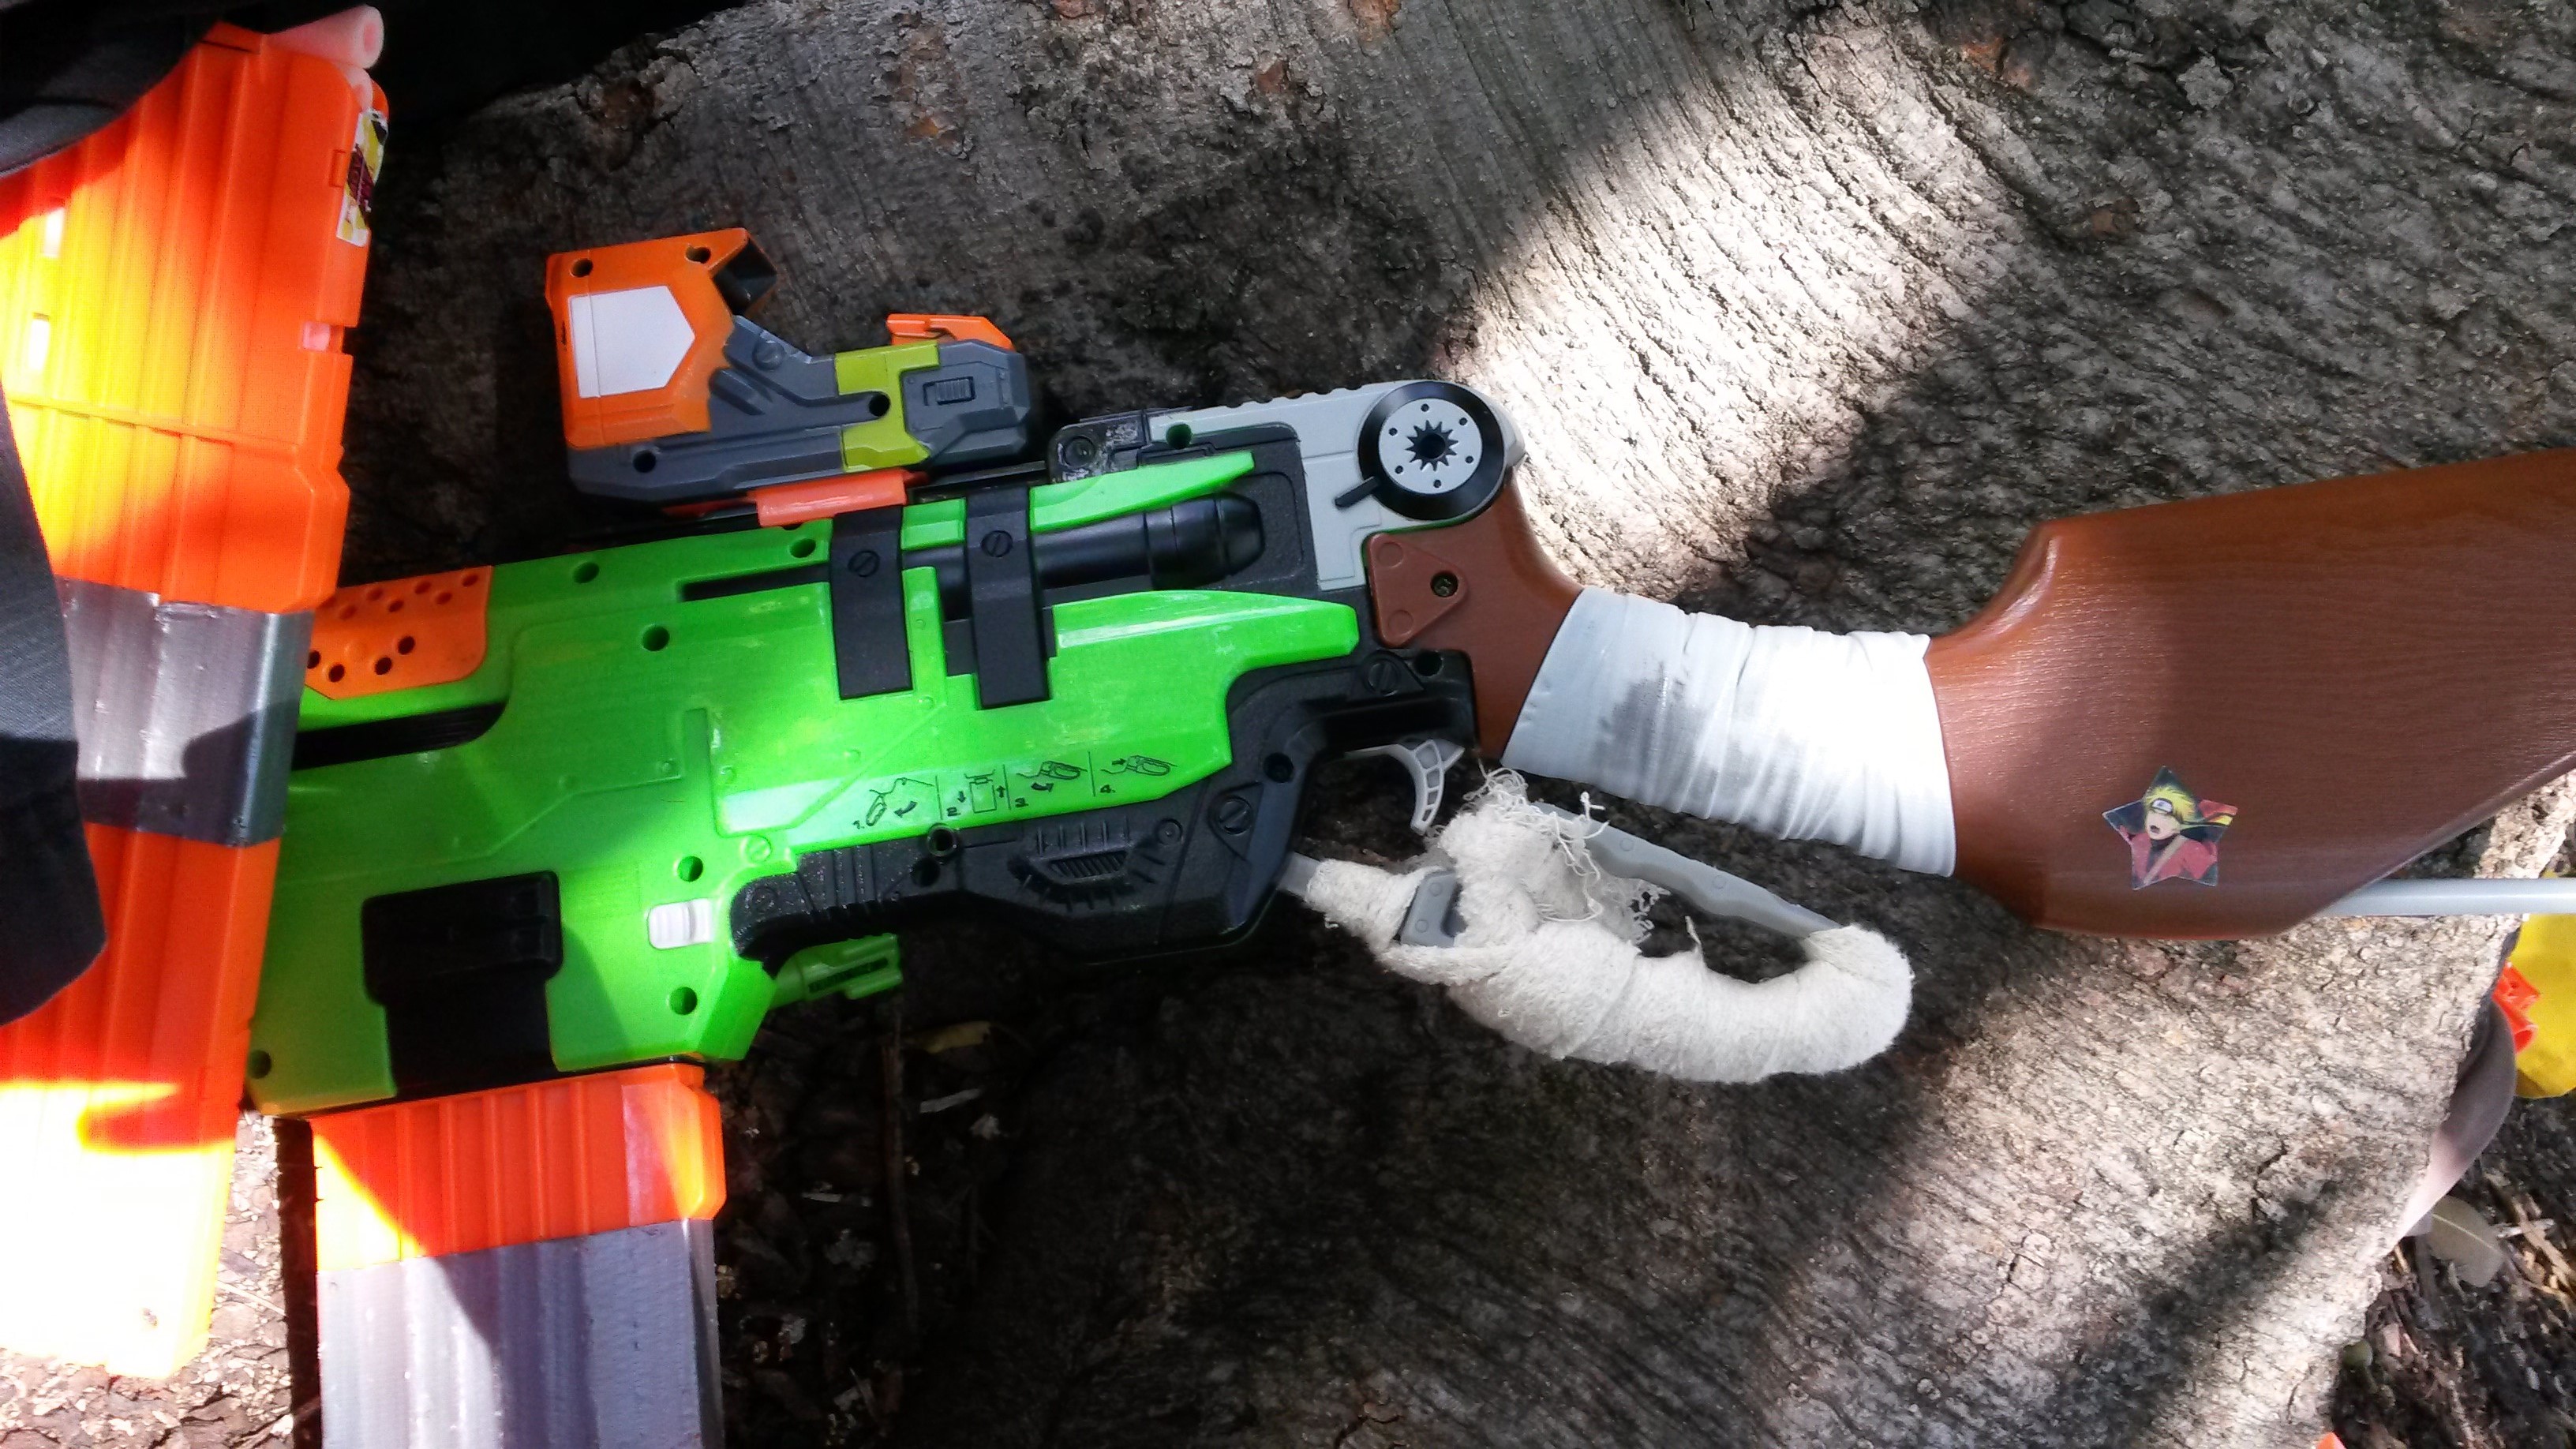
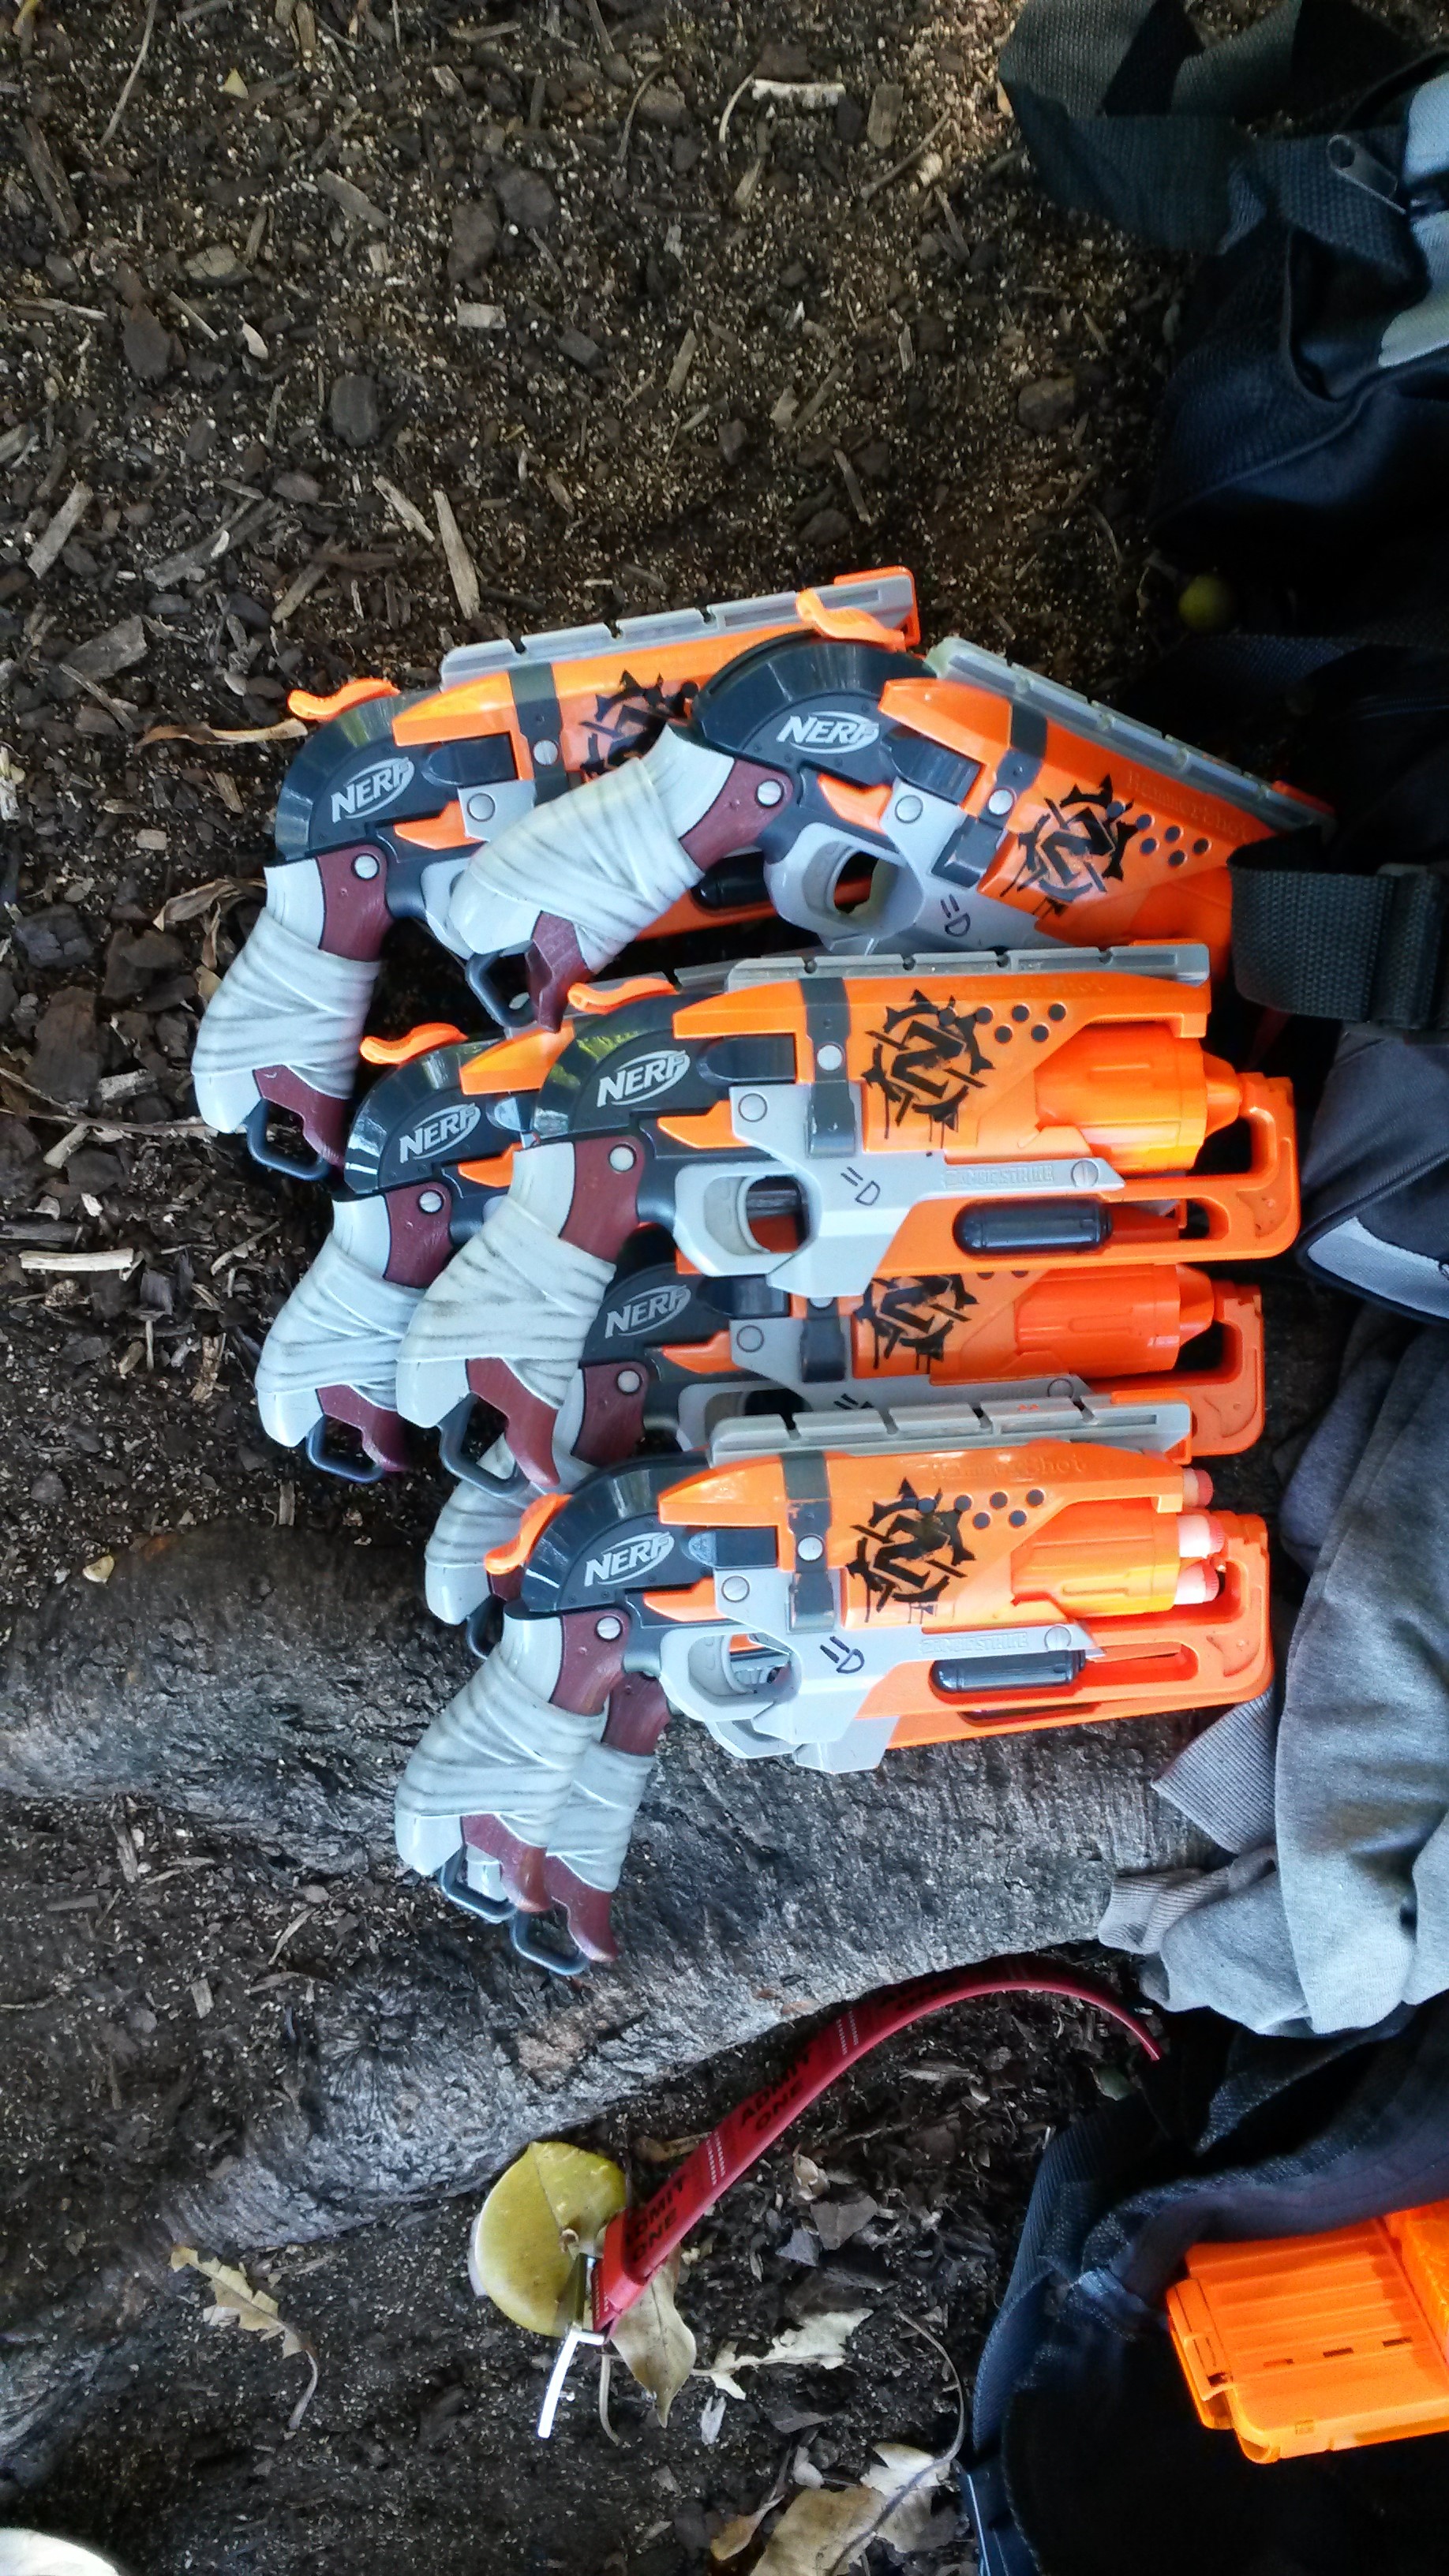
ZS Slingfire (various upgrade springs) – a mag-fed springer that can be one-handed and offers serious style points. Practically, falls short of the Retaliator, which has a faster ROF and more power.
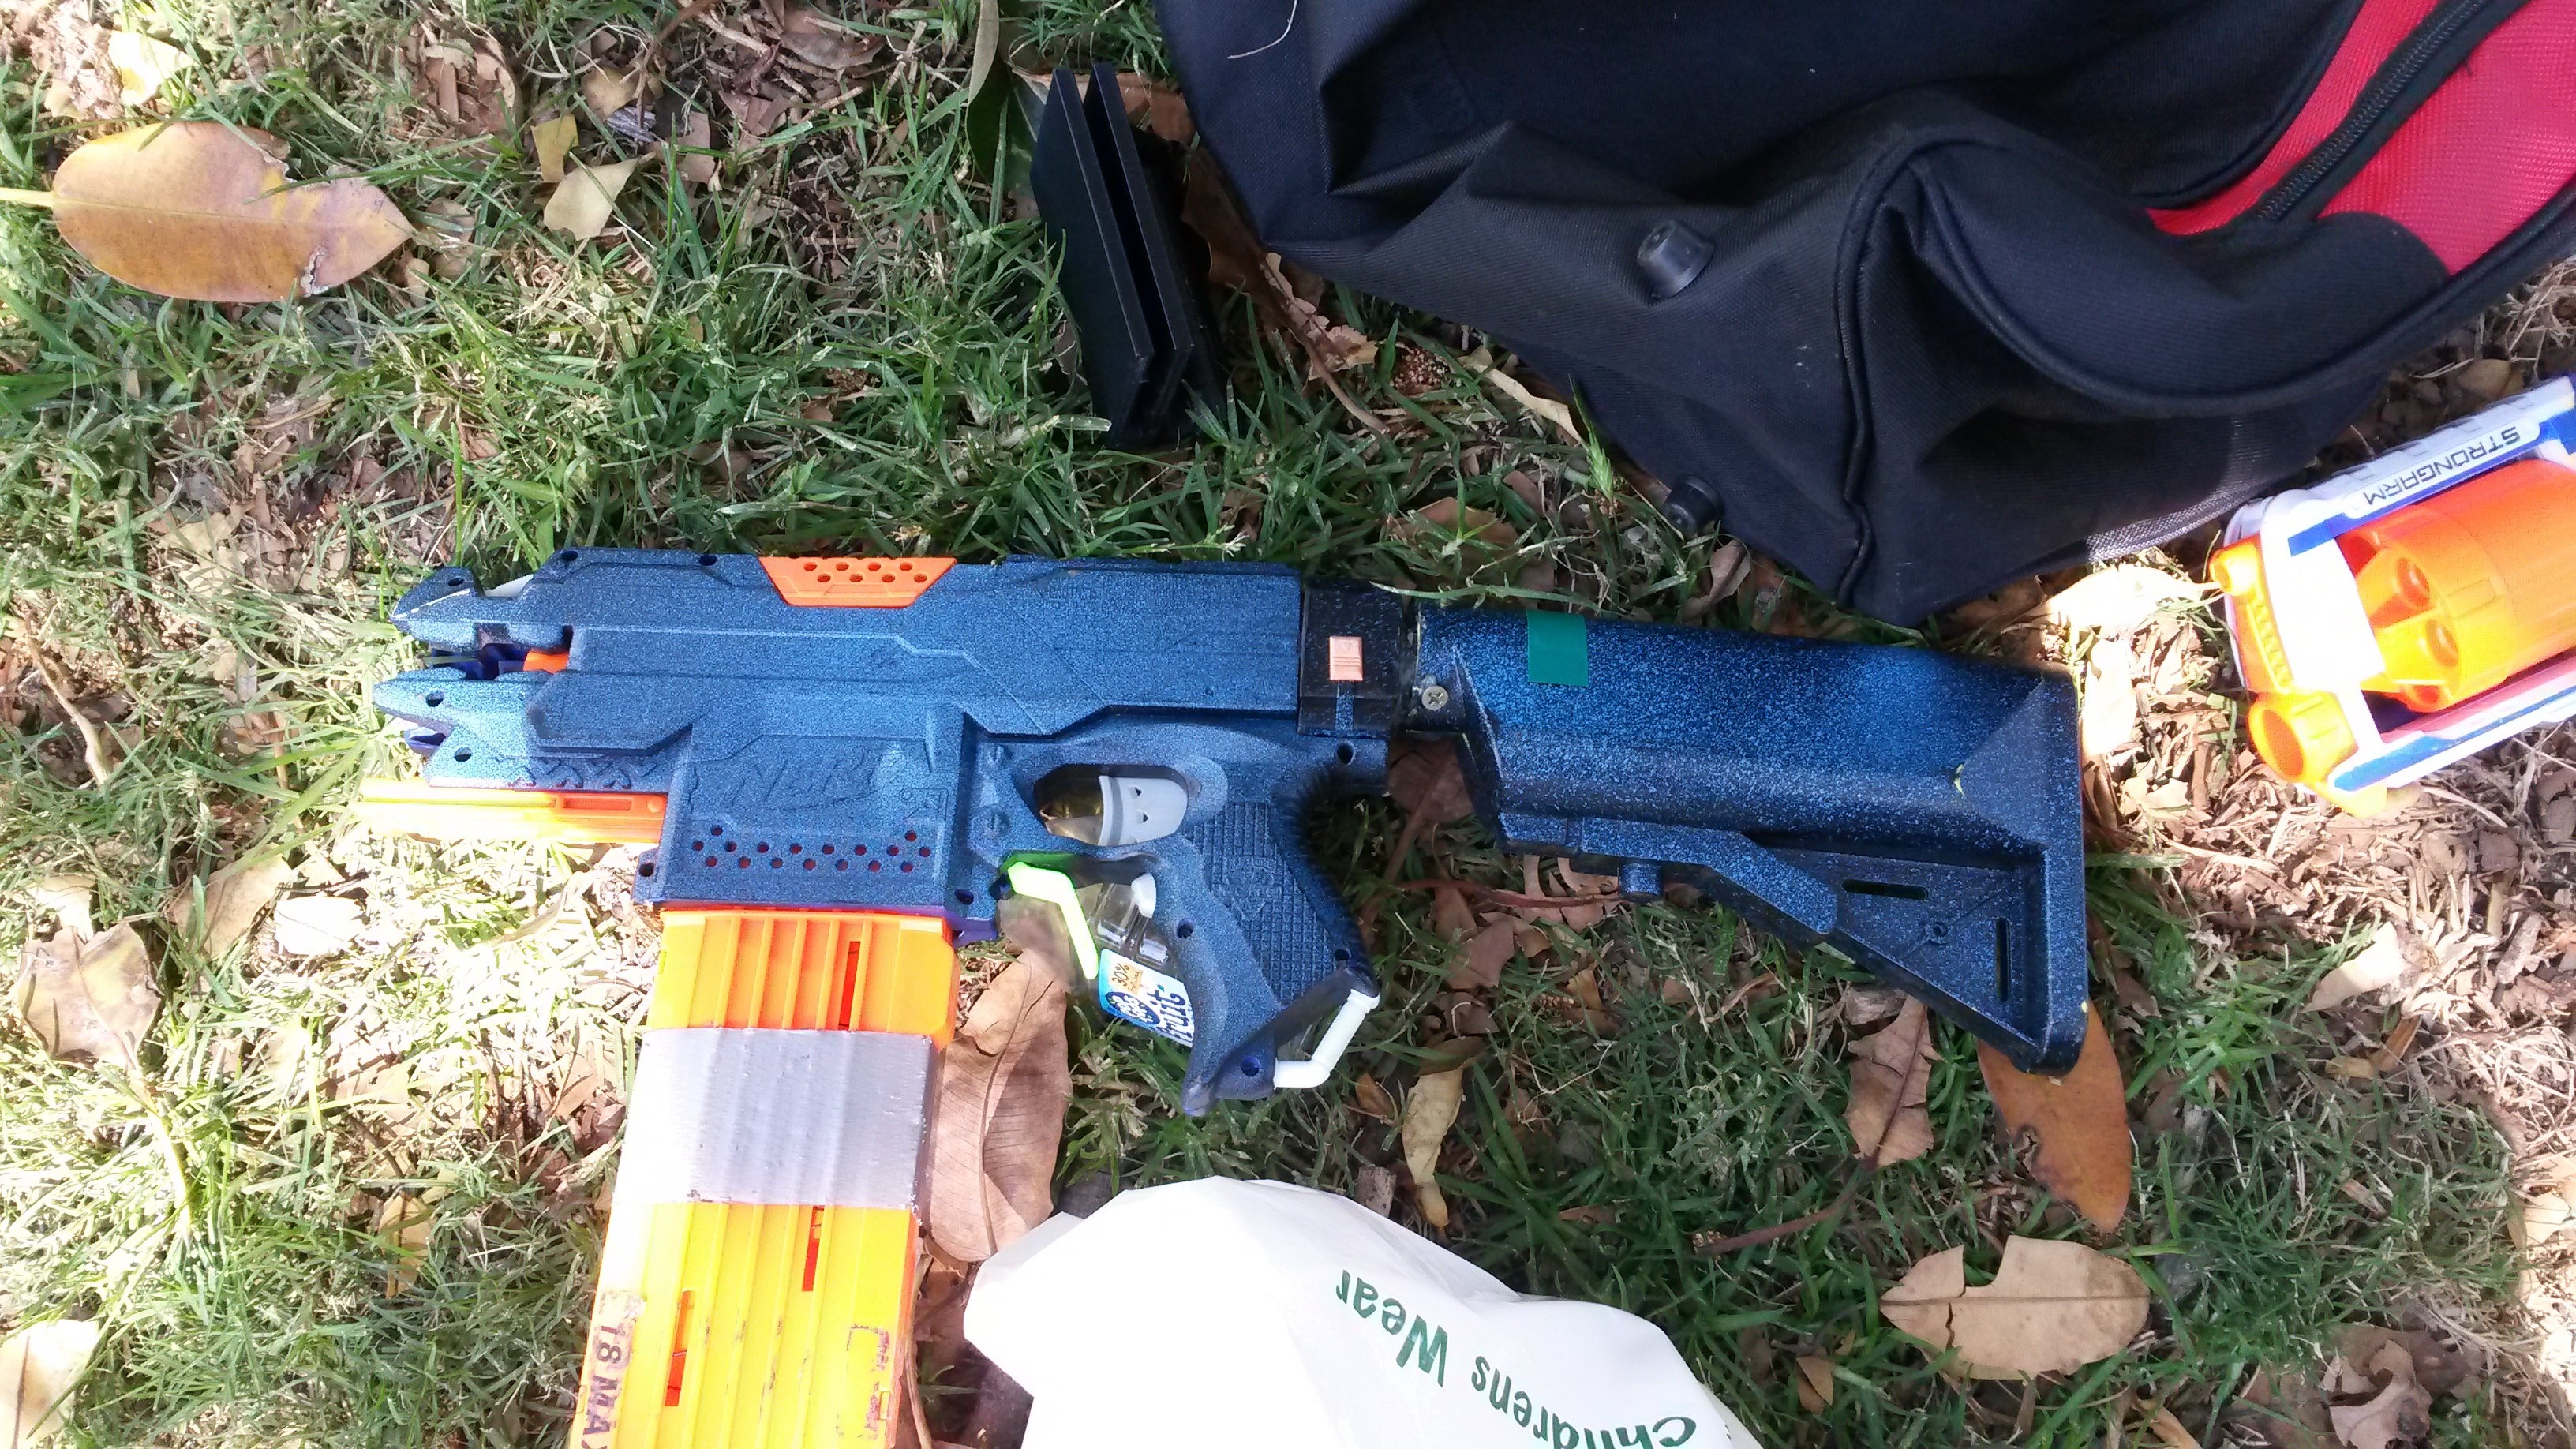

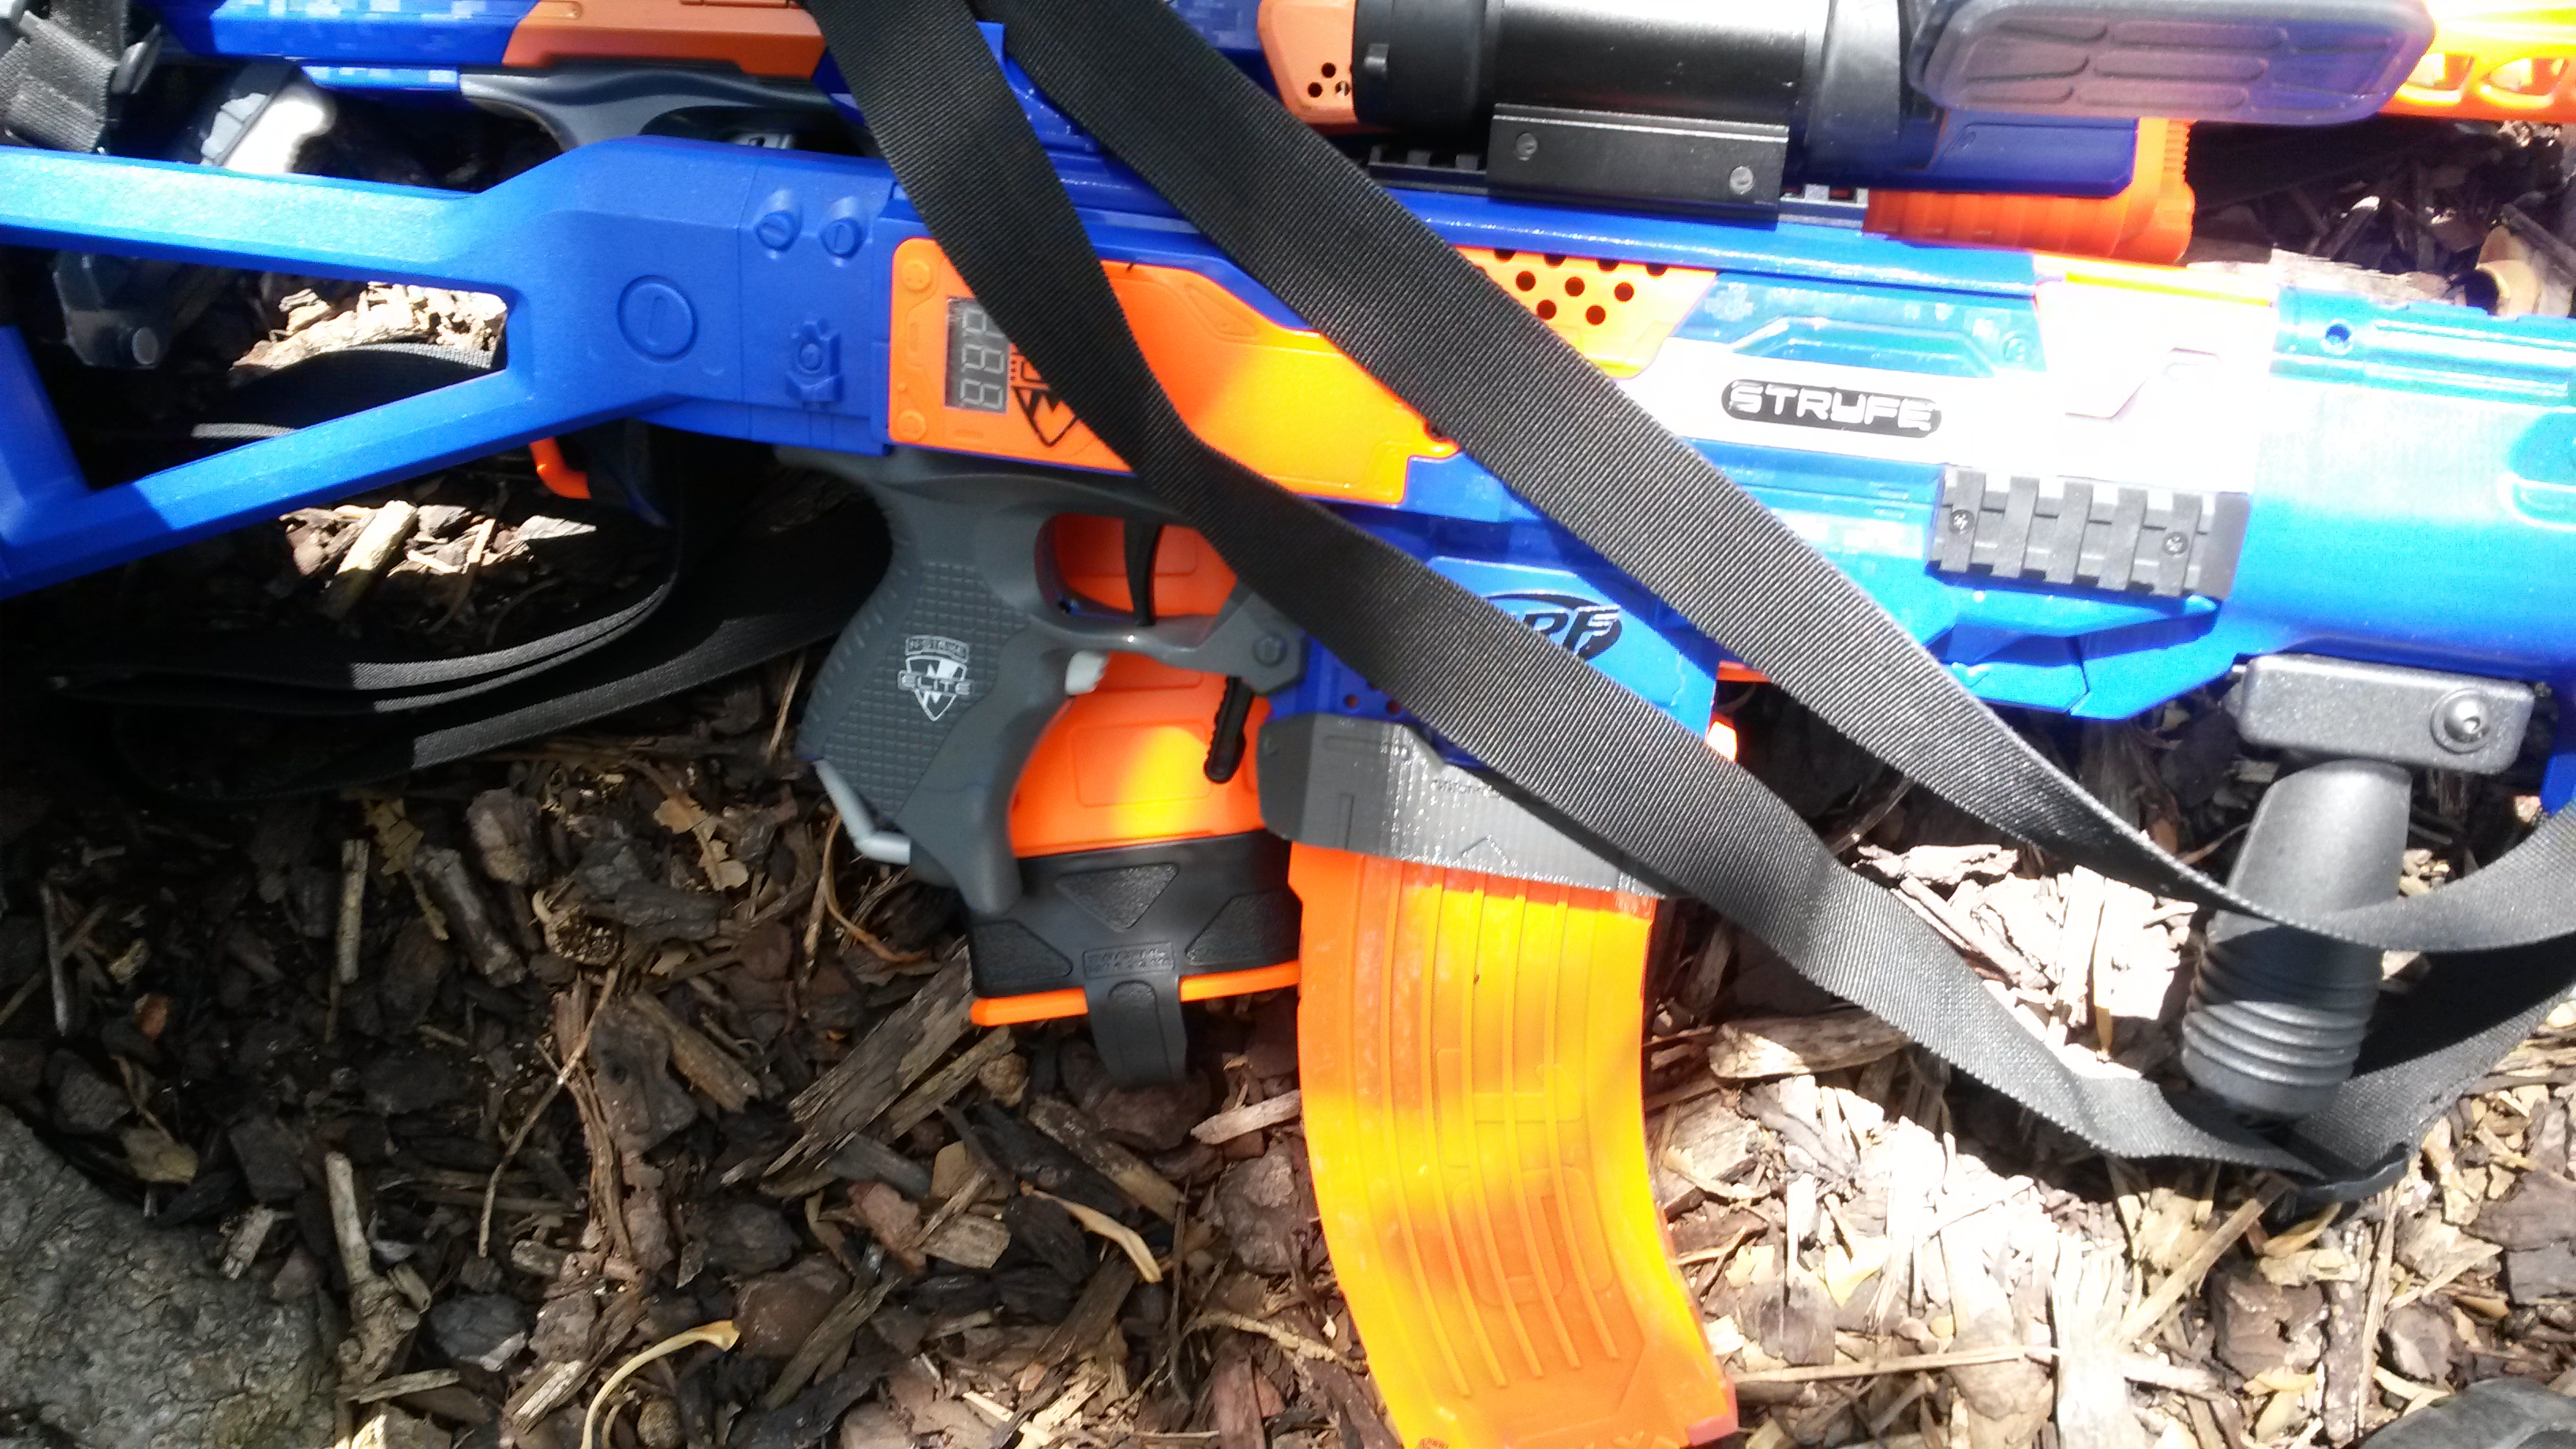
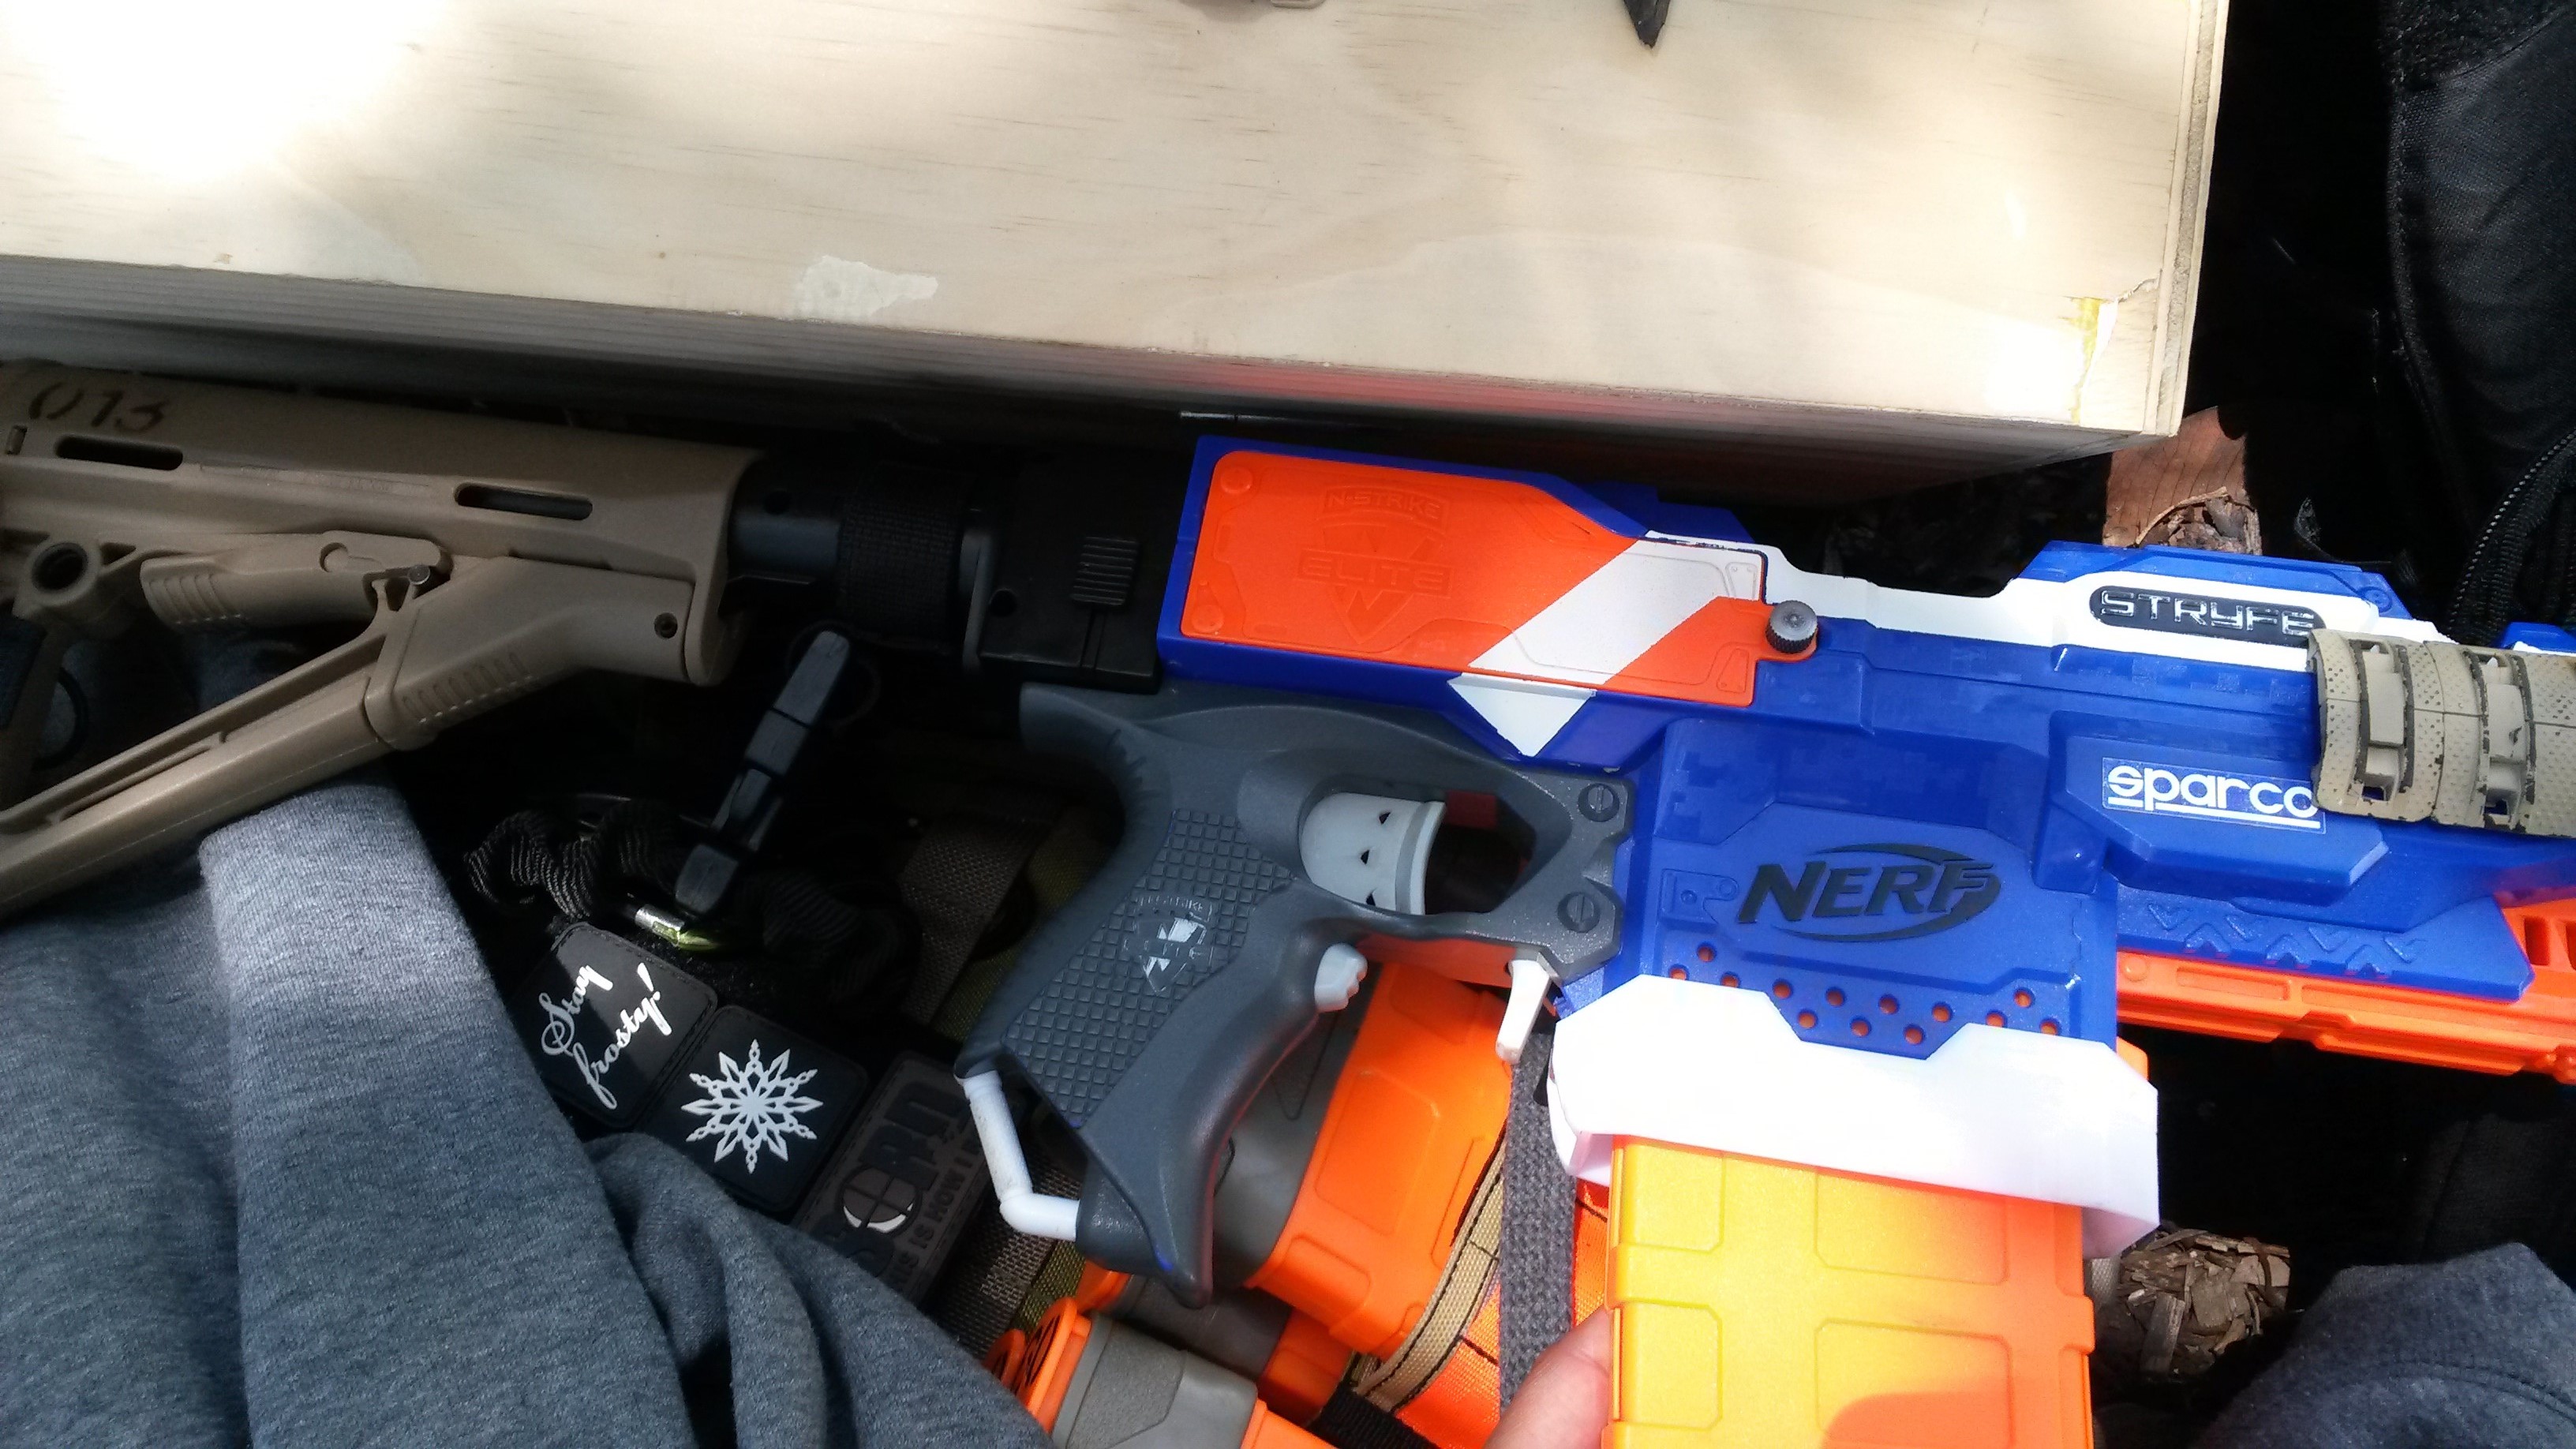
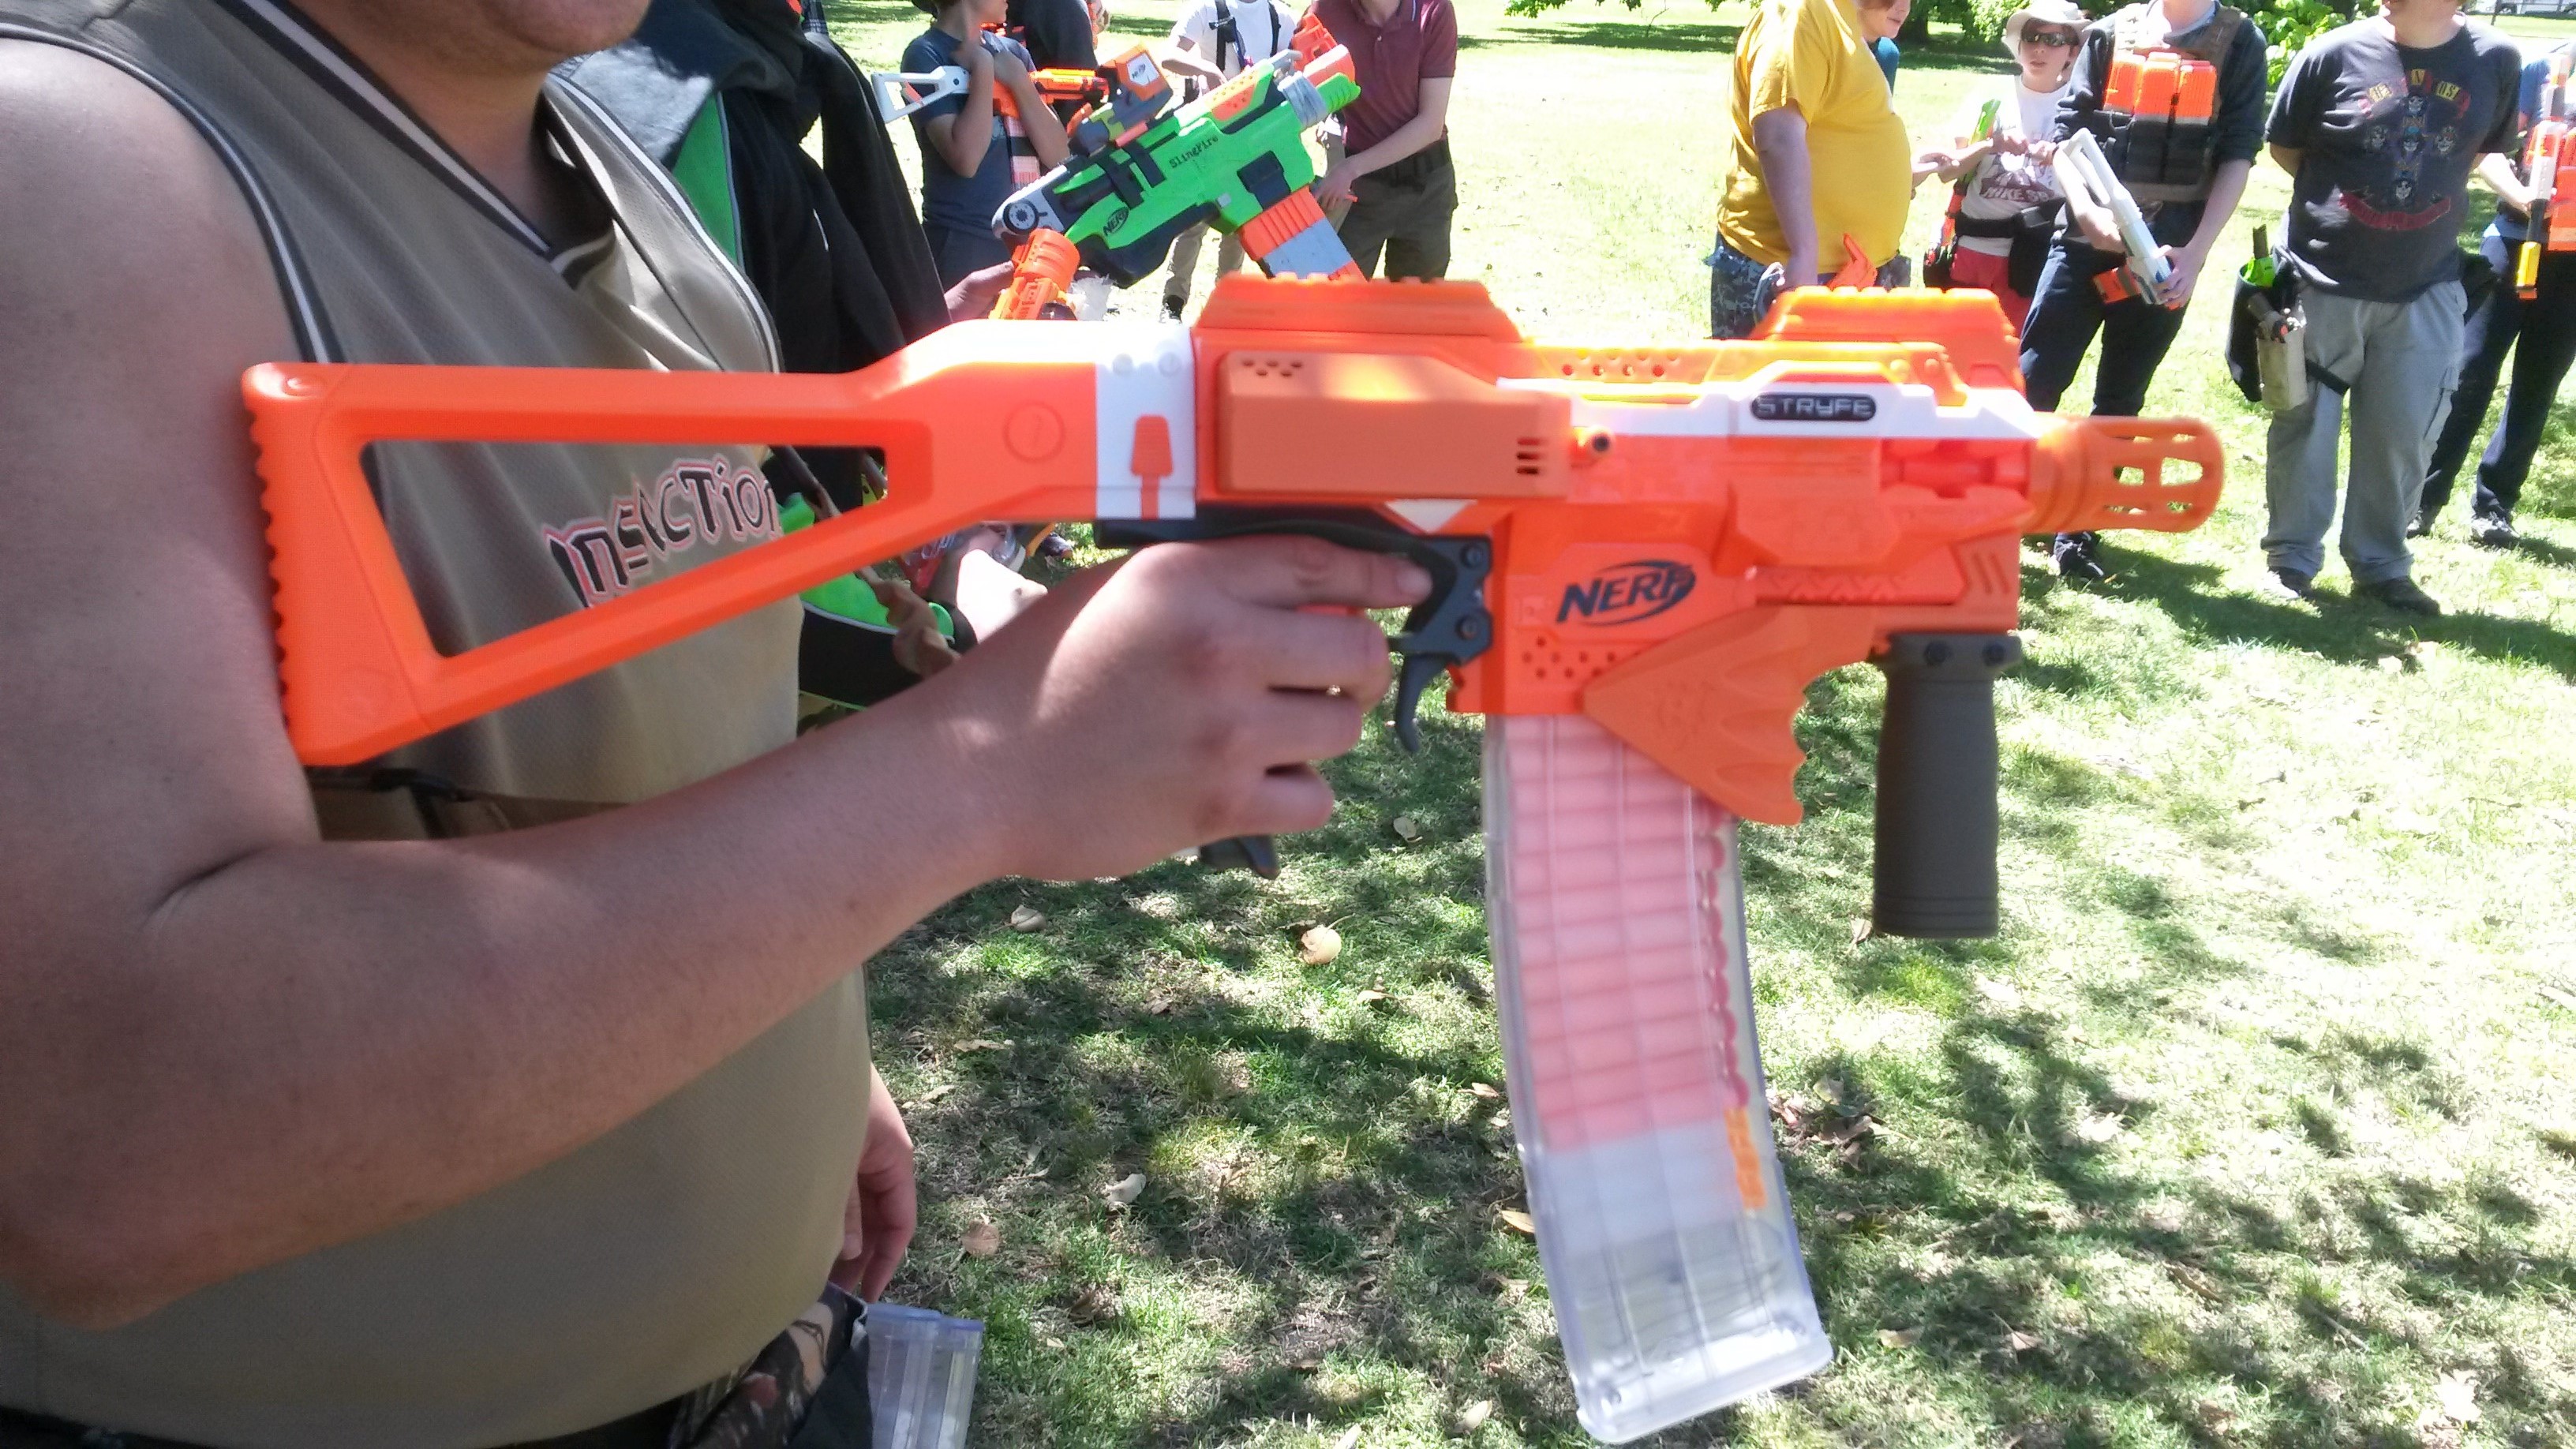
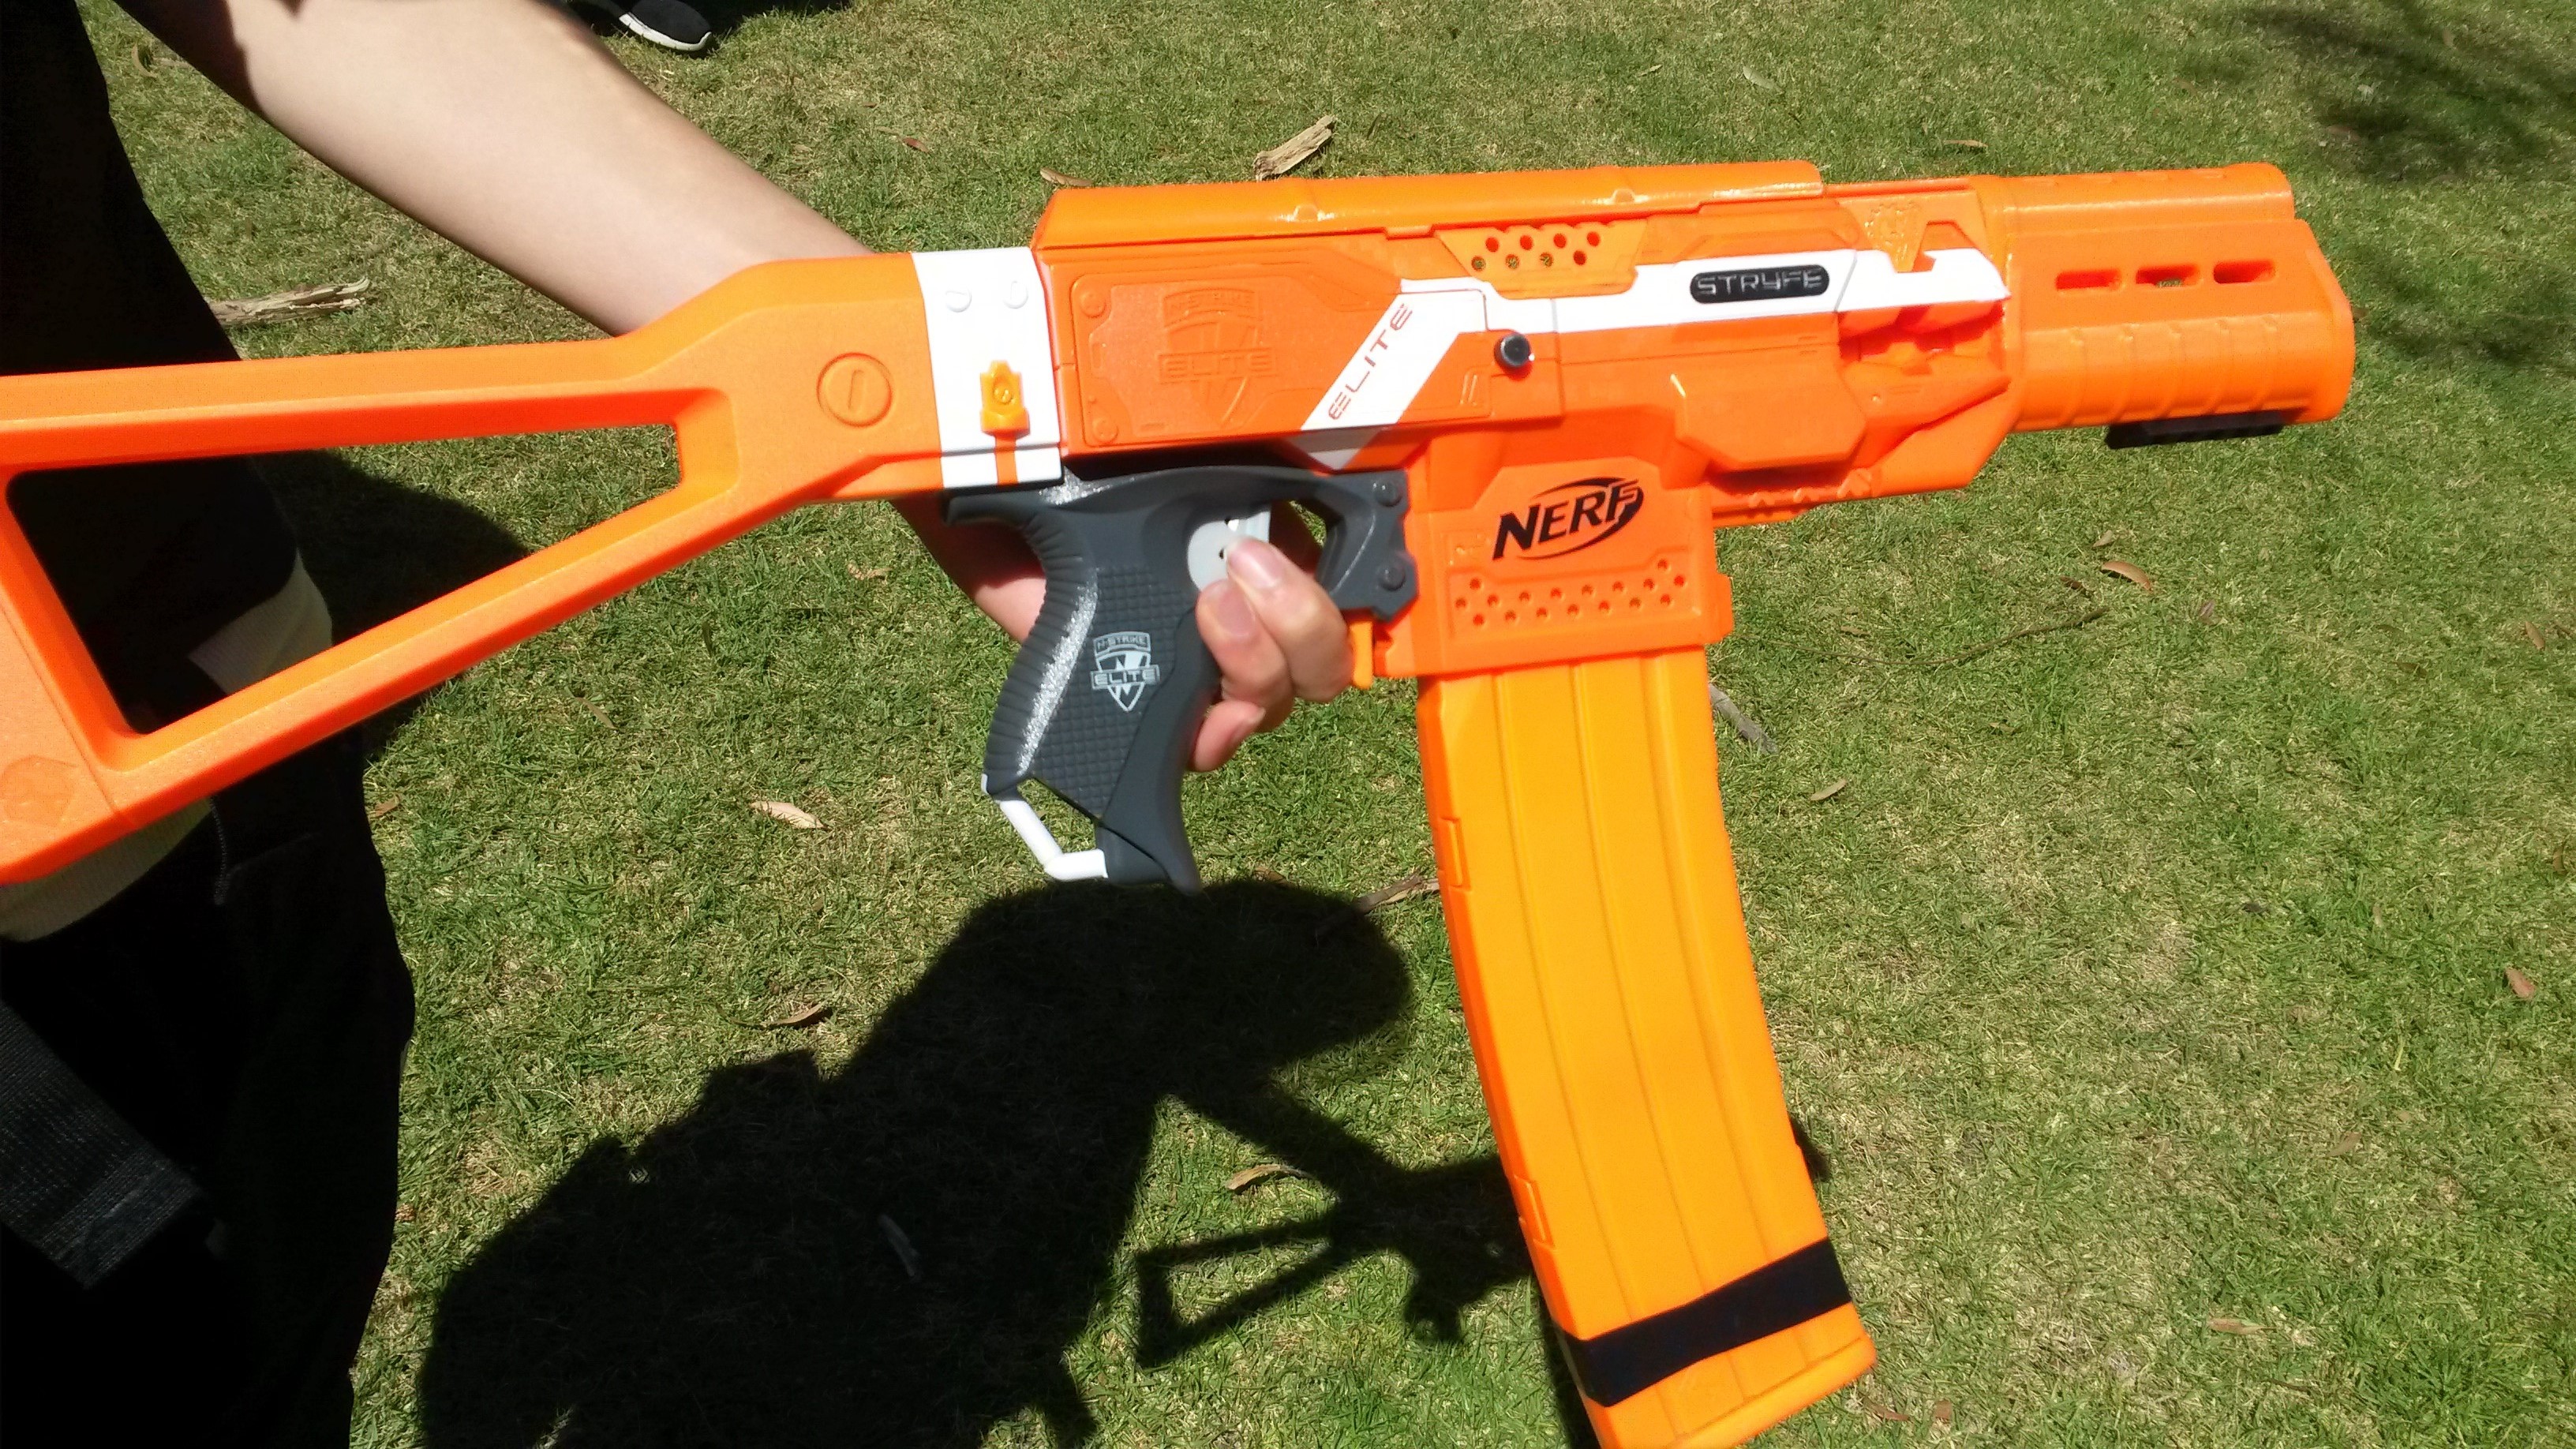
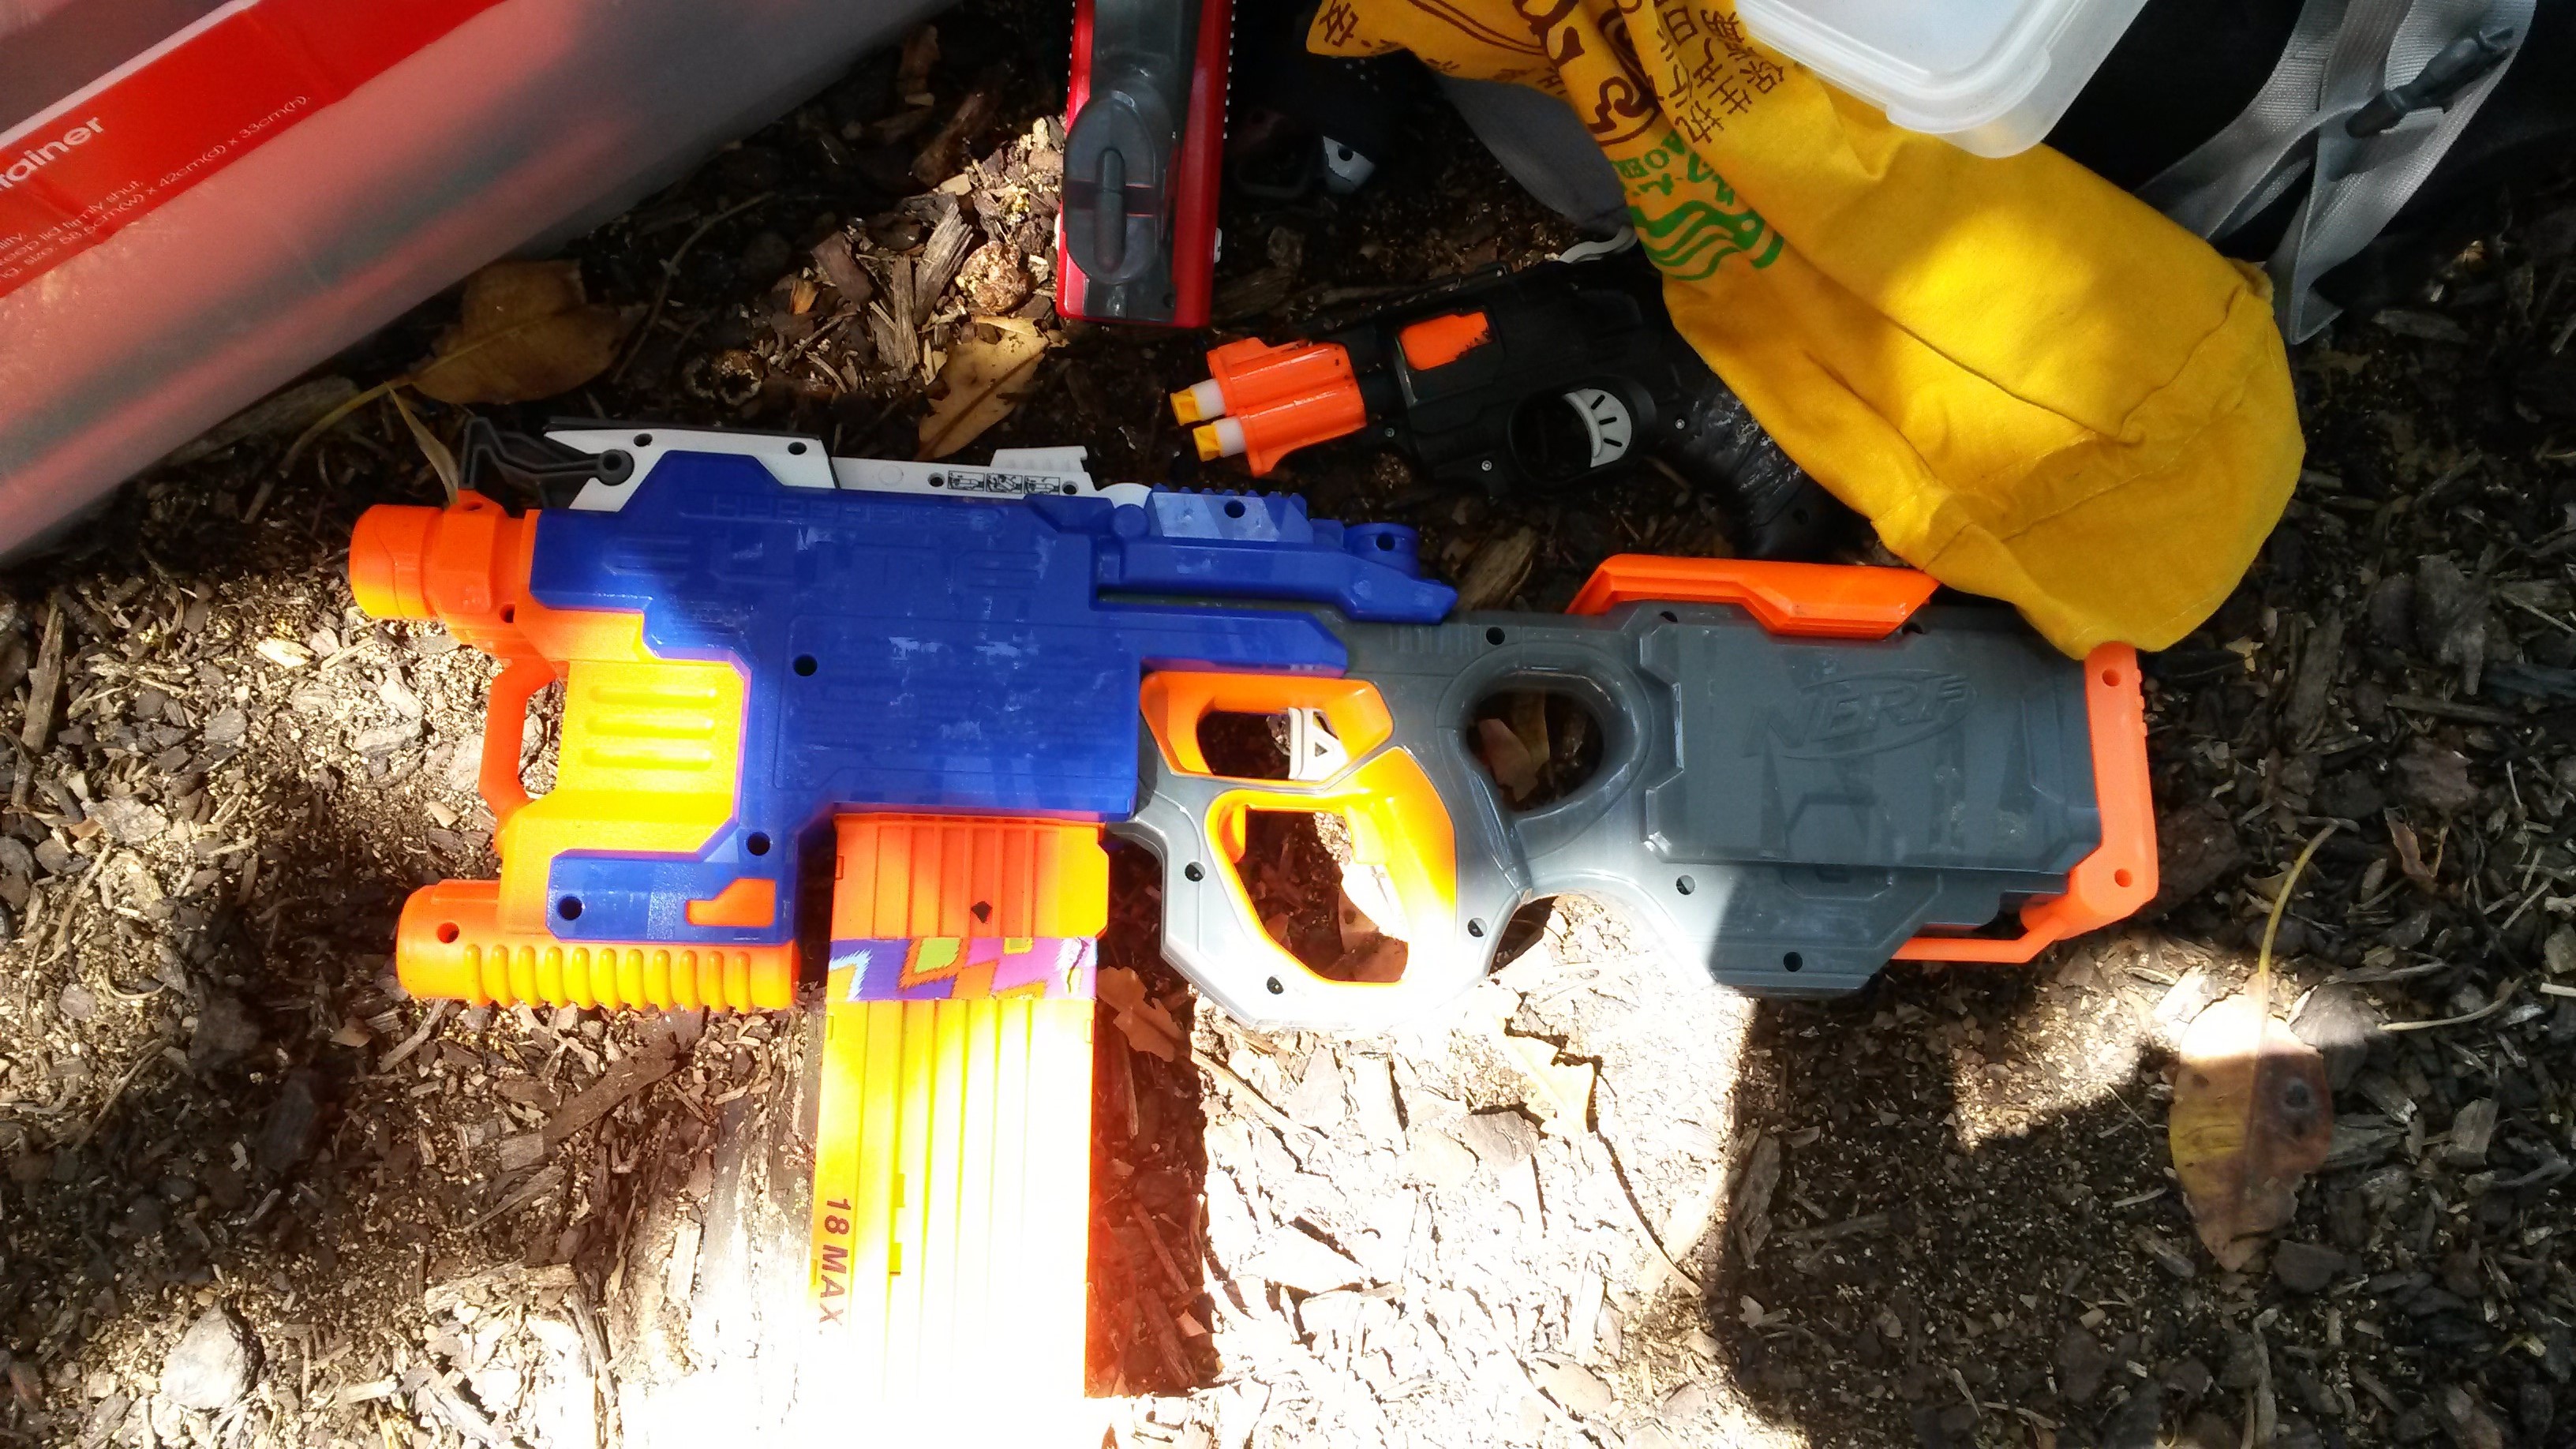
Elite Stryfe (various motors, LiPos) – standard semi-auto flywheeler. An excellent all-round blaster when built well, and capable of handling the majority of combat situations in the hands of a skilled user.
Elite Hyperfire (various motors, LiPos) – full-auto flywheeler with belt feed. I find them to be a lot less reliable than a Rapidstrike, and the stock canted flywheel cage doesn’t help. When it does work, it is roughly comparable to a similar spec Rapidstrike, however I personally consider Hyperfires to be significantly inferior overall.
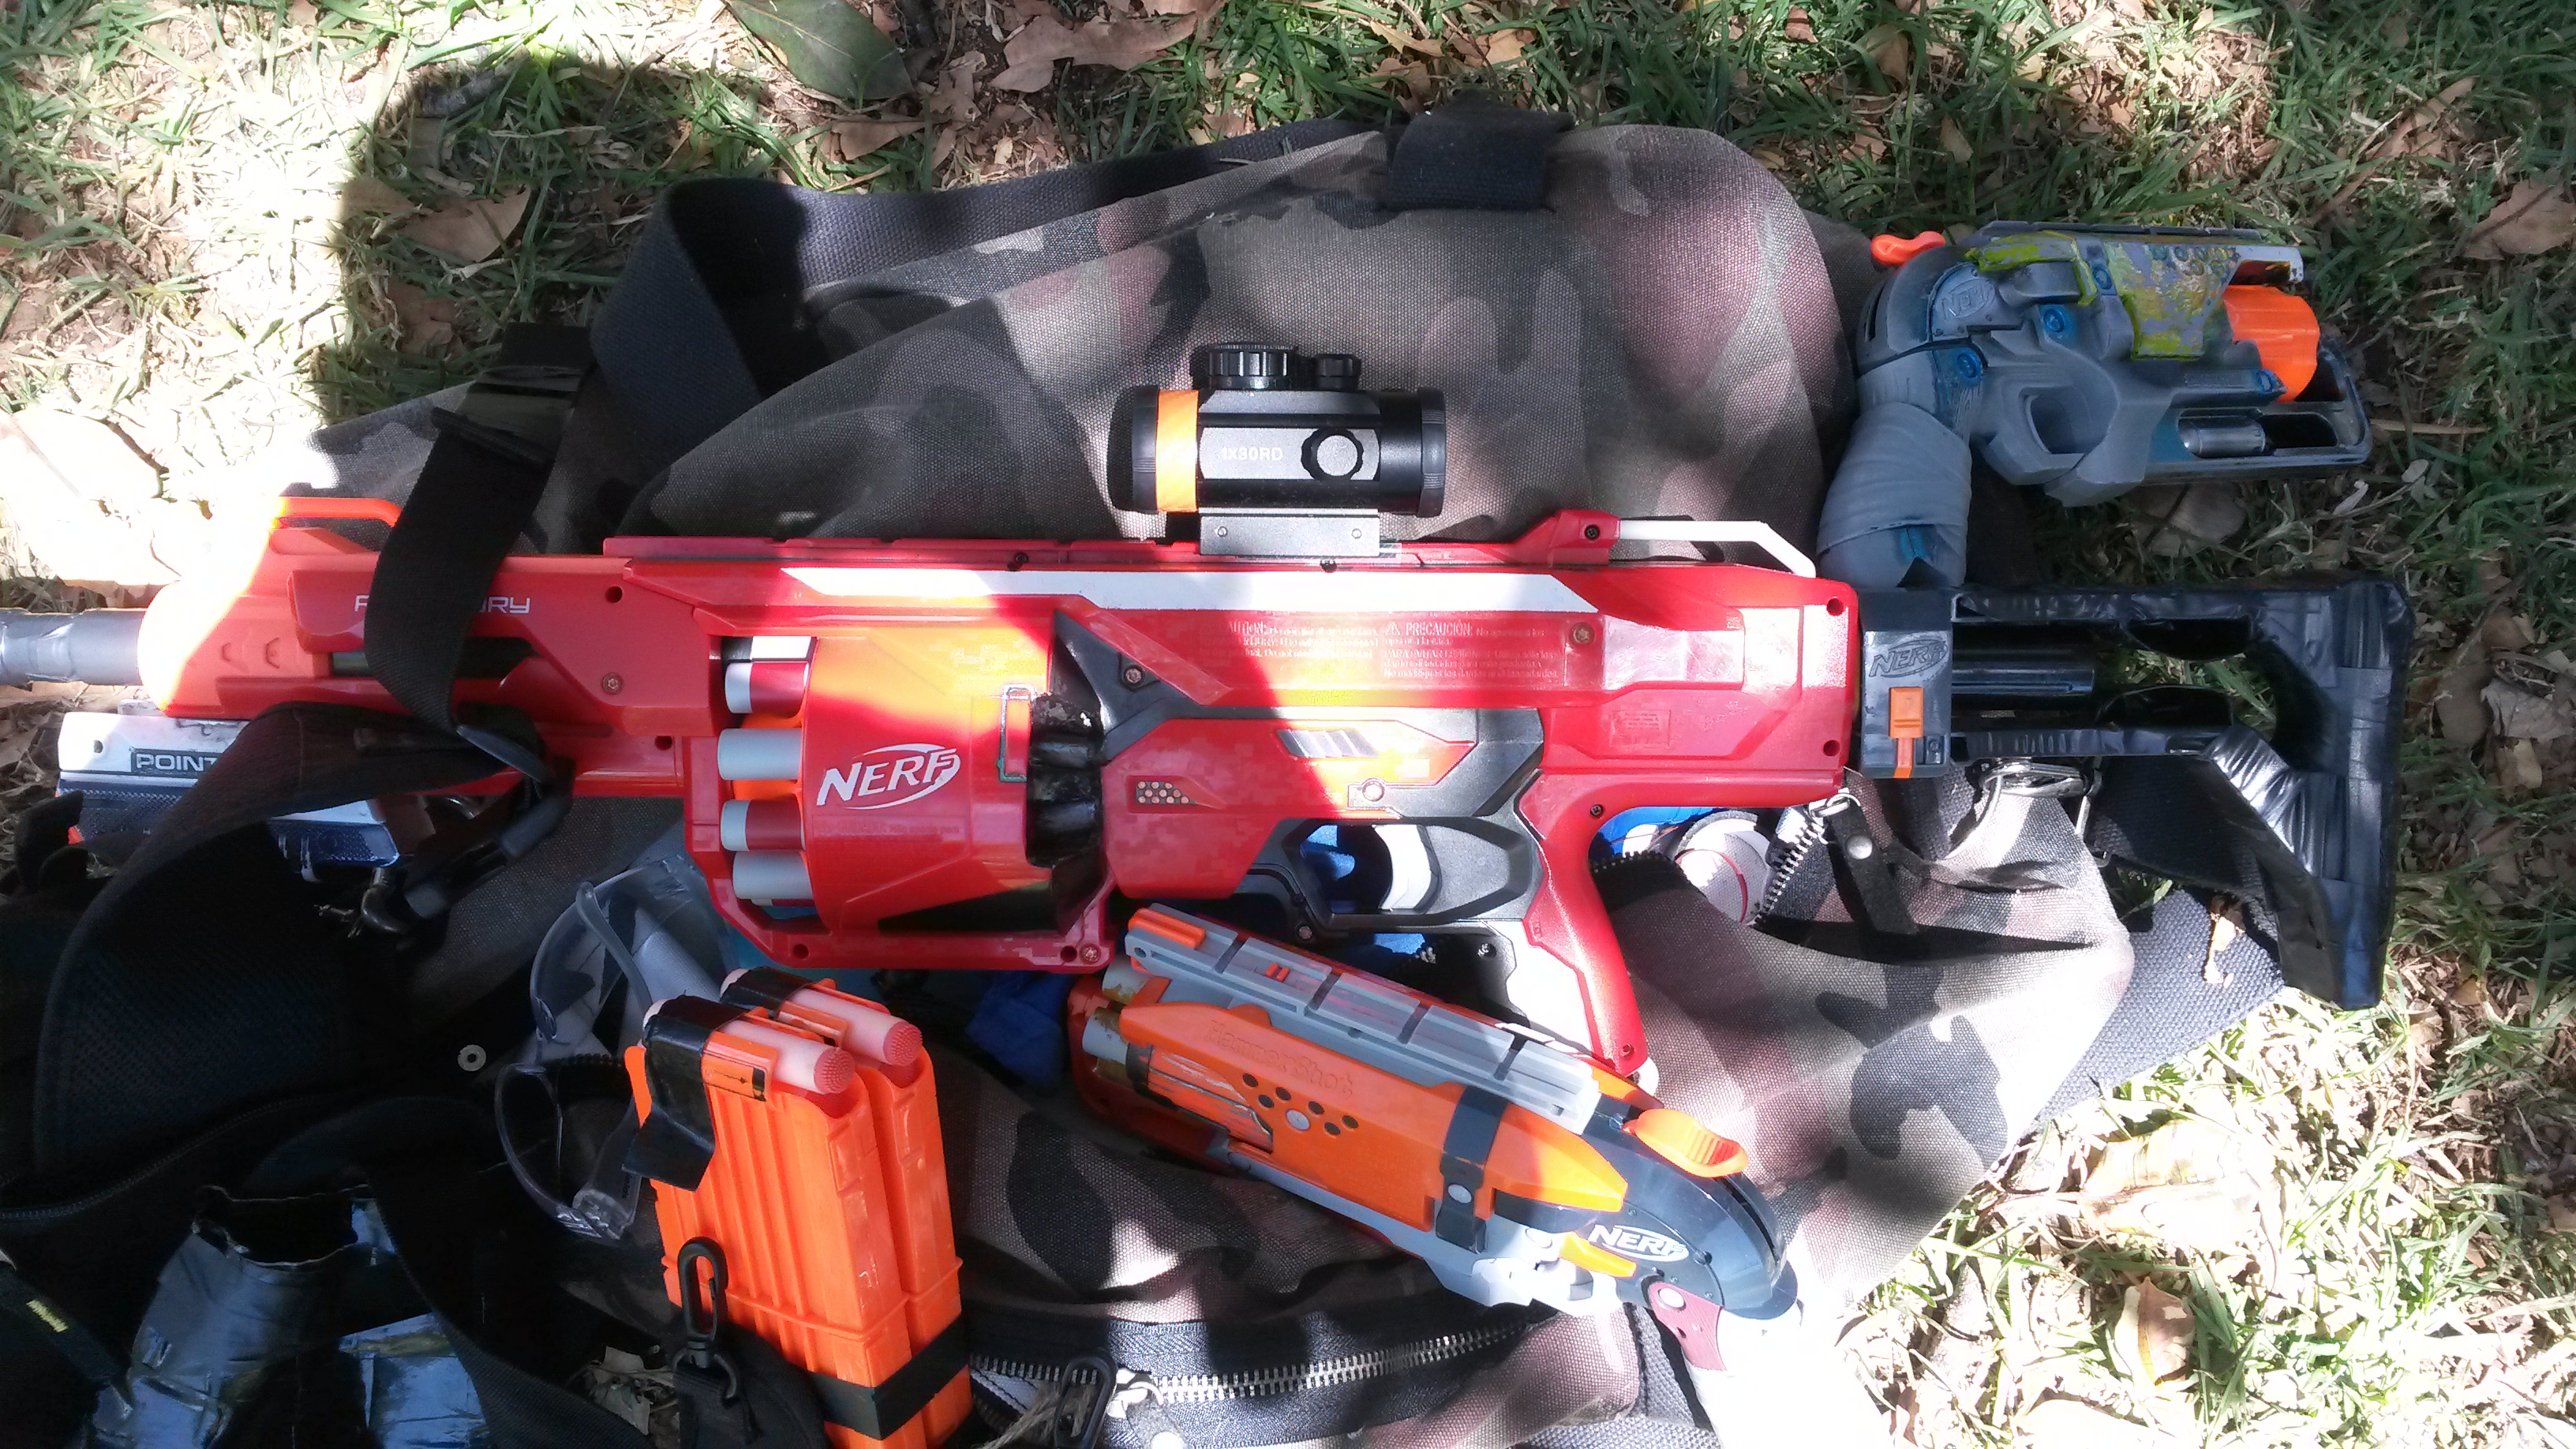
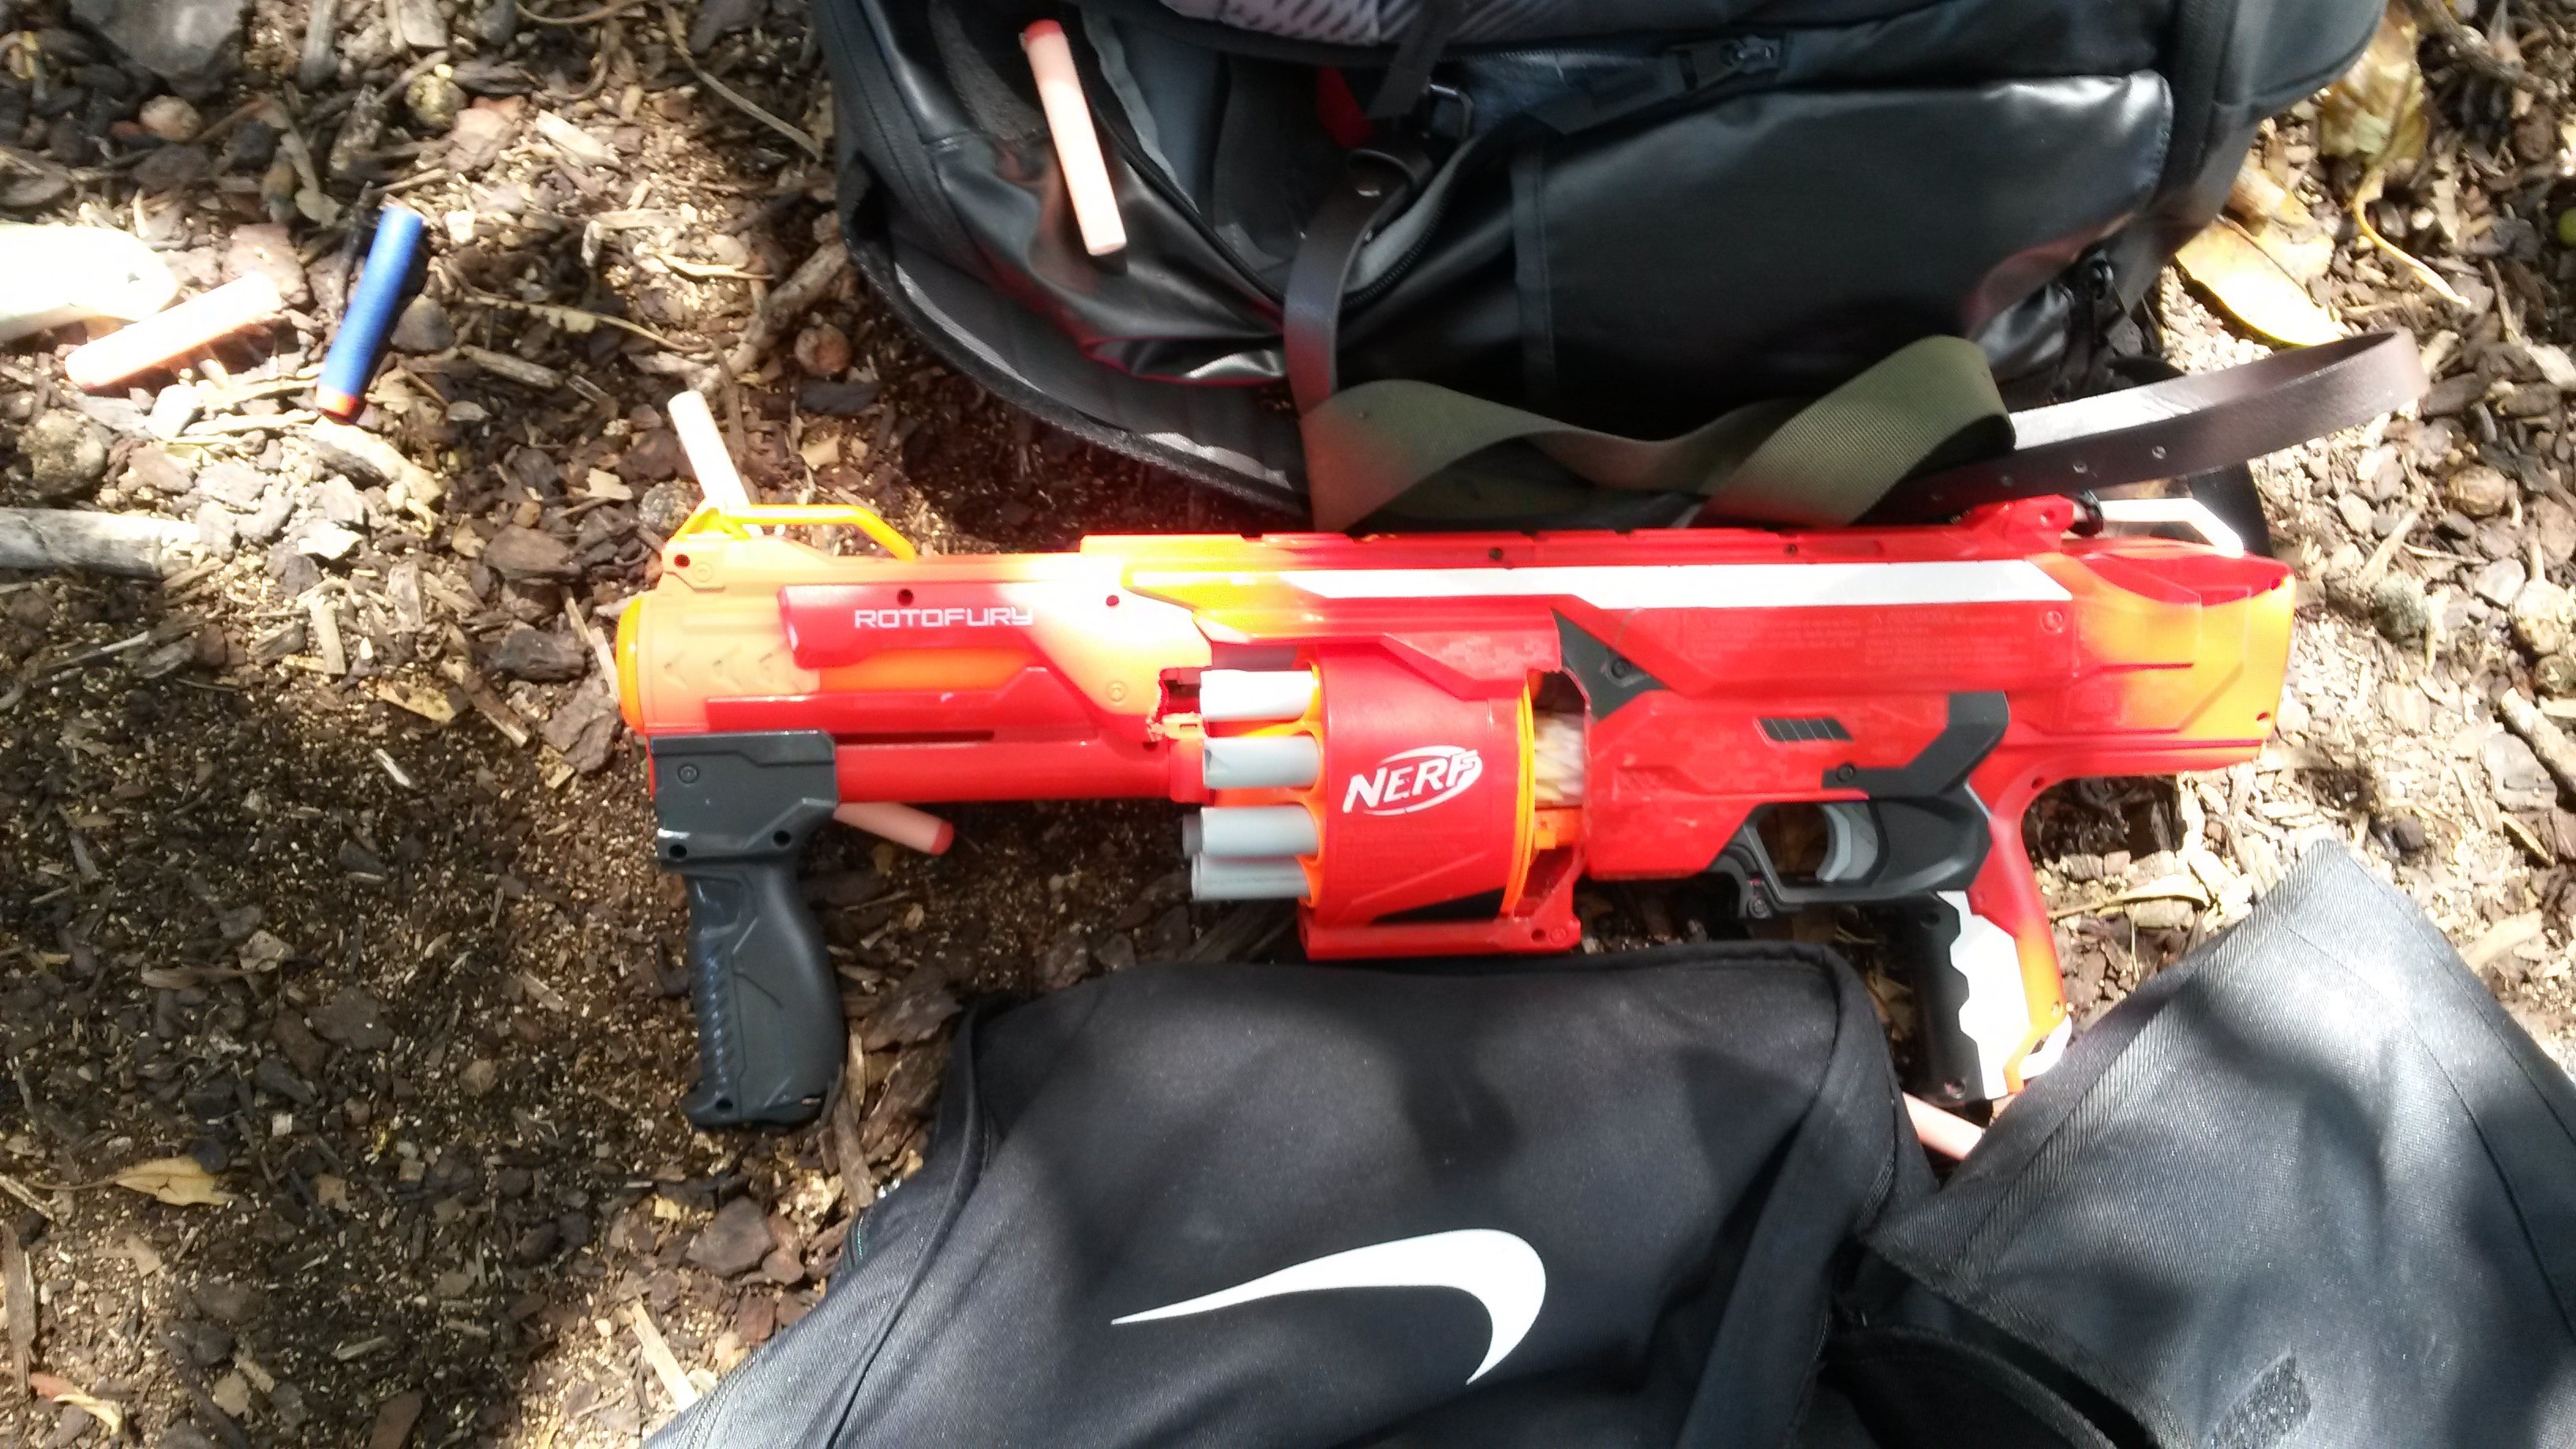
Mega Rotofury (usually rebarreled for Koosh, various springs) – high power springer that can be topped up fairly easily. Effective at pot-shotting zombies from longer range, but vulnerable in close quarters with its relatively low capacity and ROF.

New/Infrequent:


As it turns out, the top flywheel motor had failed and refused to spin. This put my Bullpup RS completely out of action. Additionally, as I was selling some blasters on the day, I did not pack a backup primary blaster, so was left with an EAT I was selling later in the day, and my Sweet Revenges.
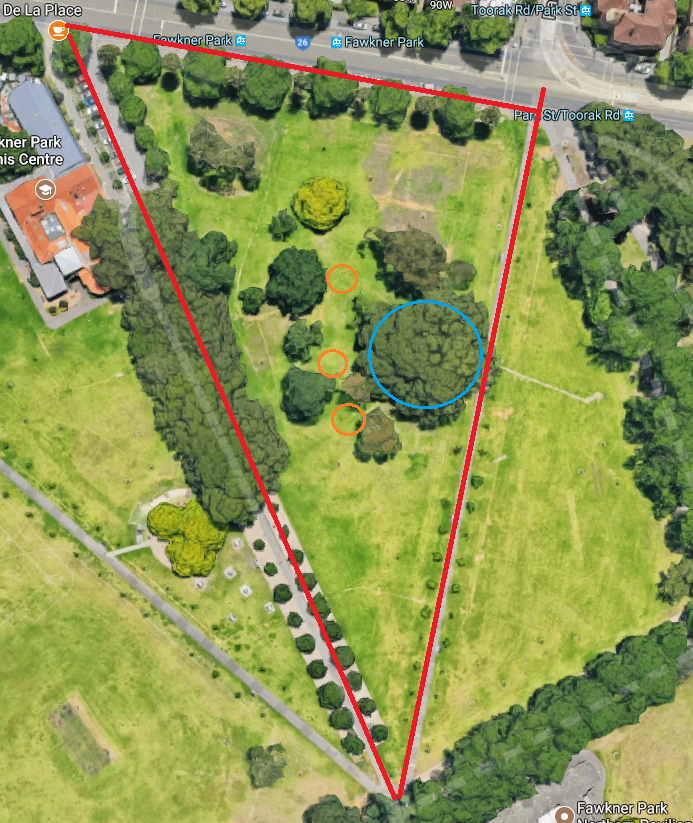
Both rounds progressed quite ordinarily through the first eight or so minutes, and it was only in the second half of the games that distinct differences emerged. In the first round, the Tanks were able to make a couple of successful charges, but weren’t able to achieve a lot of tags. This changed significantly when the Husk was released. Against the often clumped up humans, the Husk can be a very significant threat in Space Pope, and can achieve a number of tags even without particularly good throws. I was a victim of the Husk. There were about two or three humans between myself and the Husk, which obscured my view of them. When the Husk threw, they all dodged in time, but I did not react in time to the Husk’s Vortex Howler, and was tagged.
As I was making my way out of the tanbark area, there was some commotion in the human group. The Traitor had attempted to tag out the General and another human using the grenade and their Traitor tag. The General had noticed this, and fired a dart that hit the Traitor during these events. Afte some clarification of the Traitor rules, both the Traitor and General were turned. With the zombies now knowing the identity of the Space Pope, we could more precisely target humans, and in particular, the Husk was given a good target. With the zombies coordinated on a single target but spread out around the area, we began repeated charges into the tanbark area. The humans were able to mostly fend off zombie charges for a couple of minutes, however the approaches from all directions inevitably caused an increasing number of human casualties from unwatched angles. Eventually, the VIP was left vulnerable and was tagged for a zombie victory.
In the second round, the Traitor once again took out the General. This time however, the human group stood strong in the face of repeated zombie attacks. Unlike the previous round in which poor directional coverage caused many human casualties, in this round the humans were much better at covering all directions, even in the face of repeated zombie charges. With a similar spread out zombie horde, the singular zombies were picked off much more easily with better directional awareness. As a result, the humans suffered far fewer casualties and held much stronger in the dying minutes of the game. This round ended with a dominant human victory.
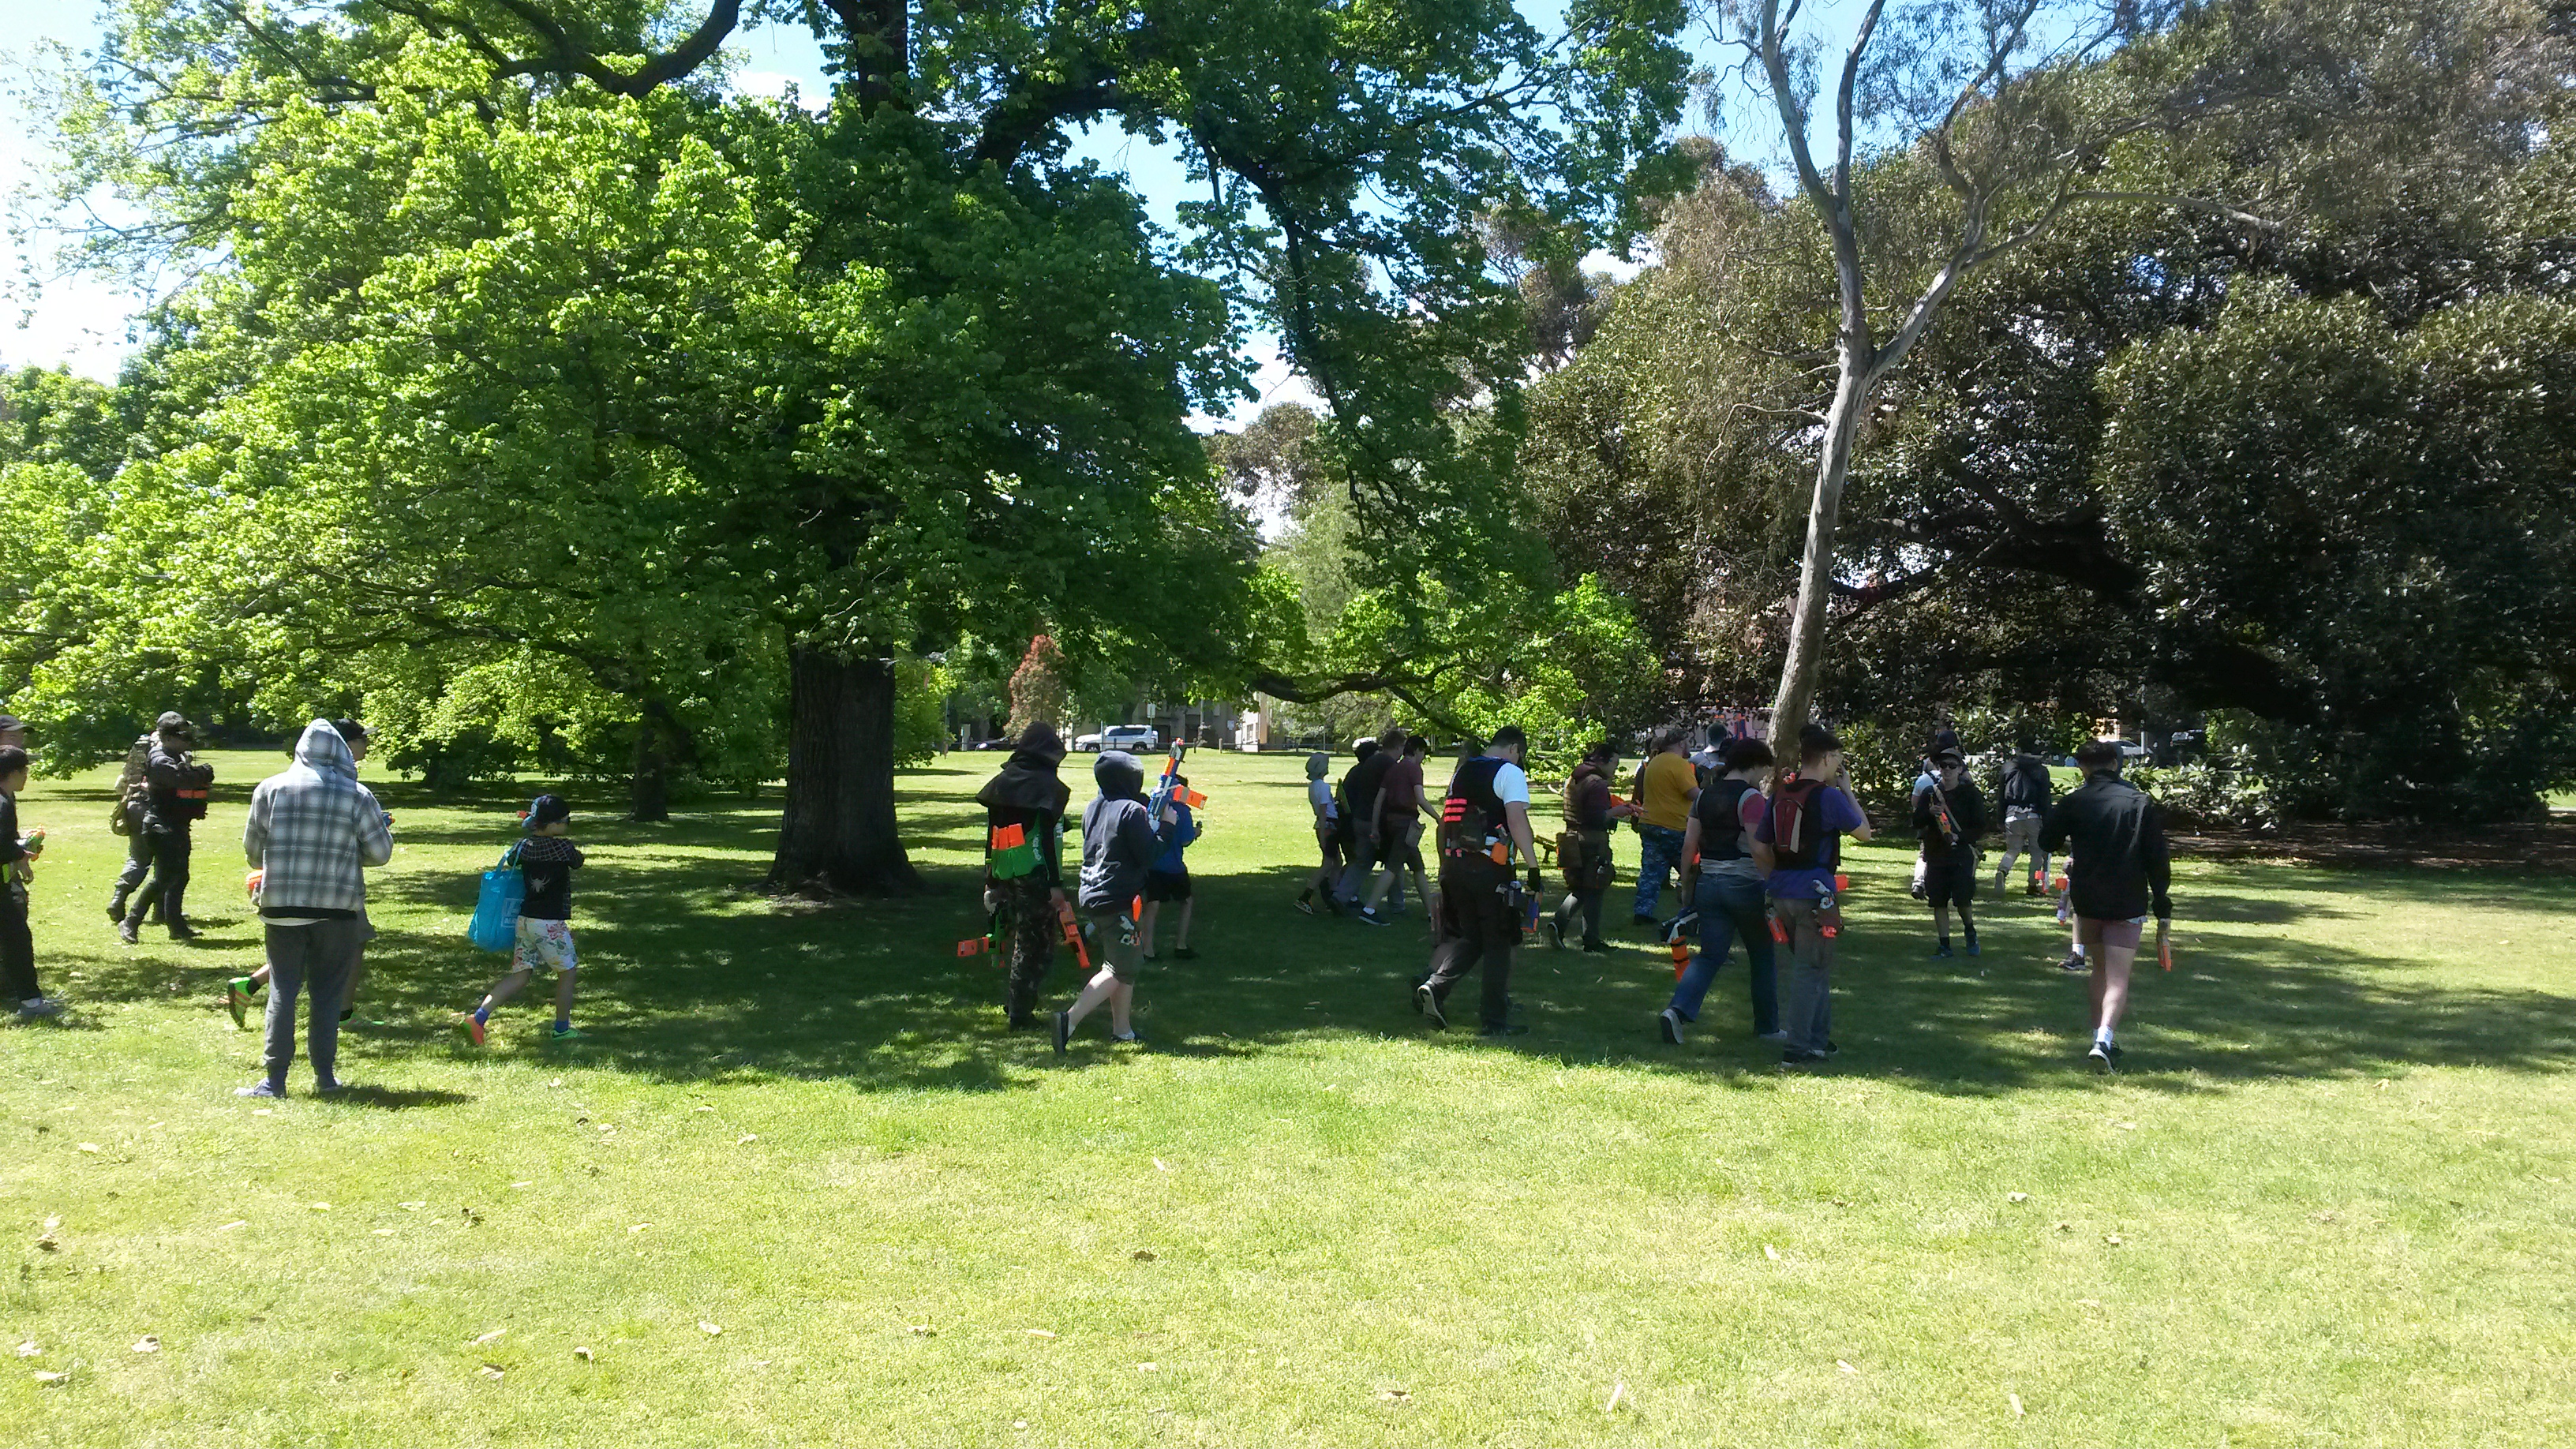
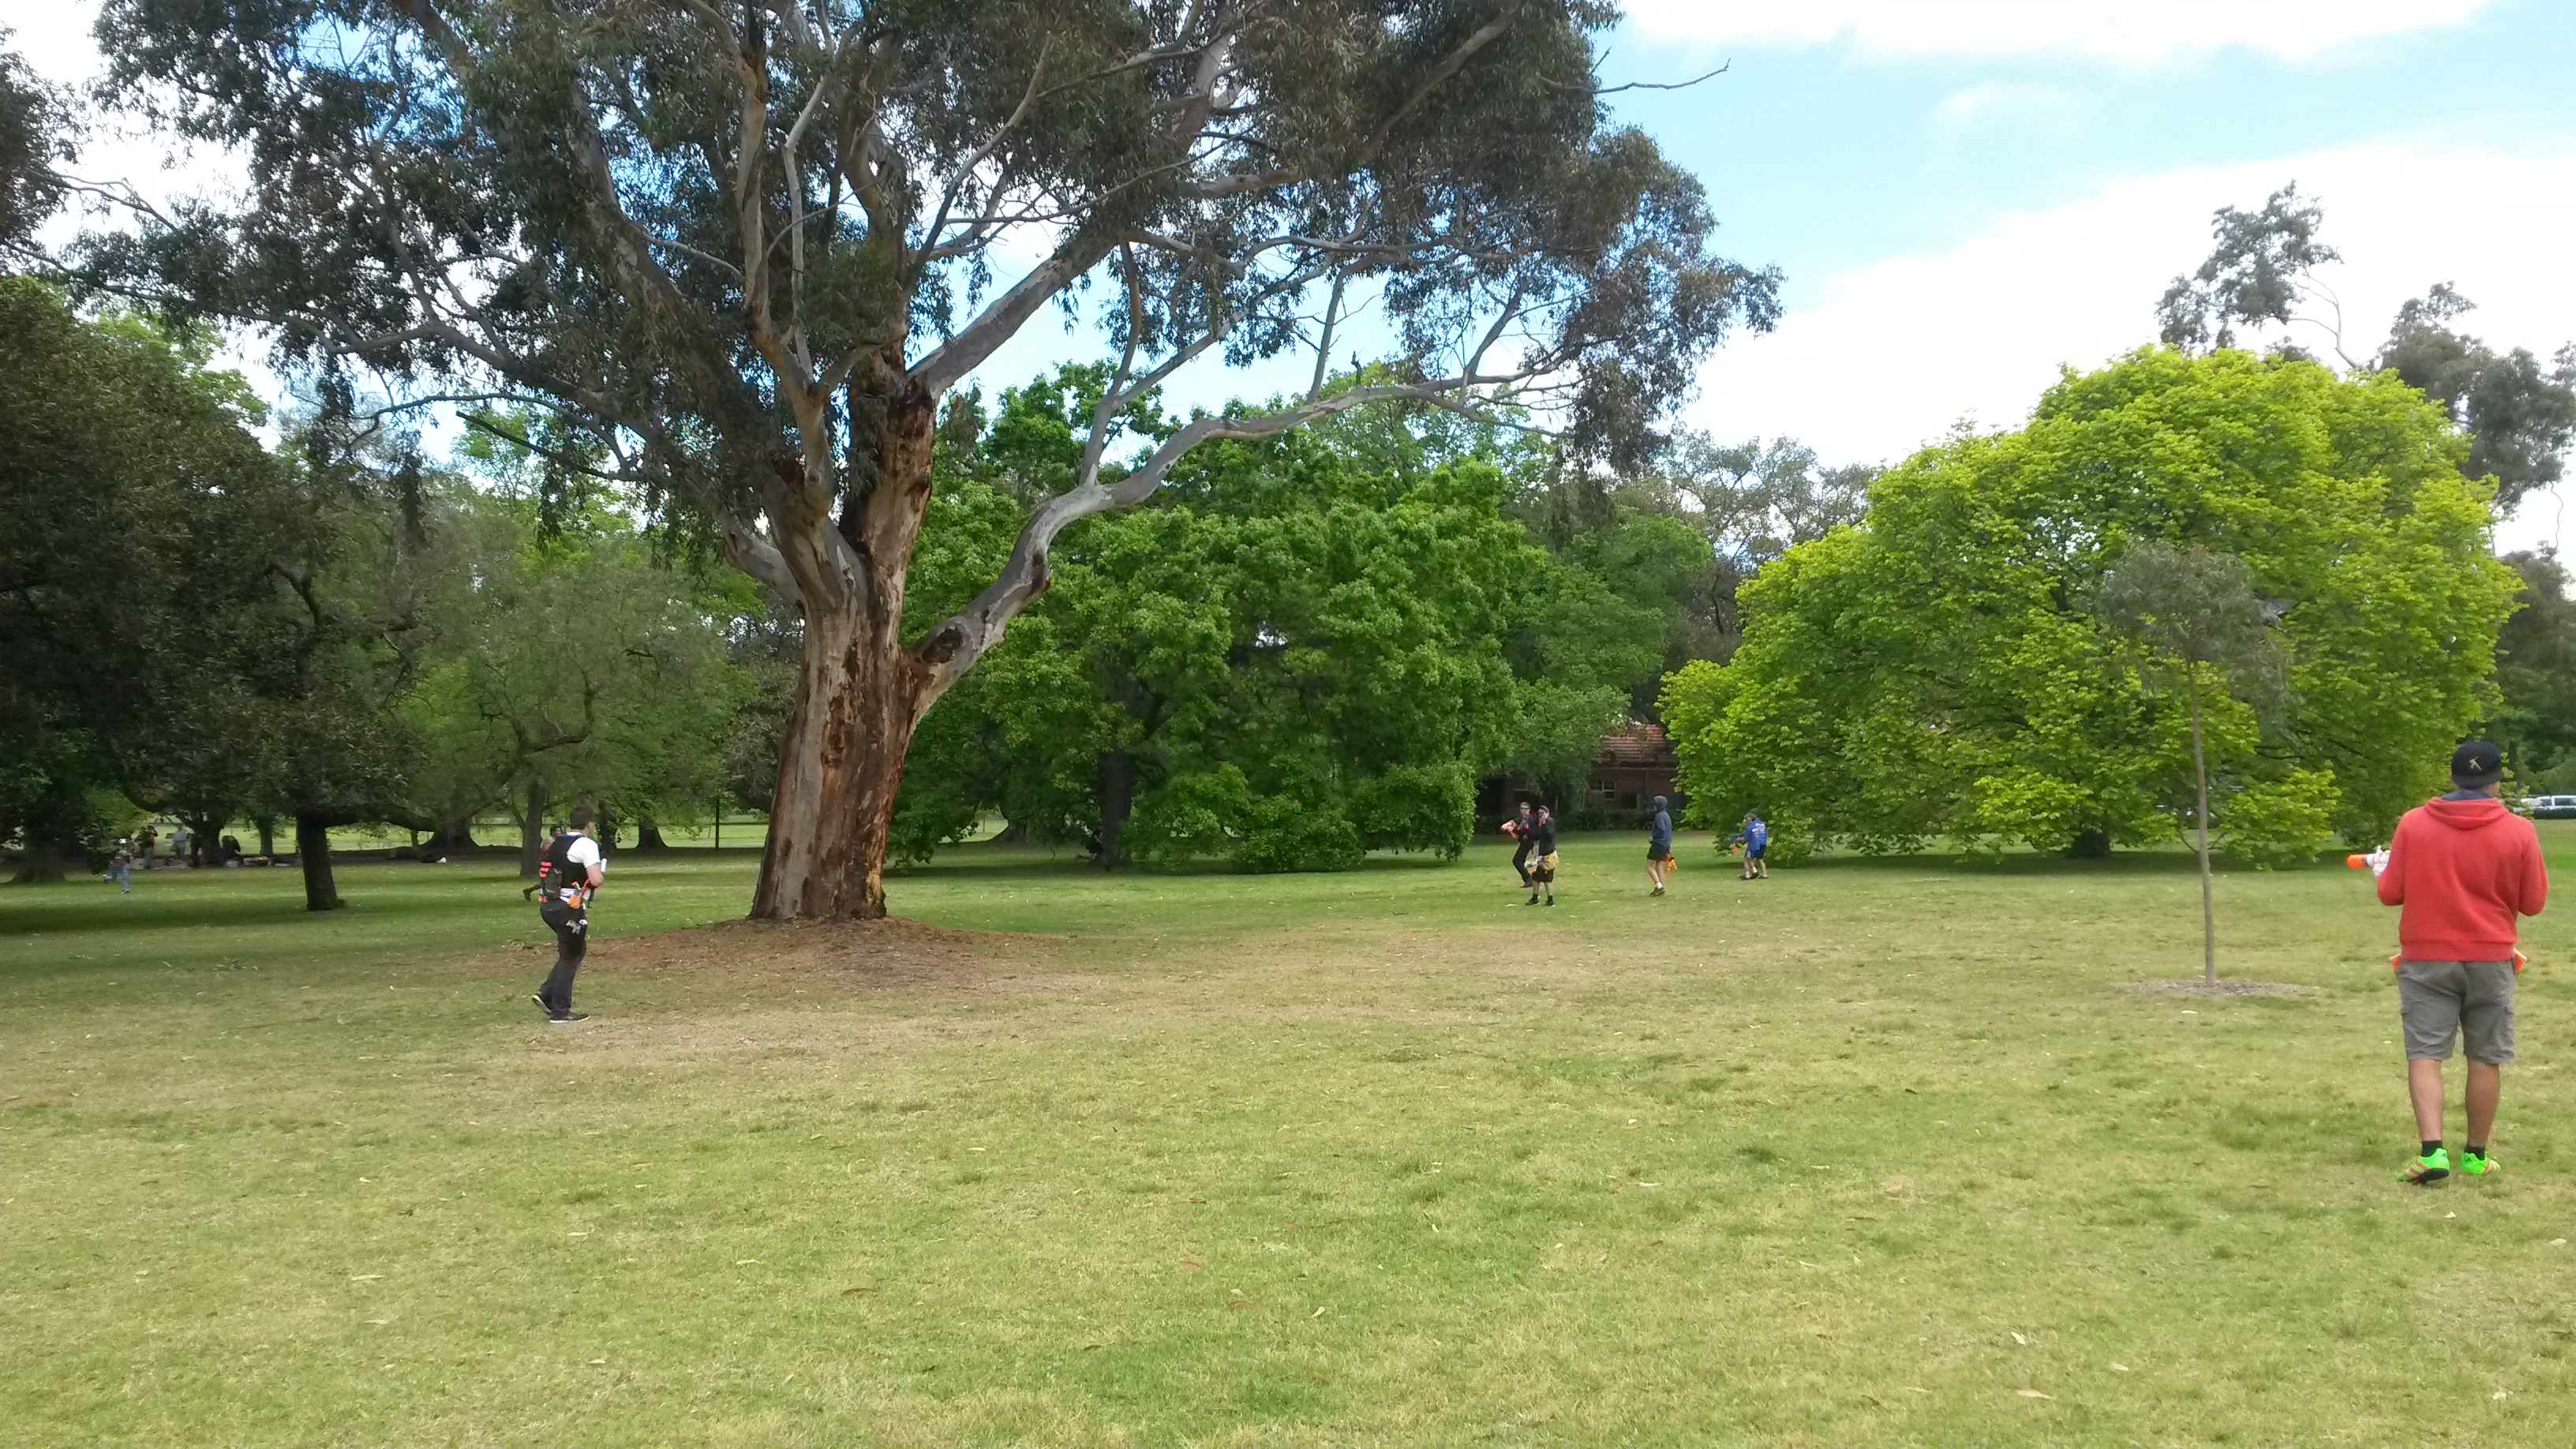
Even with the Tanks present, we were able to fend off the zombies from the Husk square for a fair time. Eventually however, the zombies closed it on the Husk square from multiple directions and it was no longer feasible to reliably protect the square. The humans pulled out and moved up north, while the zombies moved in to claim their prize. After regrouping, the zombies moved against the large human group up north. The humans split into two groups, one that escaped south, and another that remained in the north. I stayed with the group up north. Most of the zombies broke off to chase the humans down south, leaving my human group facing a relatively small group of zombies, who we easily fended off.
Eventually, the rest of the zombie horde returned to the north, having tagged most of the humans who had split off. Facing the majority of the zombies with a relatively small number of humans, my group was forced into retreat as we tried to escape the horde and link up with any survivors. During this skirmish, I was tagged once again by the Husk at range, having been distracted fending off several other zombies. The remainder of the humans were whittled down and destroyed, however they were able to survive for a reasonable time before the last human was tagged.
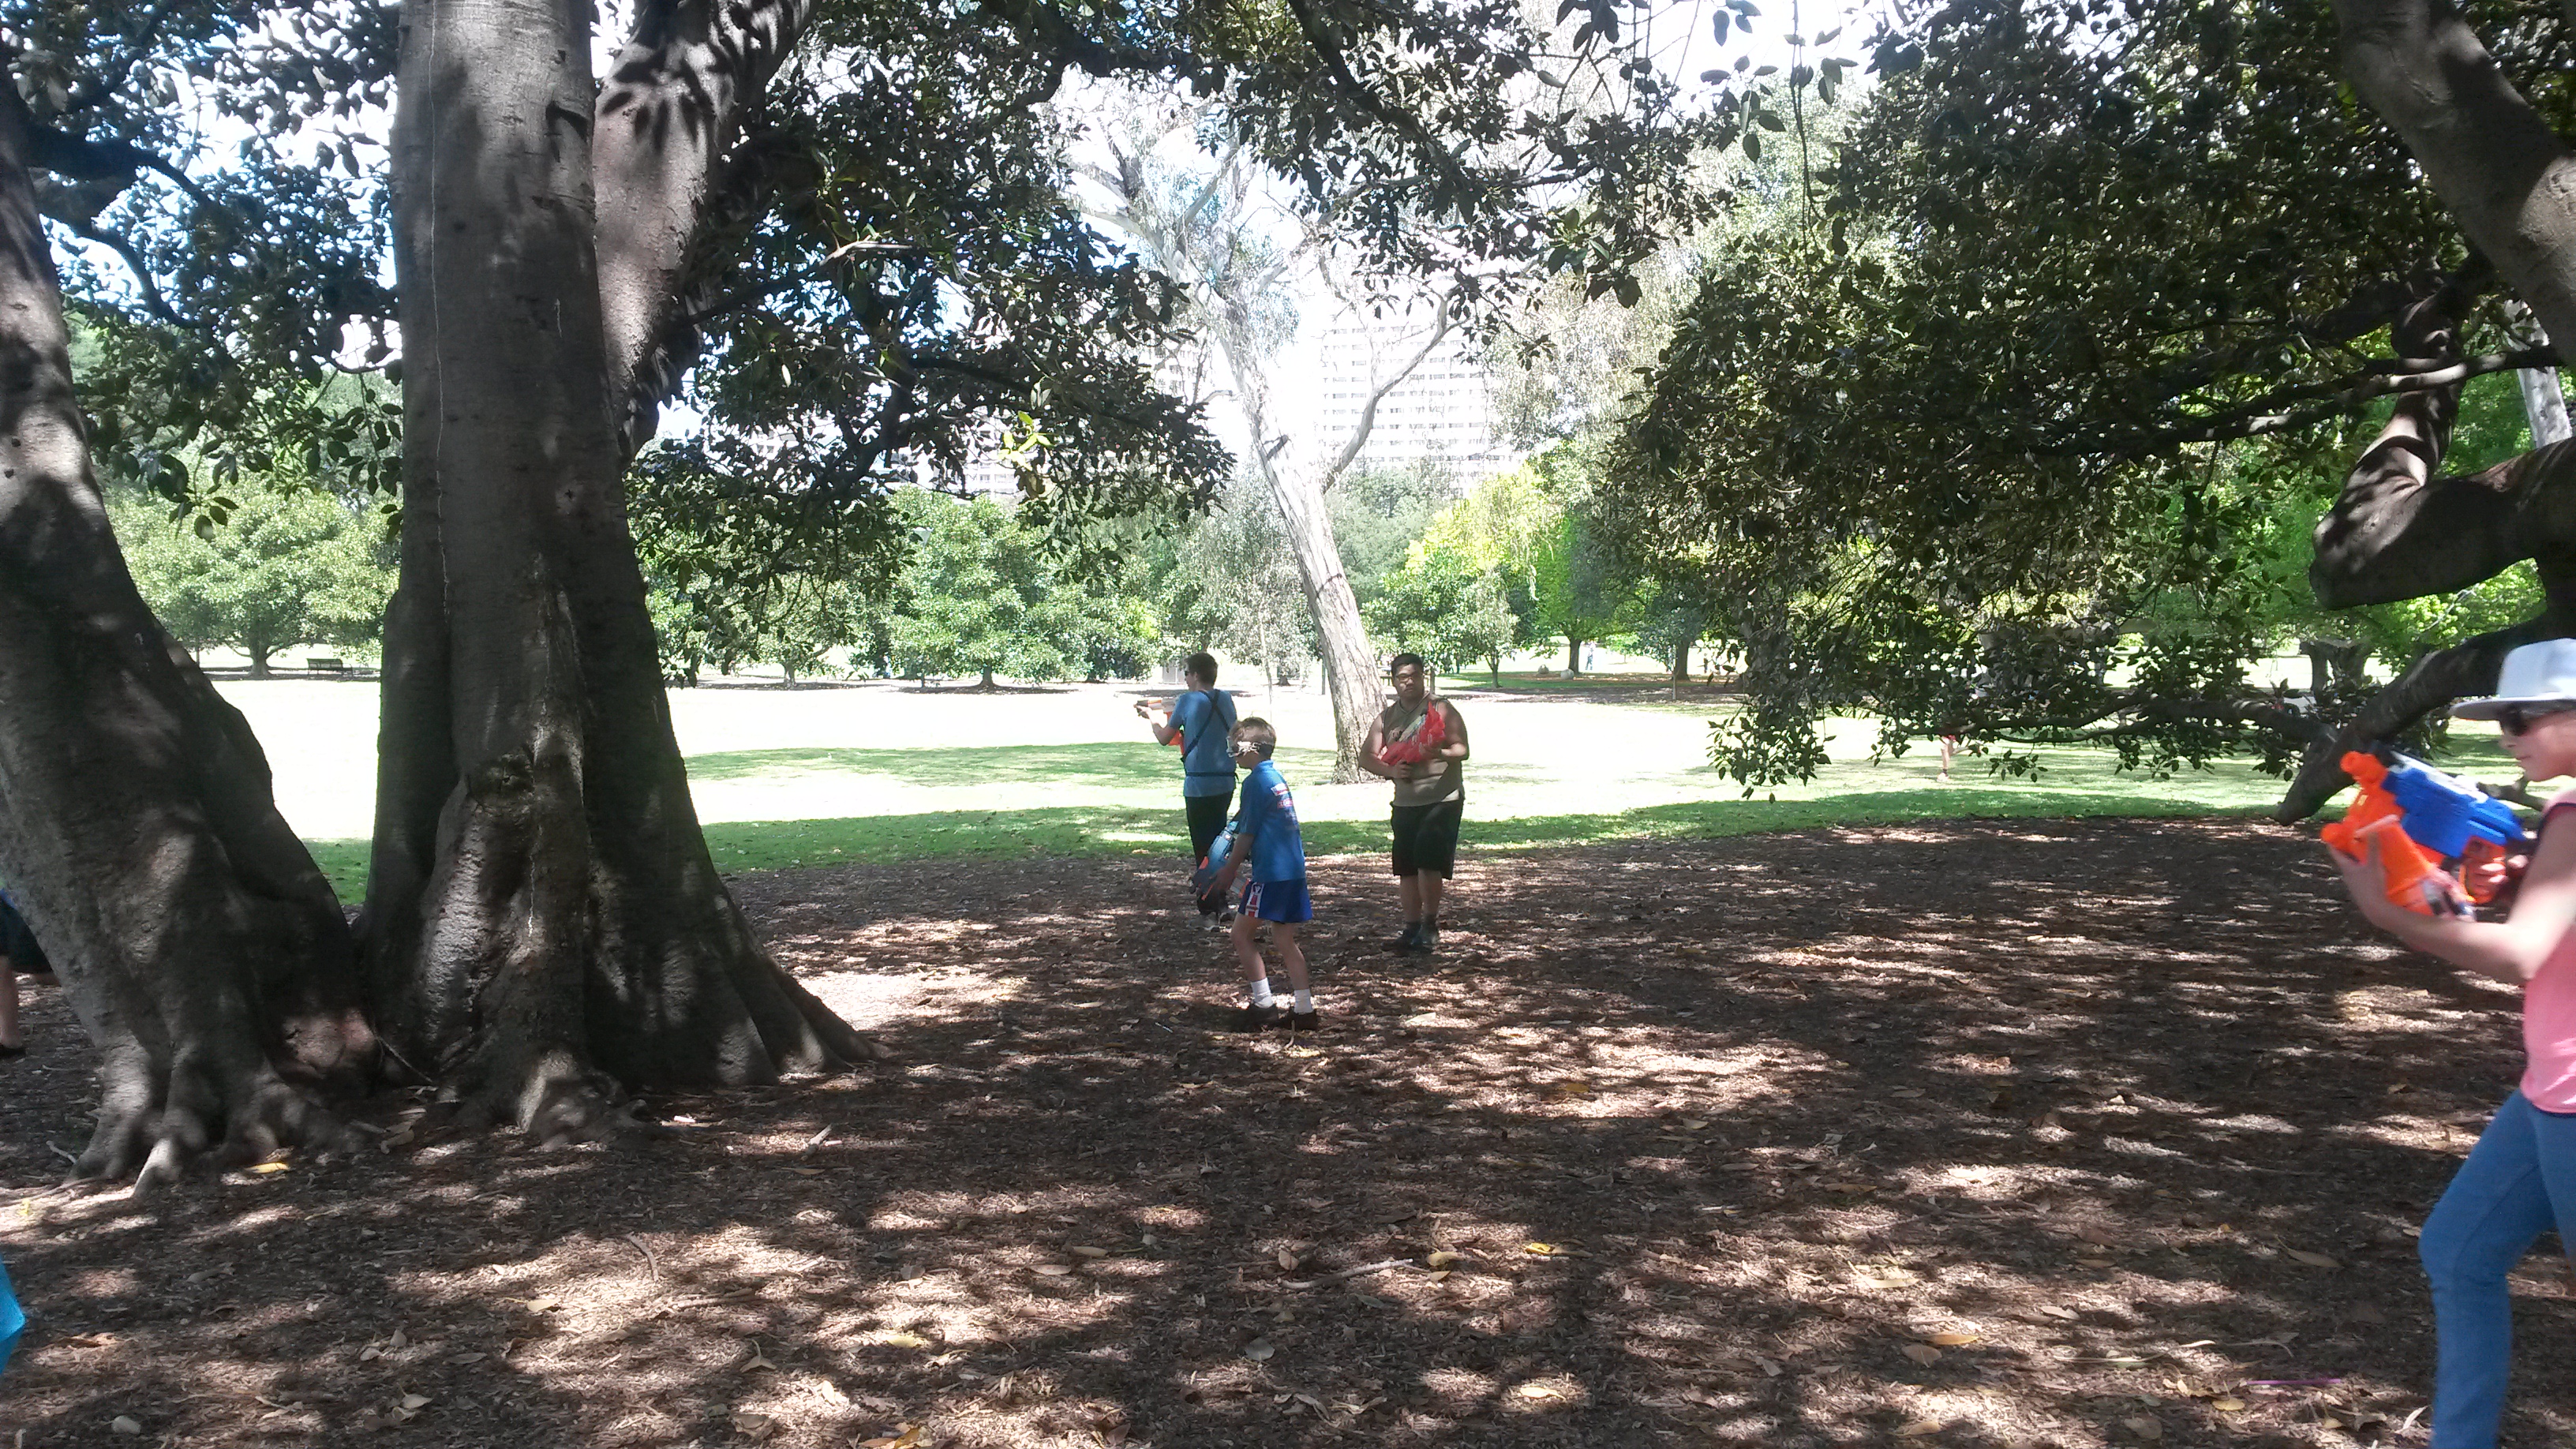
I personally avoided much of this, sticking with a small group of humans away from the main groups. We were able to survive a fair while without firing any darts, as few zombies came near us, and fewer still attacked us. This tactic worked well for a while, however as the horde began to grow it became increasingly more difficult to stay away from combat. Eventually, my group came under attack from various groups of zombies, and at times we were thrown together with other human groups to survive. During one particular skirmish, my group split off from a larger human group shortly after fending off a group of zombies. During the escape, we dropped our guard and failed to watch our backs, allowing one recently un-stunned zombie to tag most of us in one go.
With less players and thus less zombies, the humans were under less pressure than usual. It was quite easy to fend off earlier zombie advances, even when Tank shields were made available. With the relatively low zombie threat, some of the humans went about sussing out the Wills, trying to identify the Traitor. This was actually successful, as the Traitor ended up revealing themselves and being eliminated. With the threat of the Traitor removed, the General was free to reveal the identity of the Space Pope to the humans. They looked around, trying to locate the correct Will, only to realise that the Will they had chosen was already a zombie. As it turns out, the Will who had been chosen as Space Pope was not aware that they had been selected, thus had not declared a zombie victory when he had been tagged.
You can find the same Nerf Game Report on my own blog: Outback Nerf