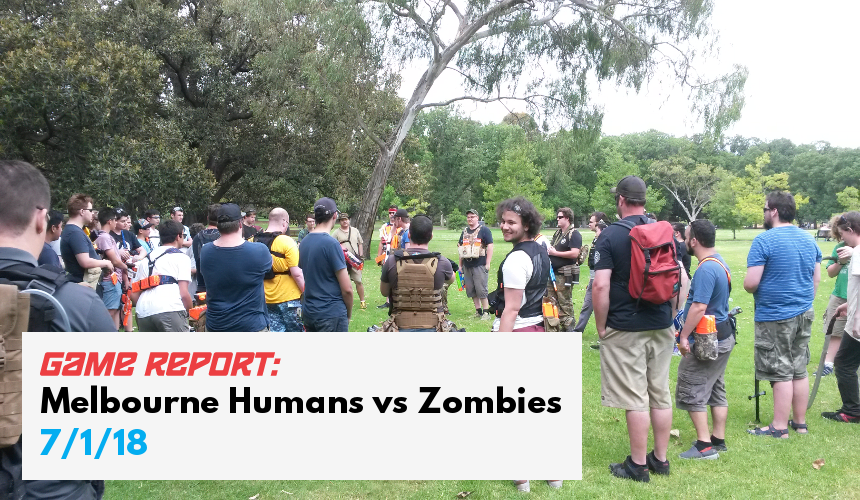
Nerf Game Report: Melbourne HvZ 7/1/18
January 10, 2018First event of the year!
All HvZ rules can now be found at the link in this Facebook group post: link
Blasters:
Since there were a lot of different blasters there, I’ve generalised them and only listed down the ones that I saw as significant or noteworthy, or remember for that matter. Being that I can’t be everywhere at once, it’s entirely possible I completely missed some blasters.
Recurring/Regulars:
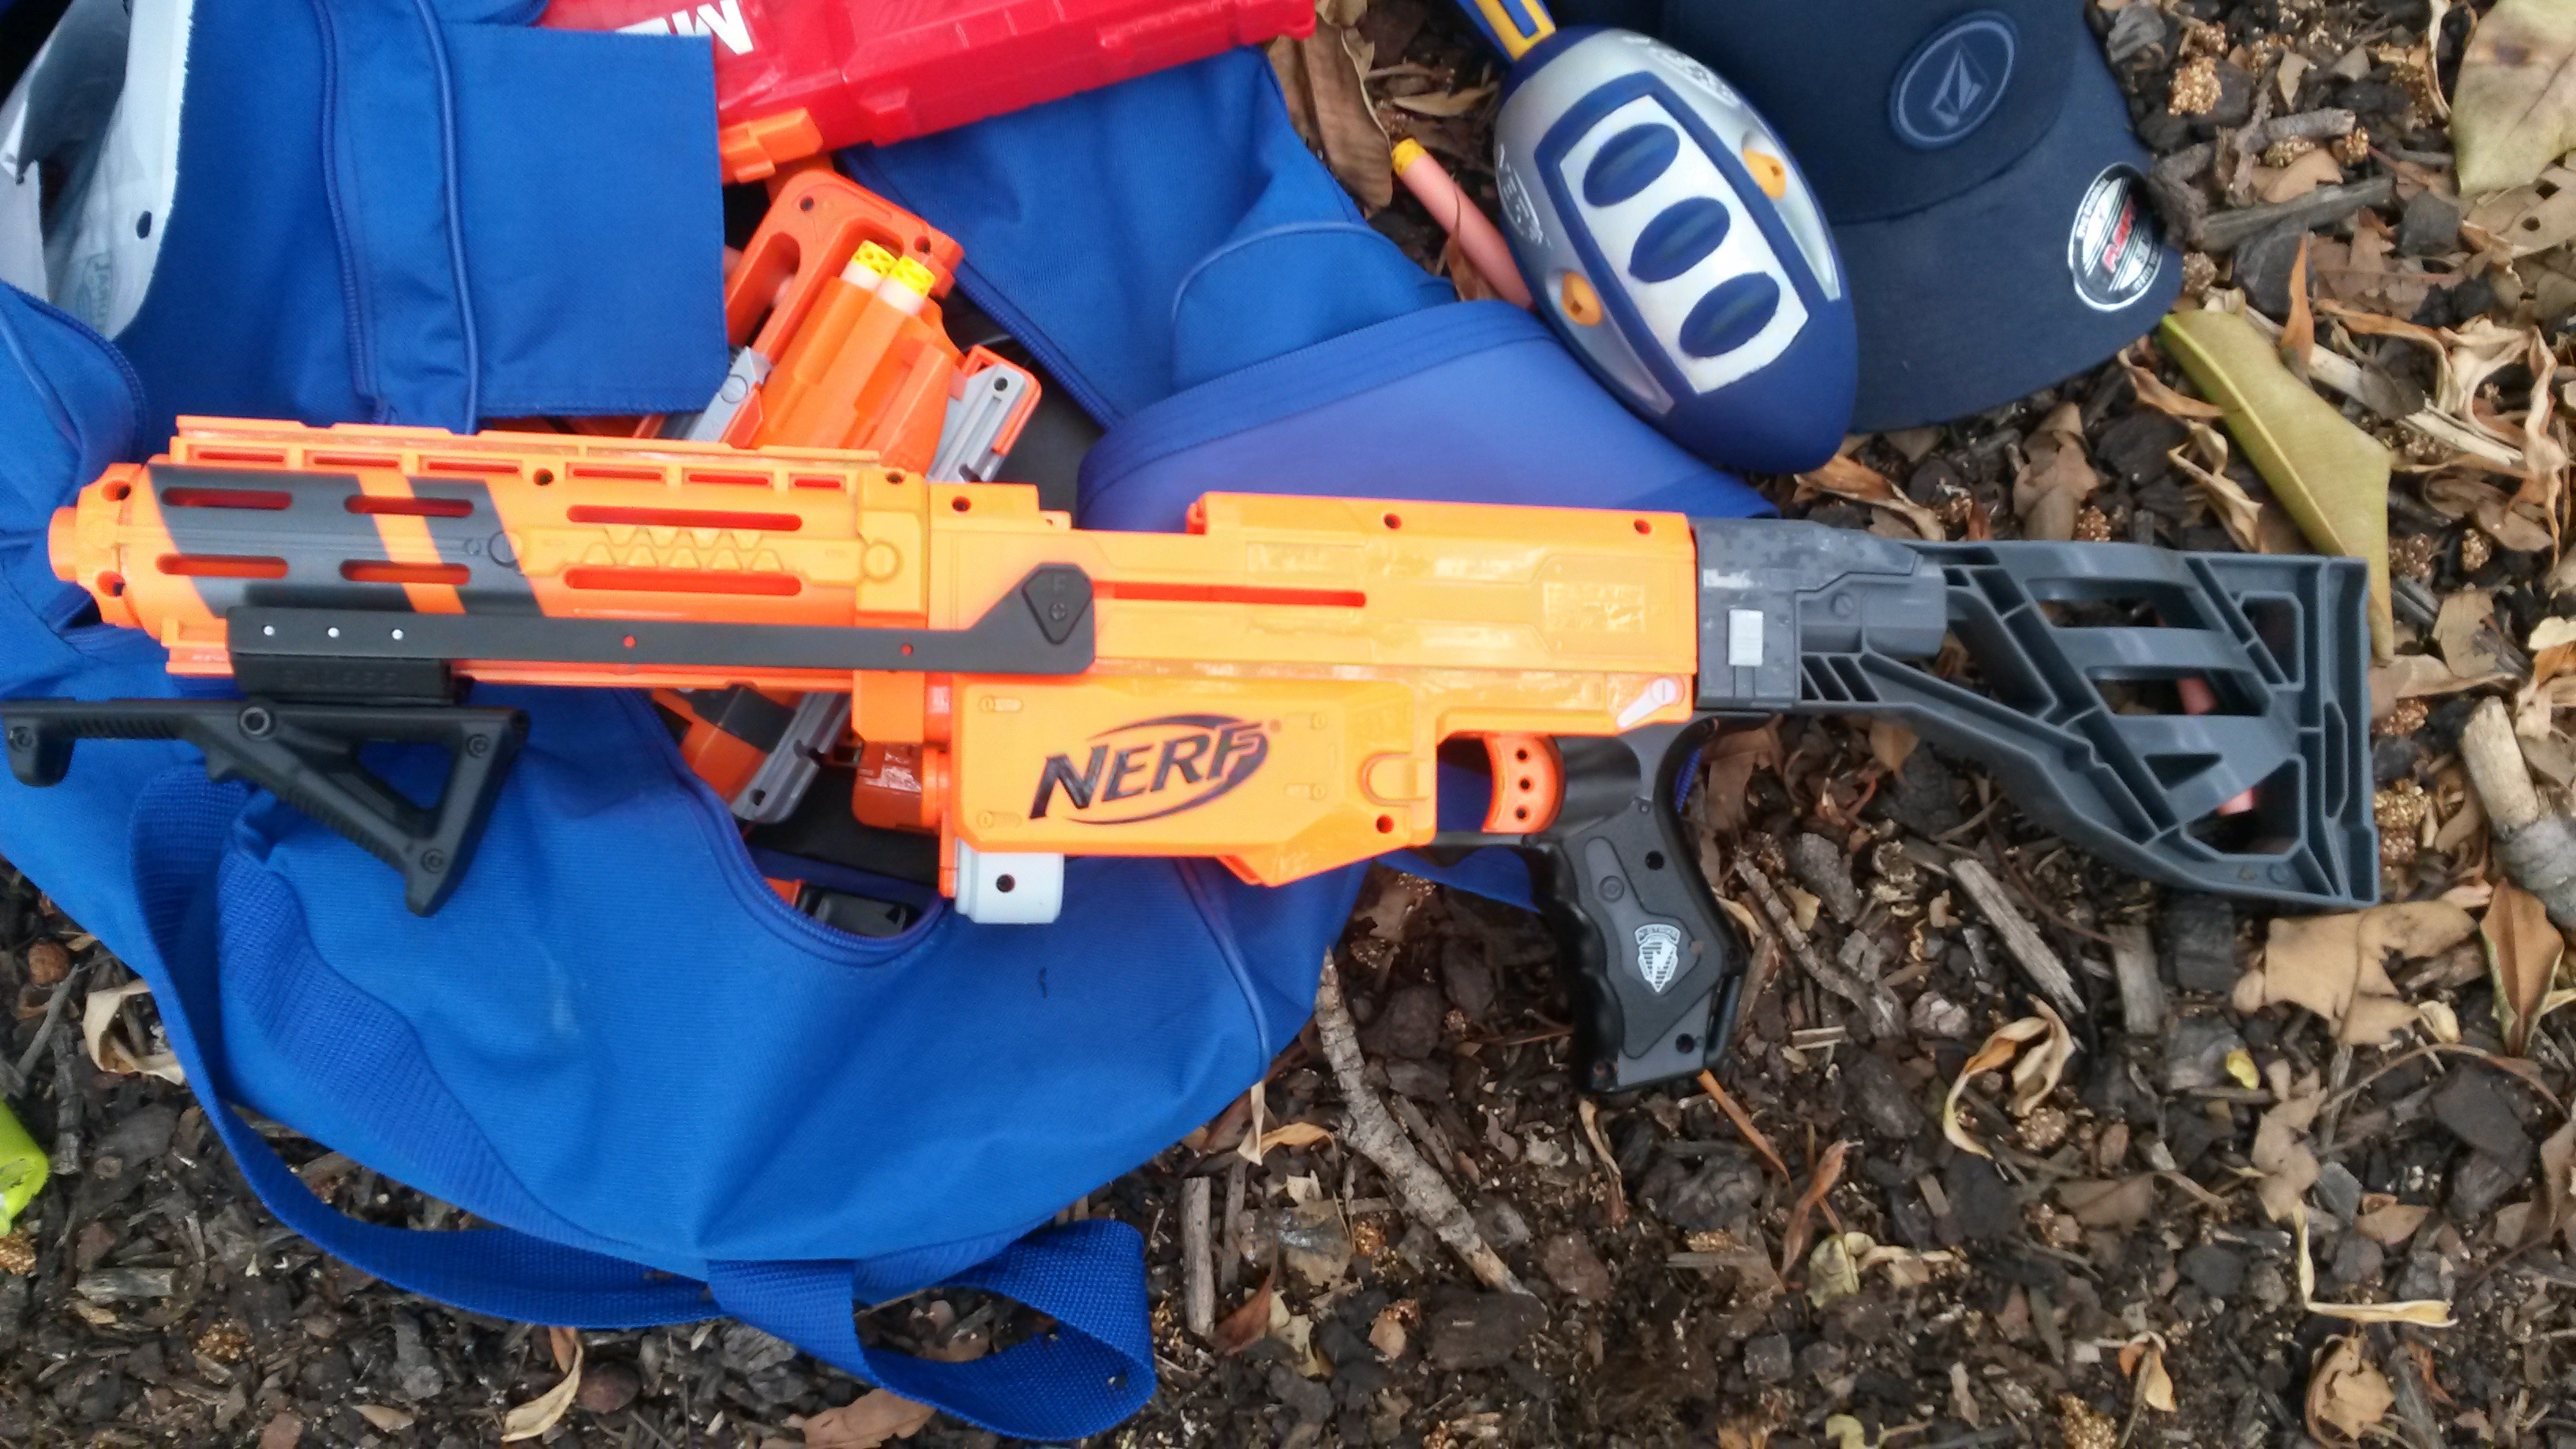

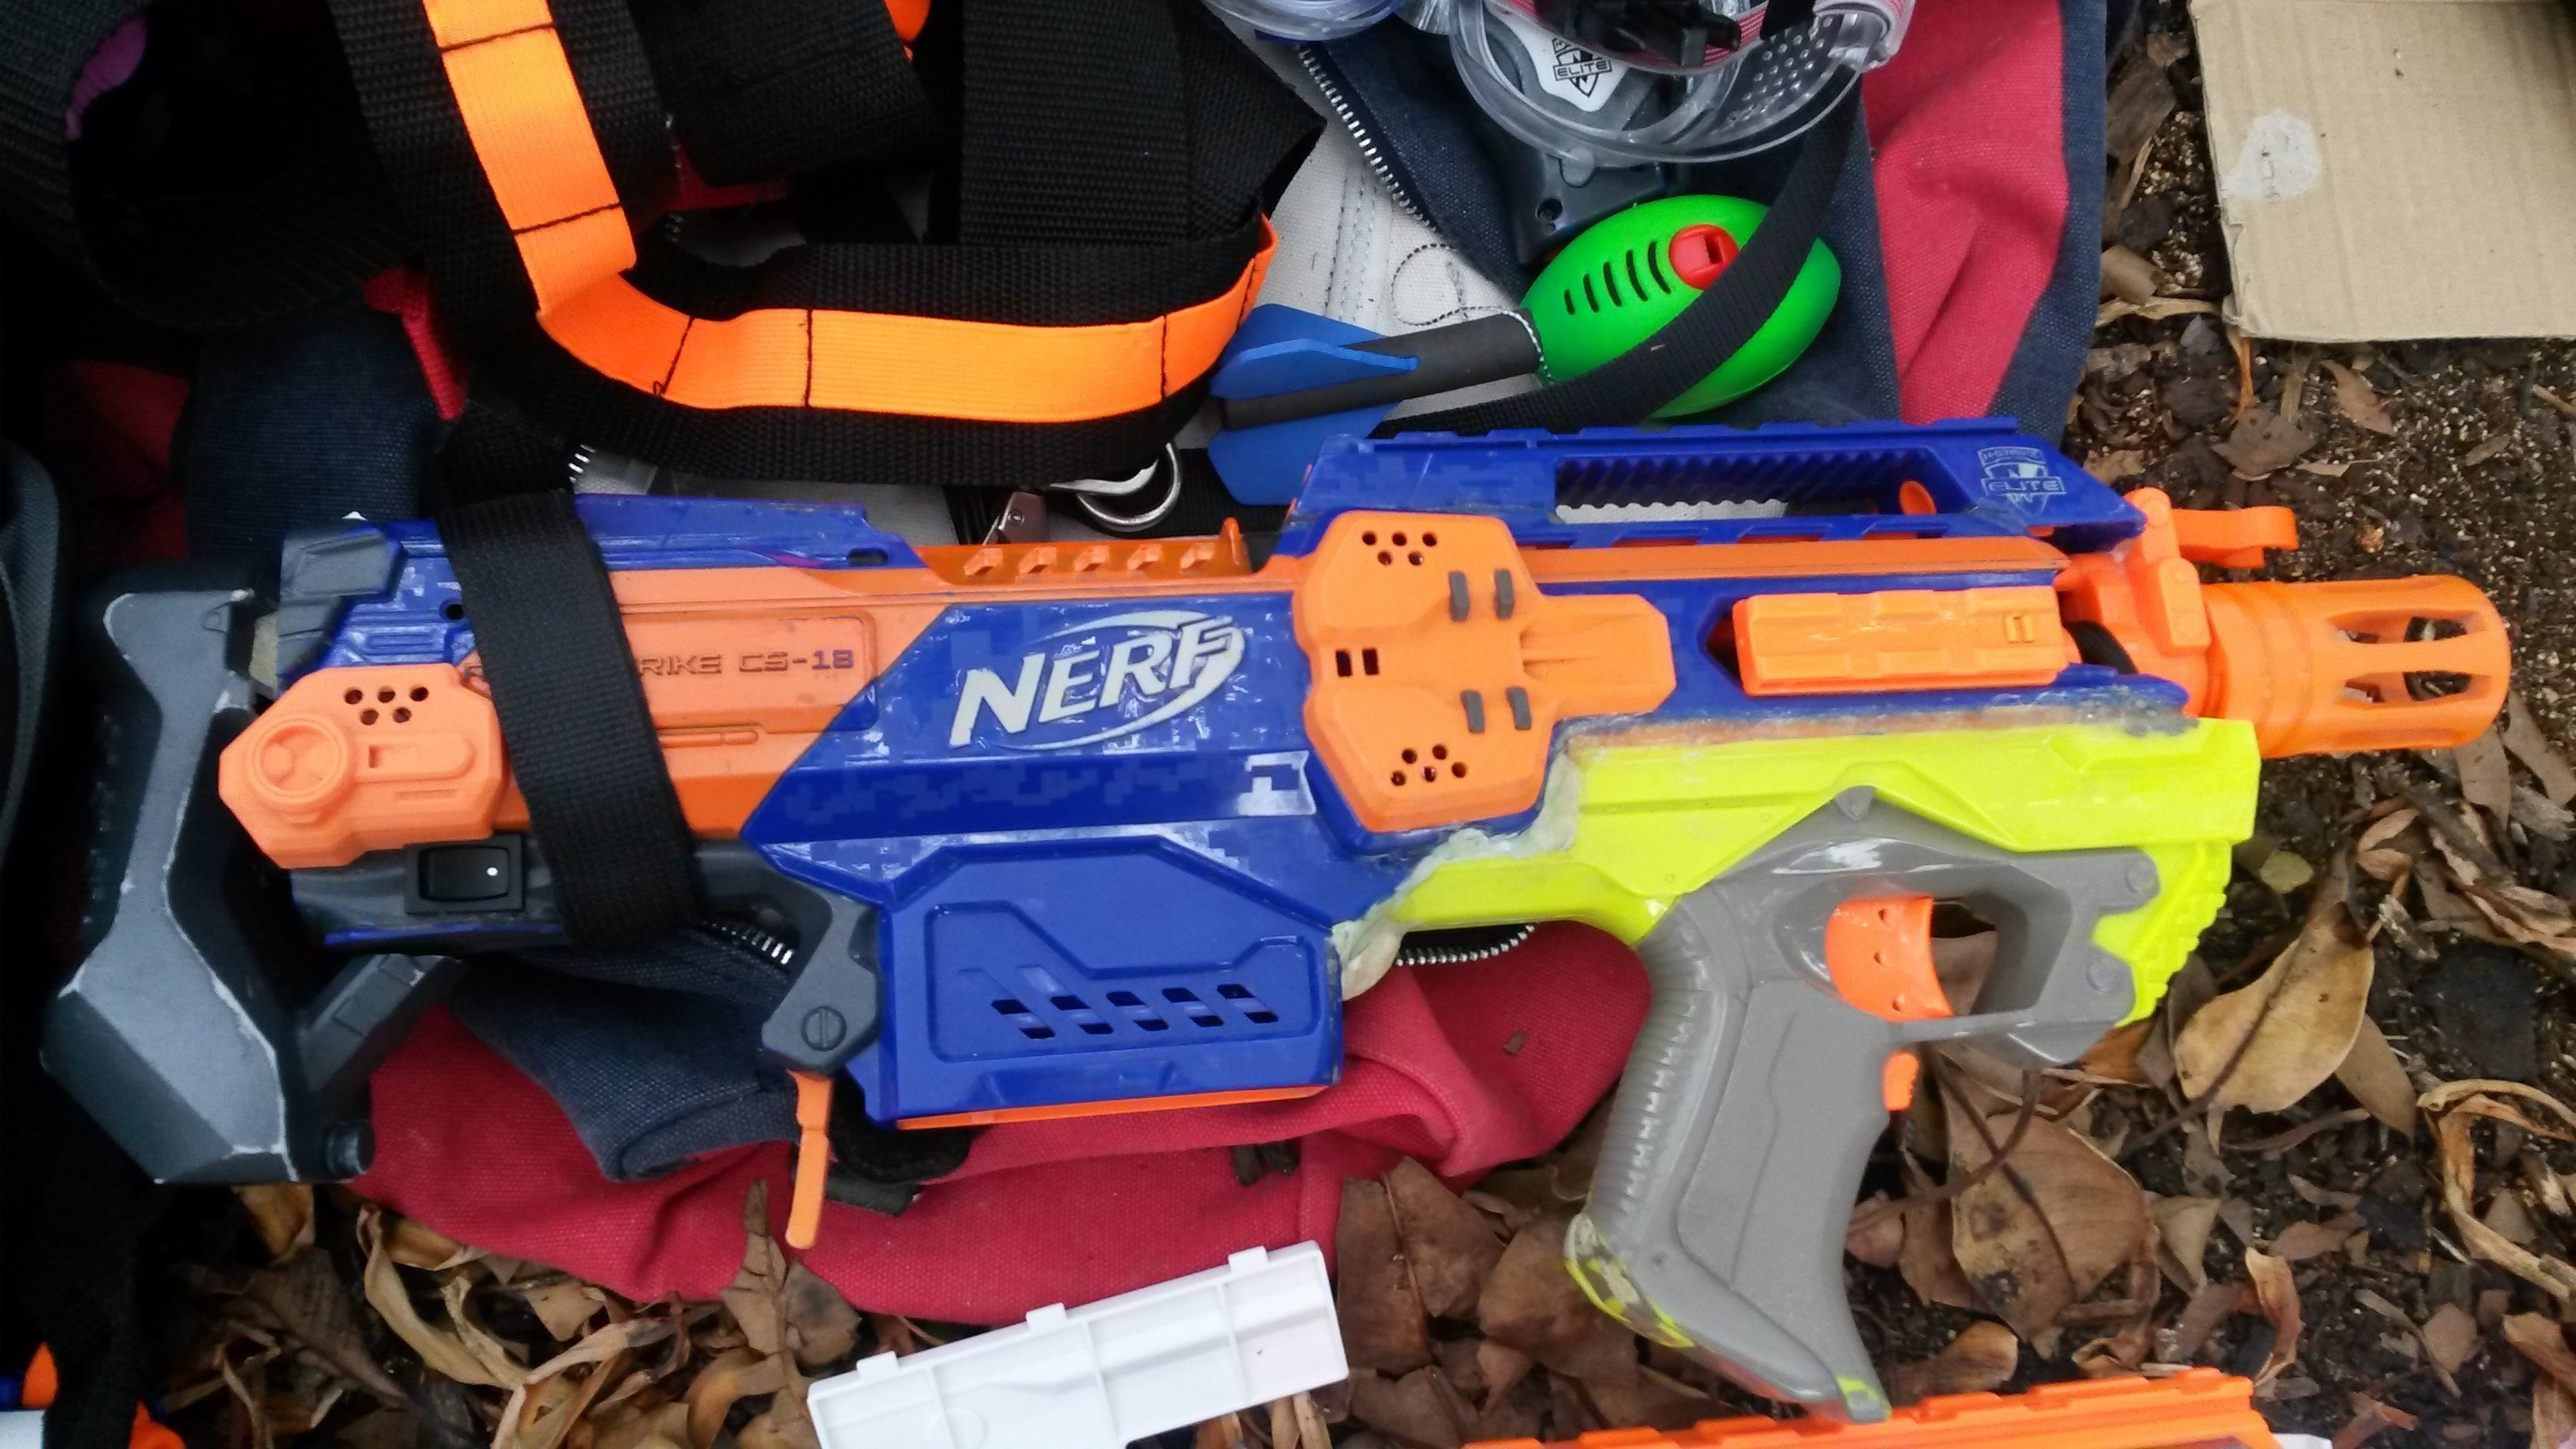
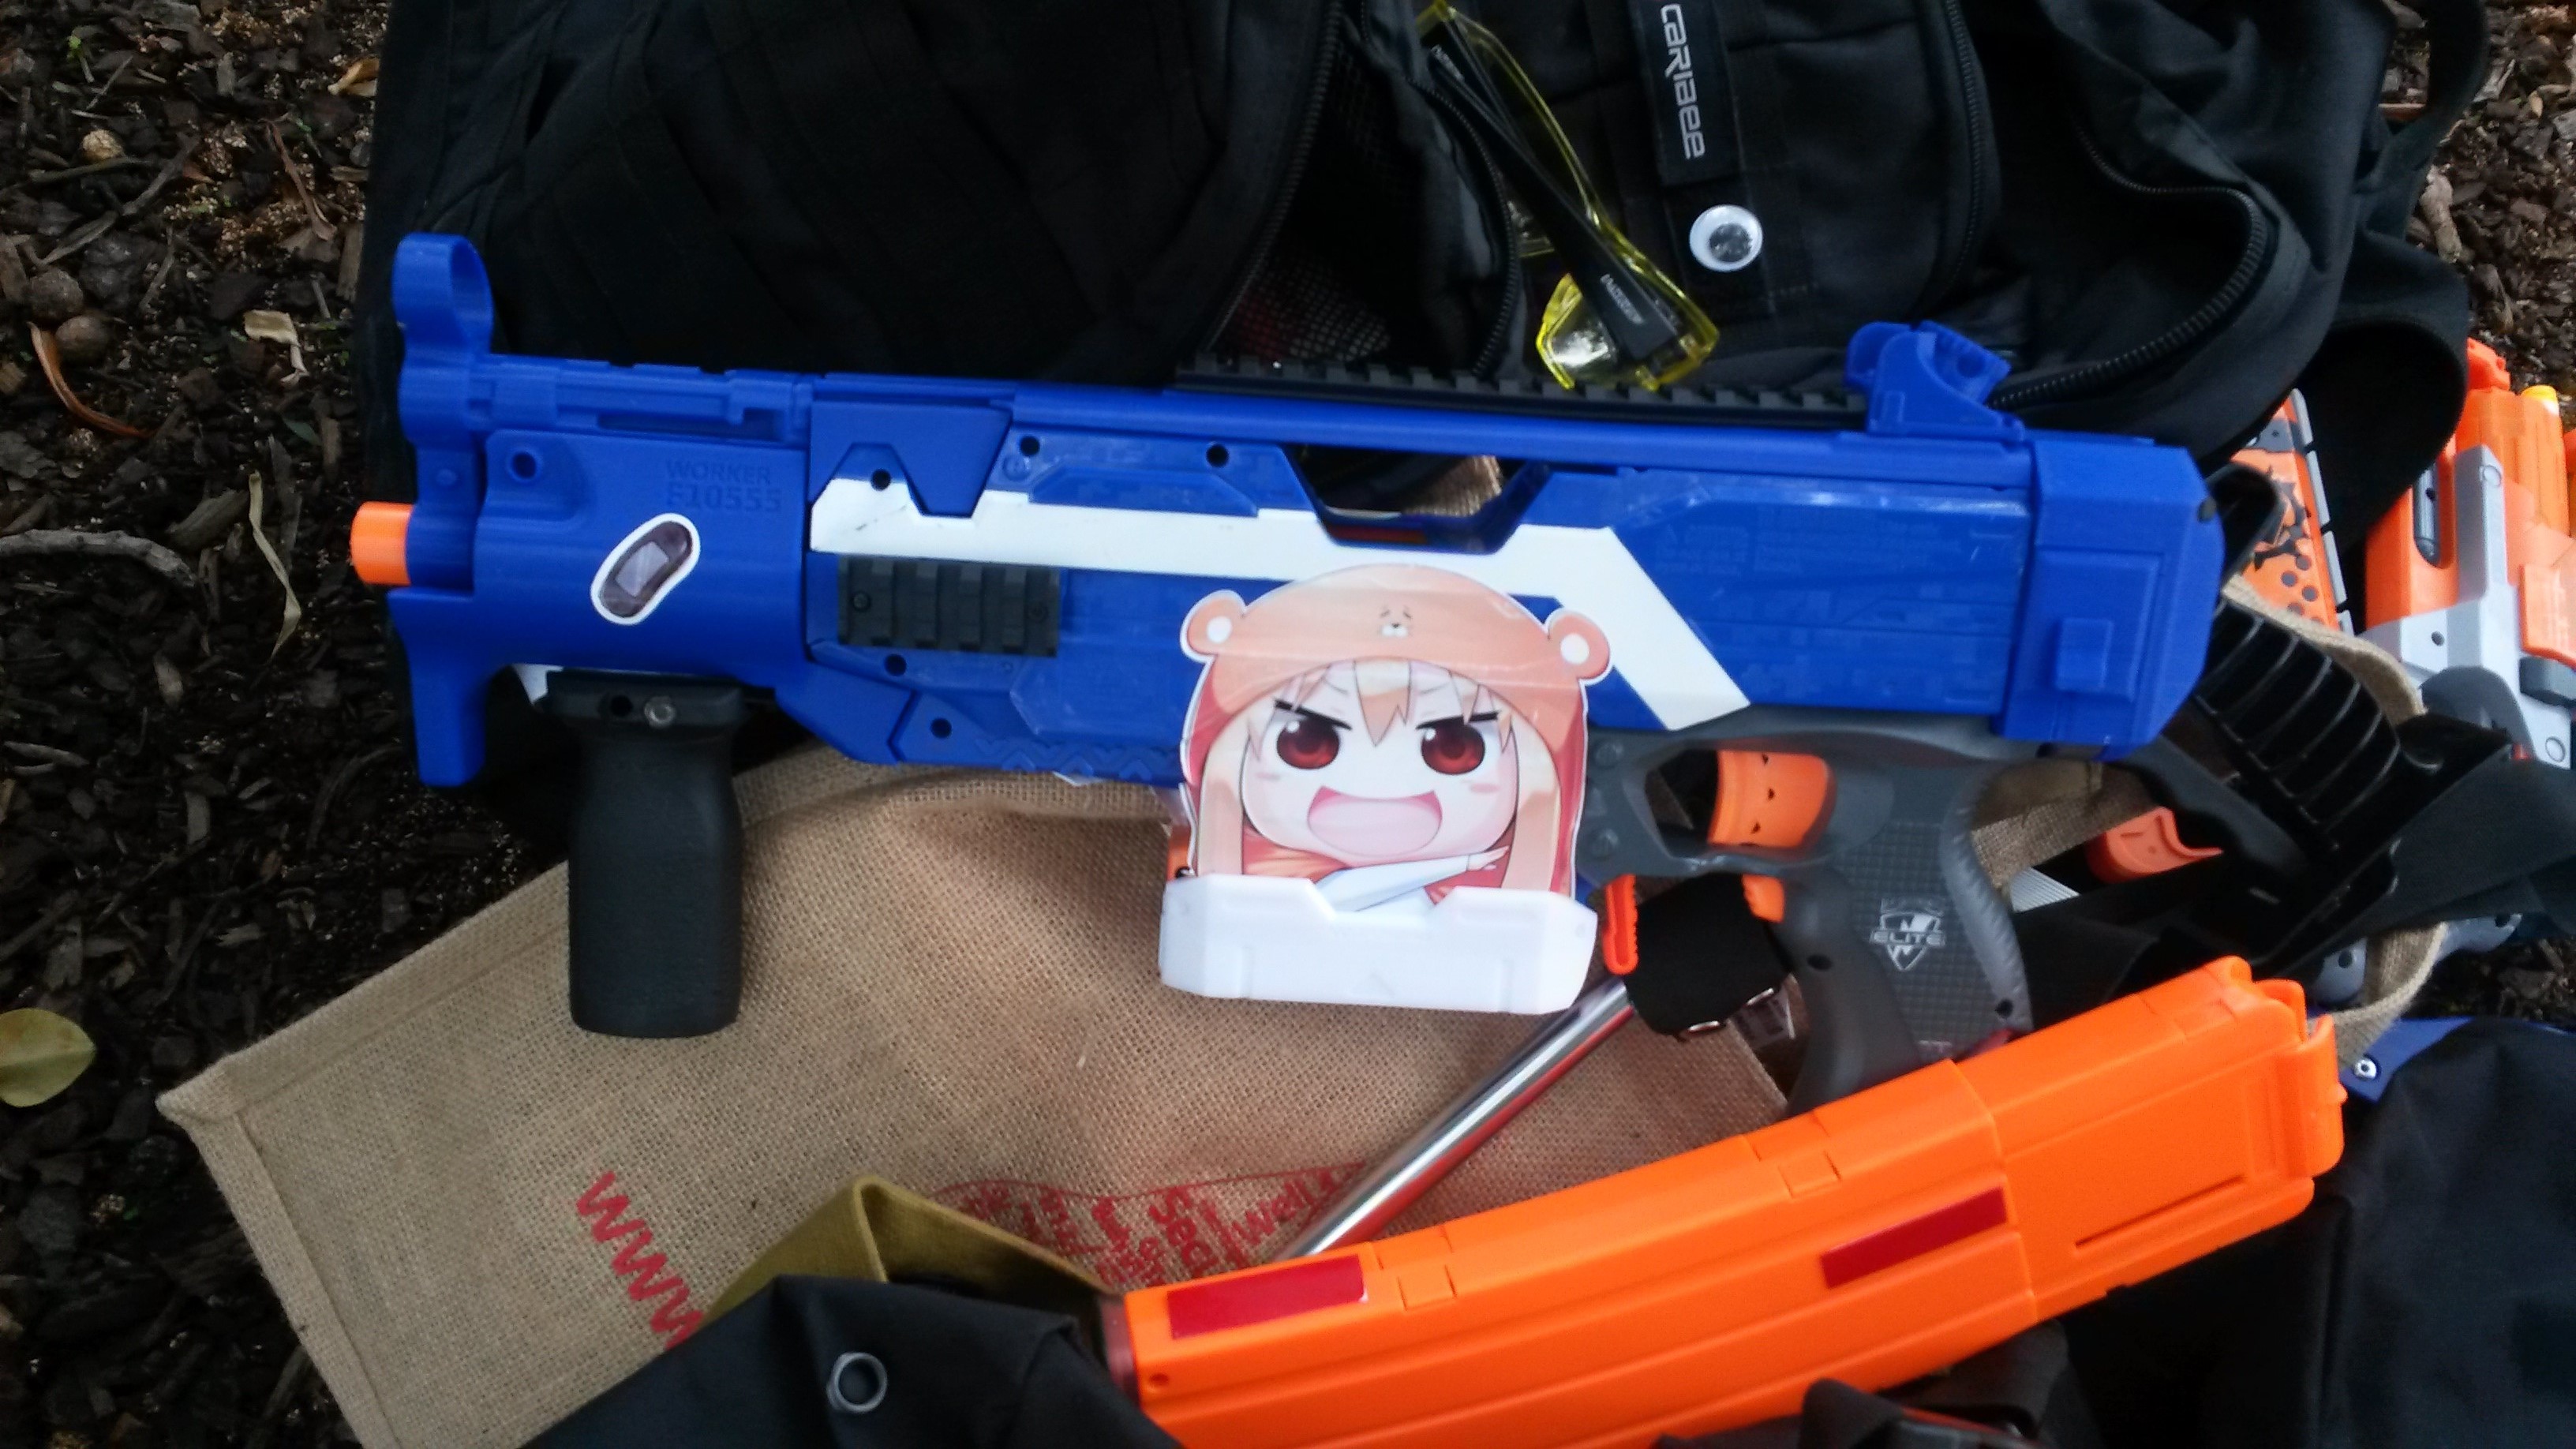
Elite Retaliator/Modulus Recon MkII (various upgrade springs, pump grips, shells) – solid all-round springers with reasonable ROF, good power and fantastic customisability.
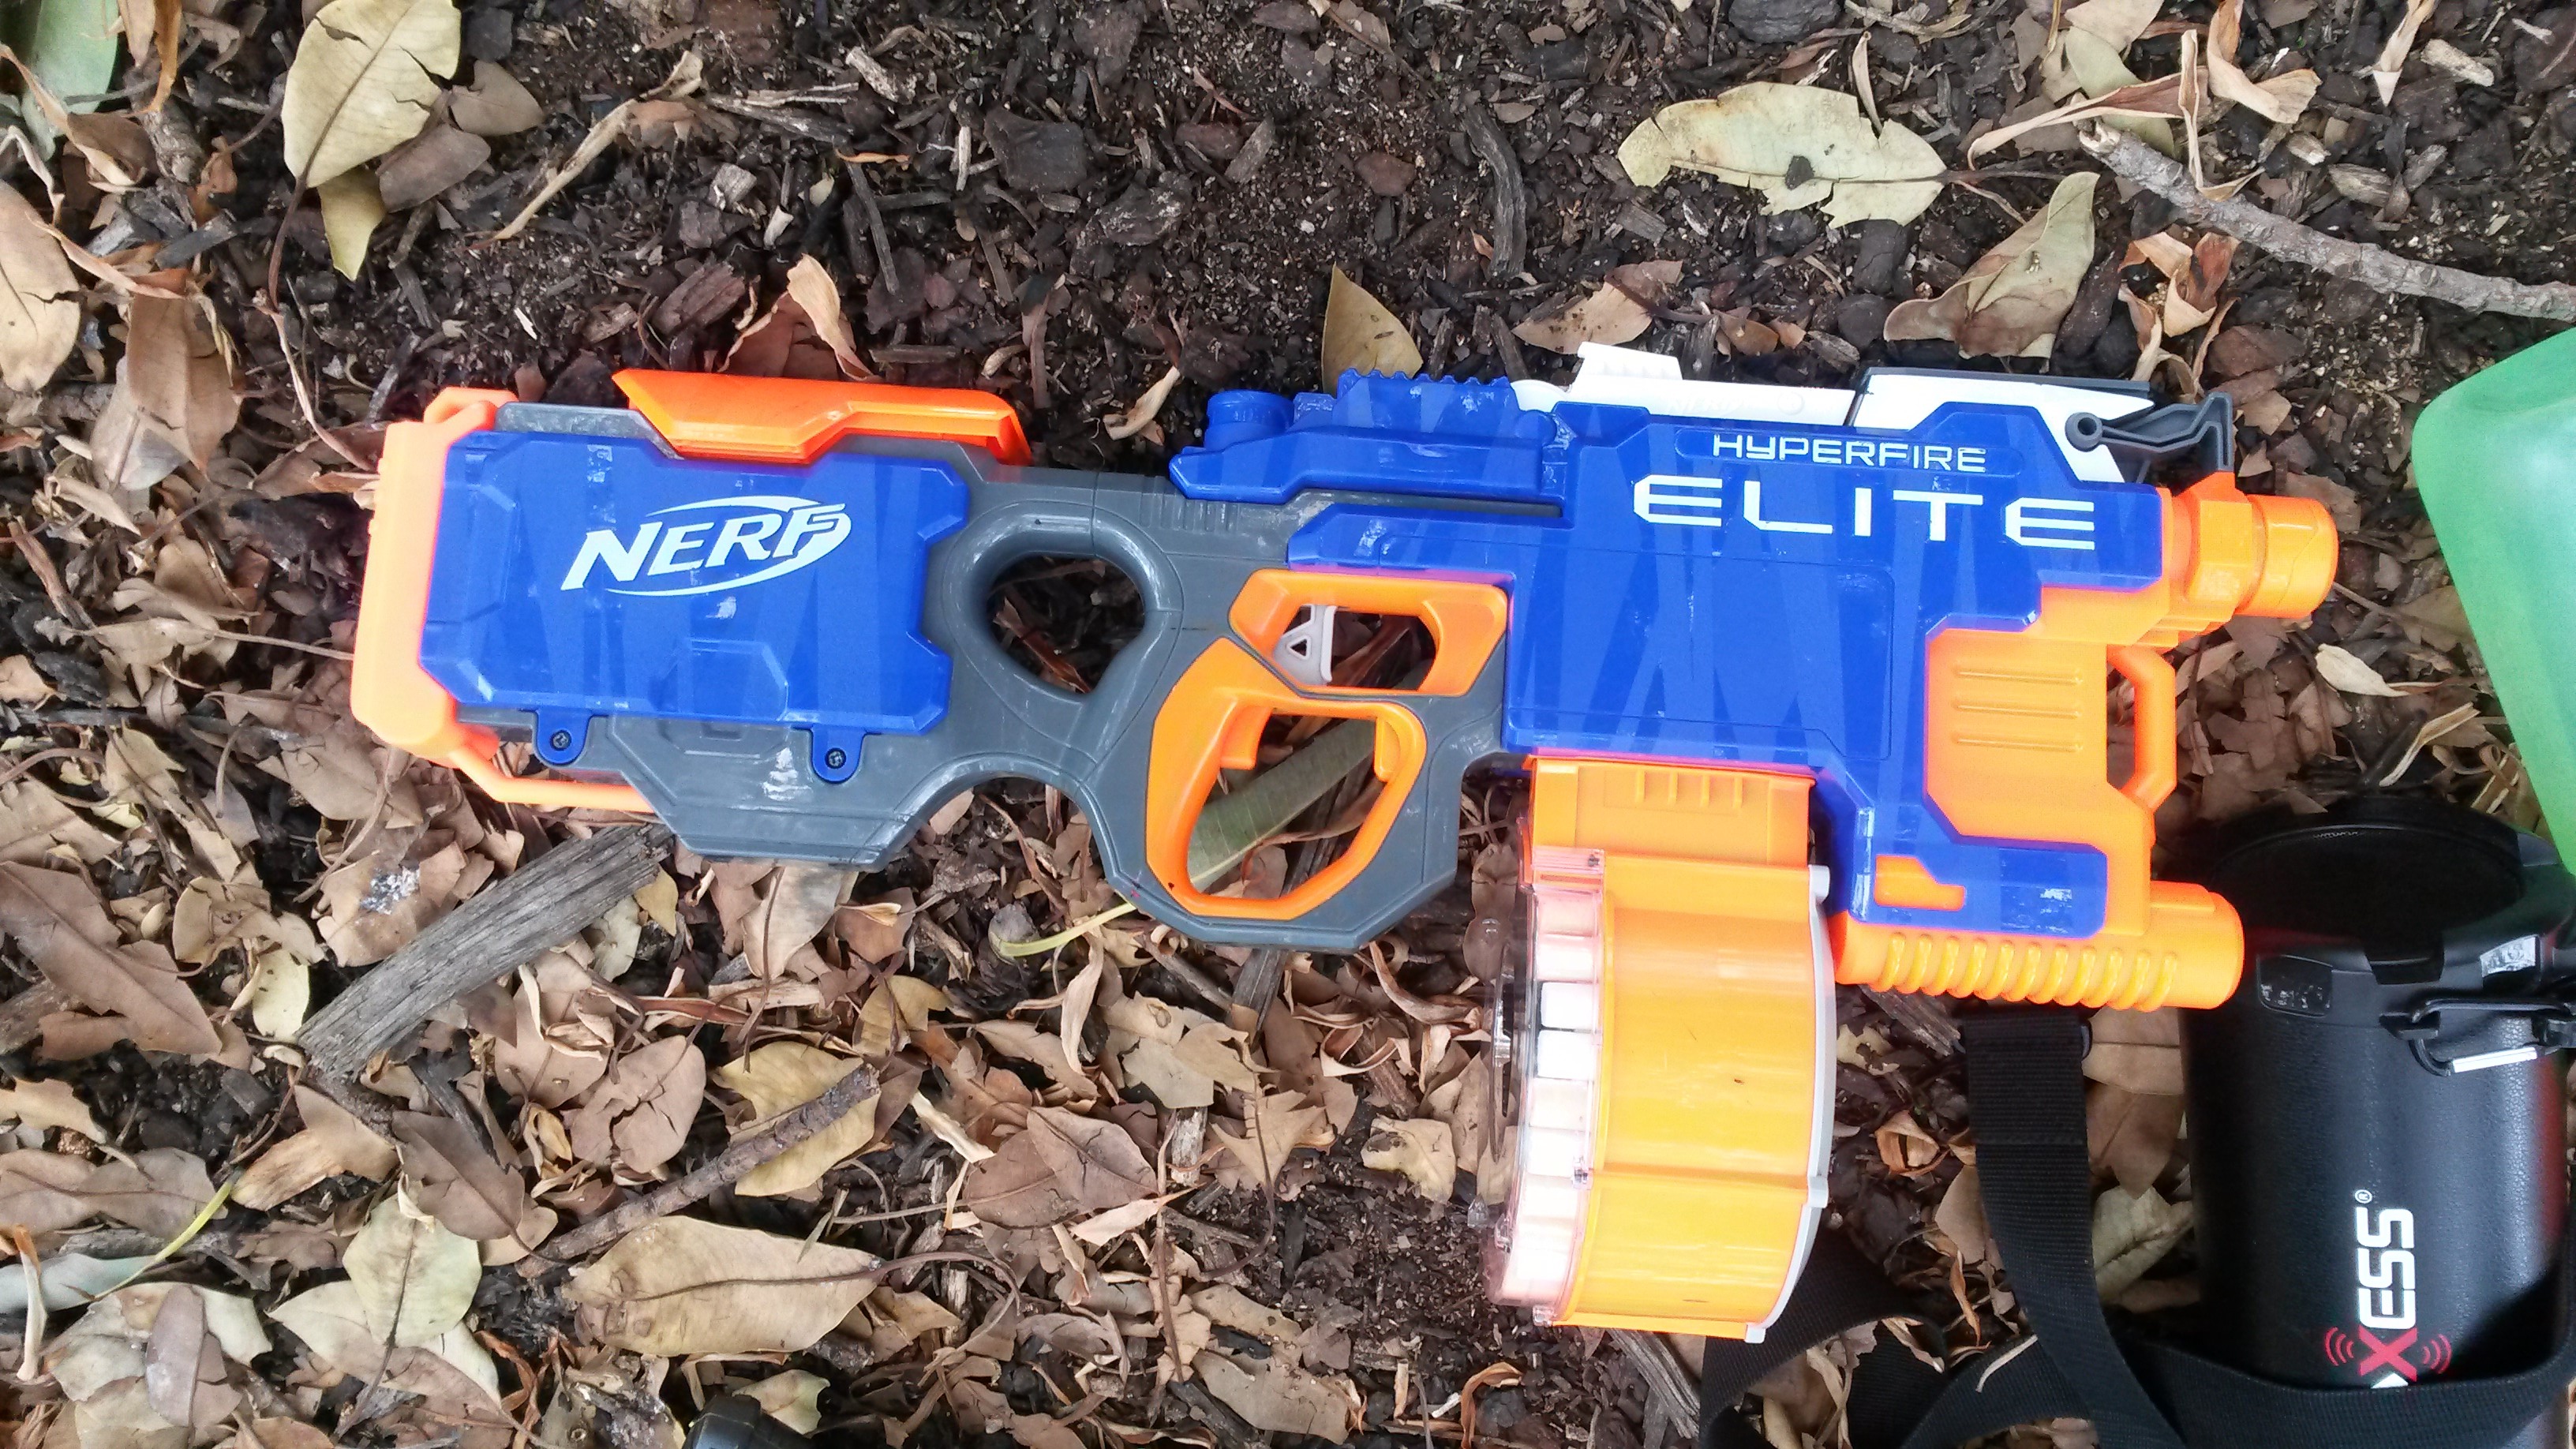
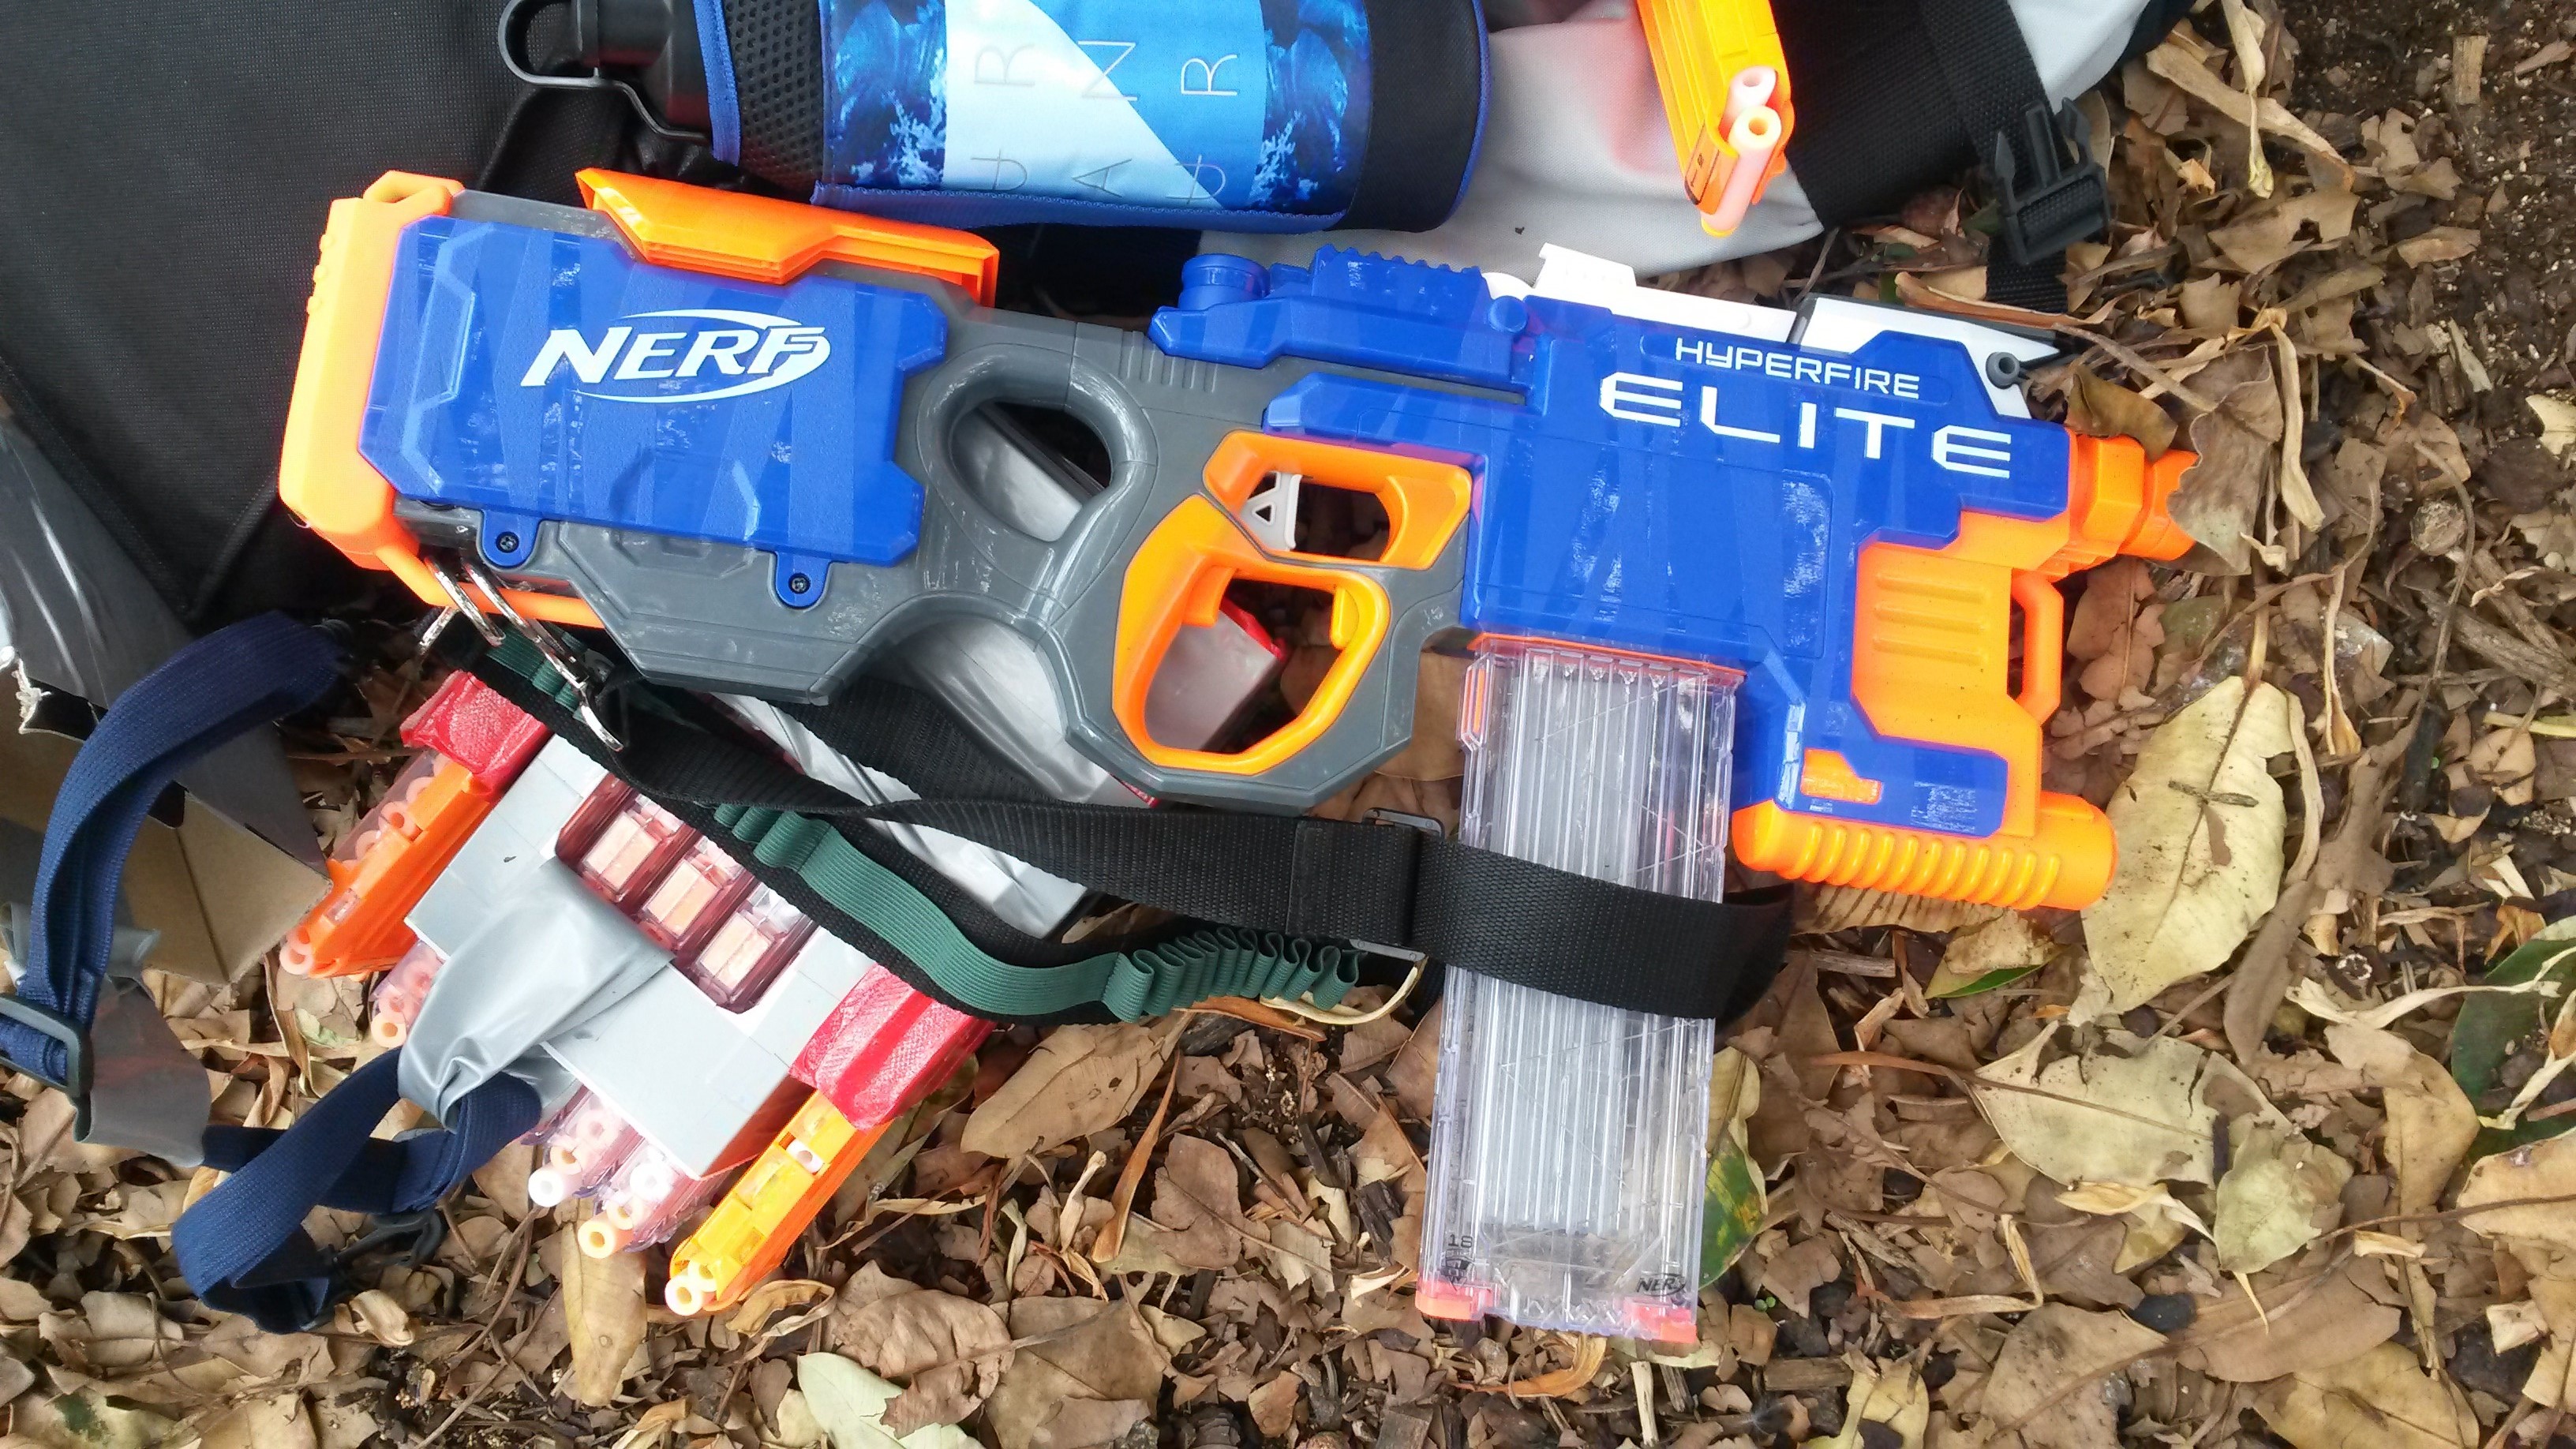
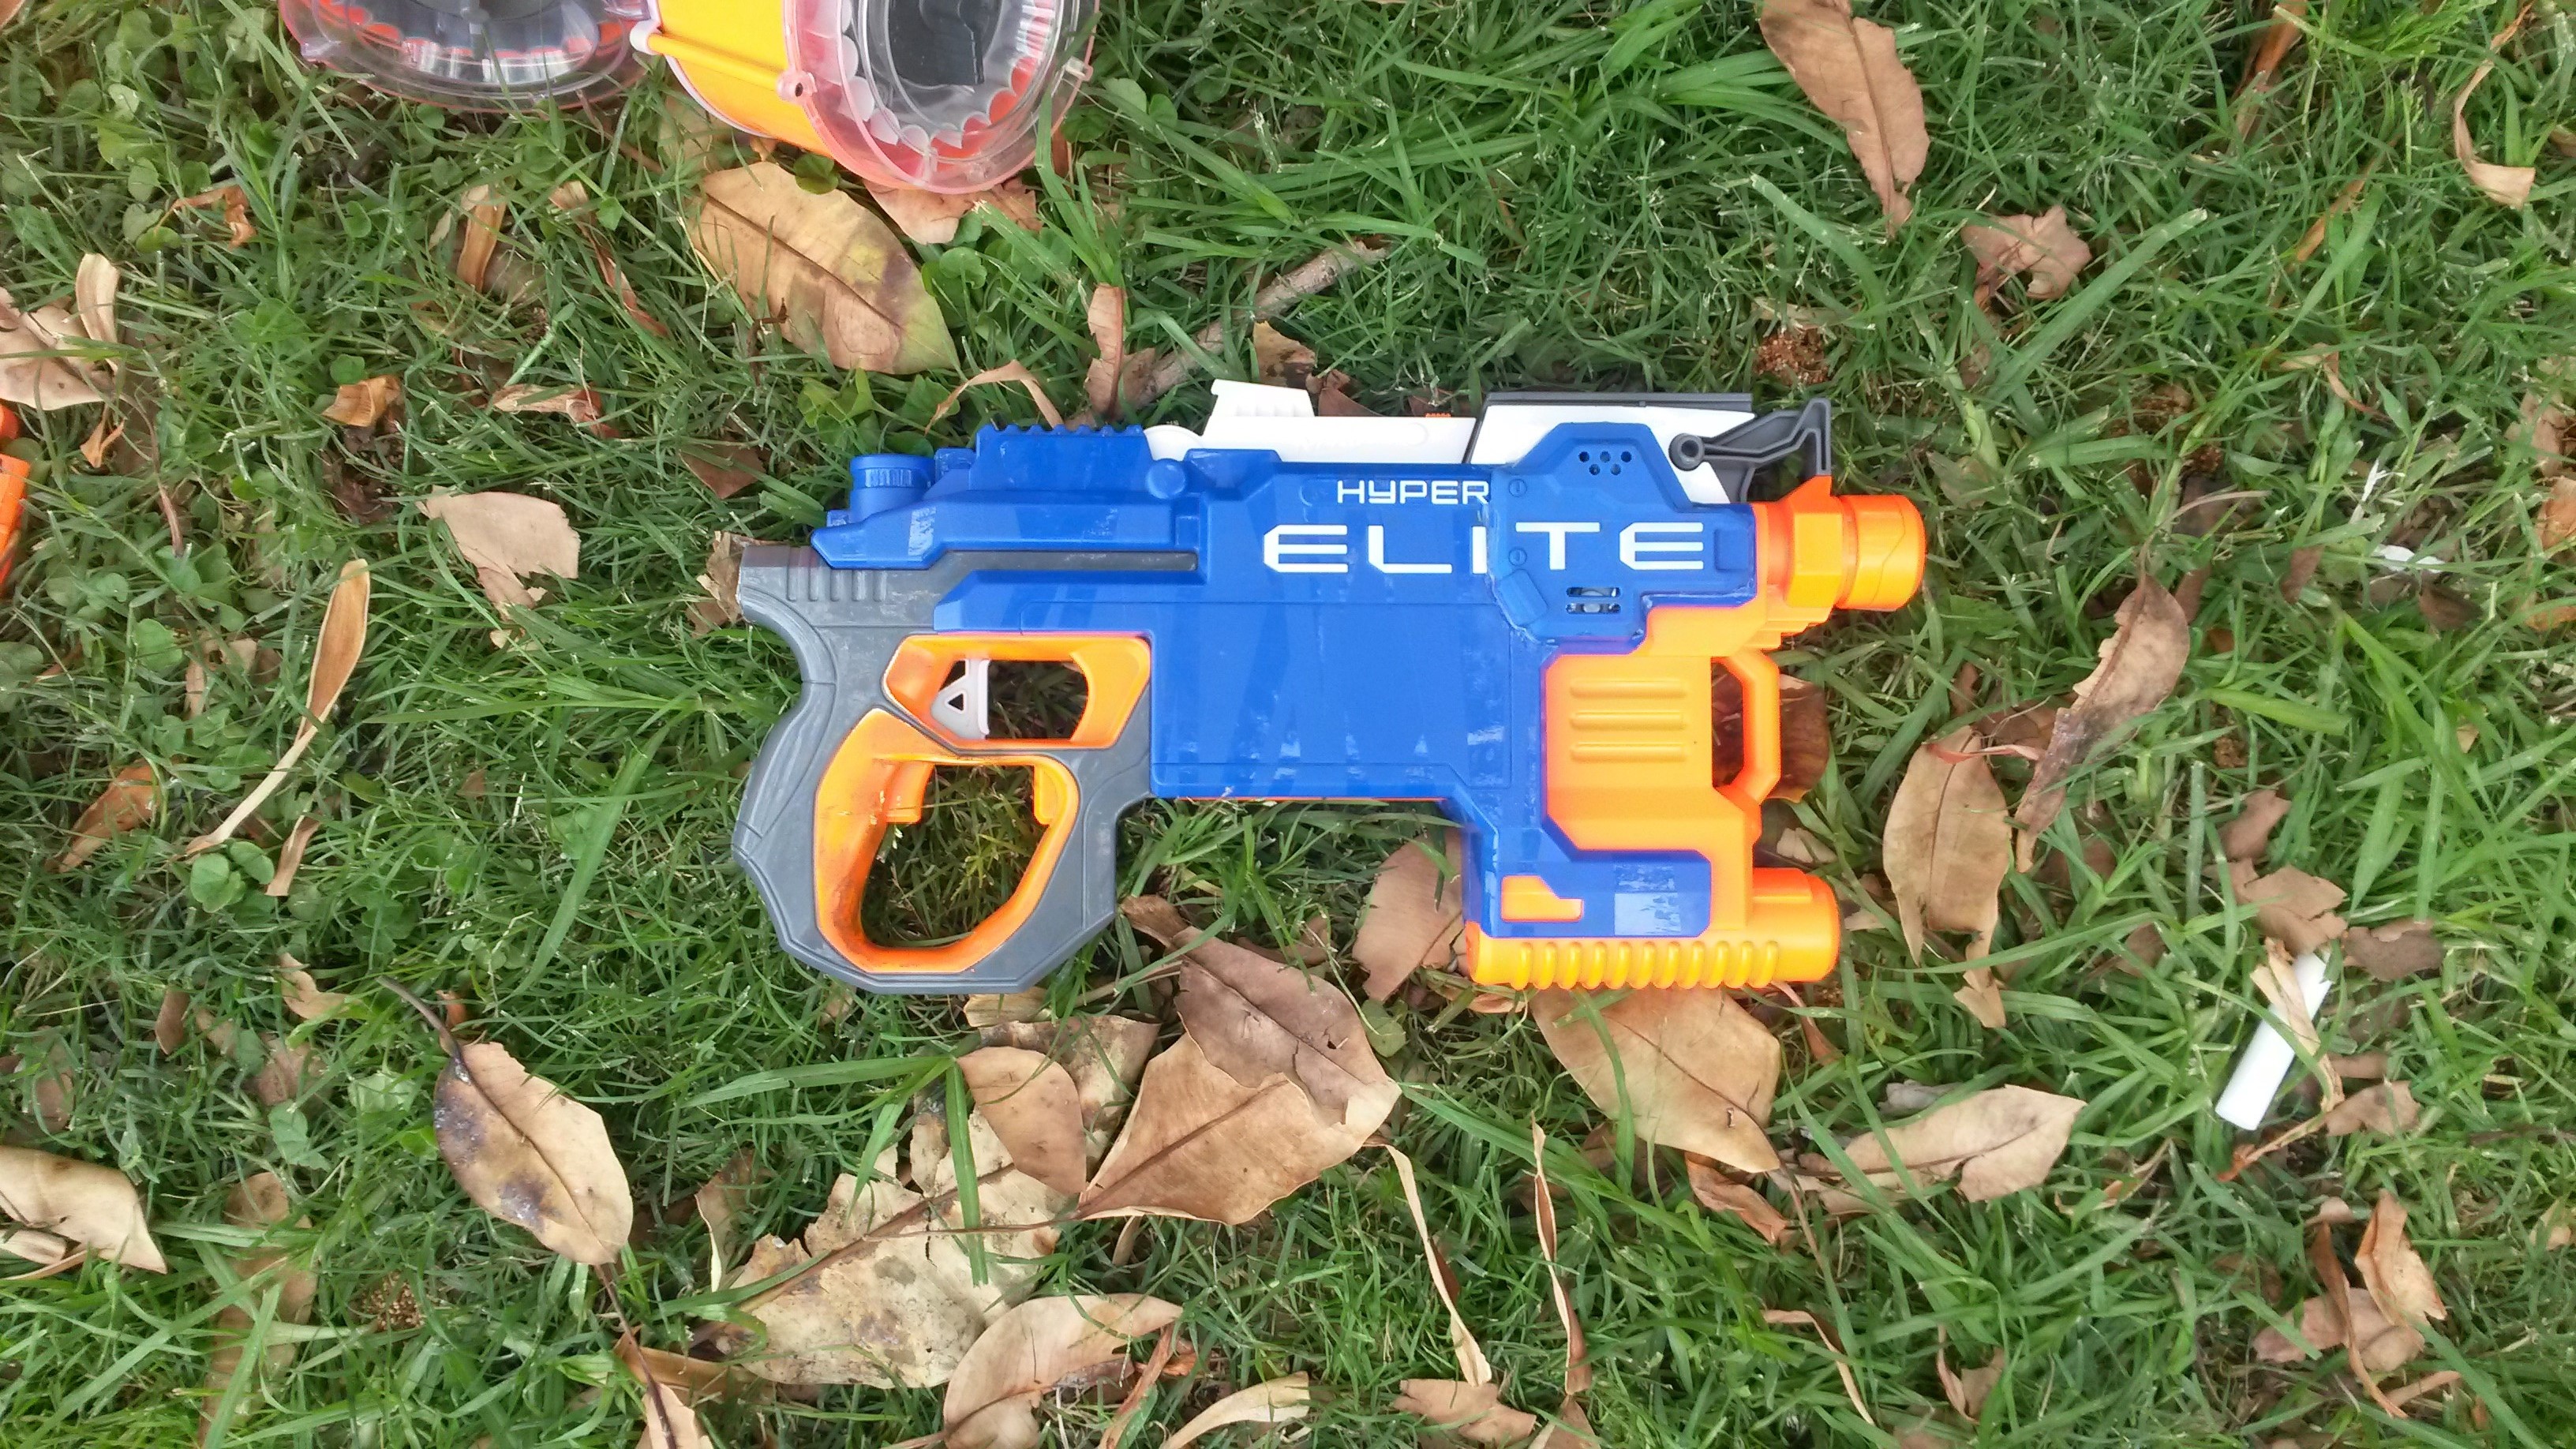
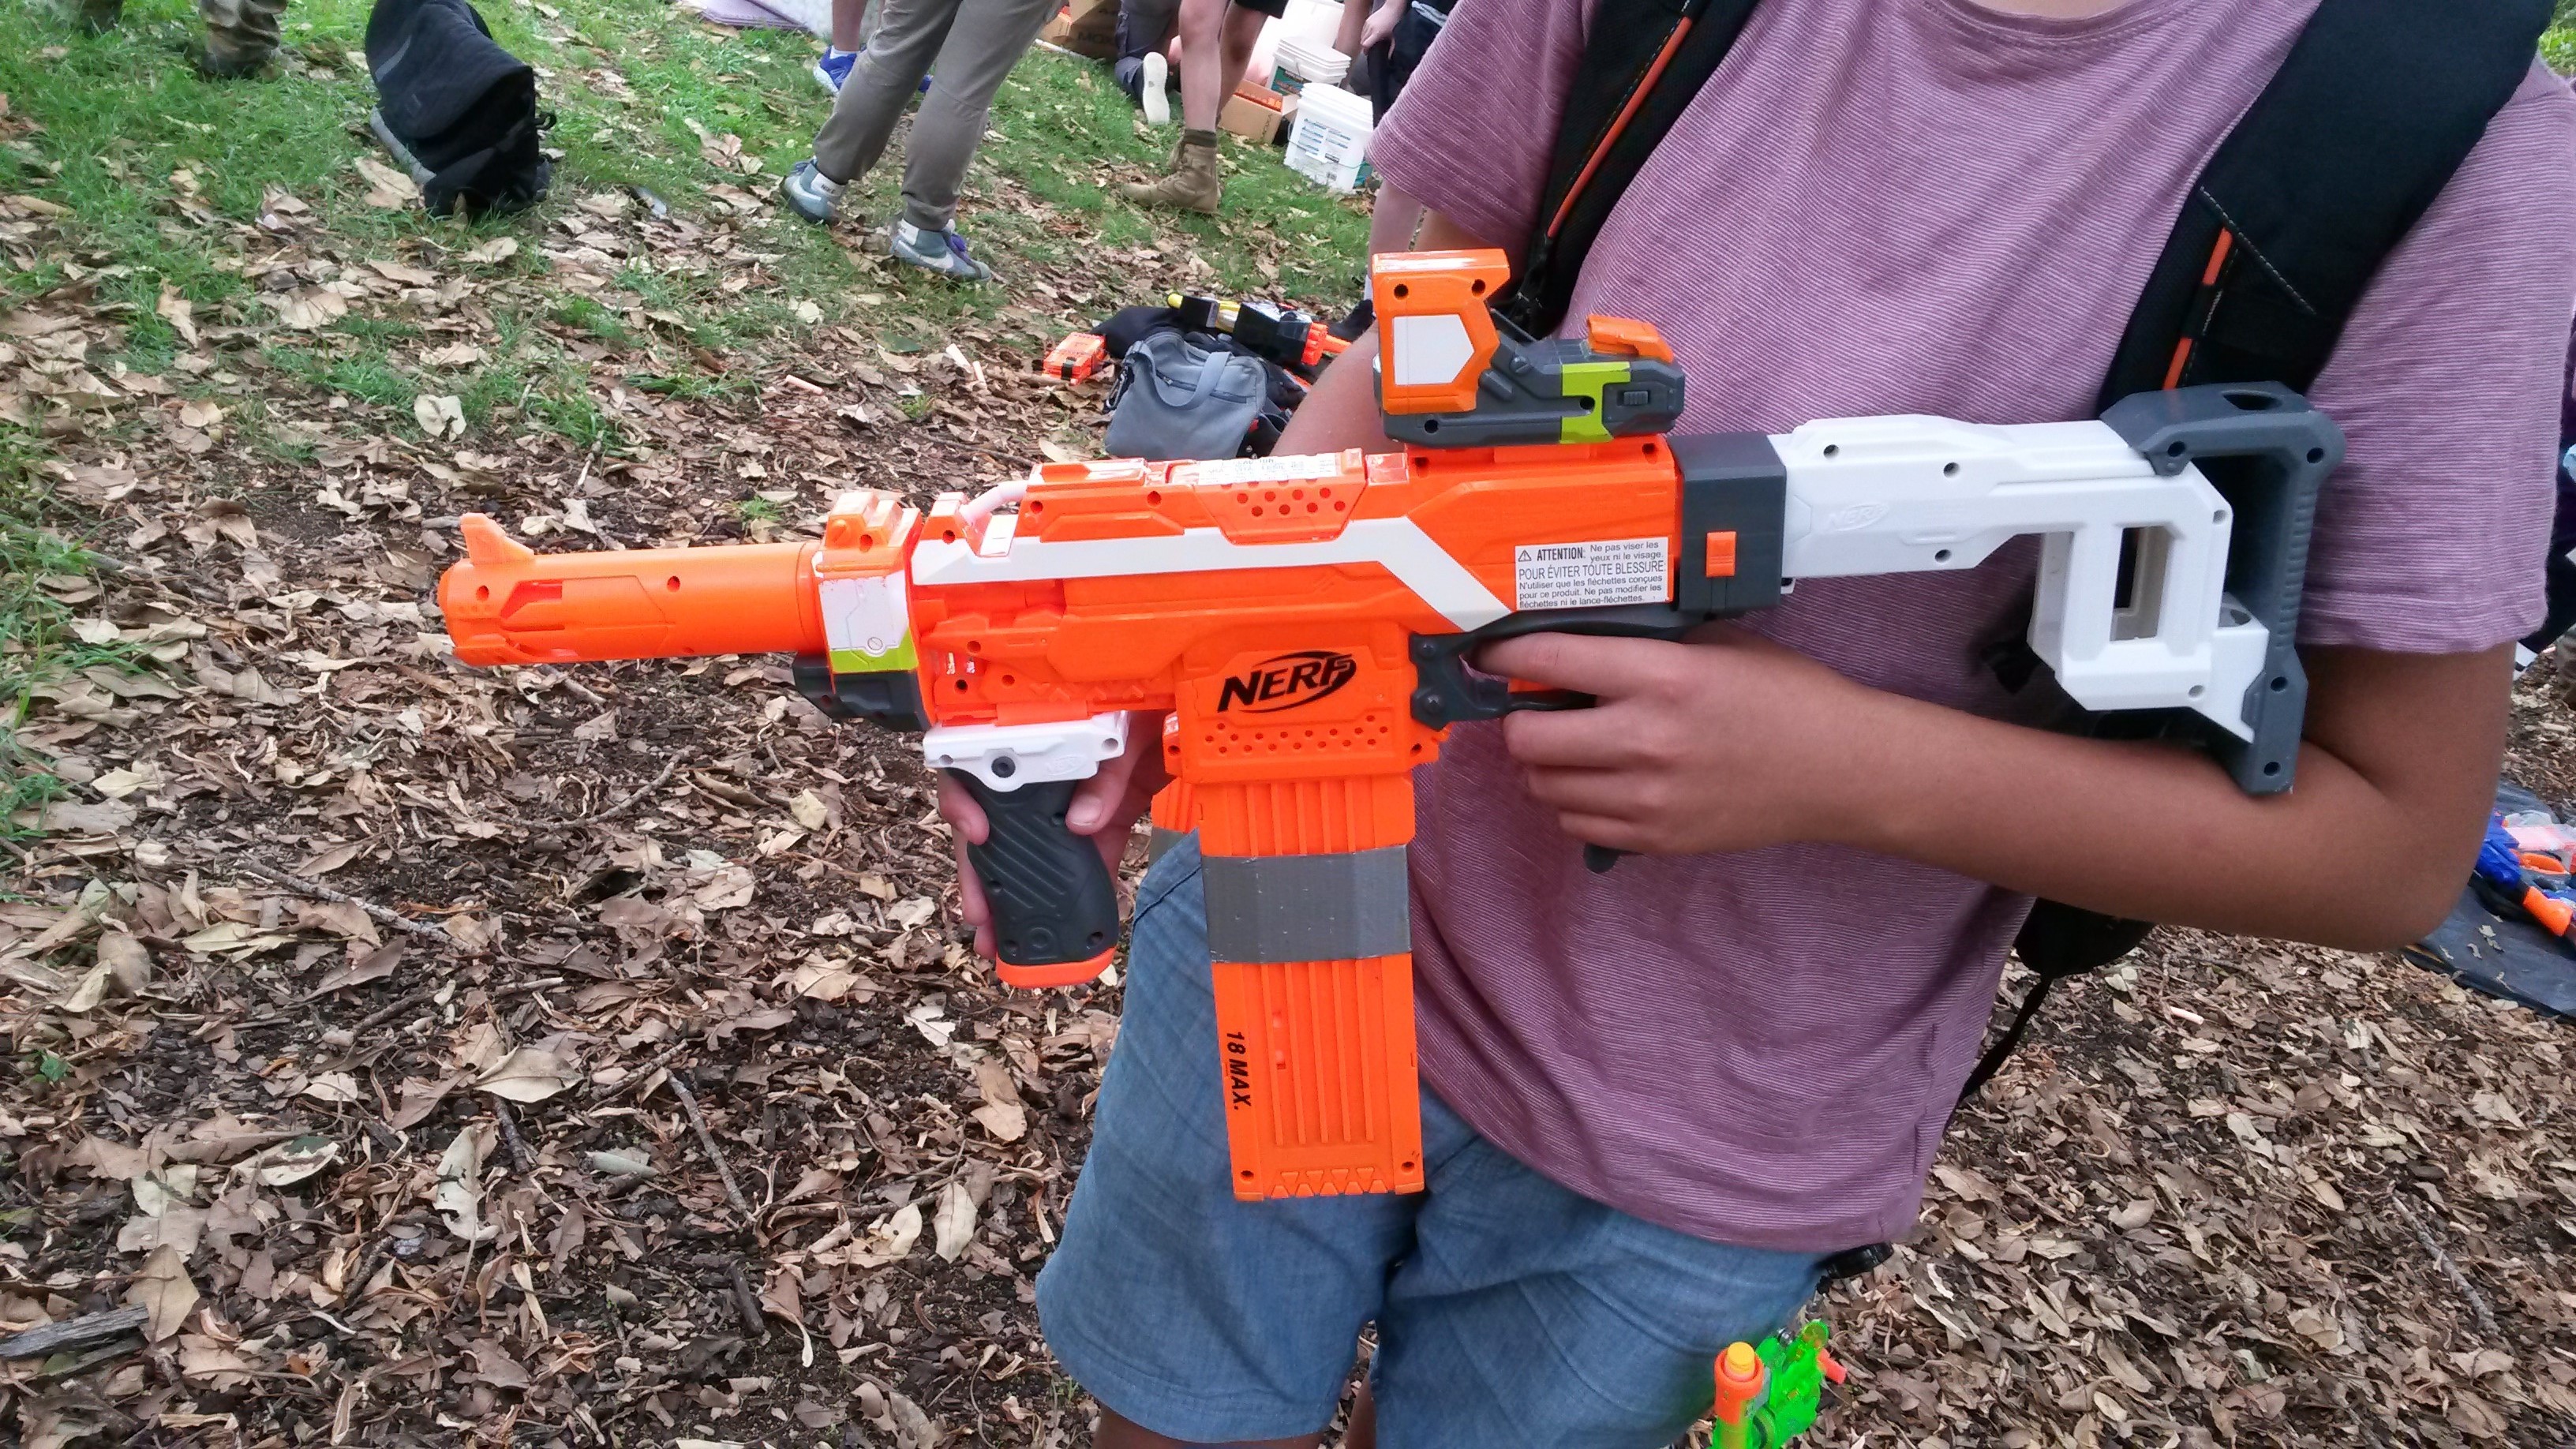
Elite Hyperfire (various motors, LiPos) – high ROF flywheeler. Effective in close quarters and against groups of zombies, but poor at longer ranges.
 ZS Hammershot (various mods depending on user) – compact, one-handable revolver ideal for sidearm duty. Effective against a few zombies, and easily reloadable, but not much good against larger groups.
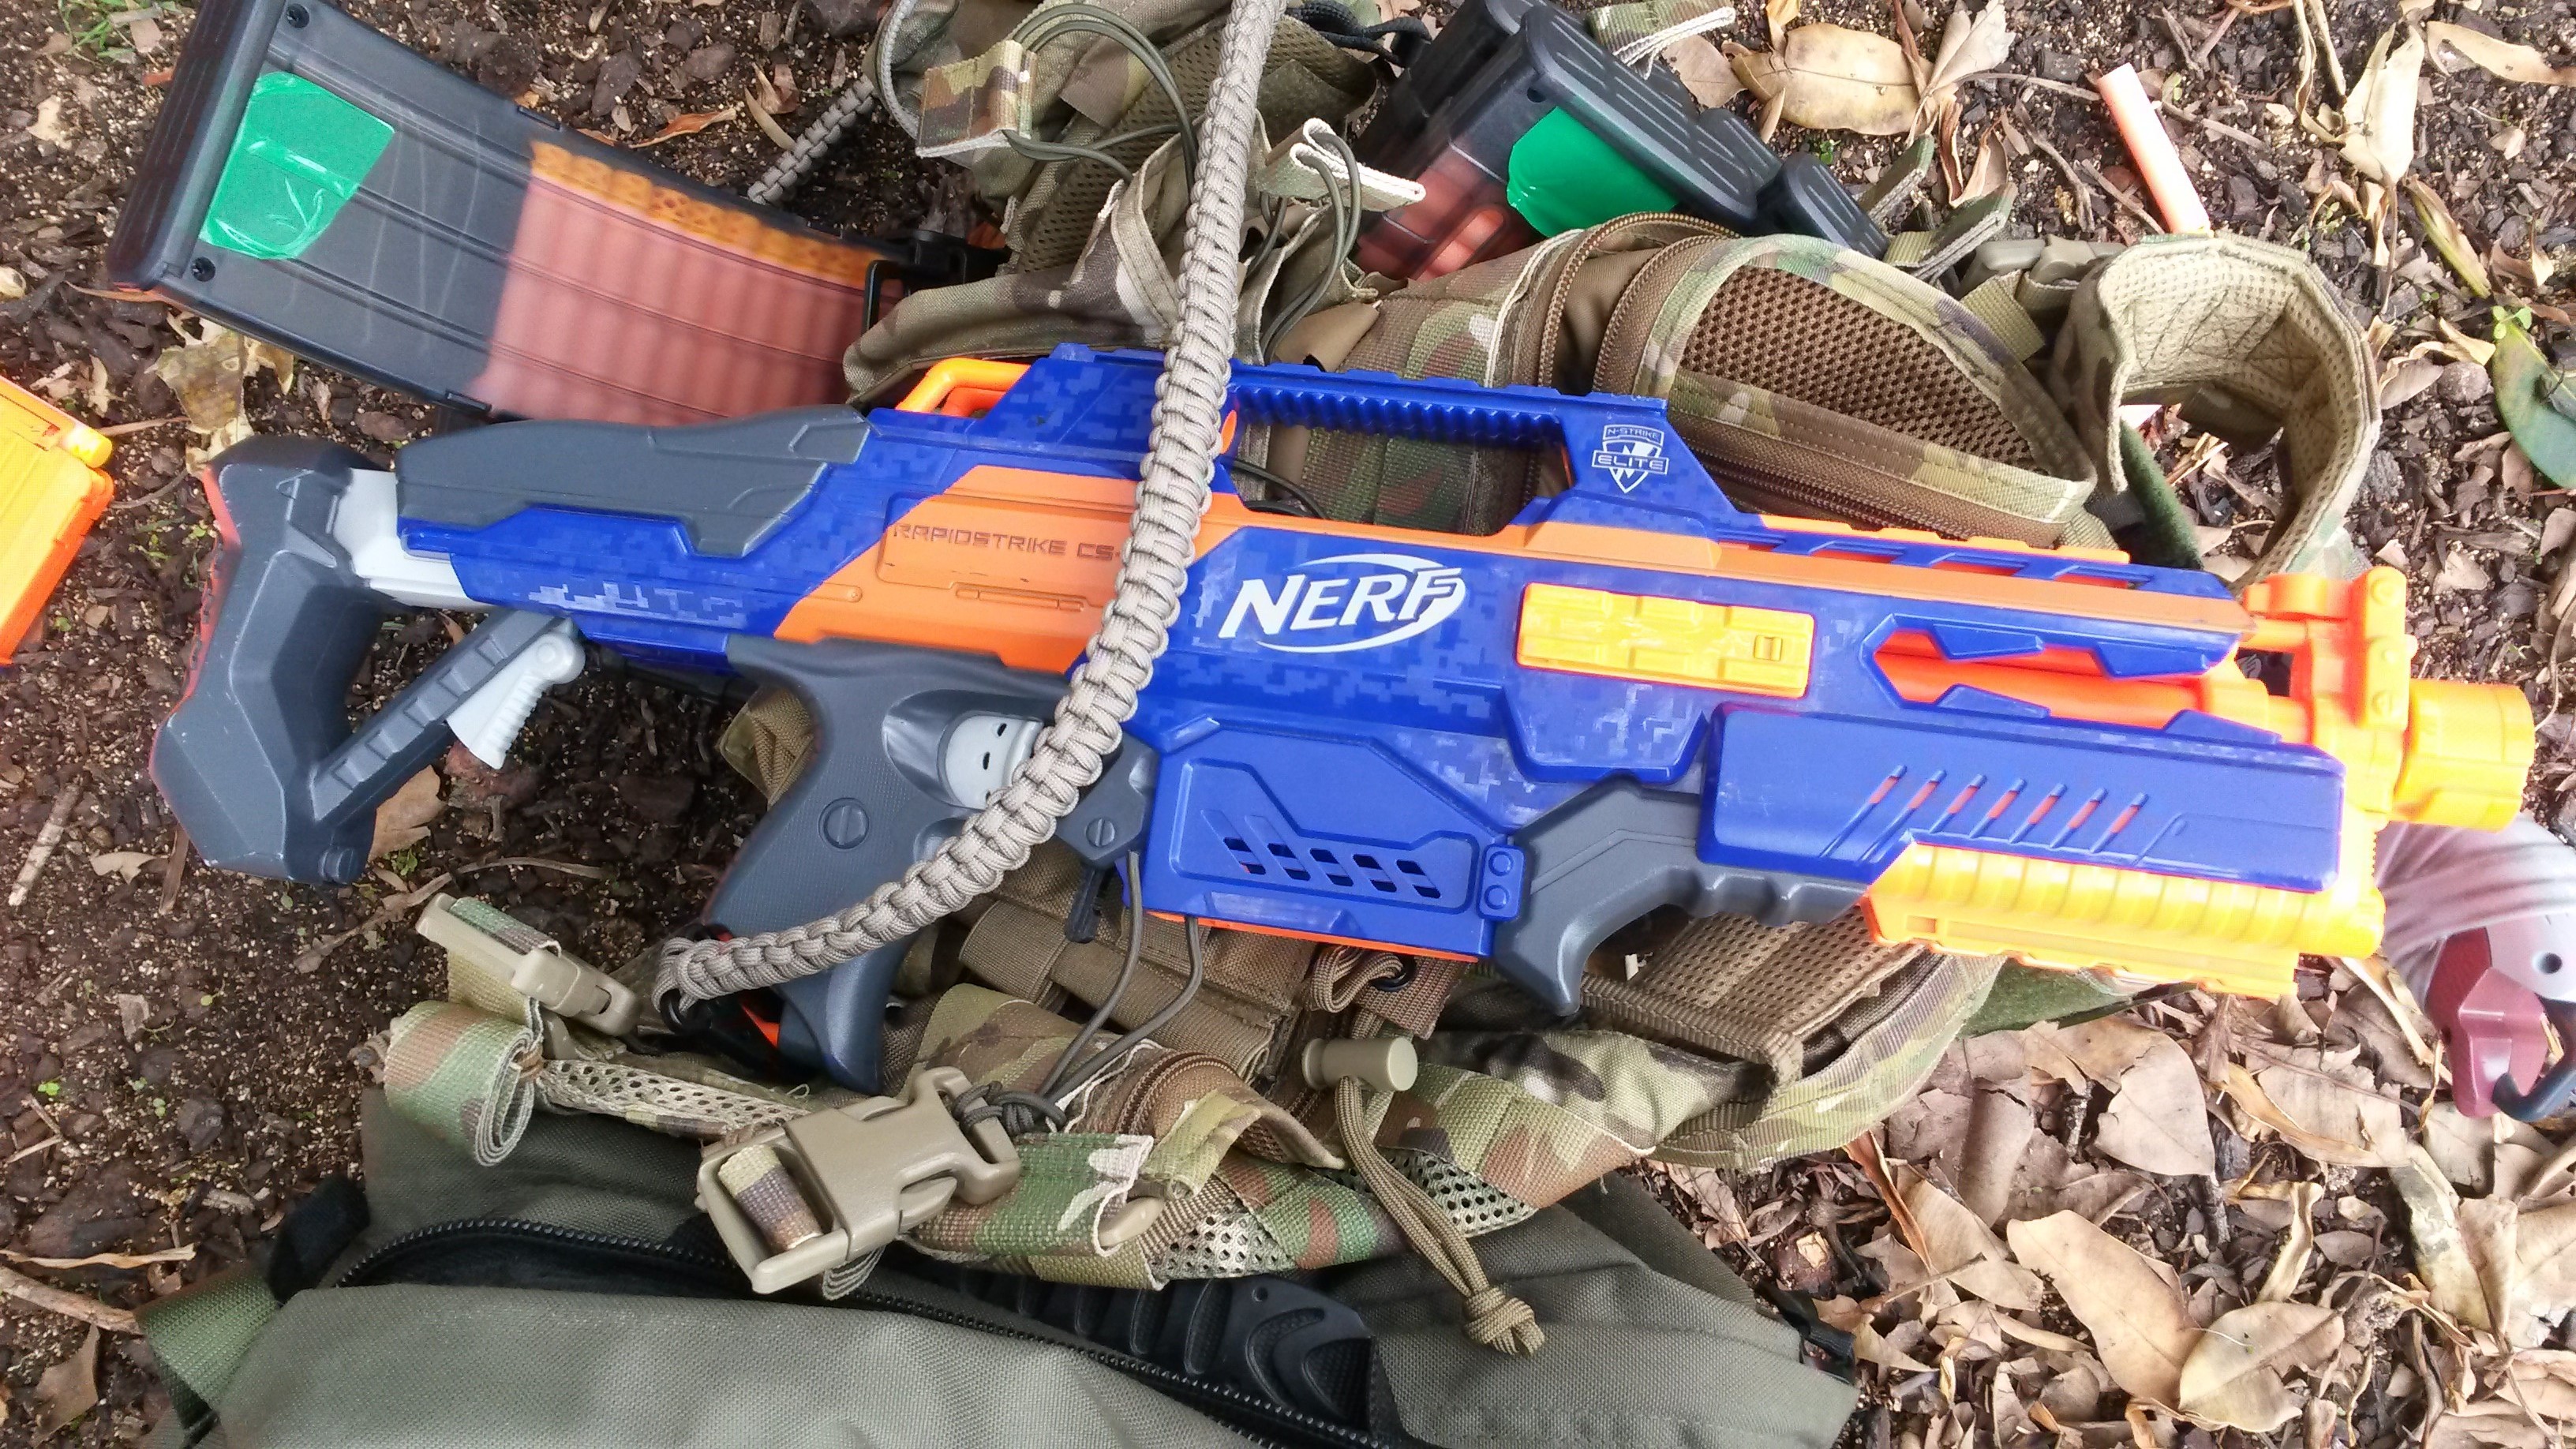


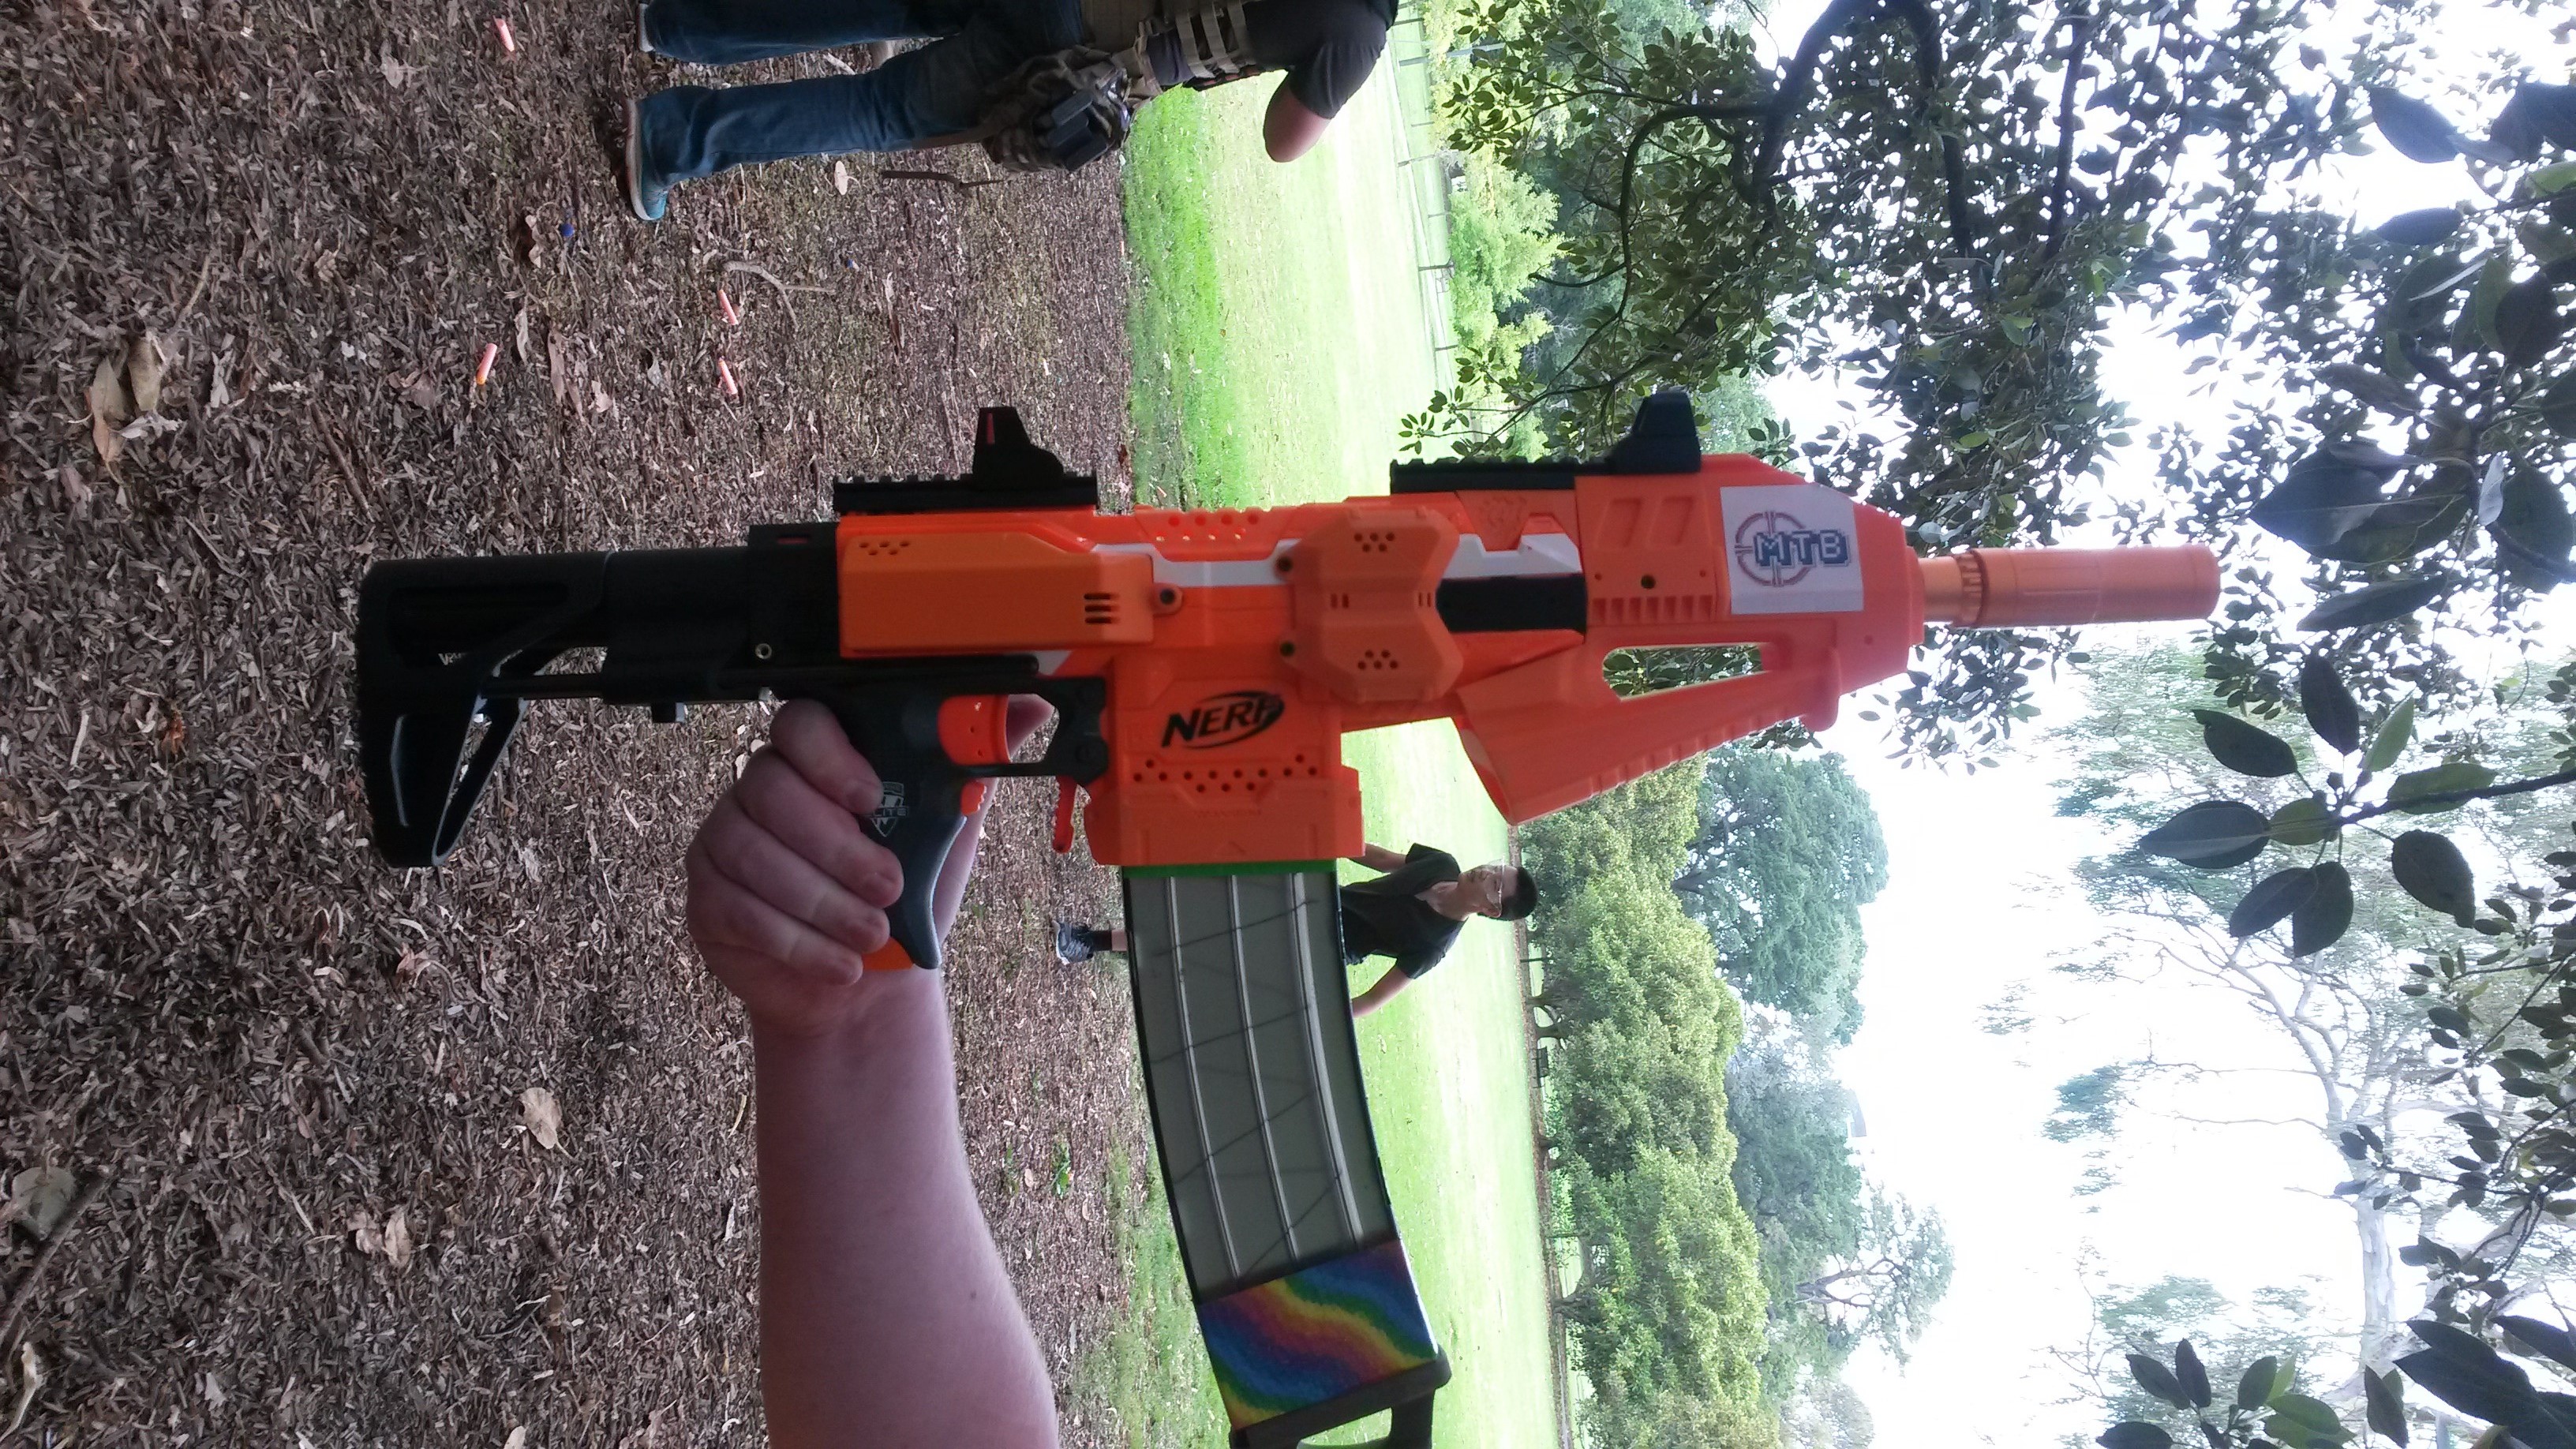
Elite Rapidstrike (various motors, LiPos) – high ROF flywheeler with similar functional use to the Hyperfire. Excellent in close quarters and against groups, but ineffective and wasteful at longer ranges.
 BB Thermal Hunter (upgrade spring) – a little more powerful than a comparable Retaliator build, but a lot less customisable and a little harder to prime. I lent it to a friend, who commented that it felt quite solid and reliable, up until the modded mag release lever broke off. This has since been fixed, however I am still looking into reinforcements for it.


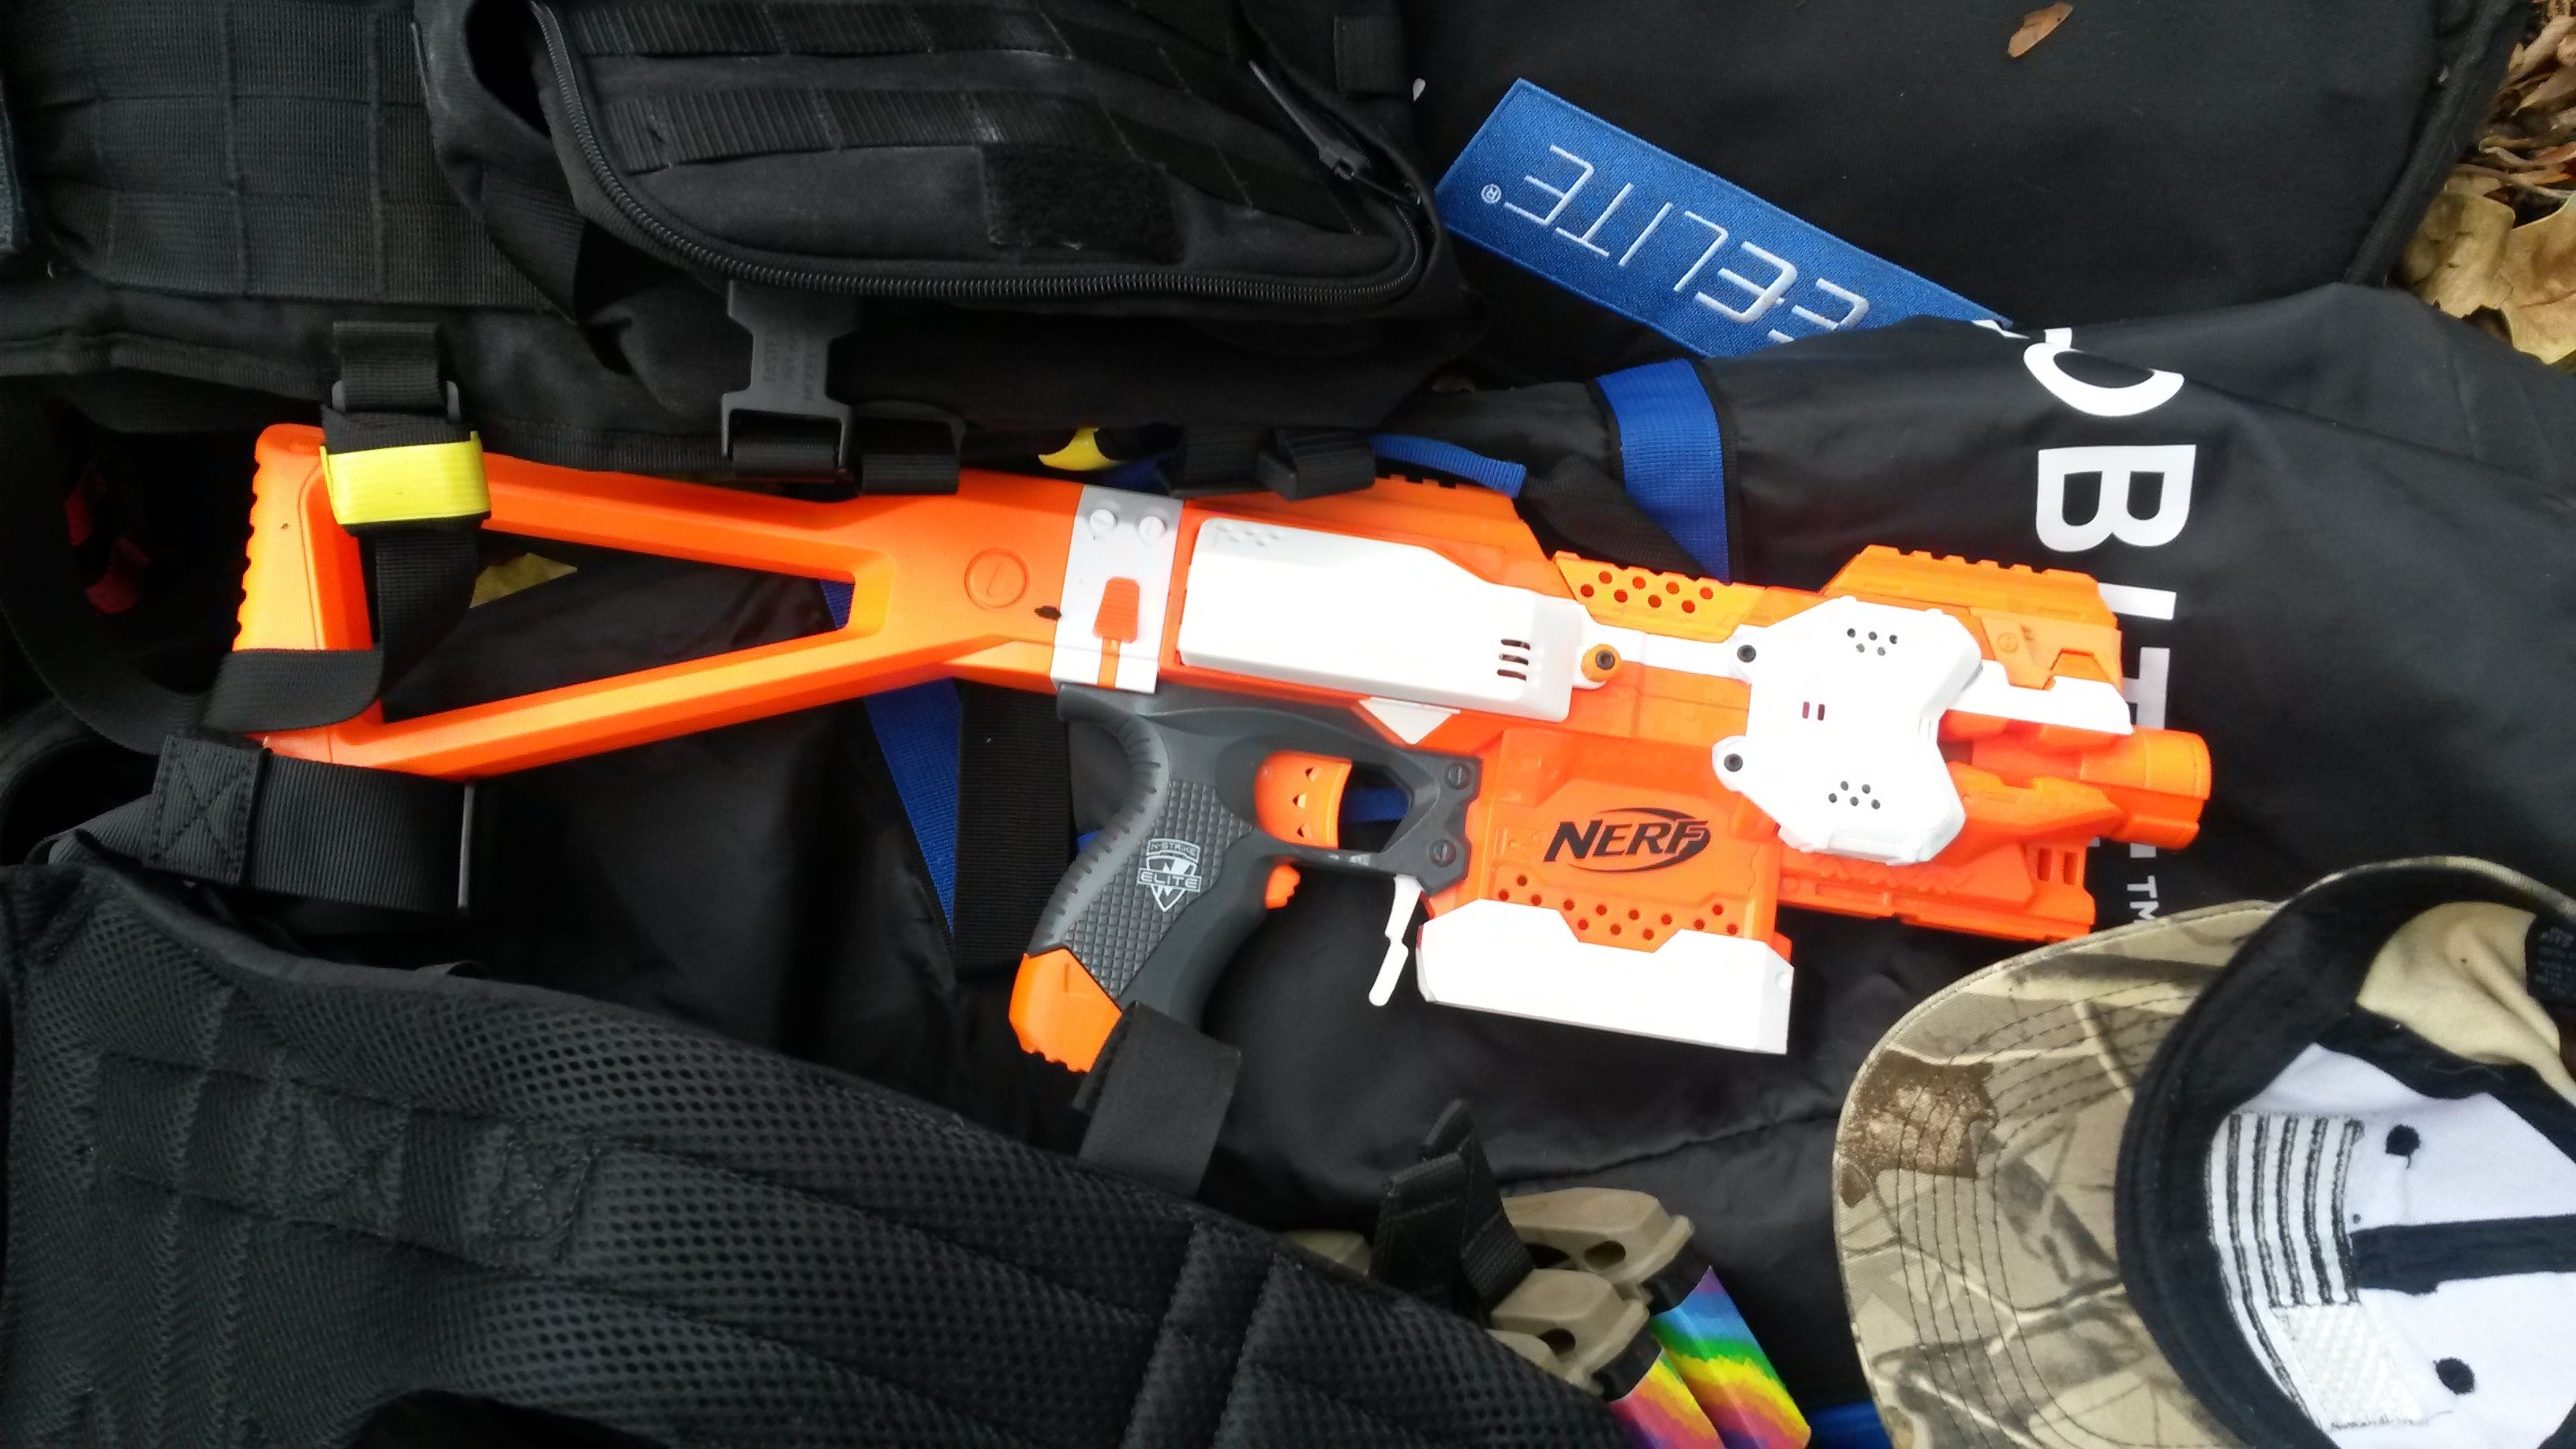

Elite Stryfe (various motors, LiPos) – solid all-round flywheeler. Good power and ROF, and extremely customisable.
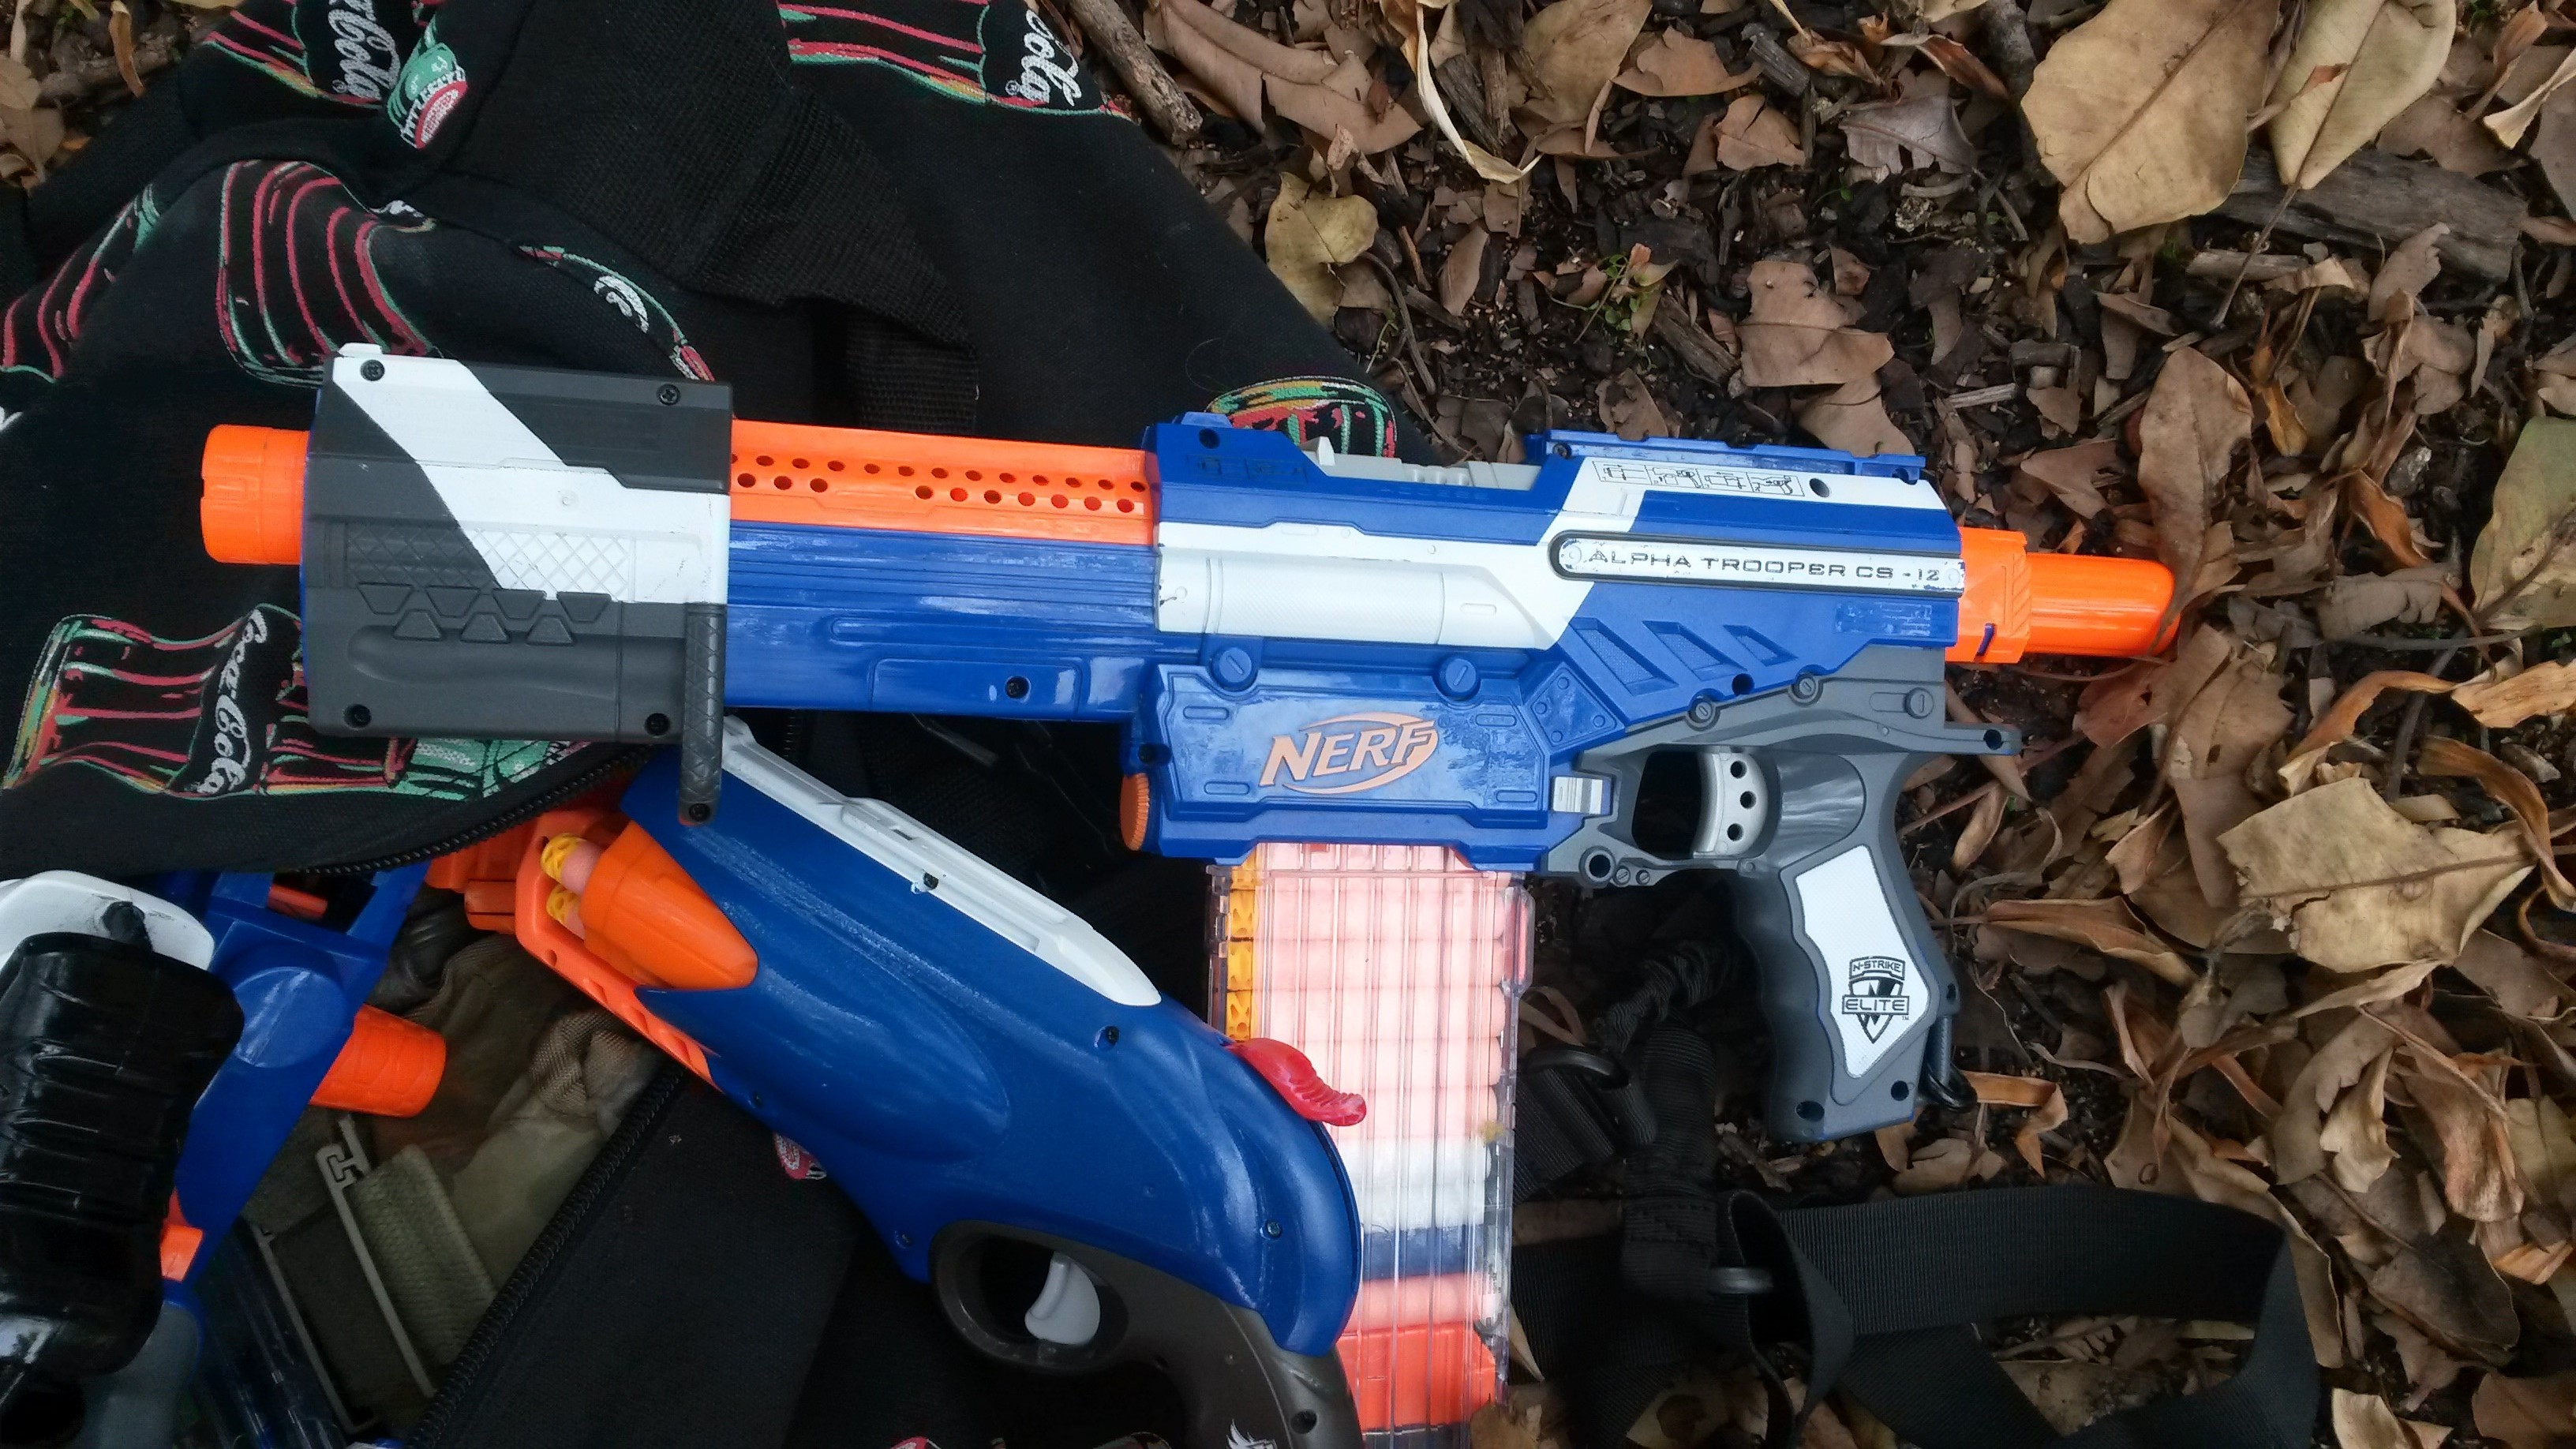
Elite Alpha Trooper (various upgrade springs) – mag-fed springer that is pump action out-of-box. Significantly weaker and less robust than a Retaliator, but it’s often cheaper than a Retal + pump grip.
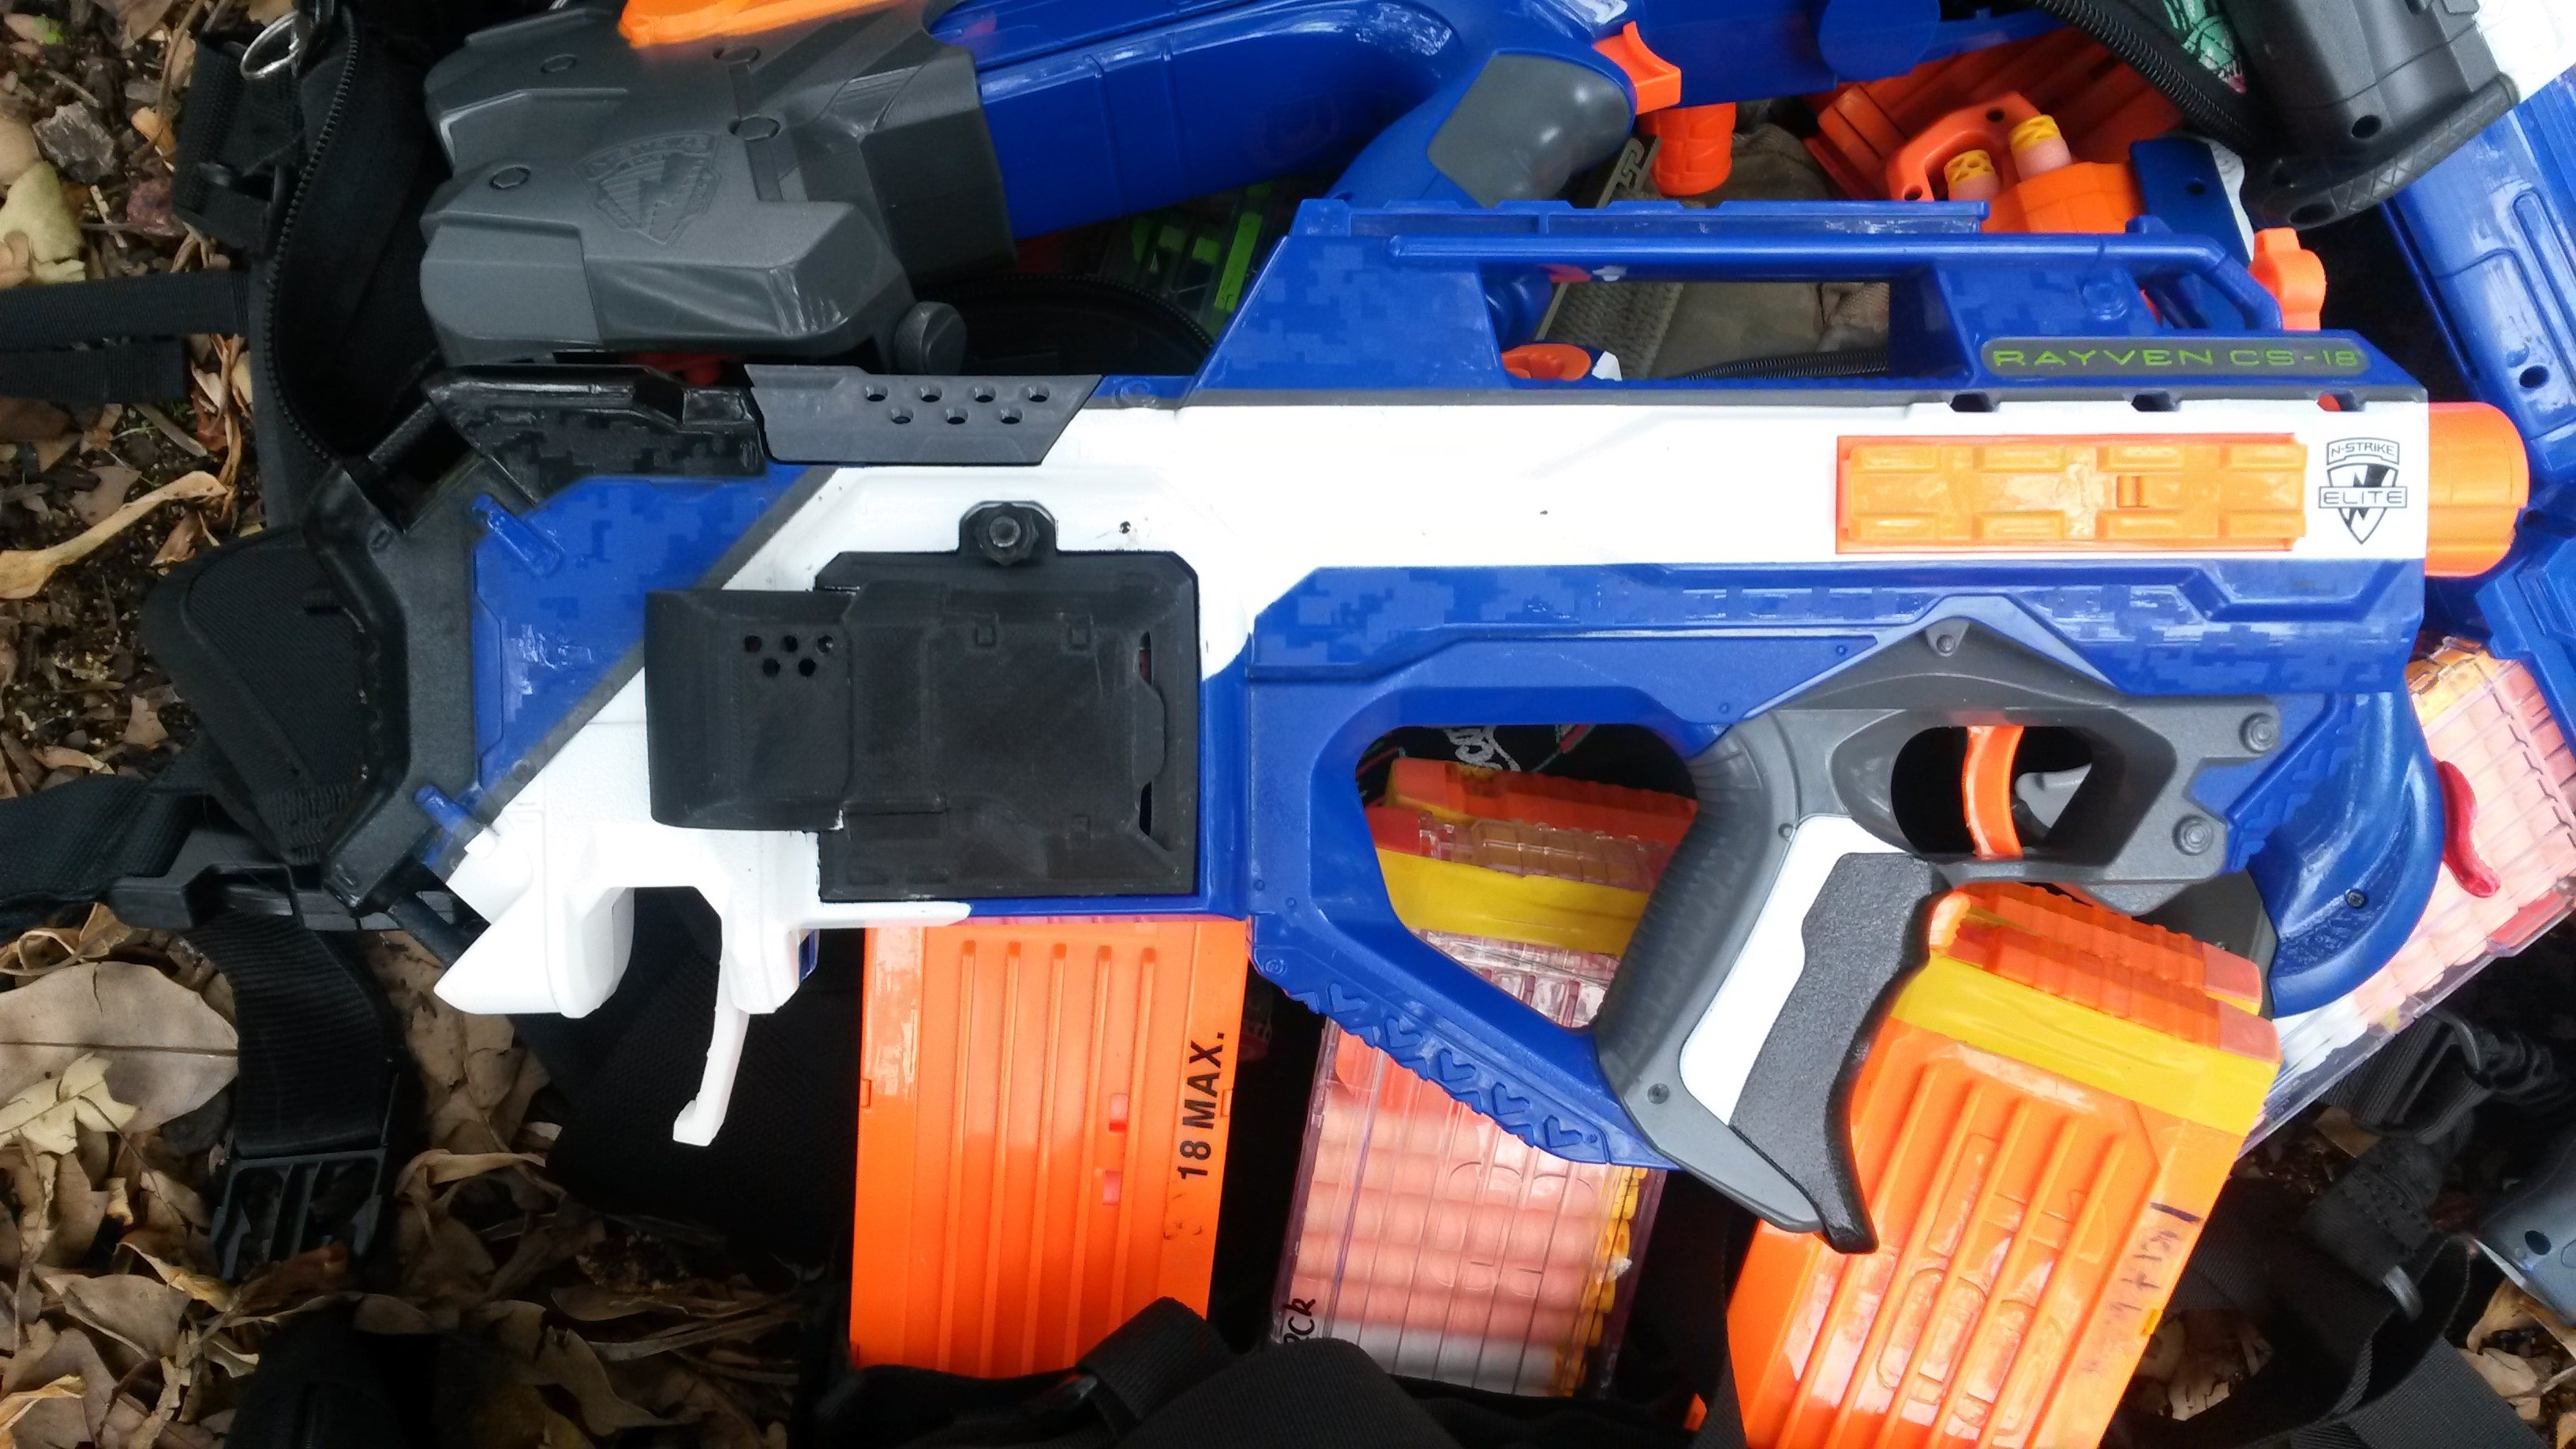

N-Strike/Elite Rayven (various motors, LiPos) – functionally a Stryfe in bullpup form, though has some additional issues compared to the Stryfe platform. Once those are fixed, it is also a reasonable all-round flywheeler.
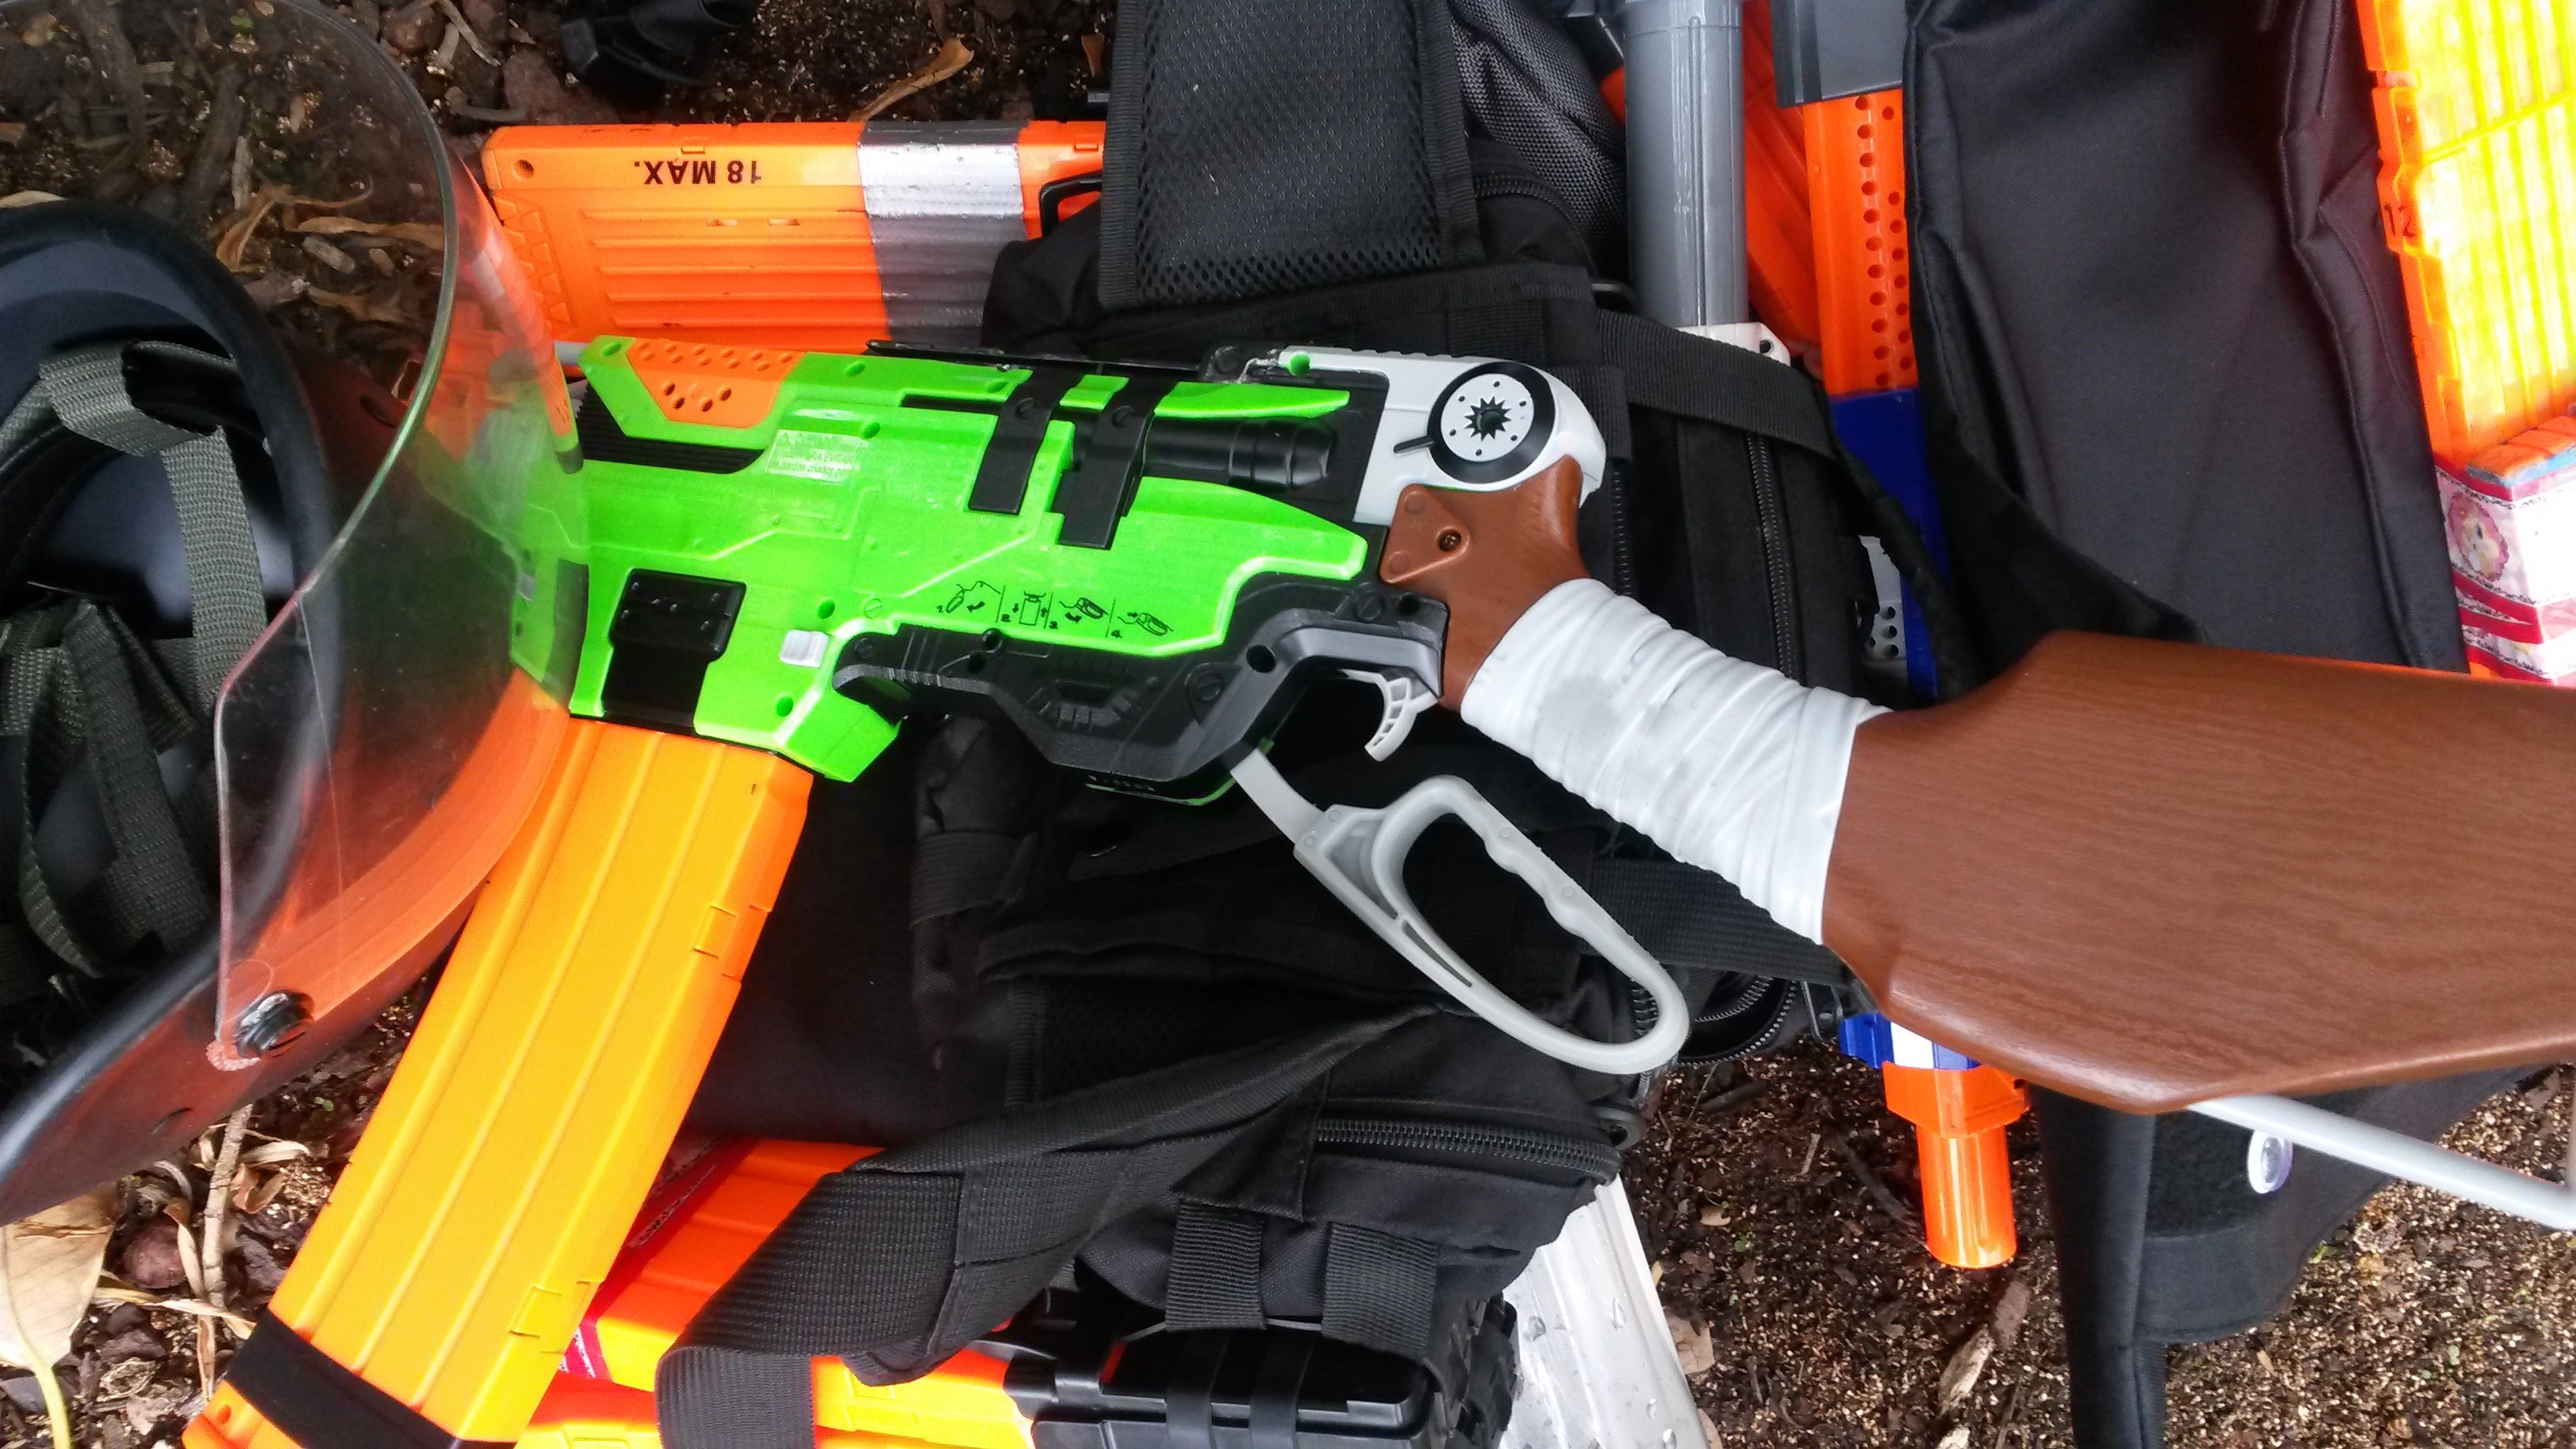 ZS Slingfire (various upgrade springs) – besides being a one-handable mag-fed springer, it is functionally inferior to a Retaliator, with less power and a slower ROF.
New/Infrequent:
 DT Swarmfire (assumed stock) – notable only as a full-auto with a completely exposed cylinder. Very easy to reload on-the-fly, but lacking in both range and ROF. It is also very bulky.
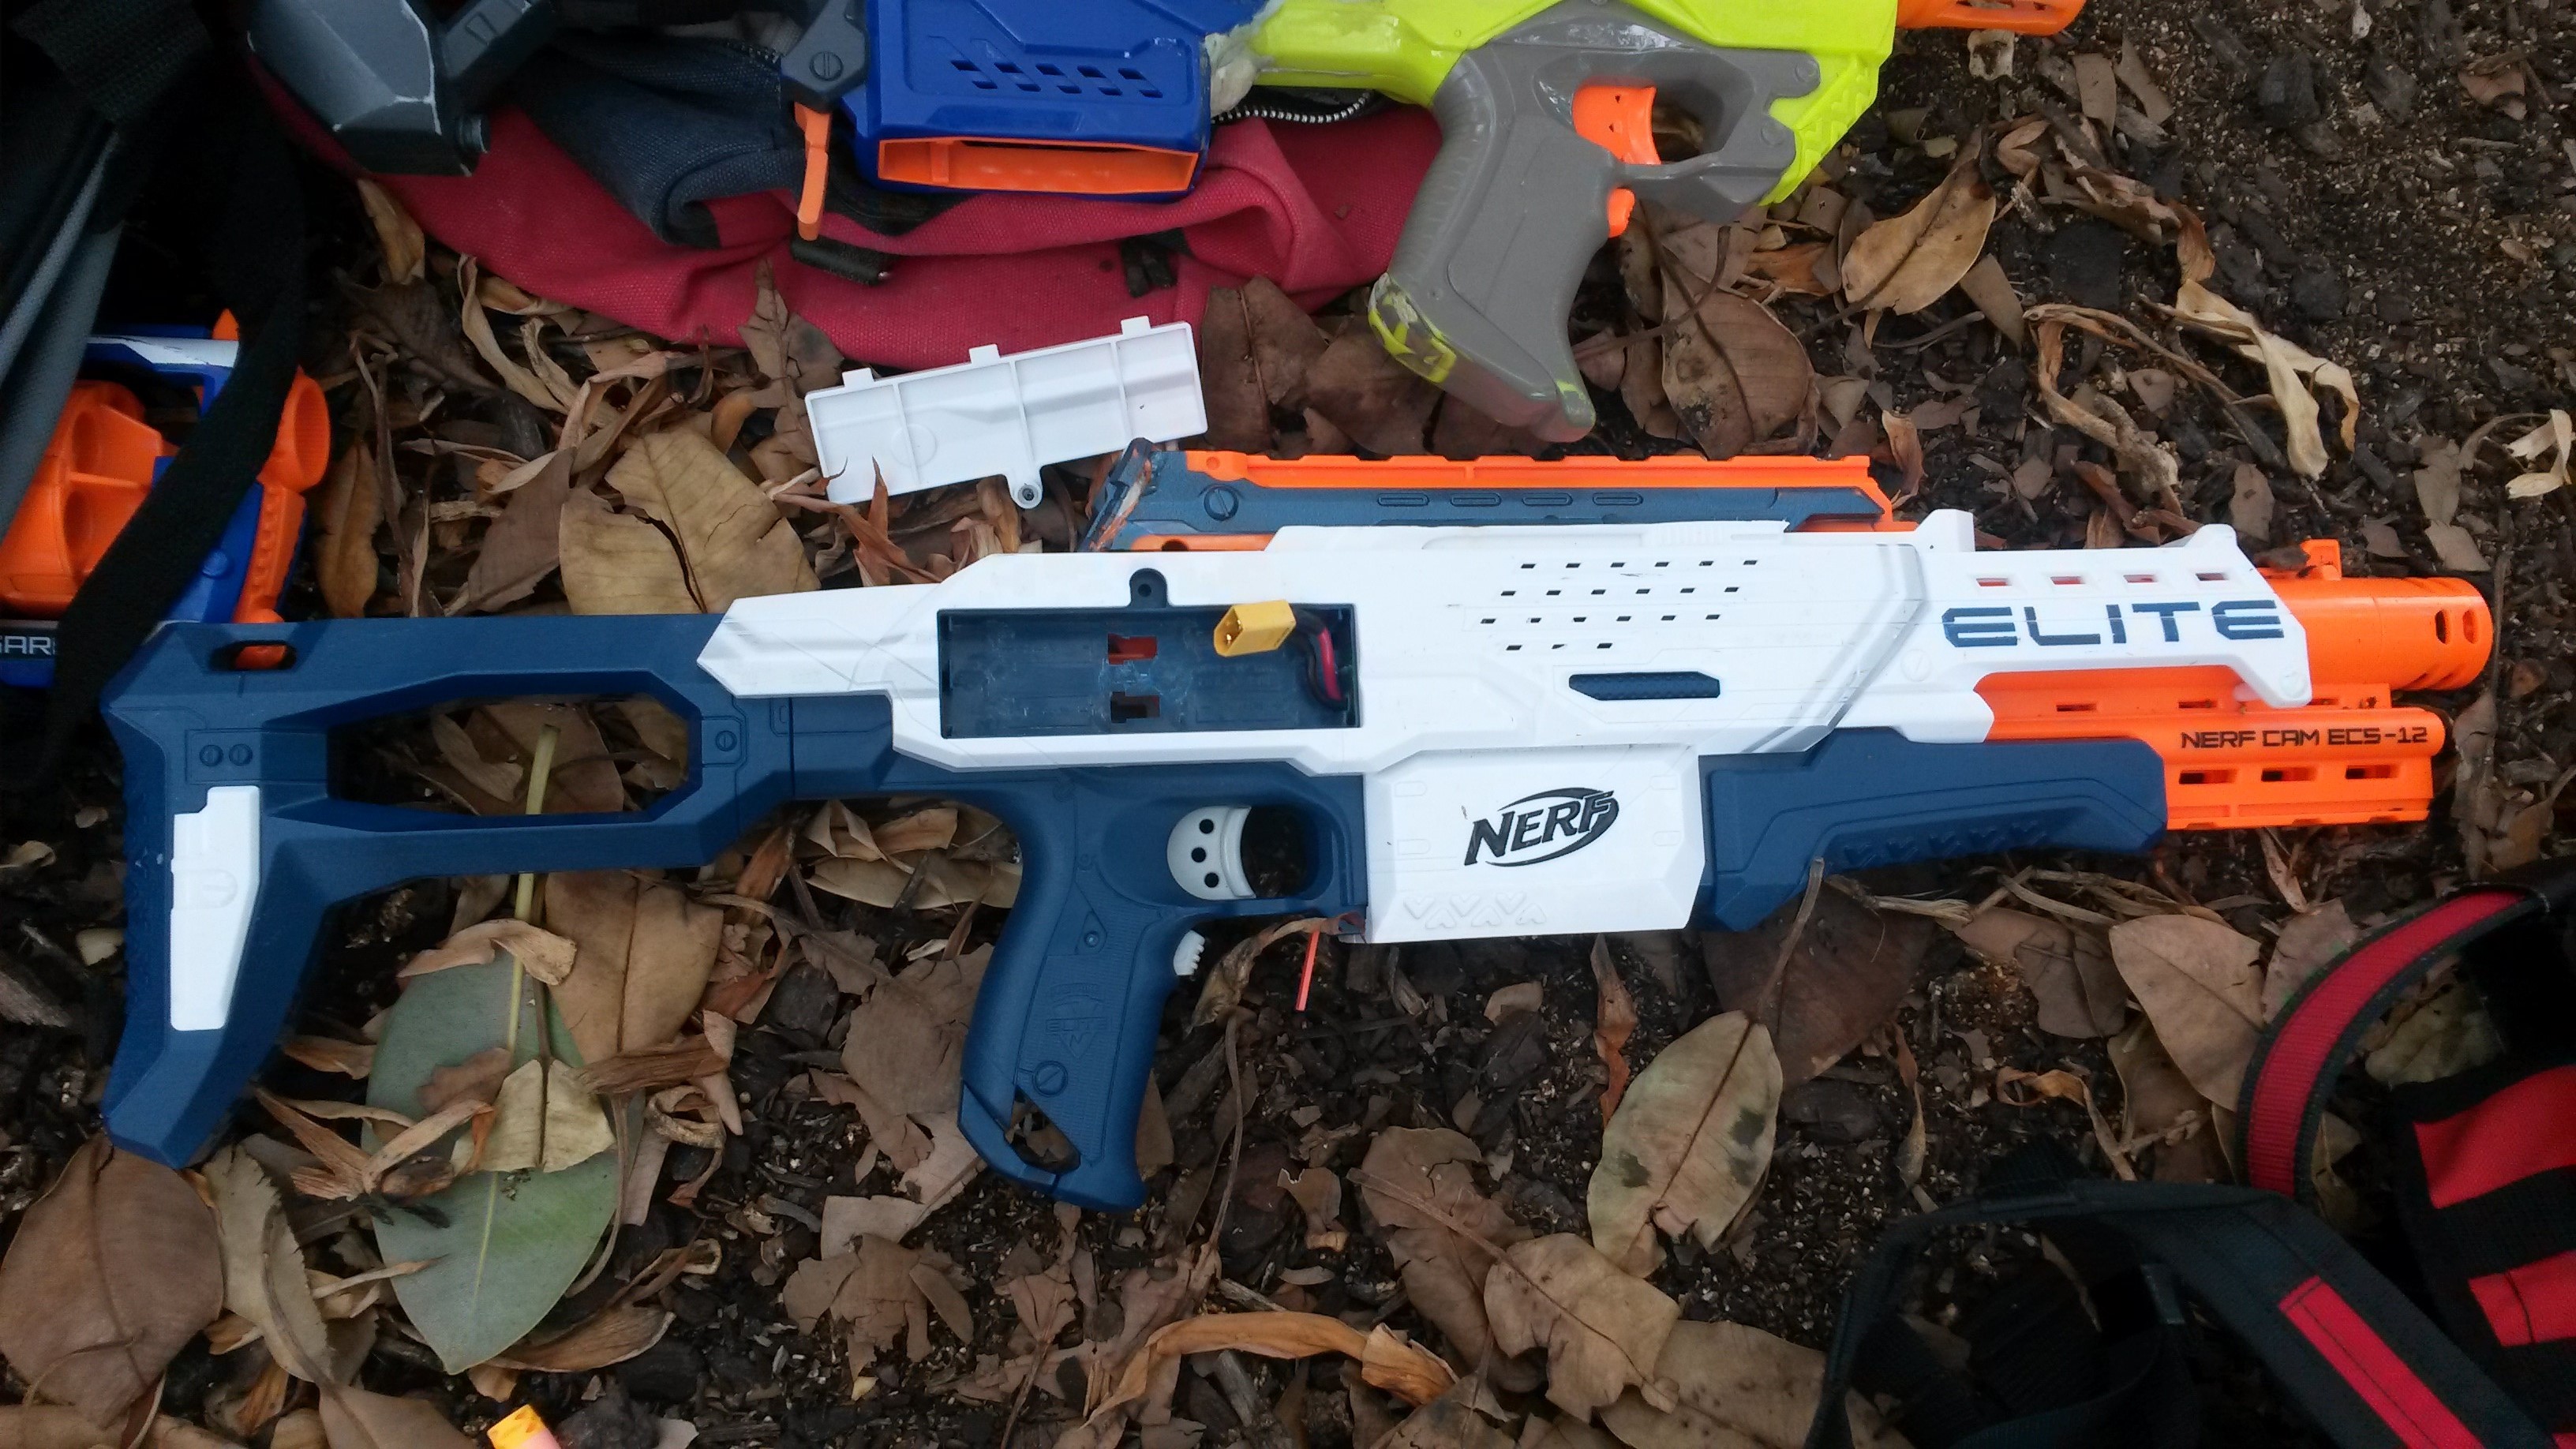 Elite Cam (upgrade motors, LiPo) – finally had a chance to give this a combat trial. It performed excellently, with good power and reasonable accuracy, essentially like a similar spec Stryfe. My only issue with it was that the rev switch got stuck a few times, however that was an easy fix and has already been rectified.
 Rebelle Rapid Red (upgrade motors, LiPo) – functions essentially like a Stryfe in a different shape, a solid all-round flywheeler.
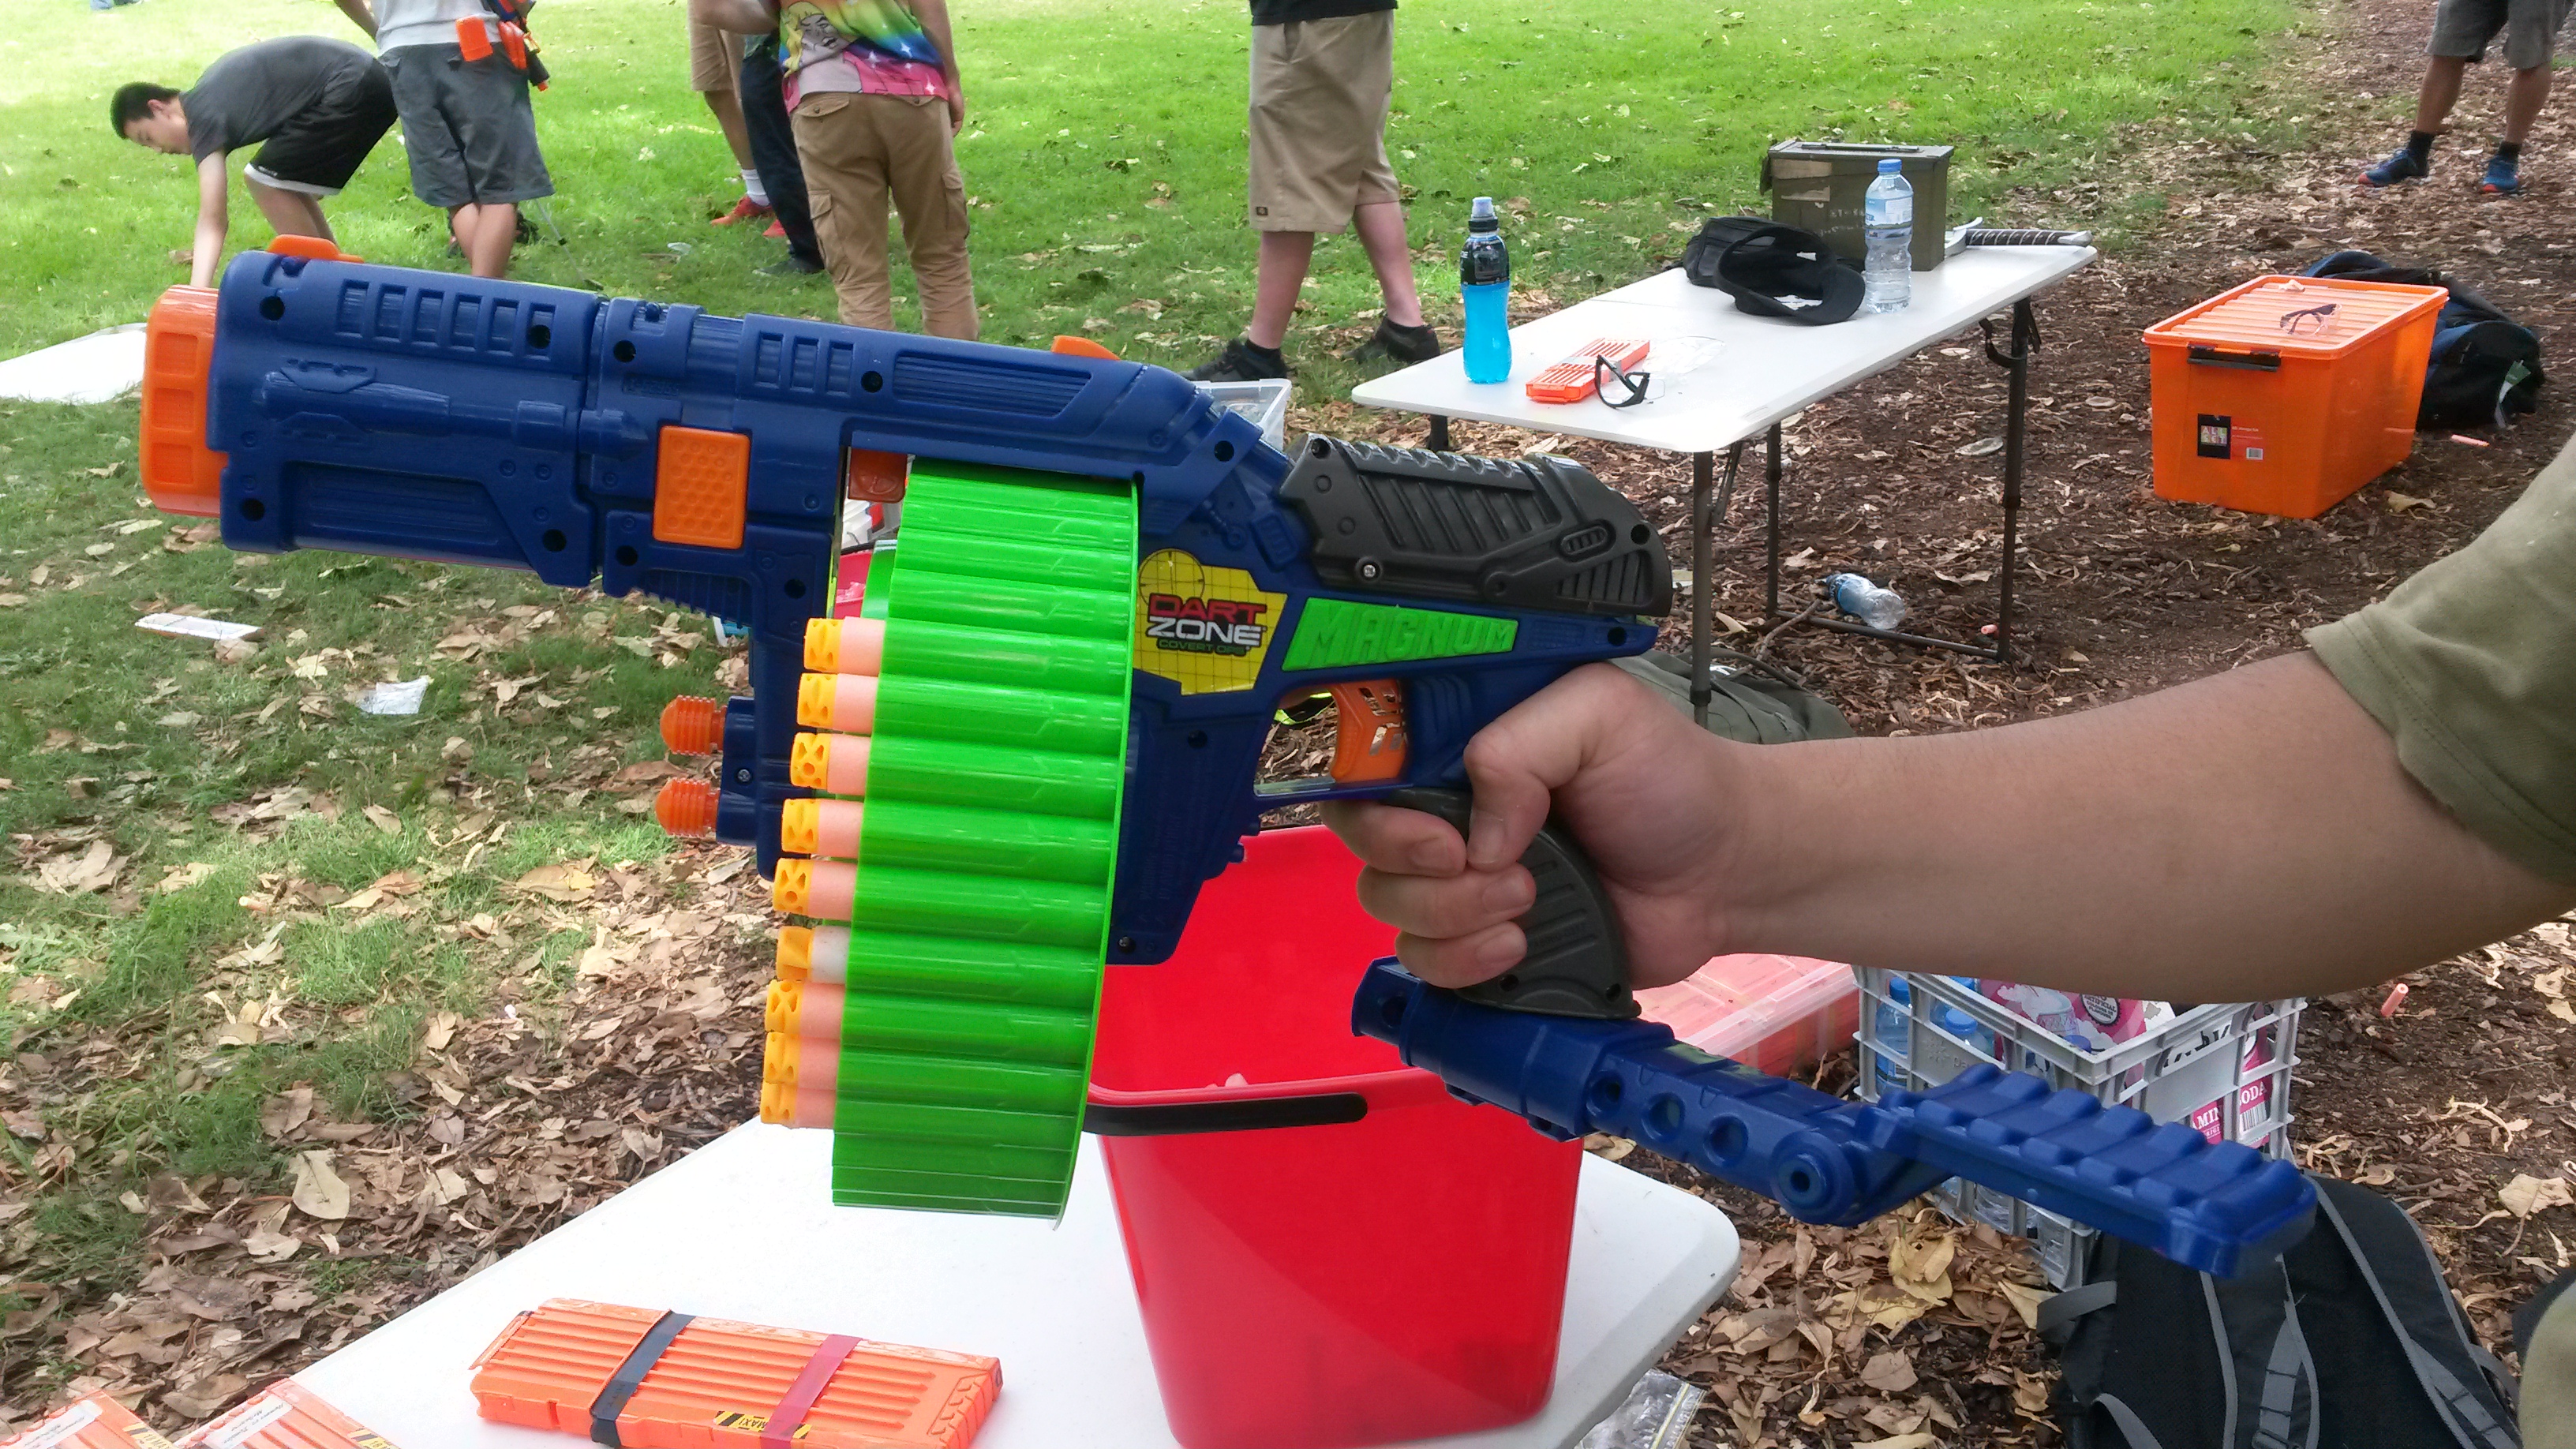 DZ Magnum Superdrum (stock) – an excellent stock blaster, with good power and great capacity that is easily topped up on-the-fly. Reload speed is of course compromised if a lot of darts have been fired and spare cylinders are not available.
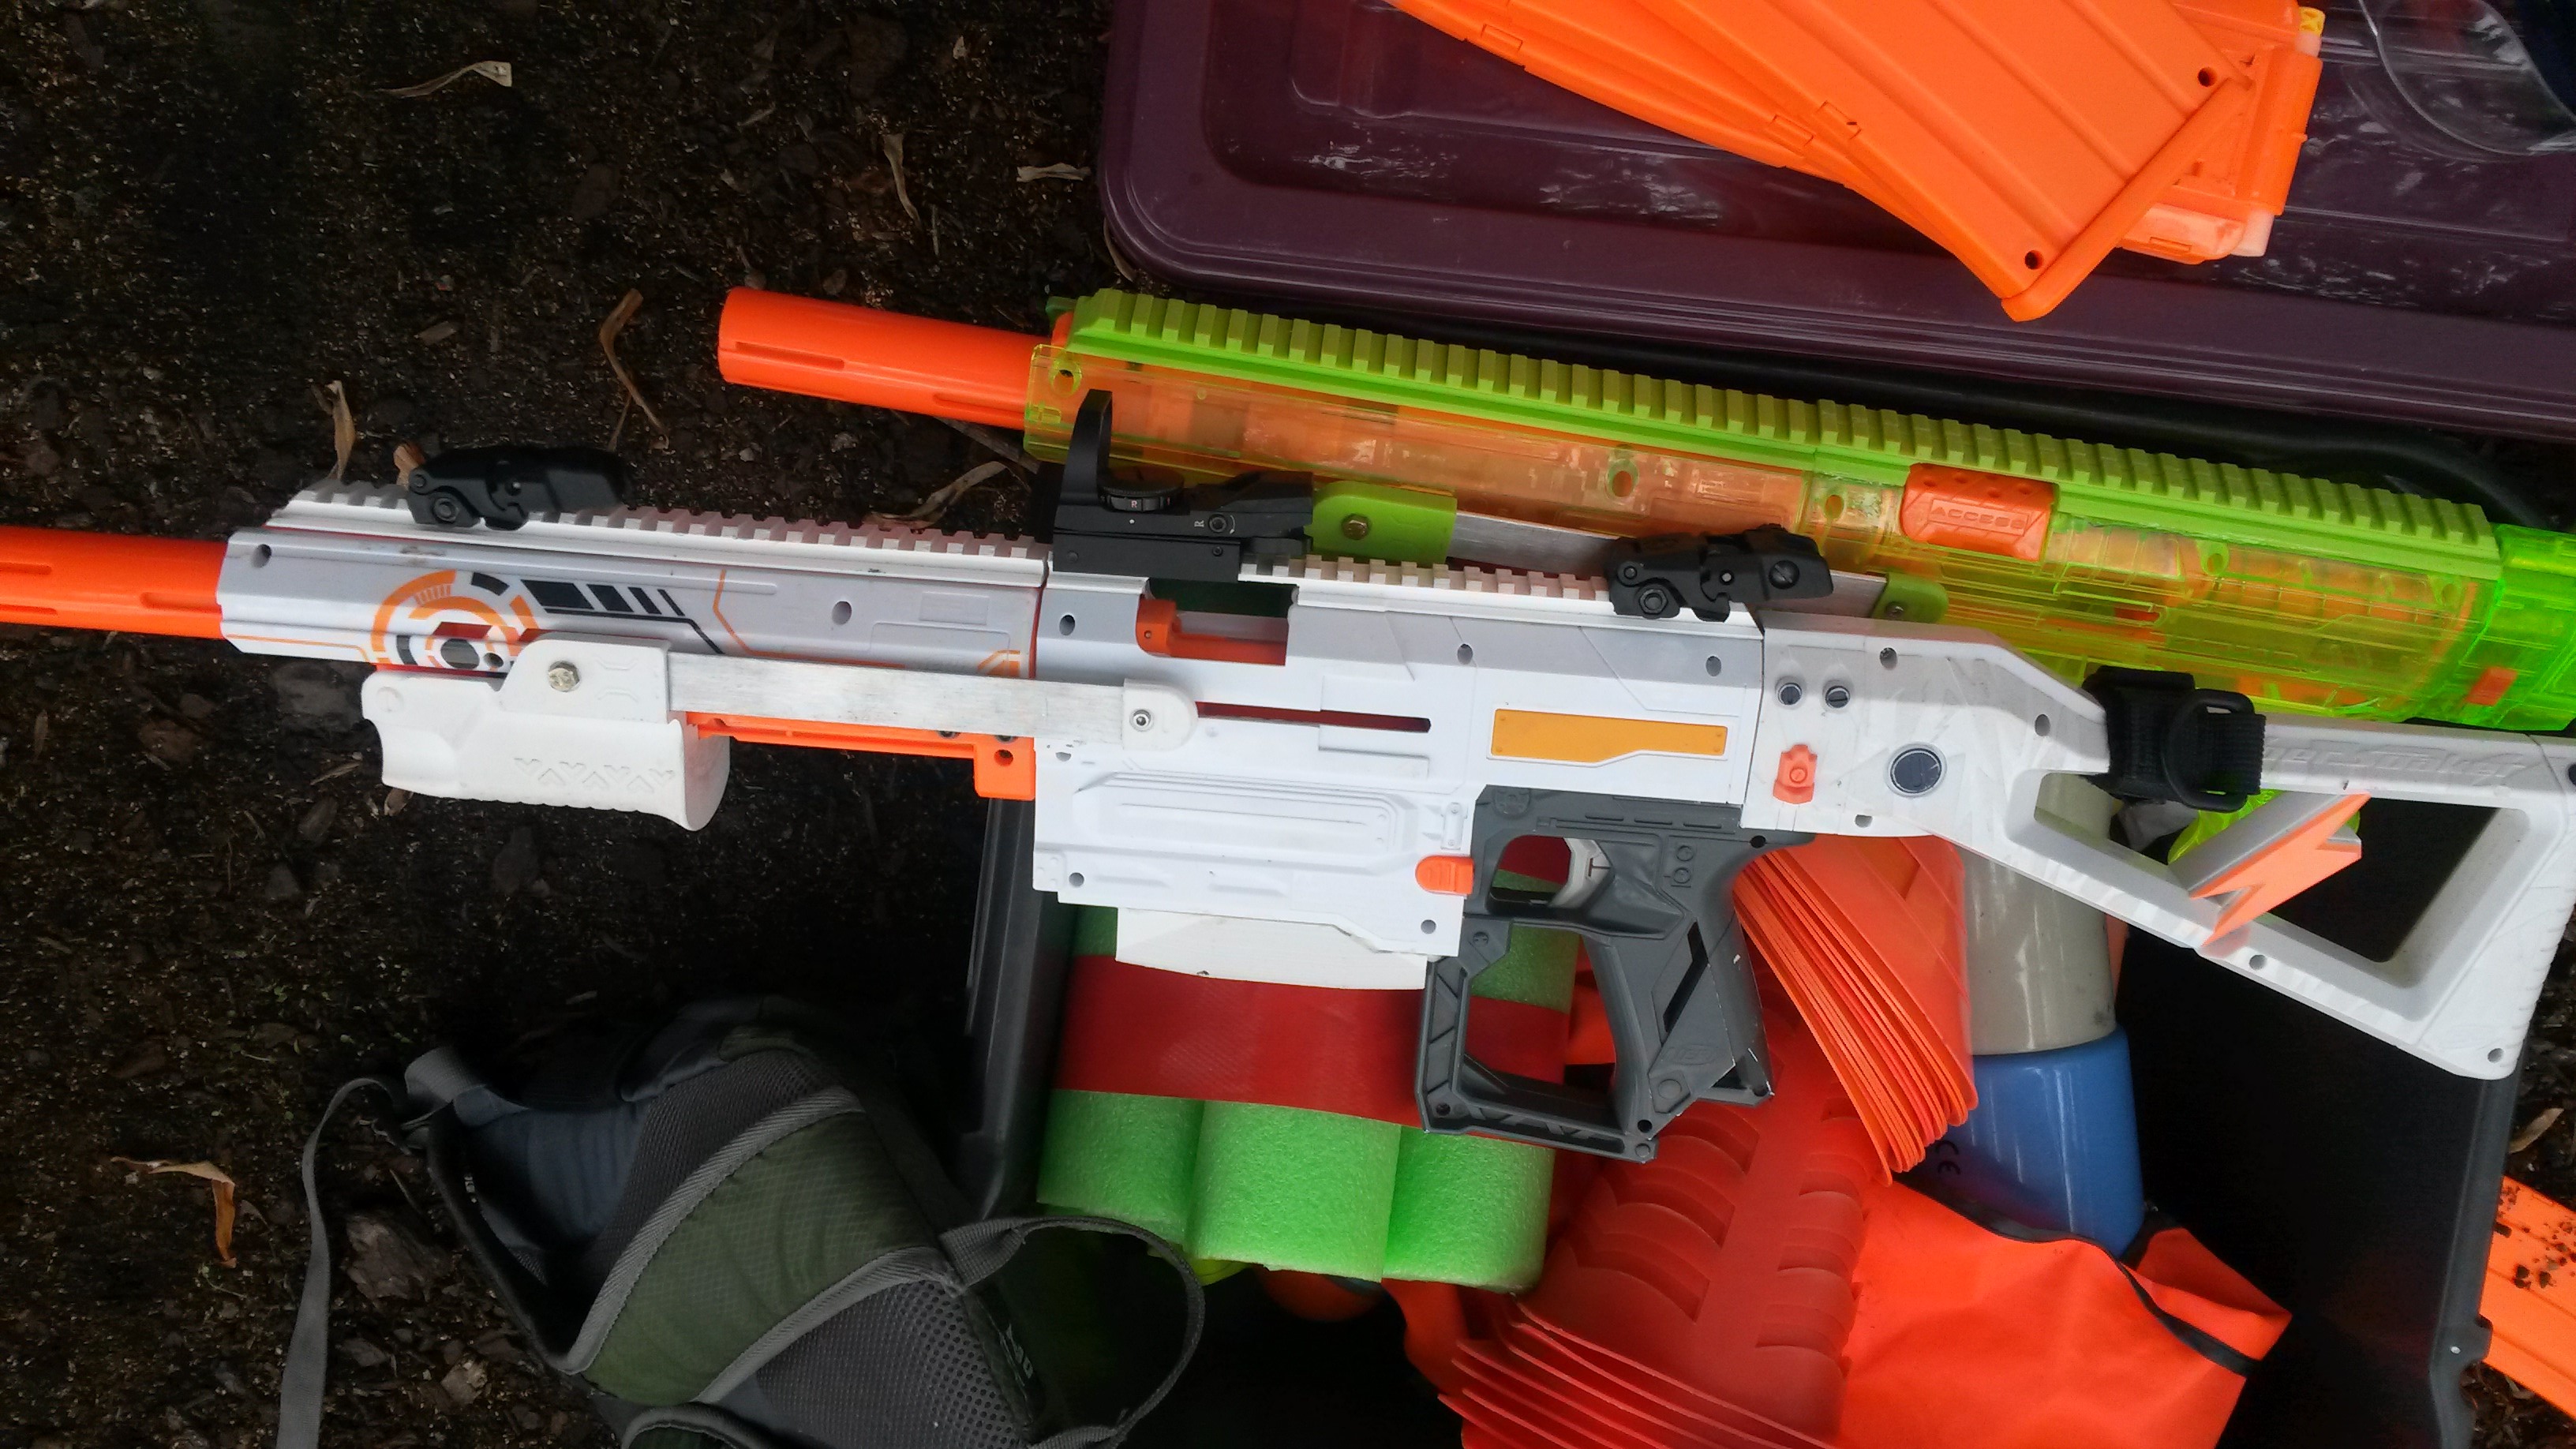
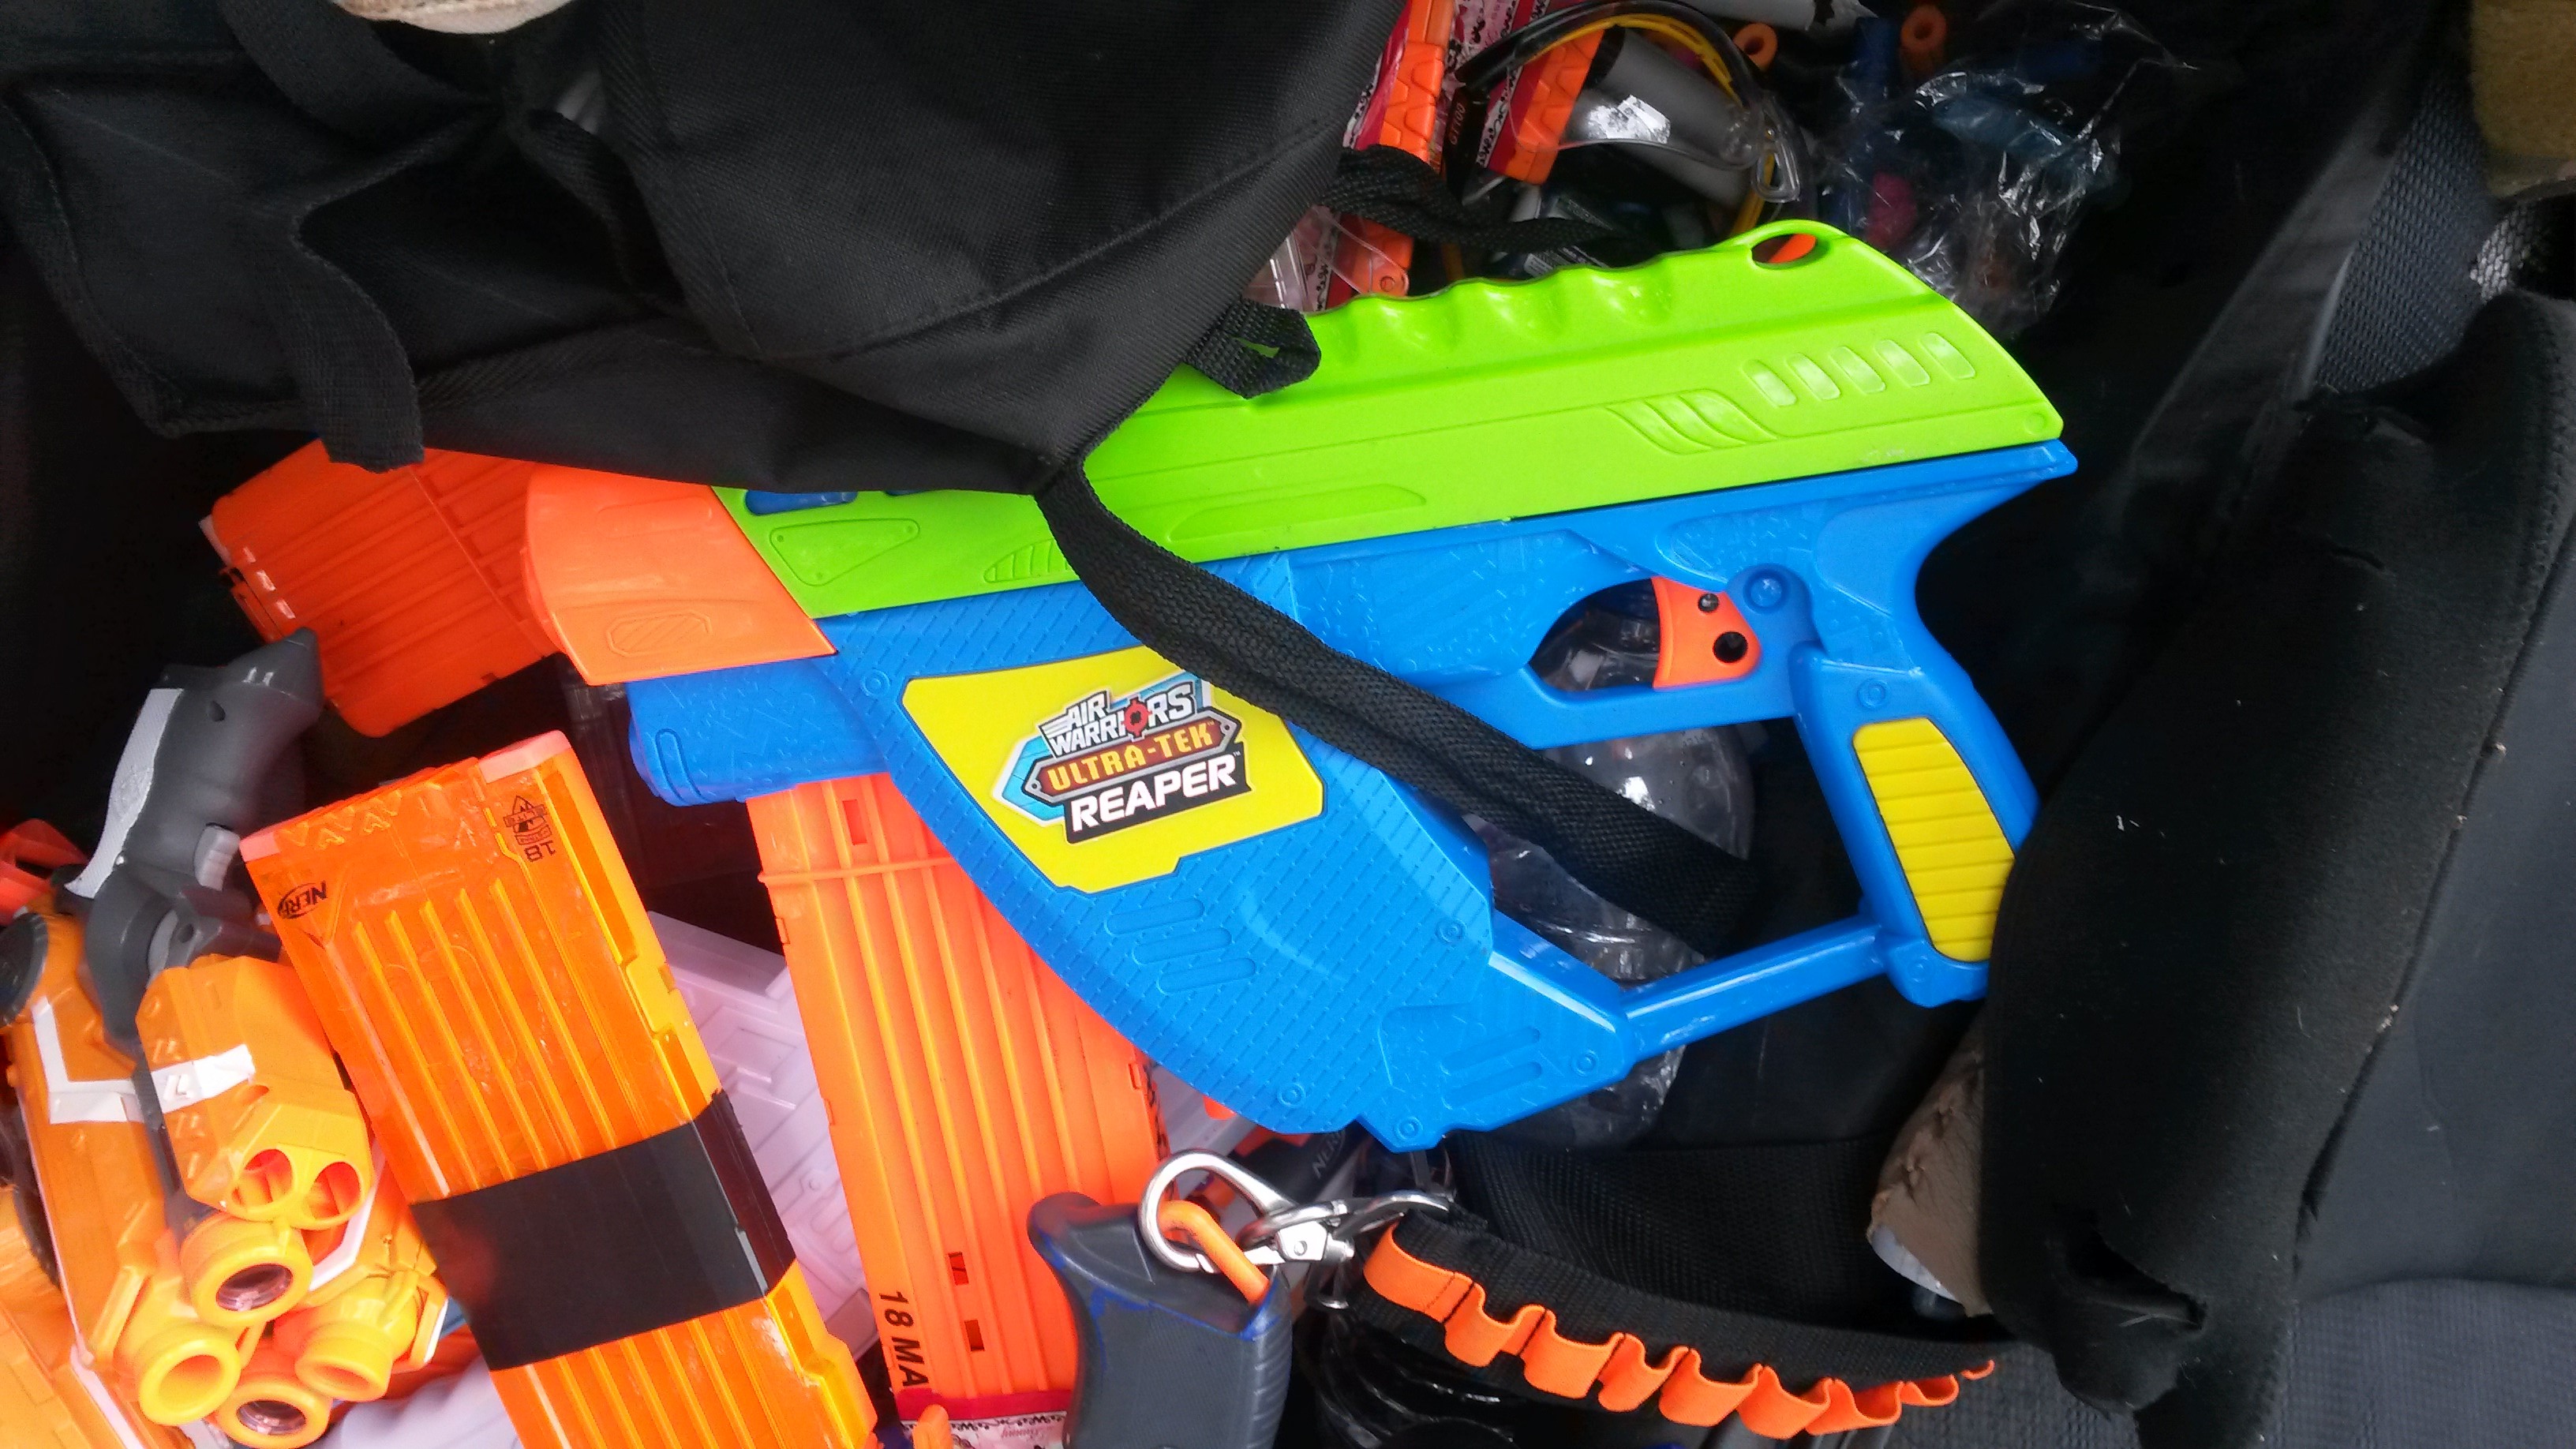 BB Reaper (unknown mods) – a powerful and relatively compact mag-fed springer. Can easily trade shots with modded Retaliator, though is perhaps a little slower in ROF, and a little more awkward to change mags with.
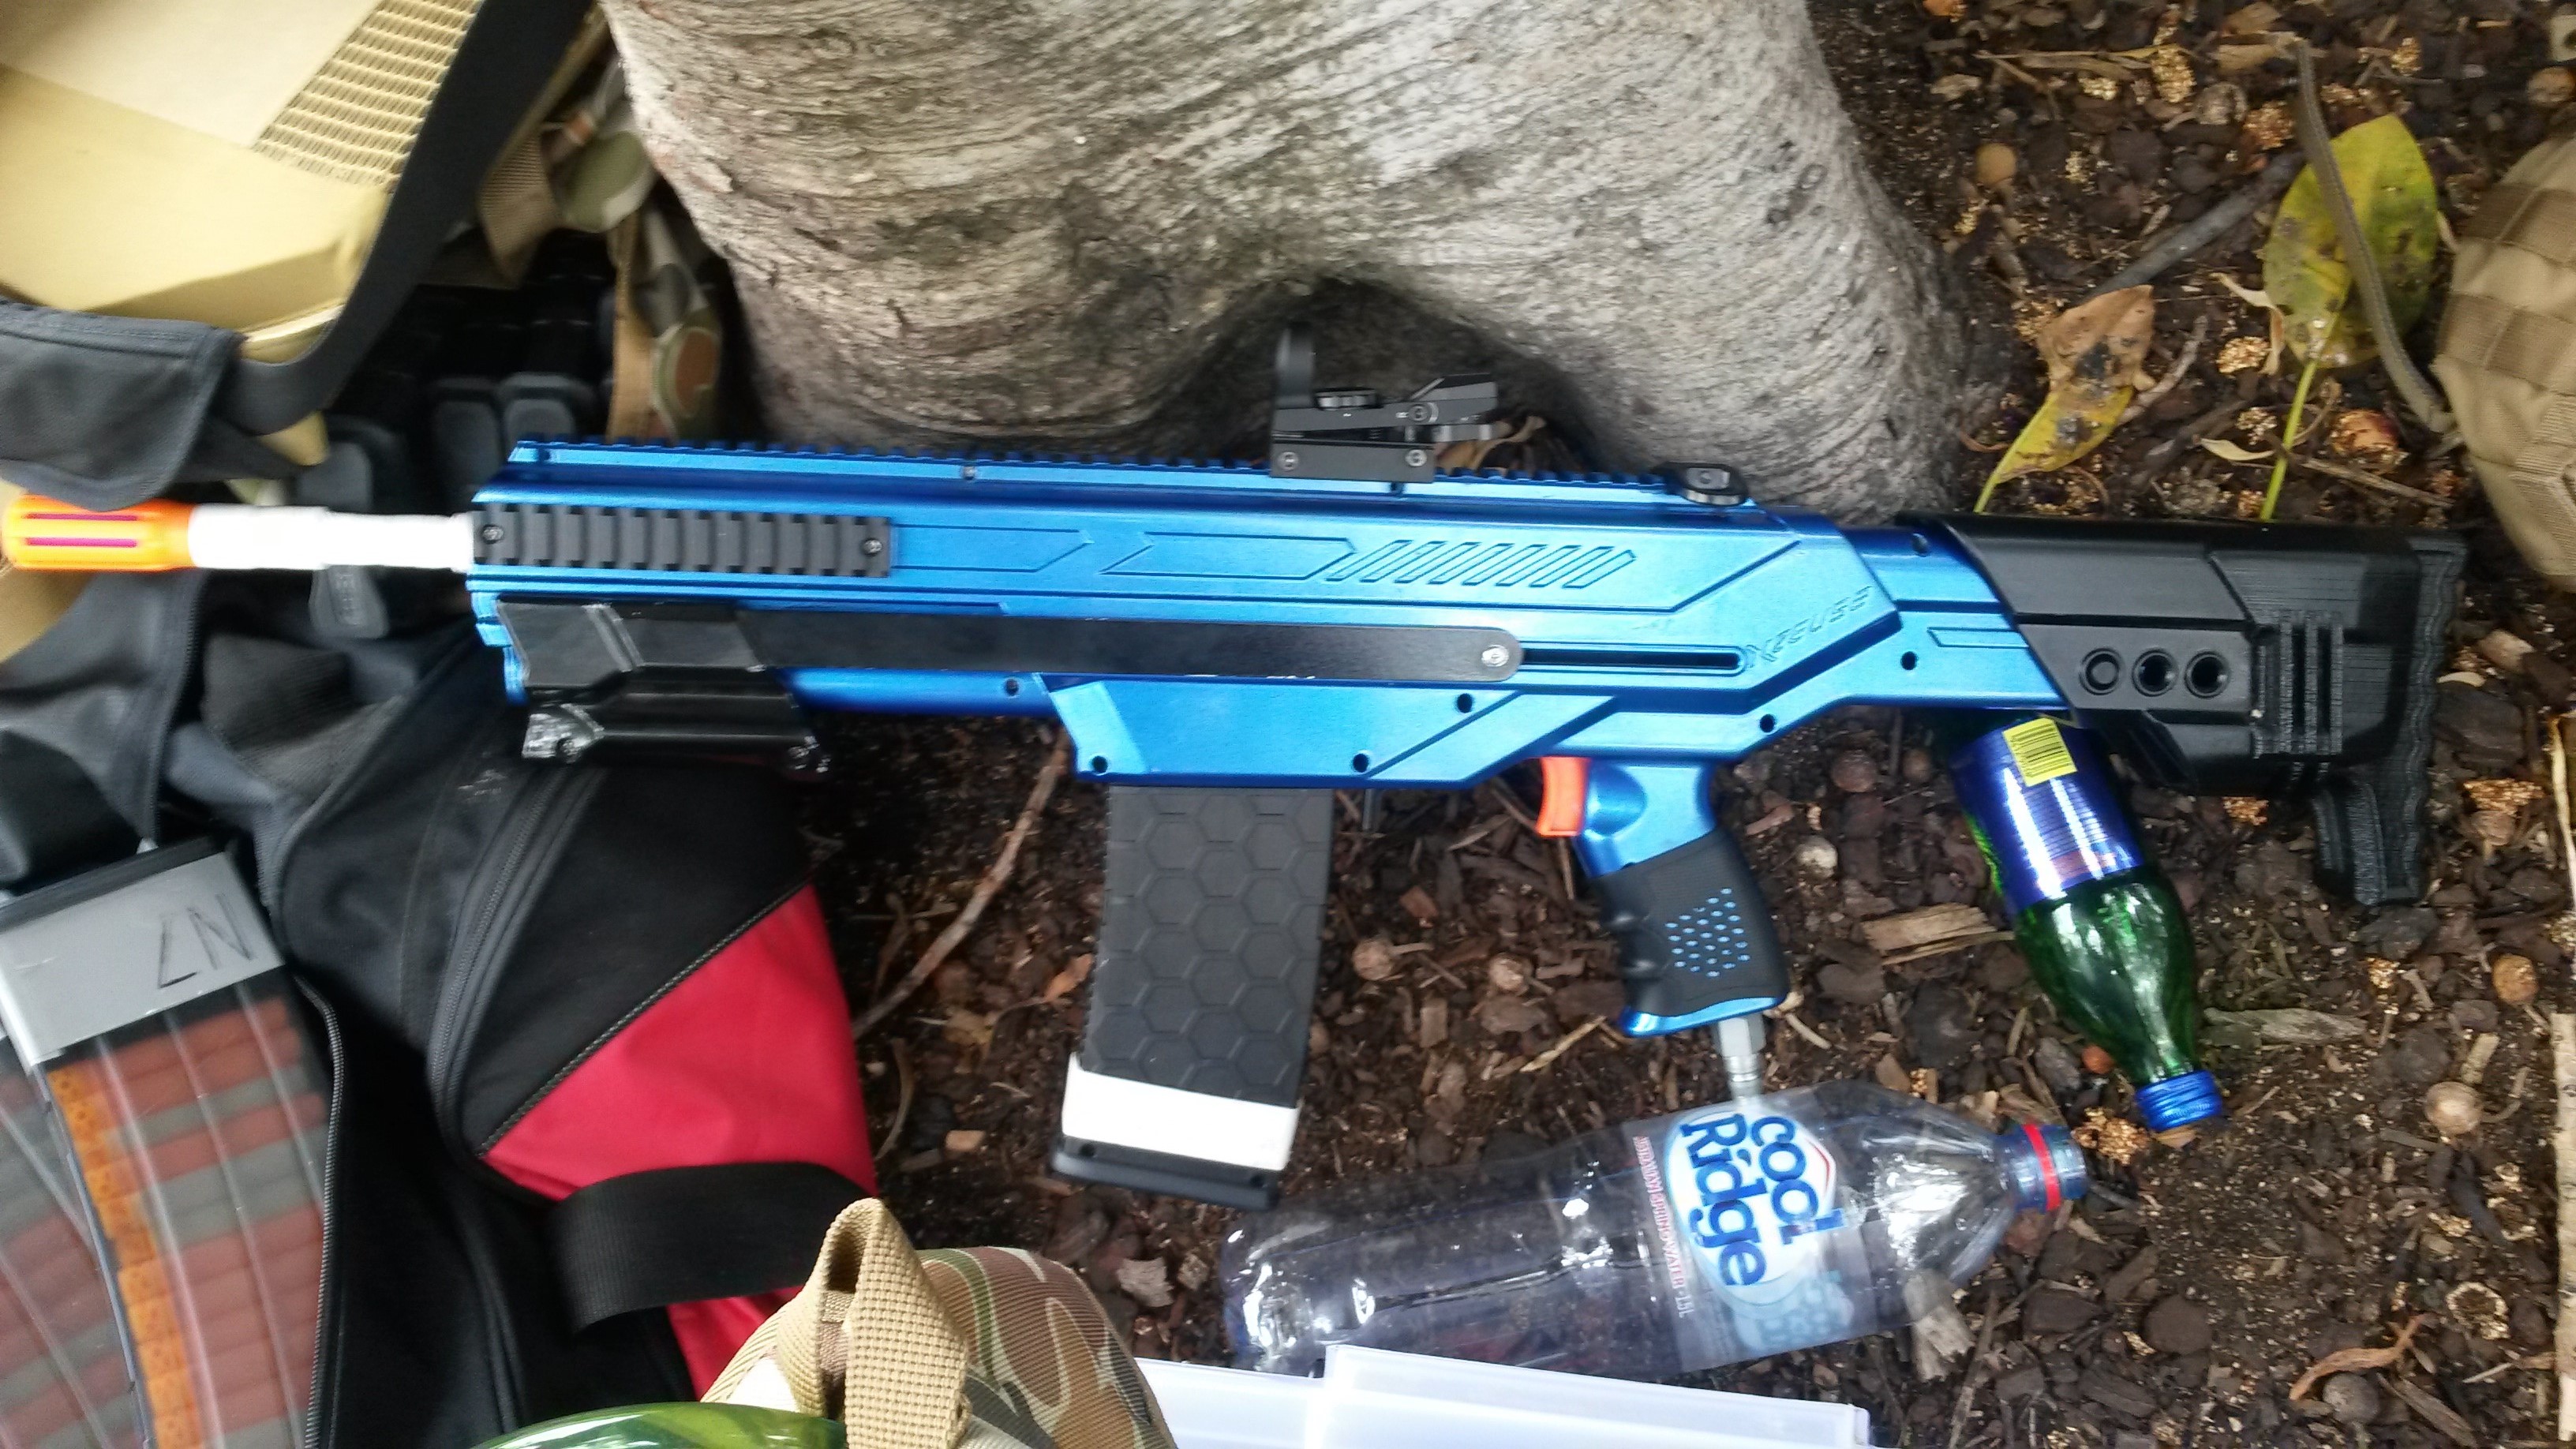 XZues 2 (HPA system) – even with being dialled down below the 130fps muzzle velocity cap, it was still capable of quite long ranges. With the new Worker half length darts, it was also incredibly accurate, easily able to nail a zombie beyond 15 metres with a single, well-aimed shot. It and a high ROF blaster like a Rapidstrike could easily and effectively lock down groups of zombies.
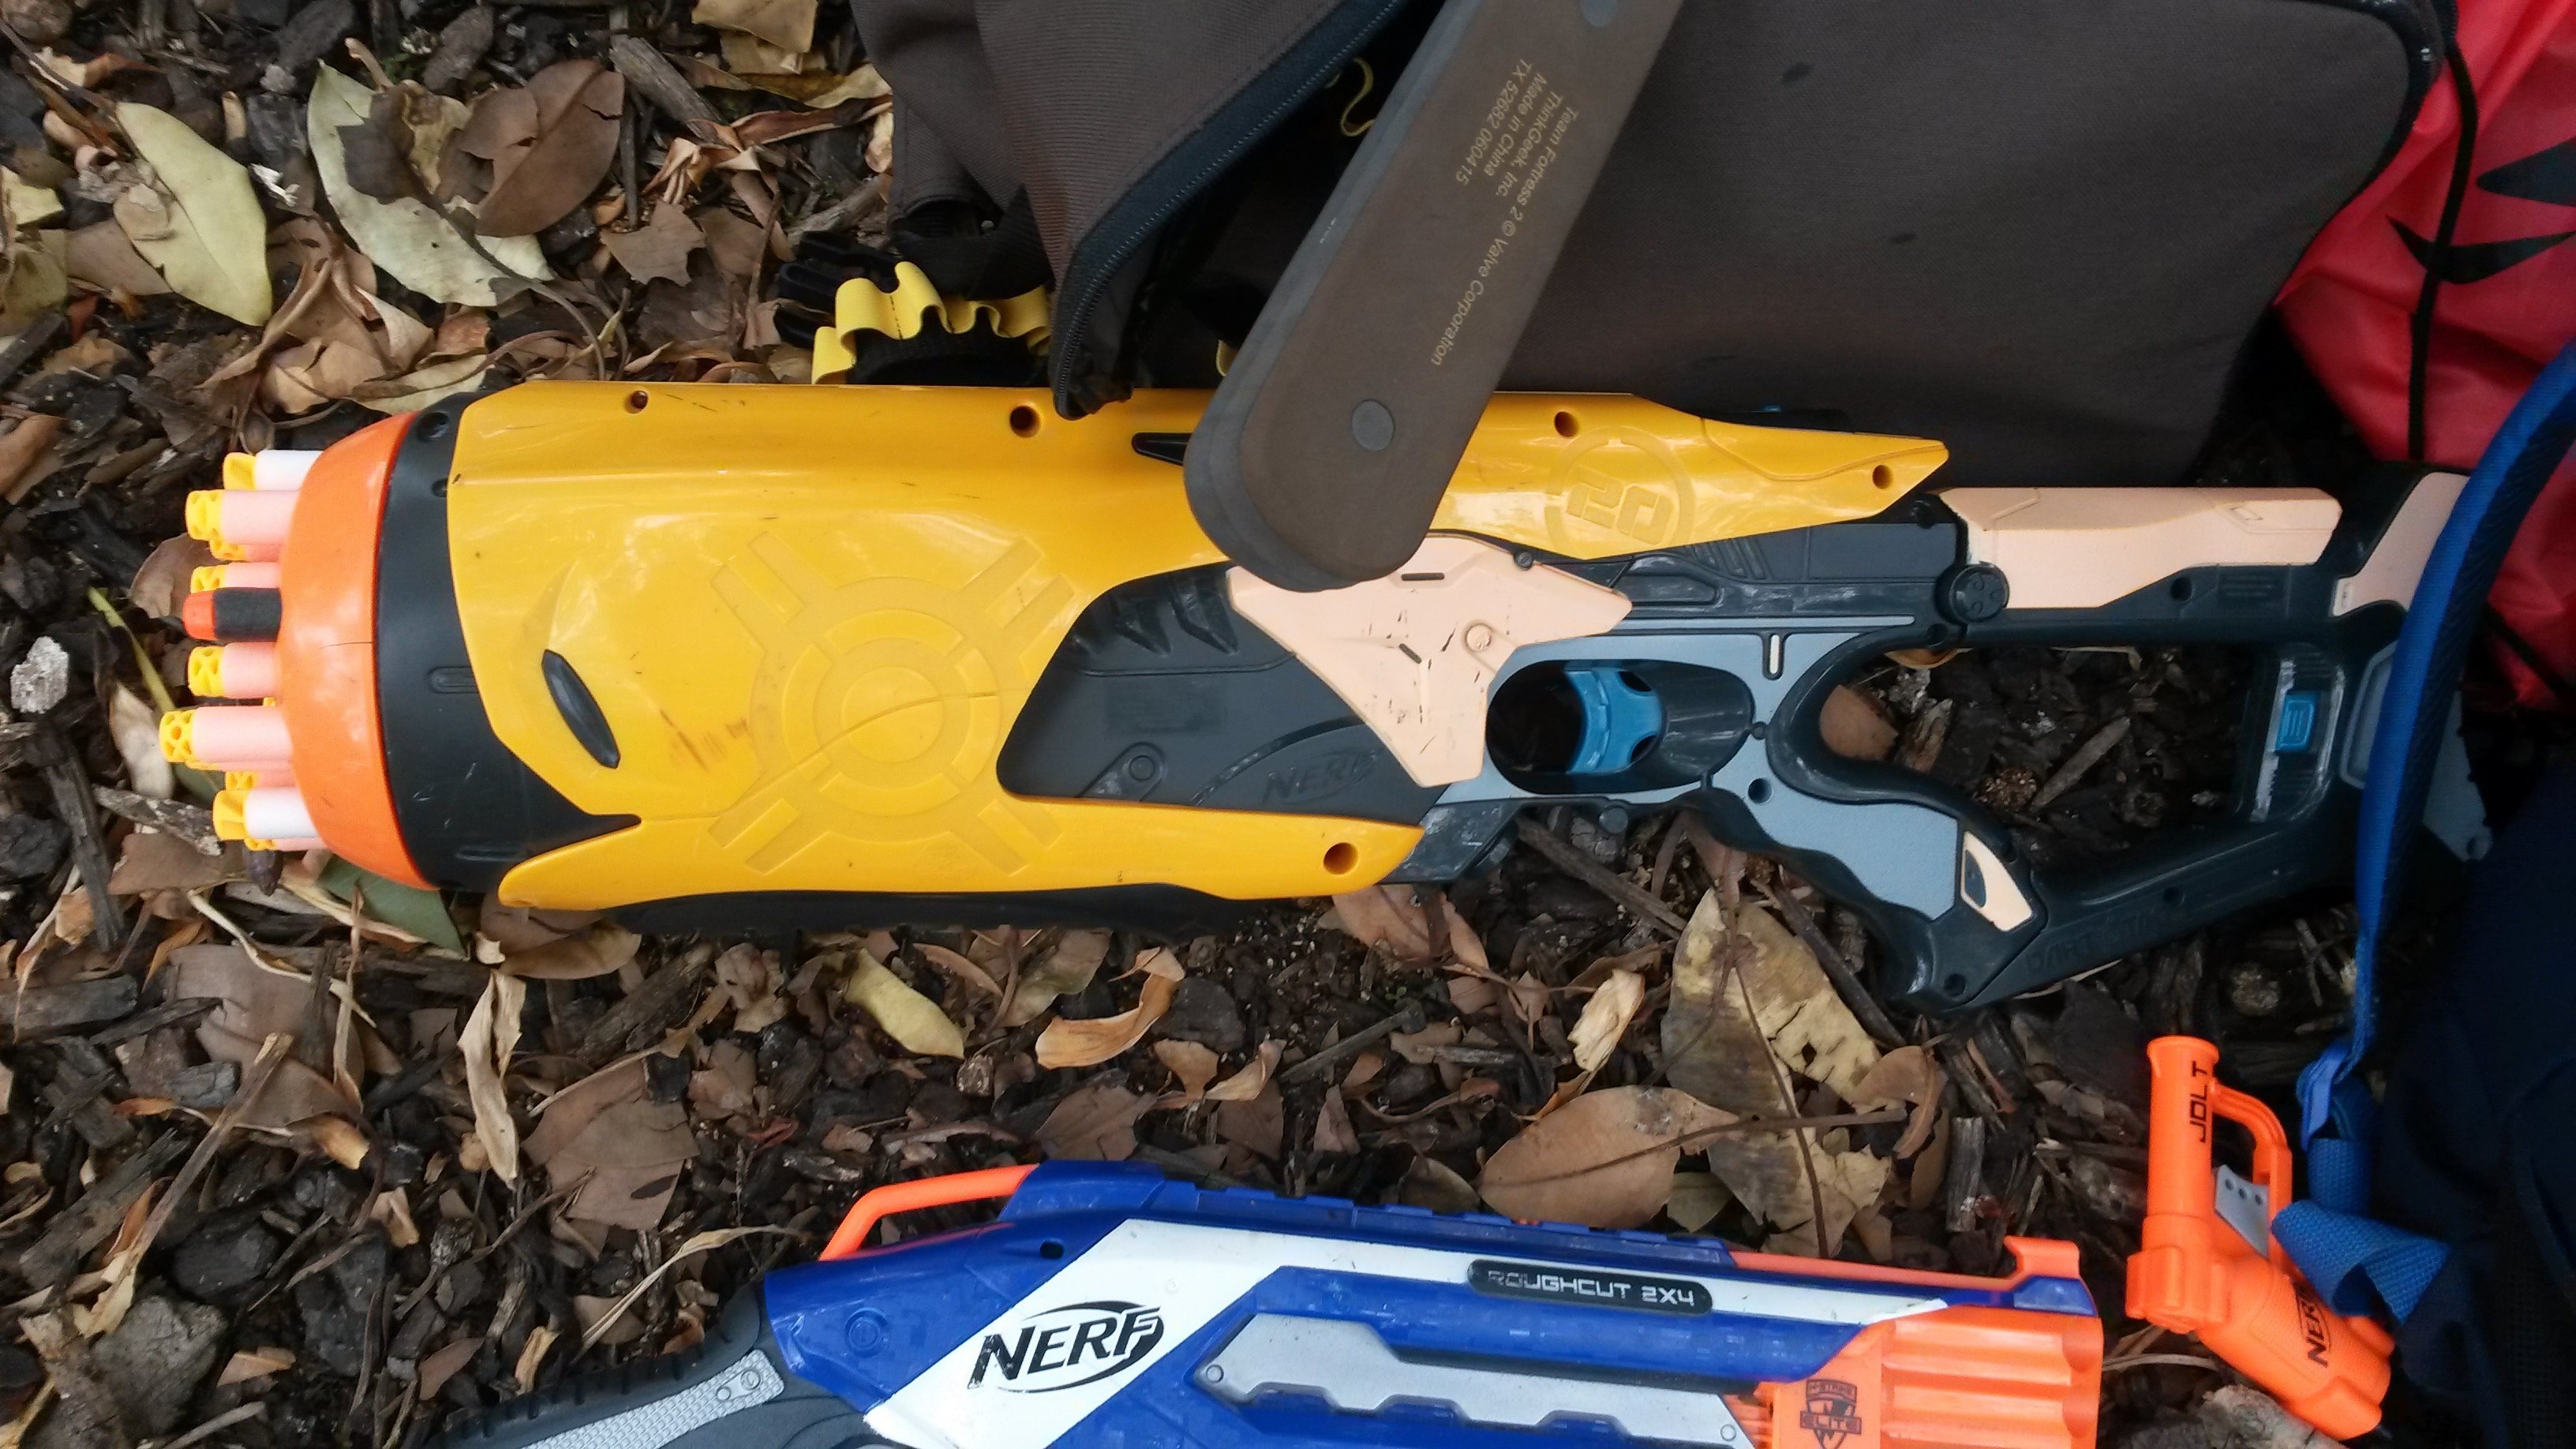
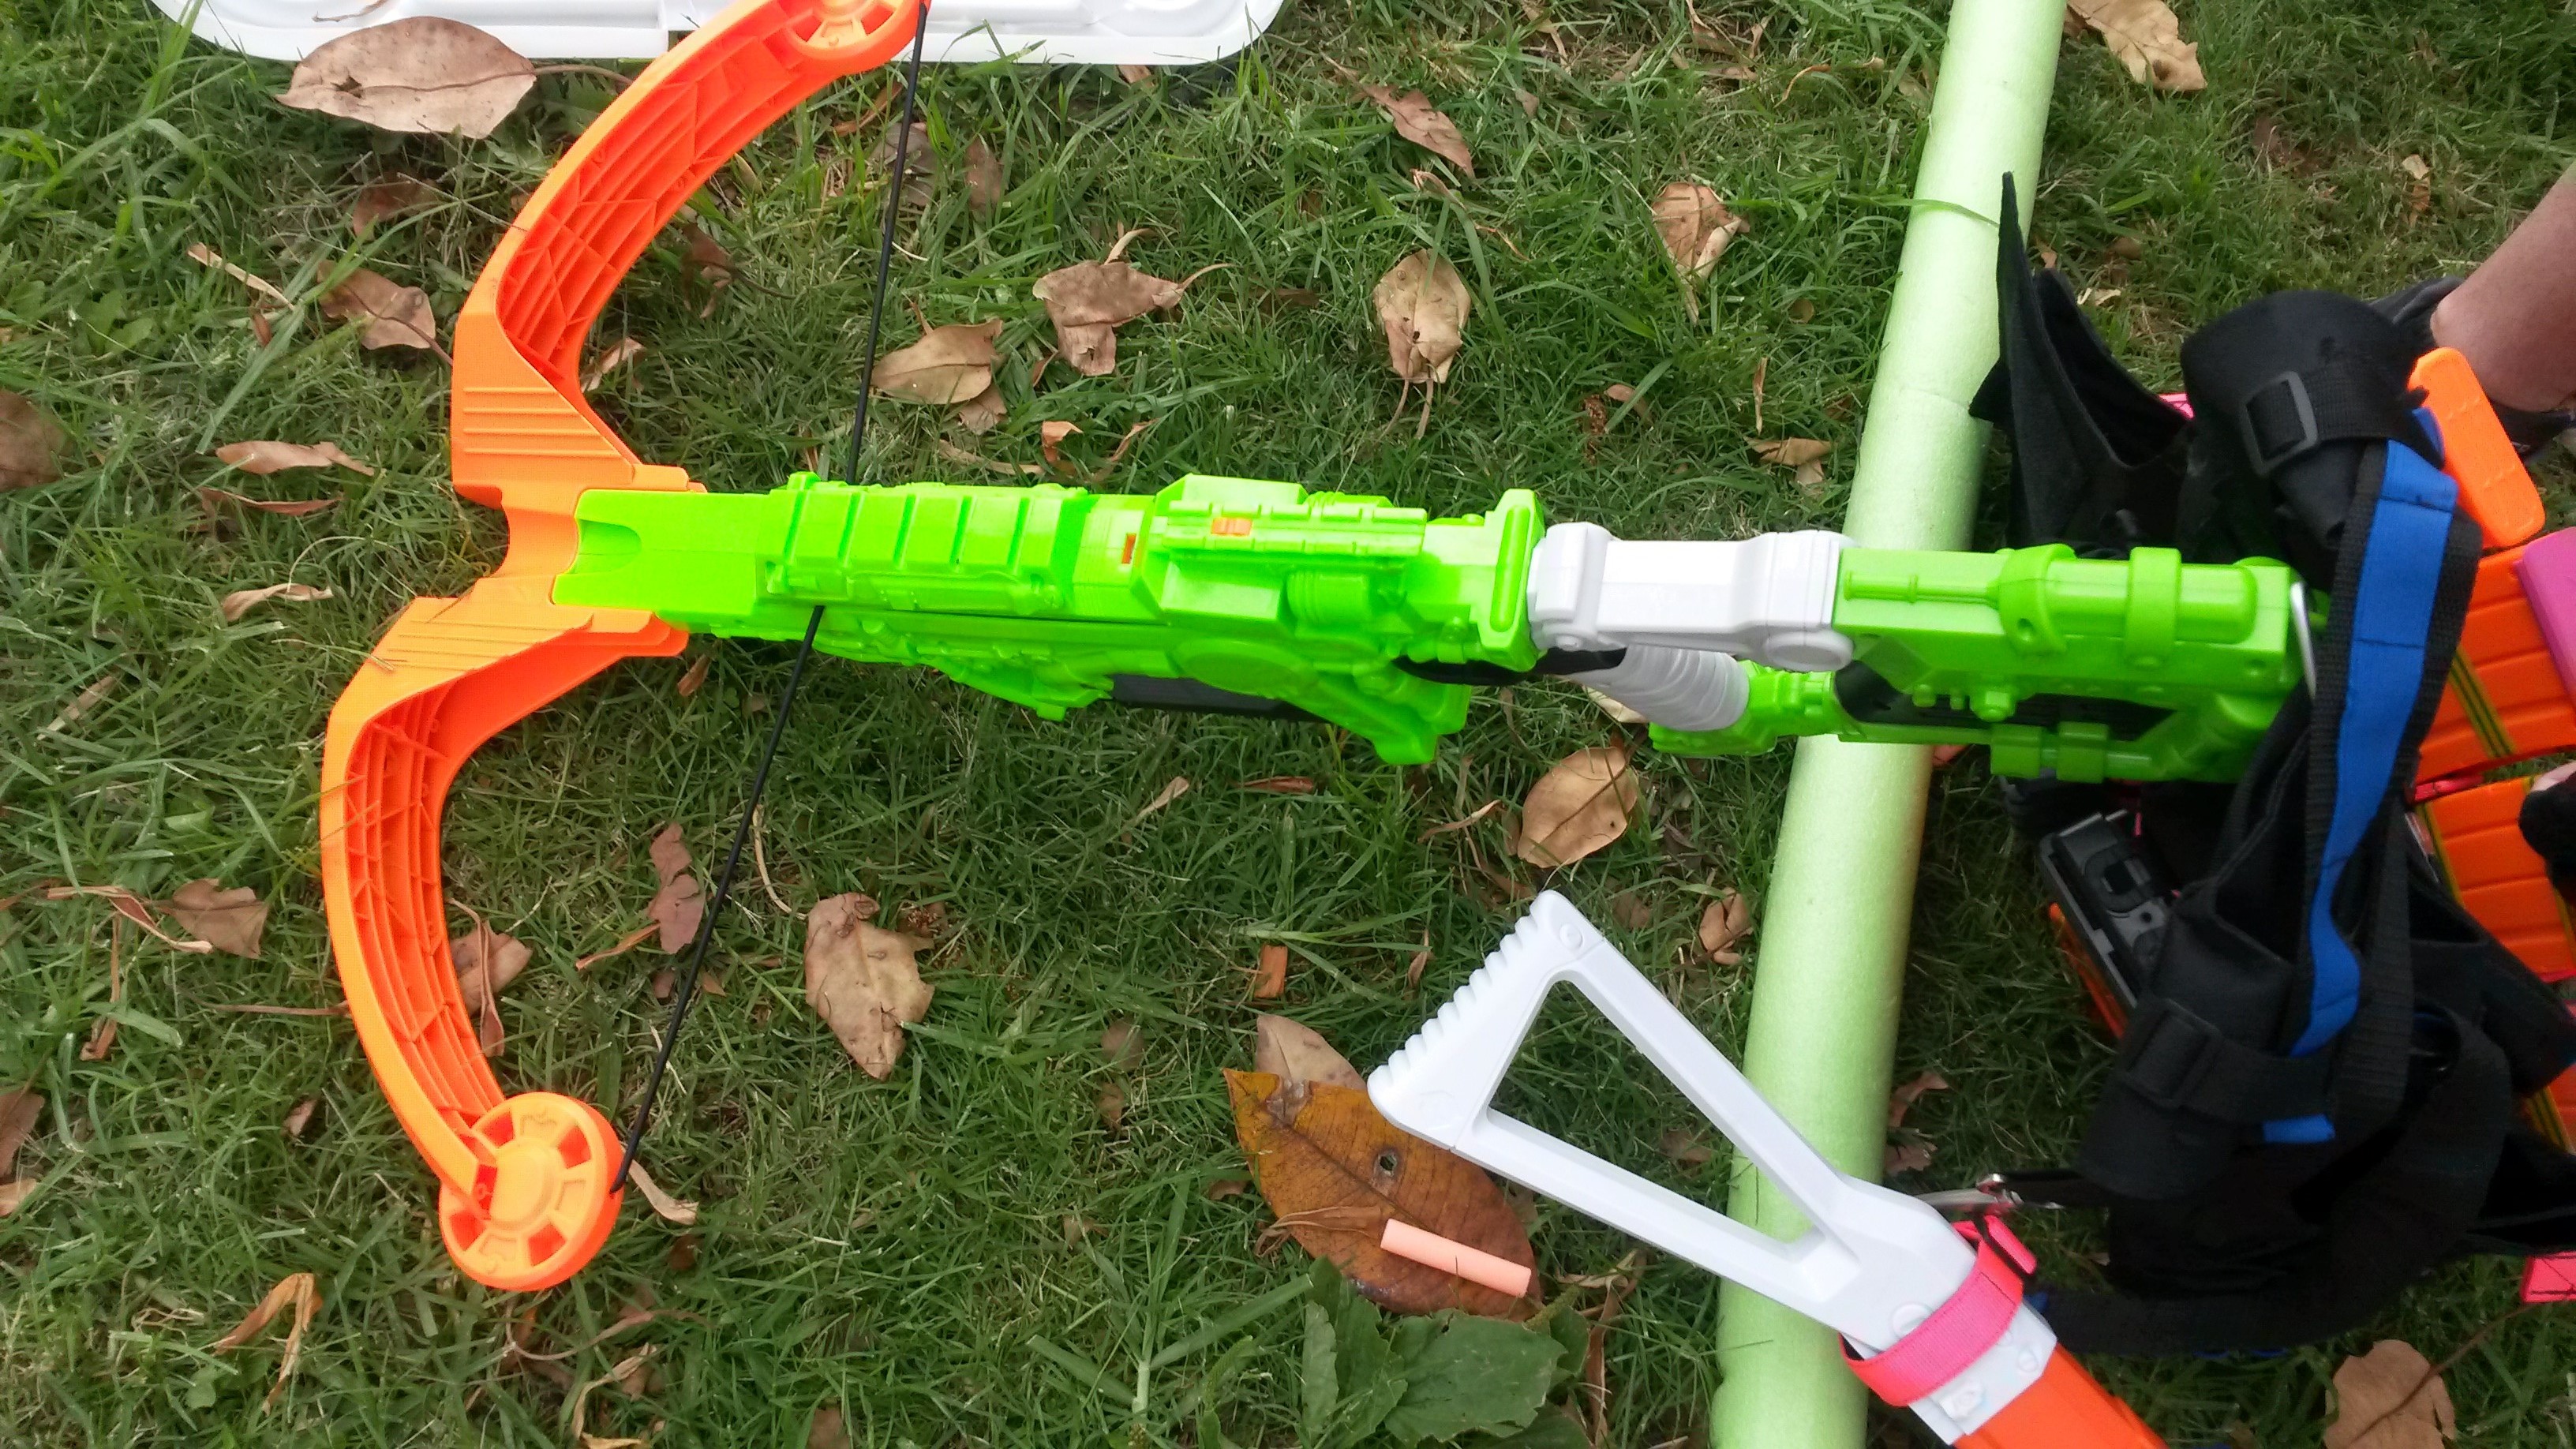 ZS Dreadbolt (tightened string) – has no real practical use in HvZ, as a large single shot blaster with low range and a rare ammo type. Nevertheless, it offered huge fun/goof factor and its user was able to get three hits in one round with it.
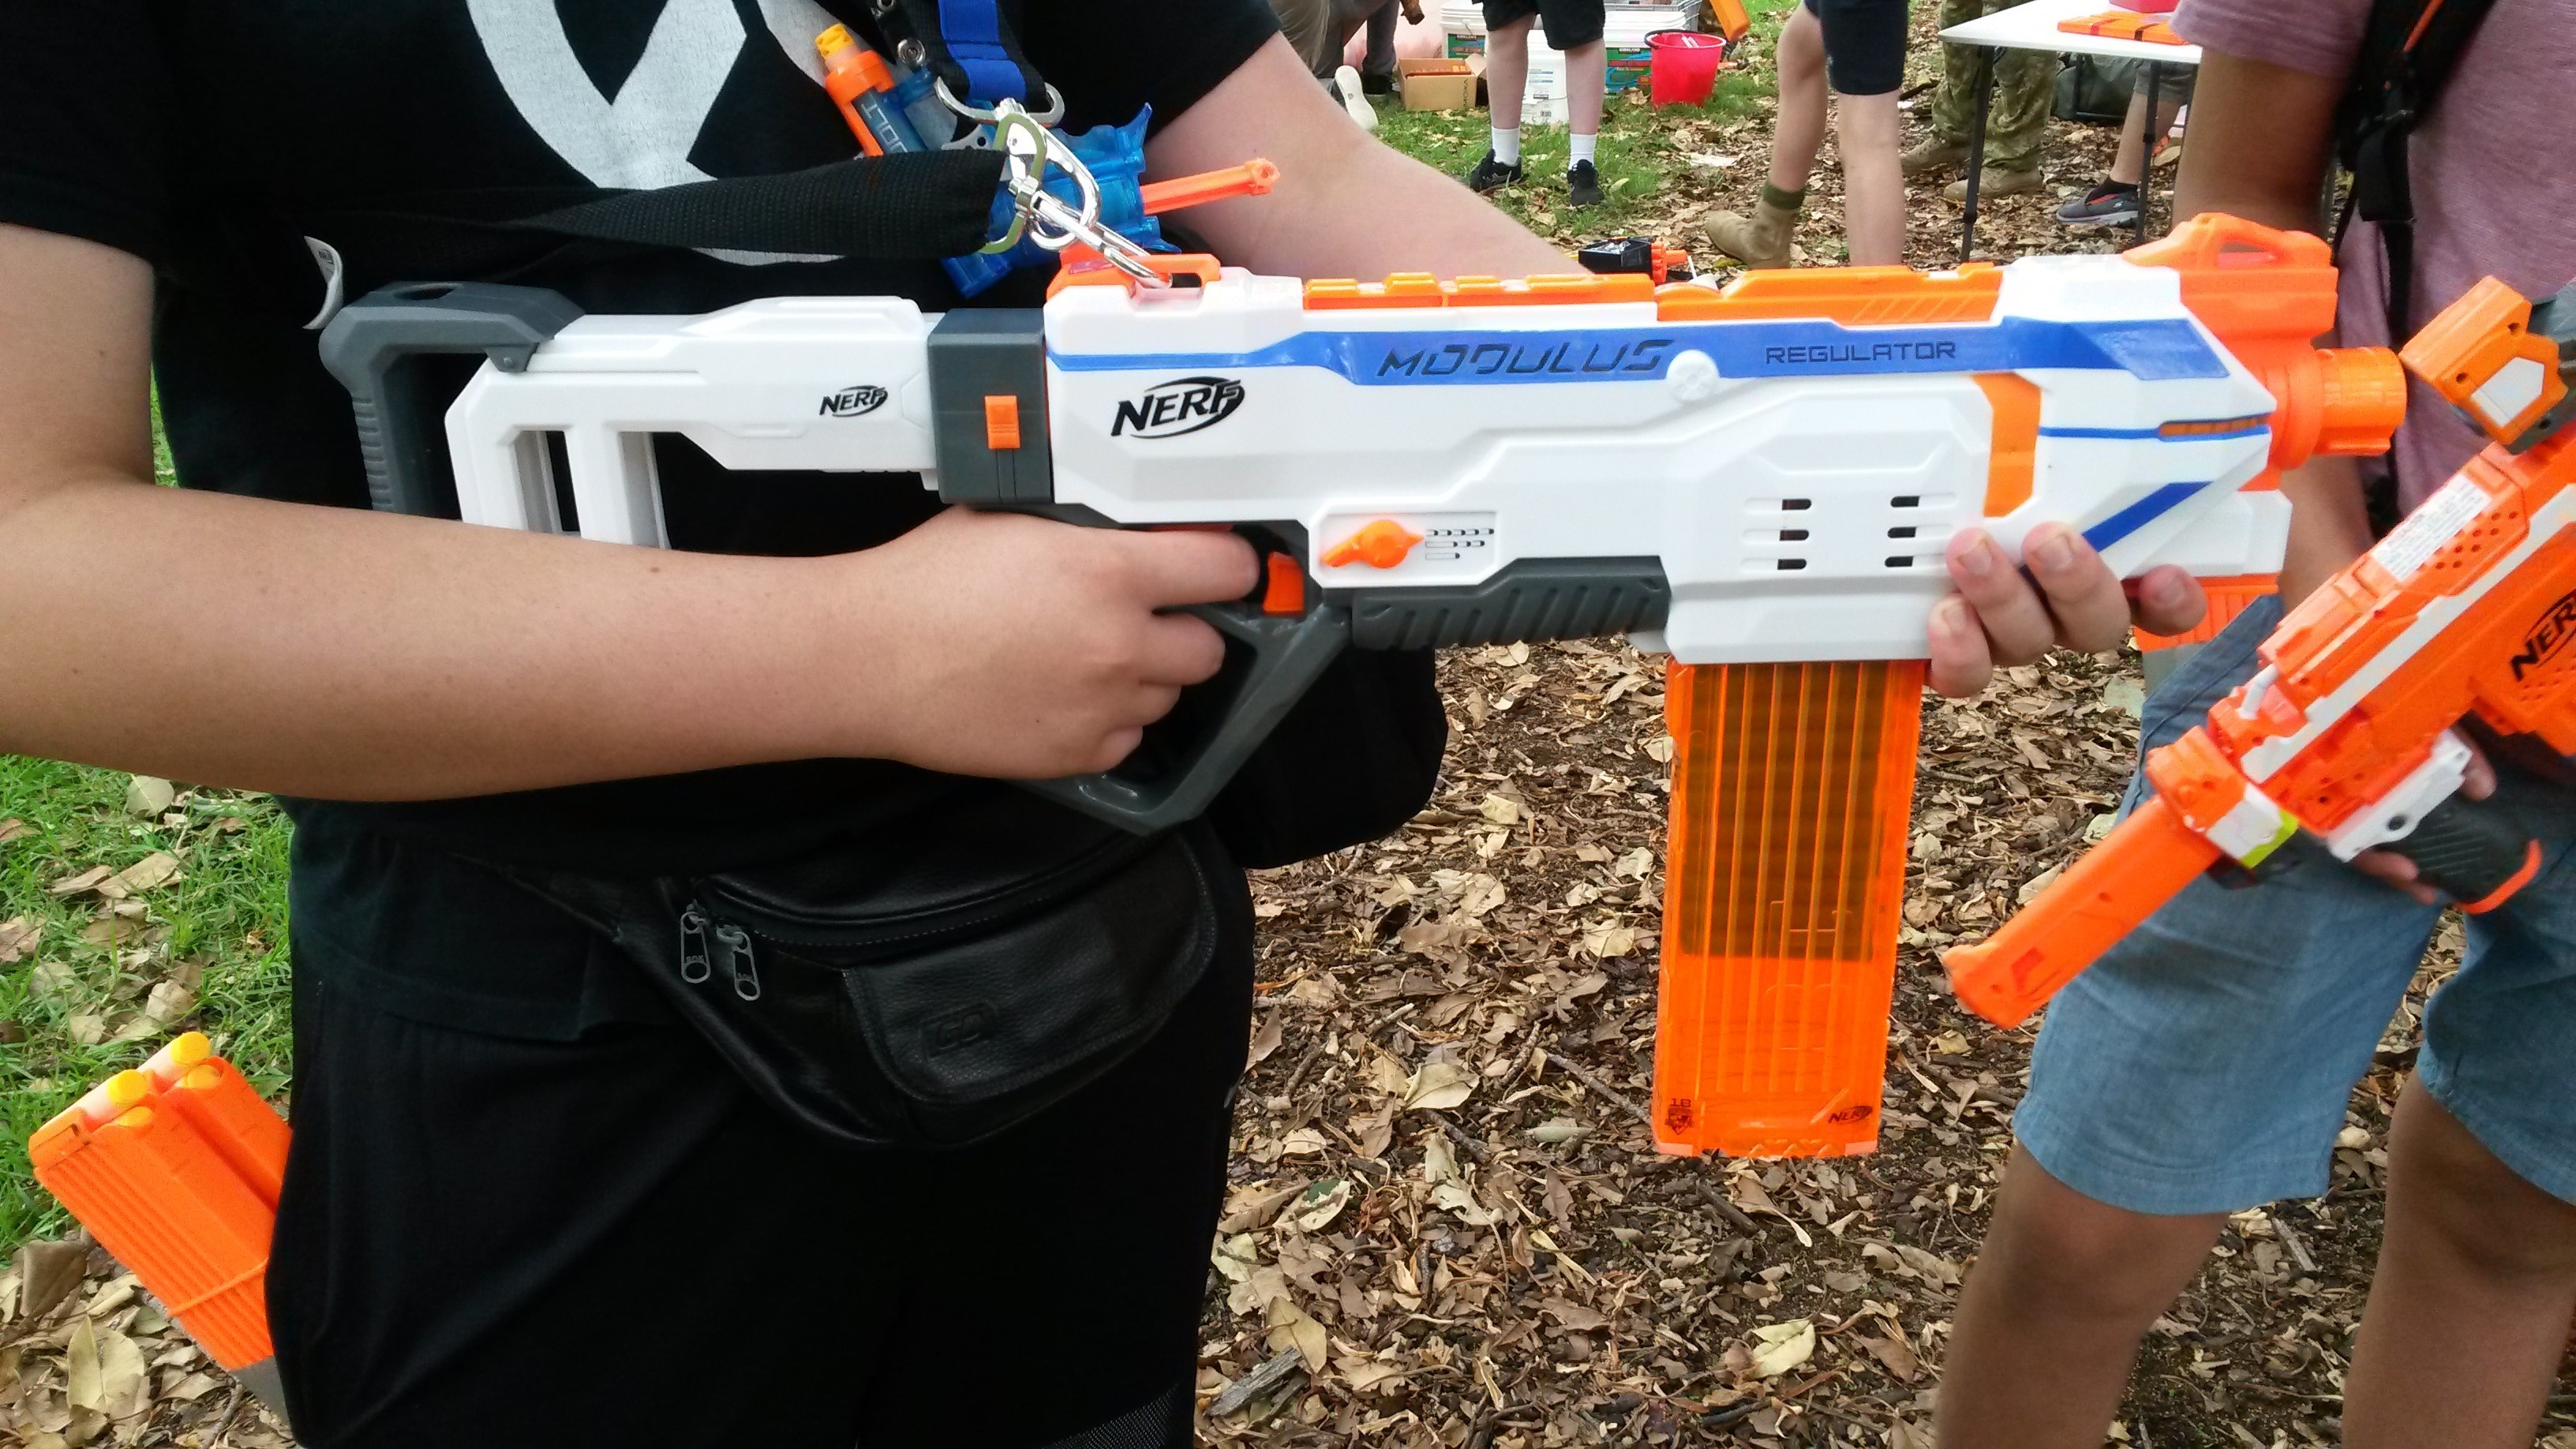 Modulus Regulator (unknown mods, if any) – not a terrible blaster, with decent stock ROF and good modded ROF. Essentially a Hyperfire with select fire in a different form.
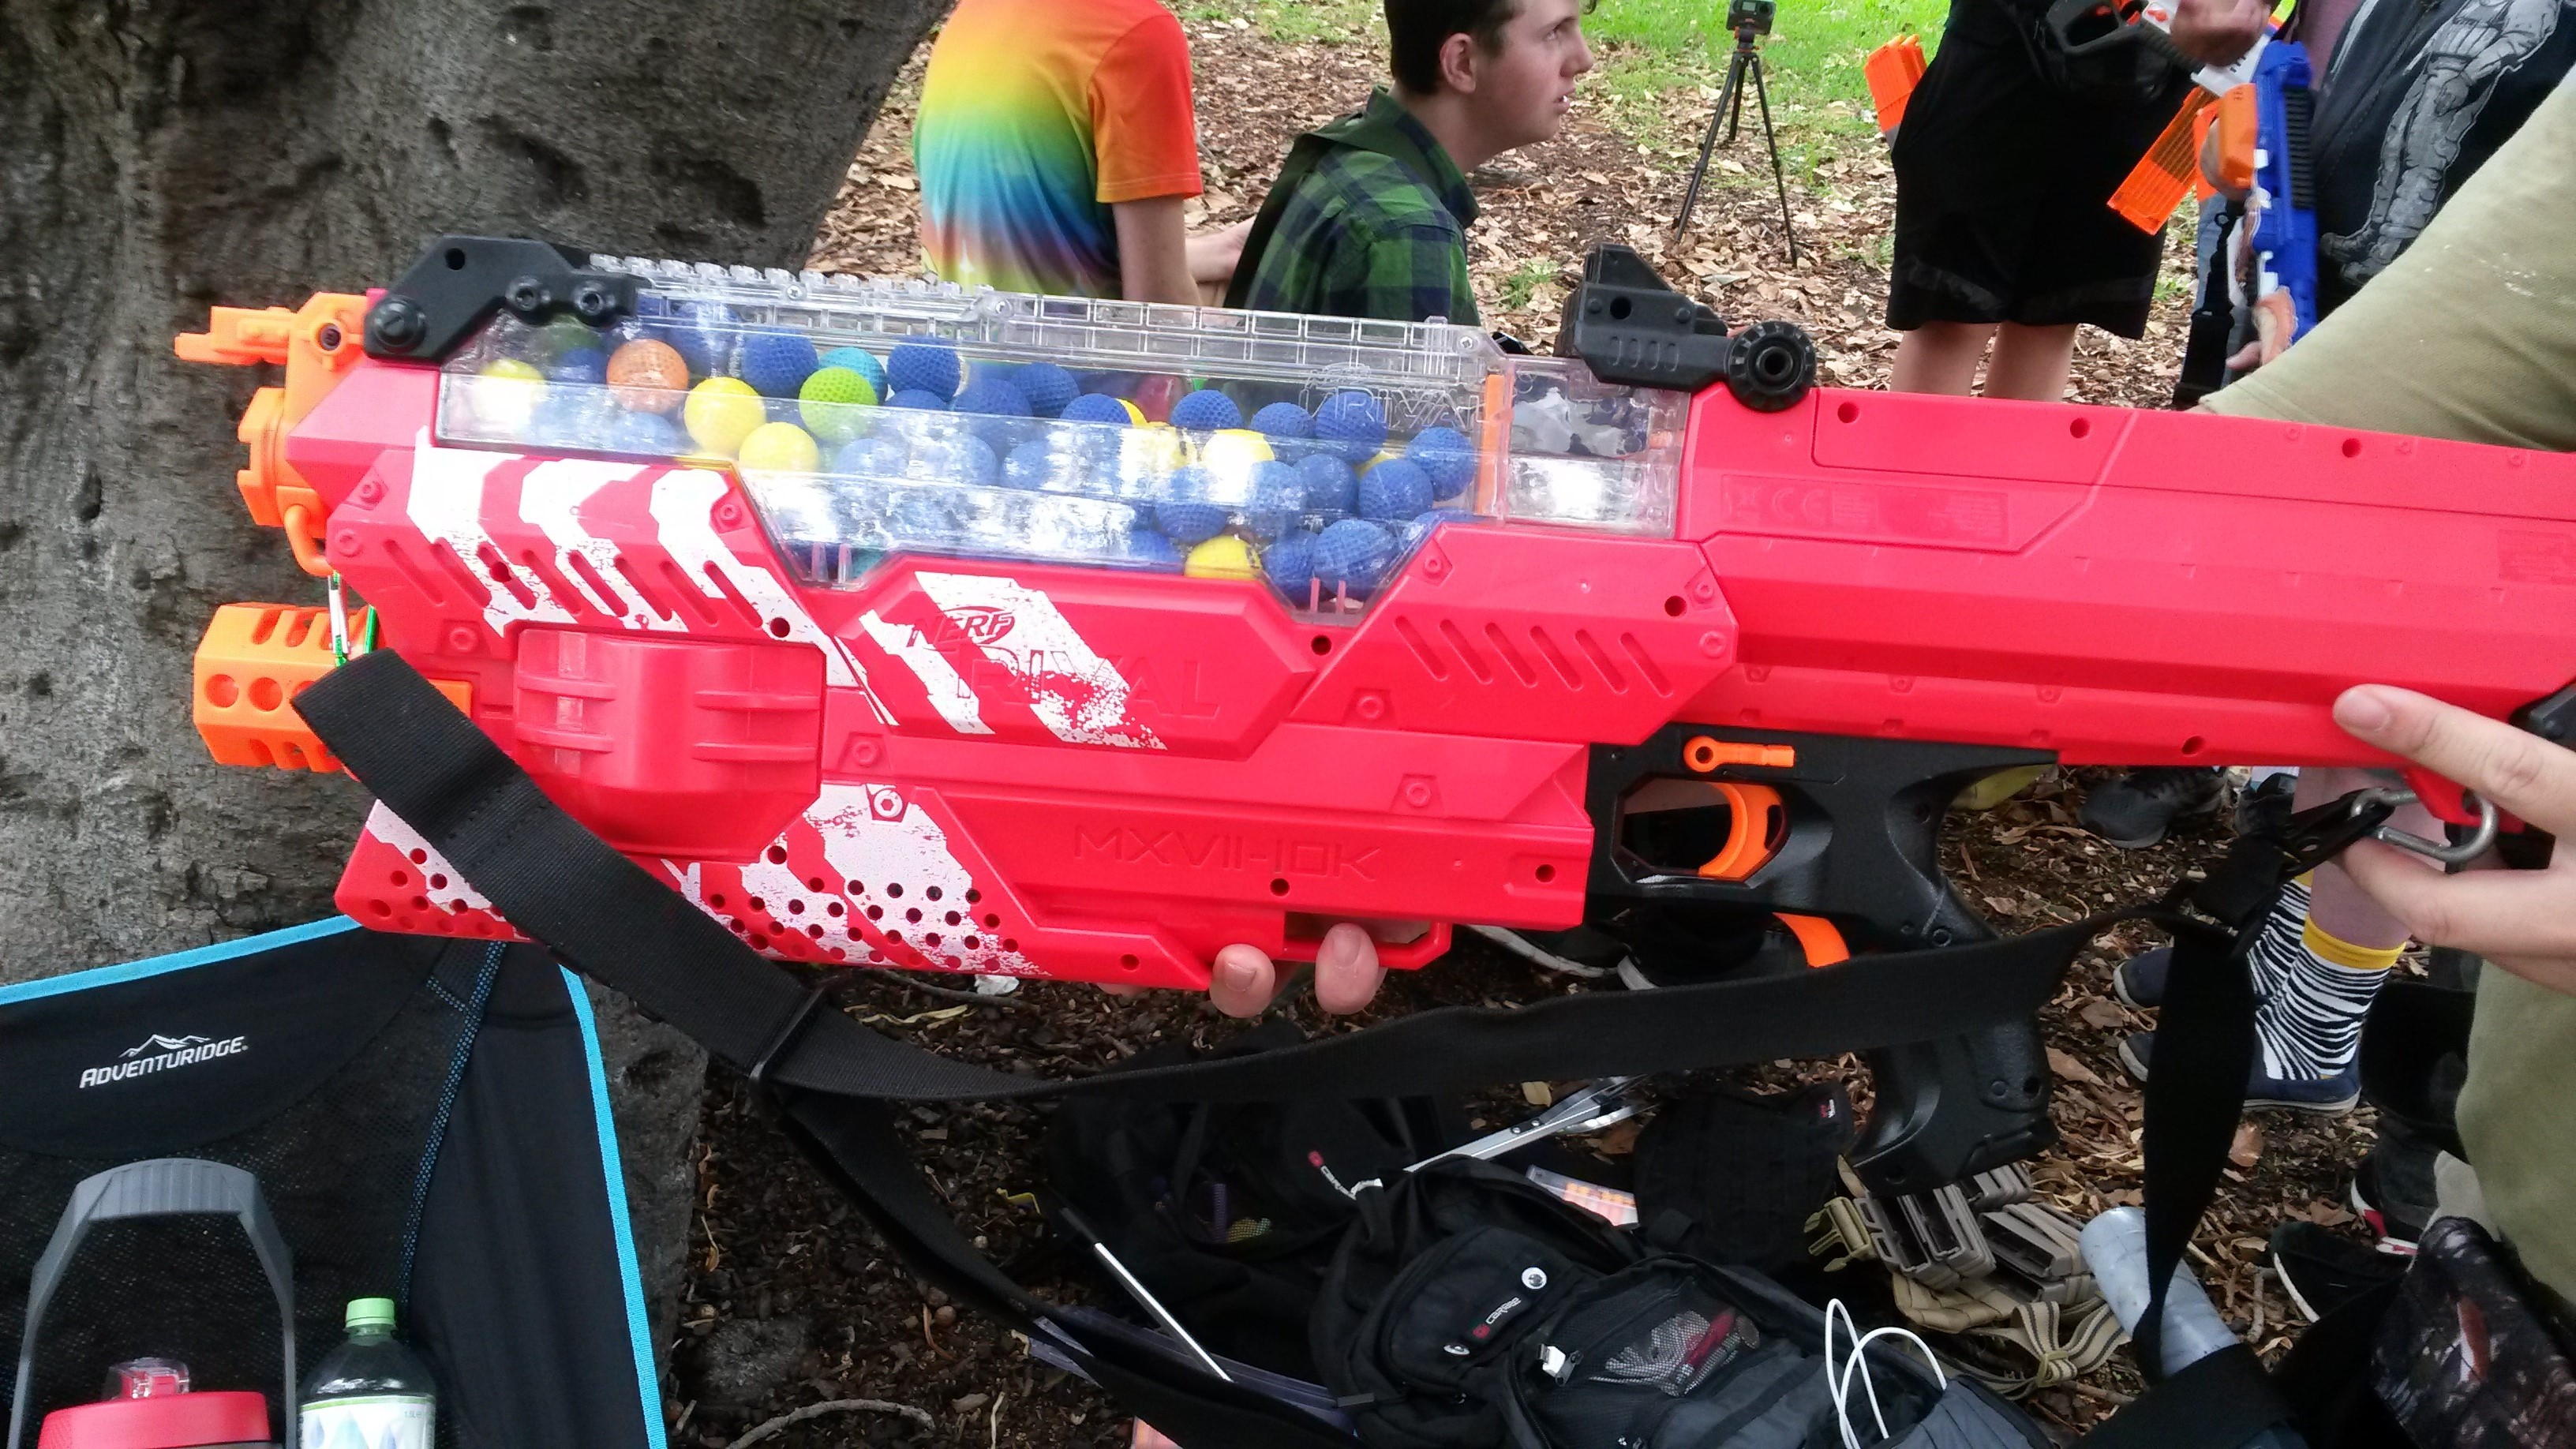 Rival Nemesis (3S LiPo) – an absolute monster for volume of fire and intimidation factor. Extremely effective against groups of zombies and in close quarters. At longer ranges however, Rival balls stall out very quickly and become very floaty and easy to dodge. Additionally, with such a large capacity it is very easy to become trigger happy, and run out of ammo fast. Nonetheless, a pretty good blaster even in stock form.
Rapid Fire AS-20 (assumed stock) – an old air-powered blaster capable of quite good ROF, with reasonable capacity. Between requiring pumping, having no quick reload and having mag-fed blasters that can do the same thing, it has become largely obsolete.
I also gave the Lightake 15 dart banana and 18 dart straight mags a shot. The 15 bananas worked fine, and I would have no qualms buying more if I wanted/needed them, or recommending them. I did have an issue with one of the 18 straights having a jammed spring, however this was solved simply by hitting the side of it.
 Today saw the use of some entirely new dart pools. The old Koosh darts have been replaced with a mix of Waffles and Accufakes, which have been supplemented by a massive box of Worker (I believe Gen 2) half length darts. This was actually my first time seeing the Worker darts up close, and I was rather surprised just how soft and squishy they were. The Waffles and Accufakes are significantly more accurate than Koosh, while still retaining decent range, certainly enough for HvZ purposes. The Worker darts were a significant advantage to any blaster that could use them, particularly the aforementioned HPA XZues 2, offering excellent accuracy and range. Of the blasters I had on hand, only my Sweet Revenges could use the Worker darts, however even then I found them to be quite effective.
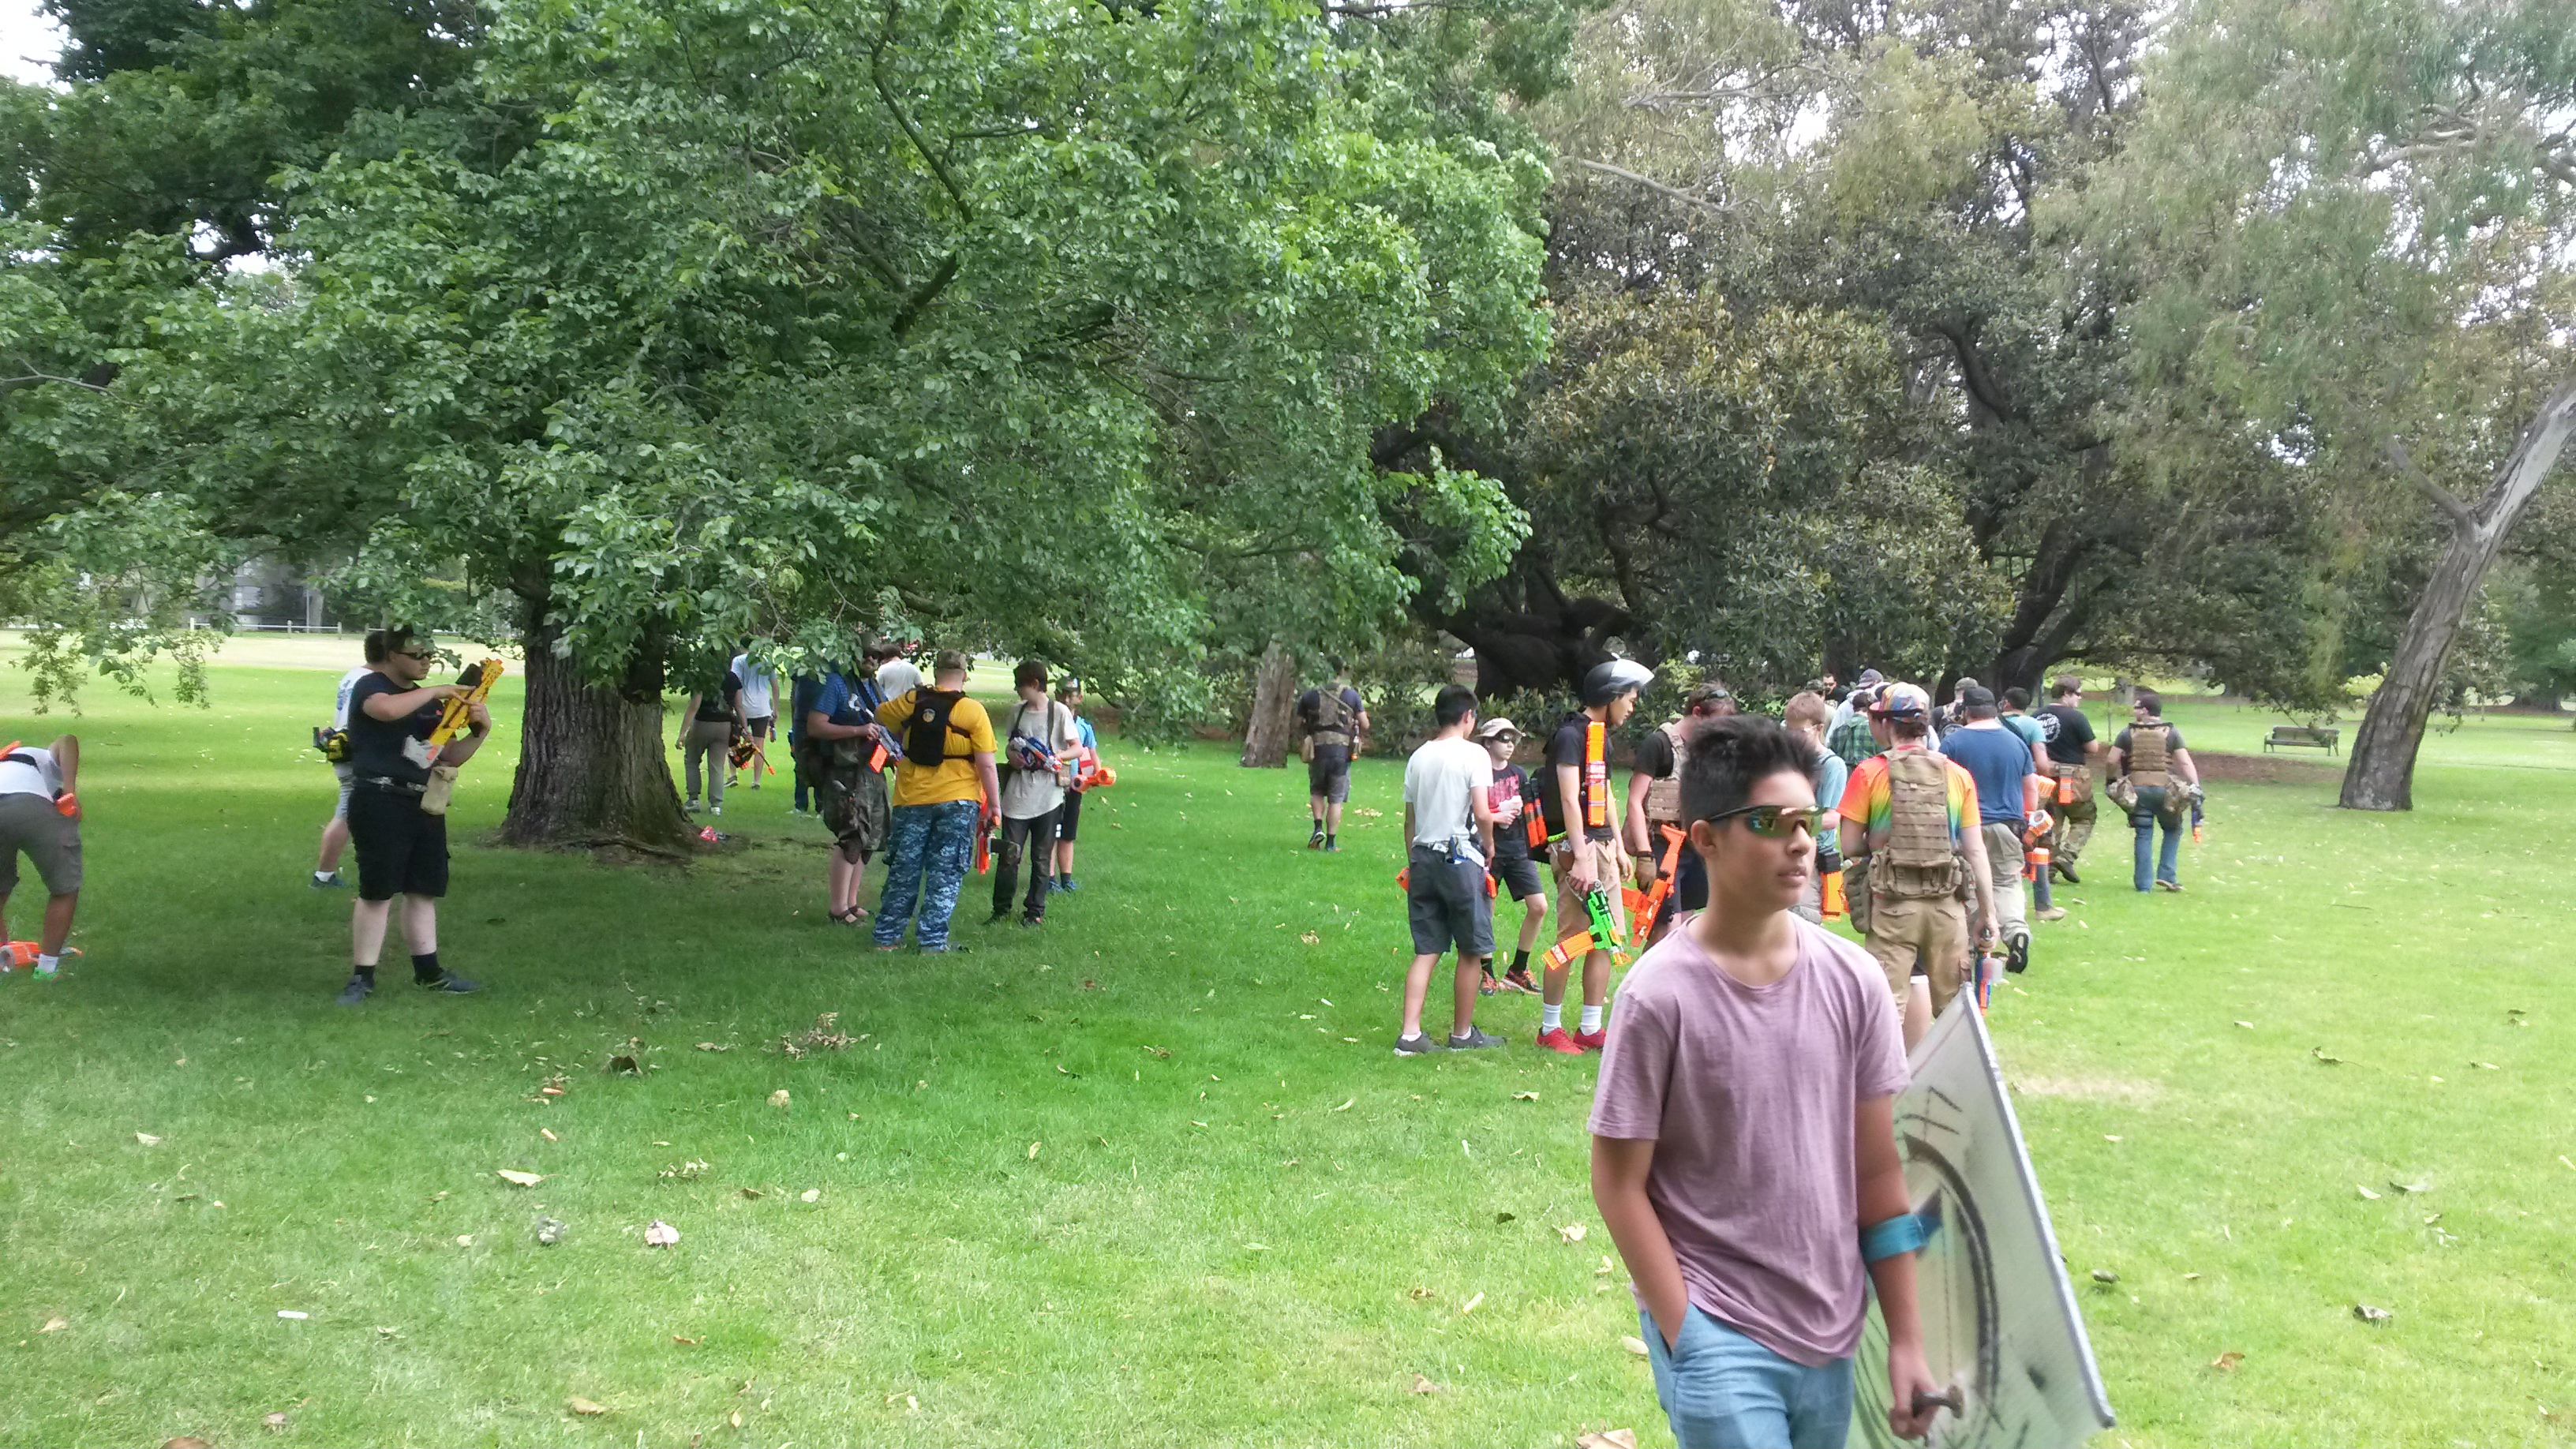
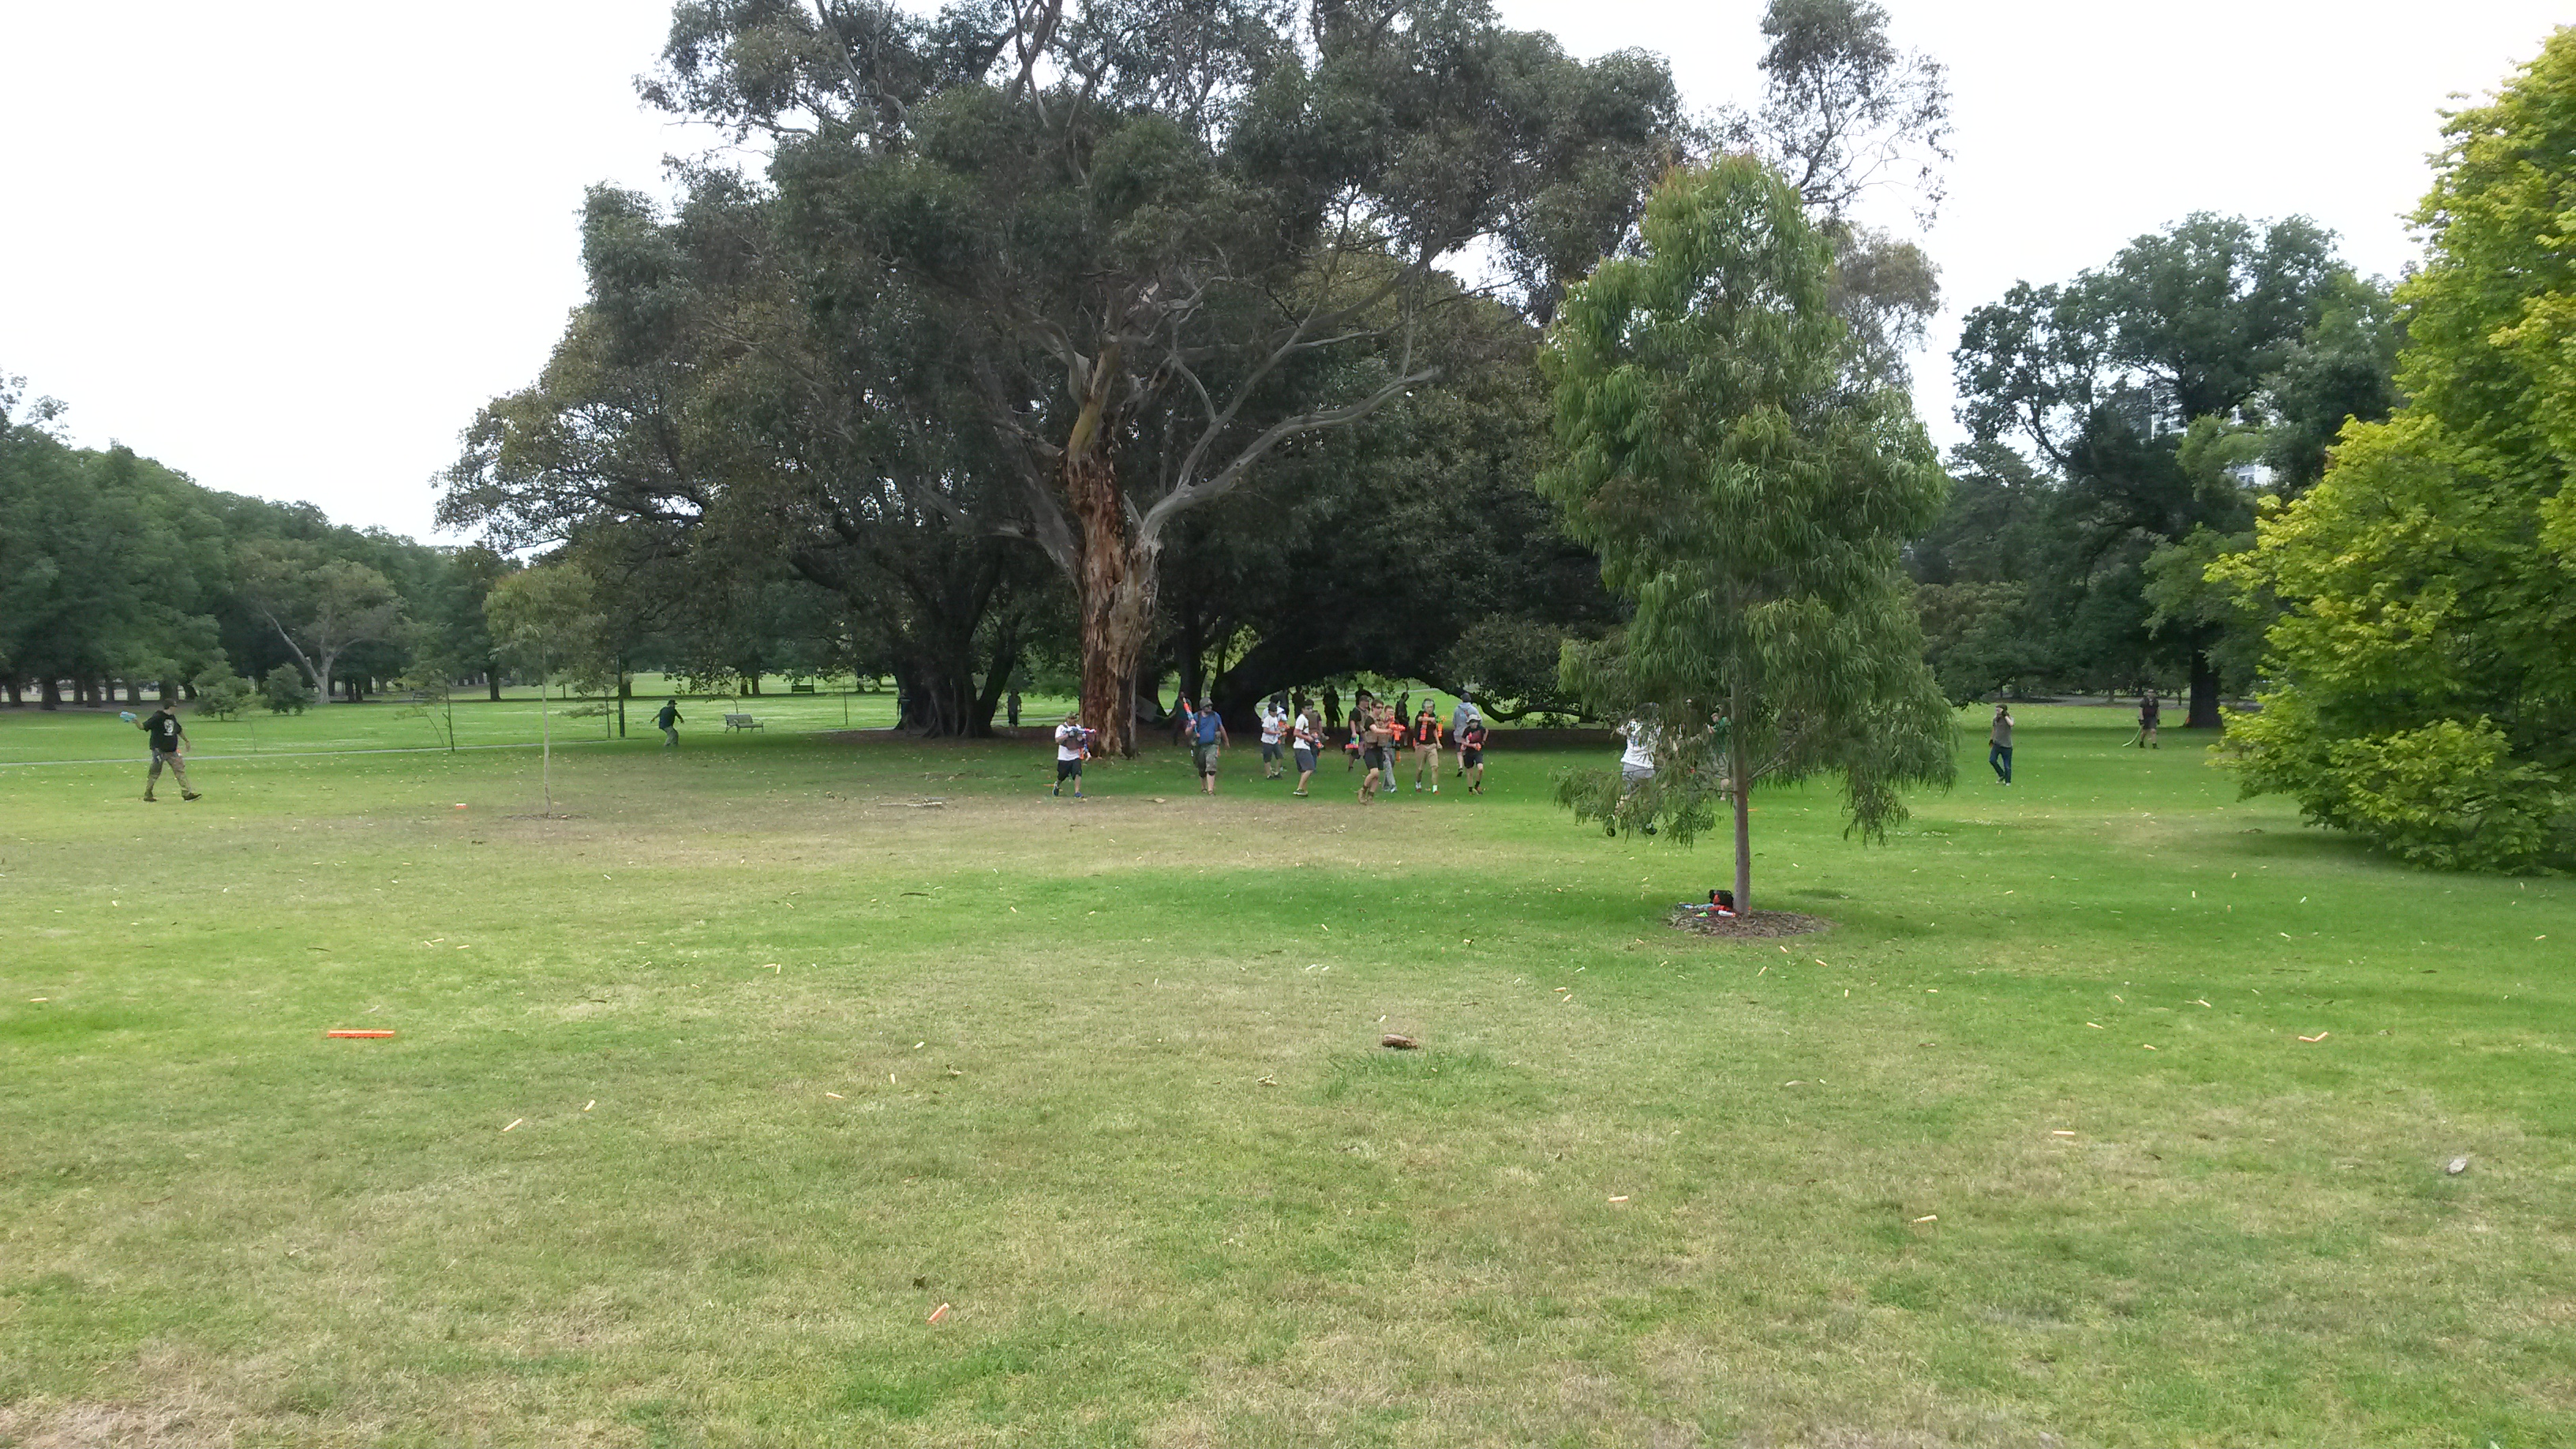
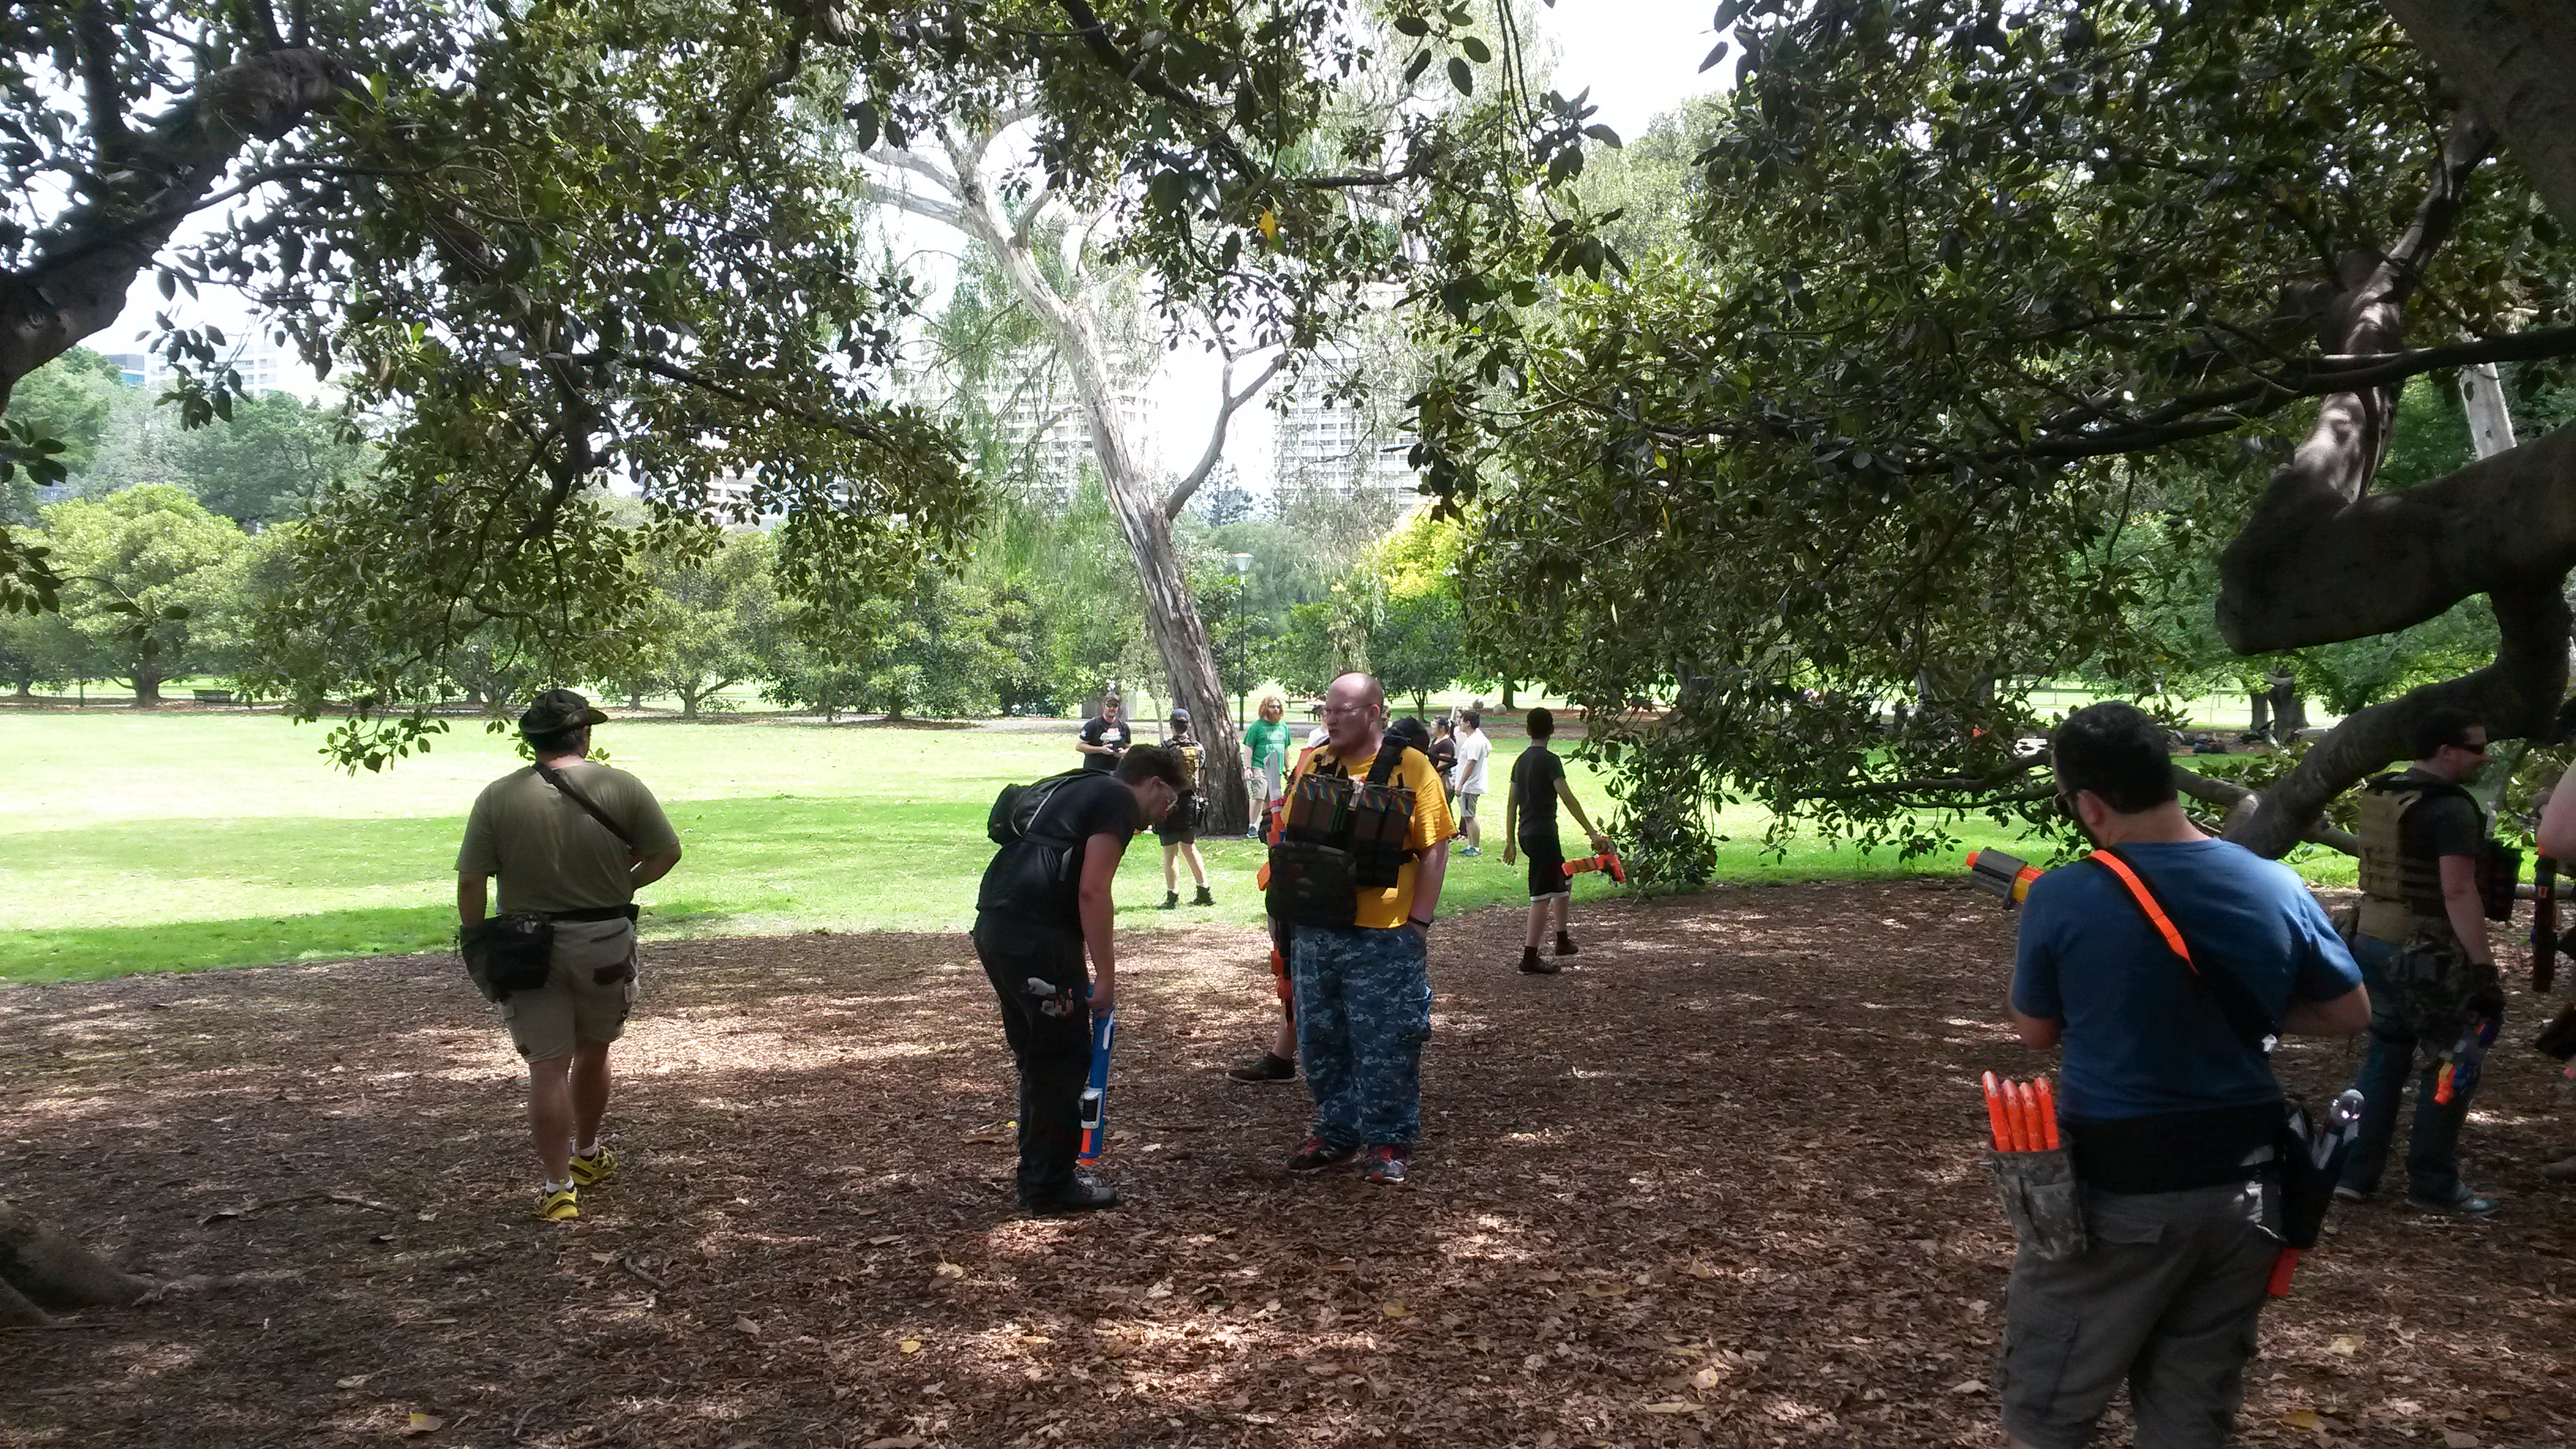
It was quite cool on the day, peaking around 20 degrees Celsius, and cloudy so no direct sunlight. We had a lot of players, in excess of 40, with quite a lot of newer, inexperienced players.
 The first round of the day was a standard Survival round. I primarily stayed with a group of four other humans. We made a deliberate effort to stay away from the main humans groups, of which there were about two or three at most times. Whenever zombies approached however, we tended to merge with the nearest human group, before splitting off again once the threat was (temporarily) eliminated. In this way, we were largely able to avoid engaging in combat or putting ourselves under threat, as the human group we merged with was typically enough to fend off the approaching zombies.
Naturally, once humans started getting picked off and the zombie horde started growing, we would be left to fend for ourselves. This was less of a problem earlier on, when the zombies had less of a numerical advantage. In such situations, the biggest threat is always any Tanks that might be around, as without them we could easily fend off any zombie advance. If any Tanks did show up, we made an effort to stun them, and made our move immediately afterwards, only bothering with any other zombies that got too close. This served us well until late game, when the zombie horde had grown enough to overwhelm through sheer number. At this point it became just a run-and-gun competition to see which human would last the longest, with no hope of reprieve for more than 30 seconds. Most of my group survived until the closing stages of the game, with each member being picked off until I was the last human remaining. I was tagged upon running out of ammo.
In smaller scale conflicts of say 5 humans against 7 zombies, any Tanks are the focal point of the combat. If the Tank is still active, the zombies have a serious chance of getting a few tags, but as soon as the Tank is stunned, the humans have a massive upper hand. Normally a lone Tank against multiple humans is just a free stun, but additional zombies help greatly in covering the Tank’s flanks and preventing the humans from executing a good flank. To preemptively stun the Tank, the humans often have to make the first move and directly attack the zombies, which is a daunting task for many humans and requires good squad coordination. On the other hand, the zombies have their best chance if they can coordinate a sudden charge at the humans with the Tank, as the regular zombies will help protect the Tank’s flanks, while the Tank can panic and scatter the humans. An uncoordinated charge however can quickly turn into a total rout however, with the humans easily picking off zombies one-by-one. Such conflicts are therefore often a back-and-forth tug-of-war, seeing which sidewill make the first move, and which side can coordinate an attack first.
 We played a second round of Survival afterwards. This round progressed much the same, with myself sticking with a small group away from the majority of humans and thus combat. I was still fatigued from my last stand in the previous round however, so was less inclined to run in this round. Nonetheless, I was able to survive late into the game with a combination of mobility and avoiding combat where possible. I used the Cam this round, and late in the game the rev switch got stuck permanently on. I knew what the issue was, having encountered it but dismissed it as unlikely during testing, and simply didn’t have time to fix it. I quickly disconnected the LiPo and put down the Cam, switching to my Sweet Revenges for the closing stages of the game. Eventually with just a few humans left, I had completely run out of energy to run, and so was easily run down by zombies. The remaining four or so humans were overrun shortly afterwards.
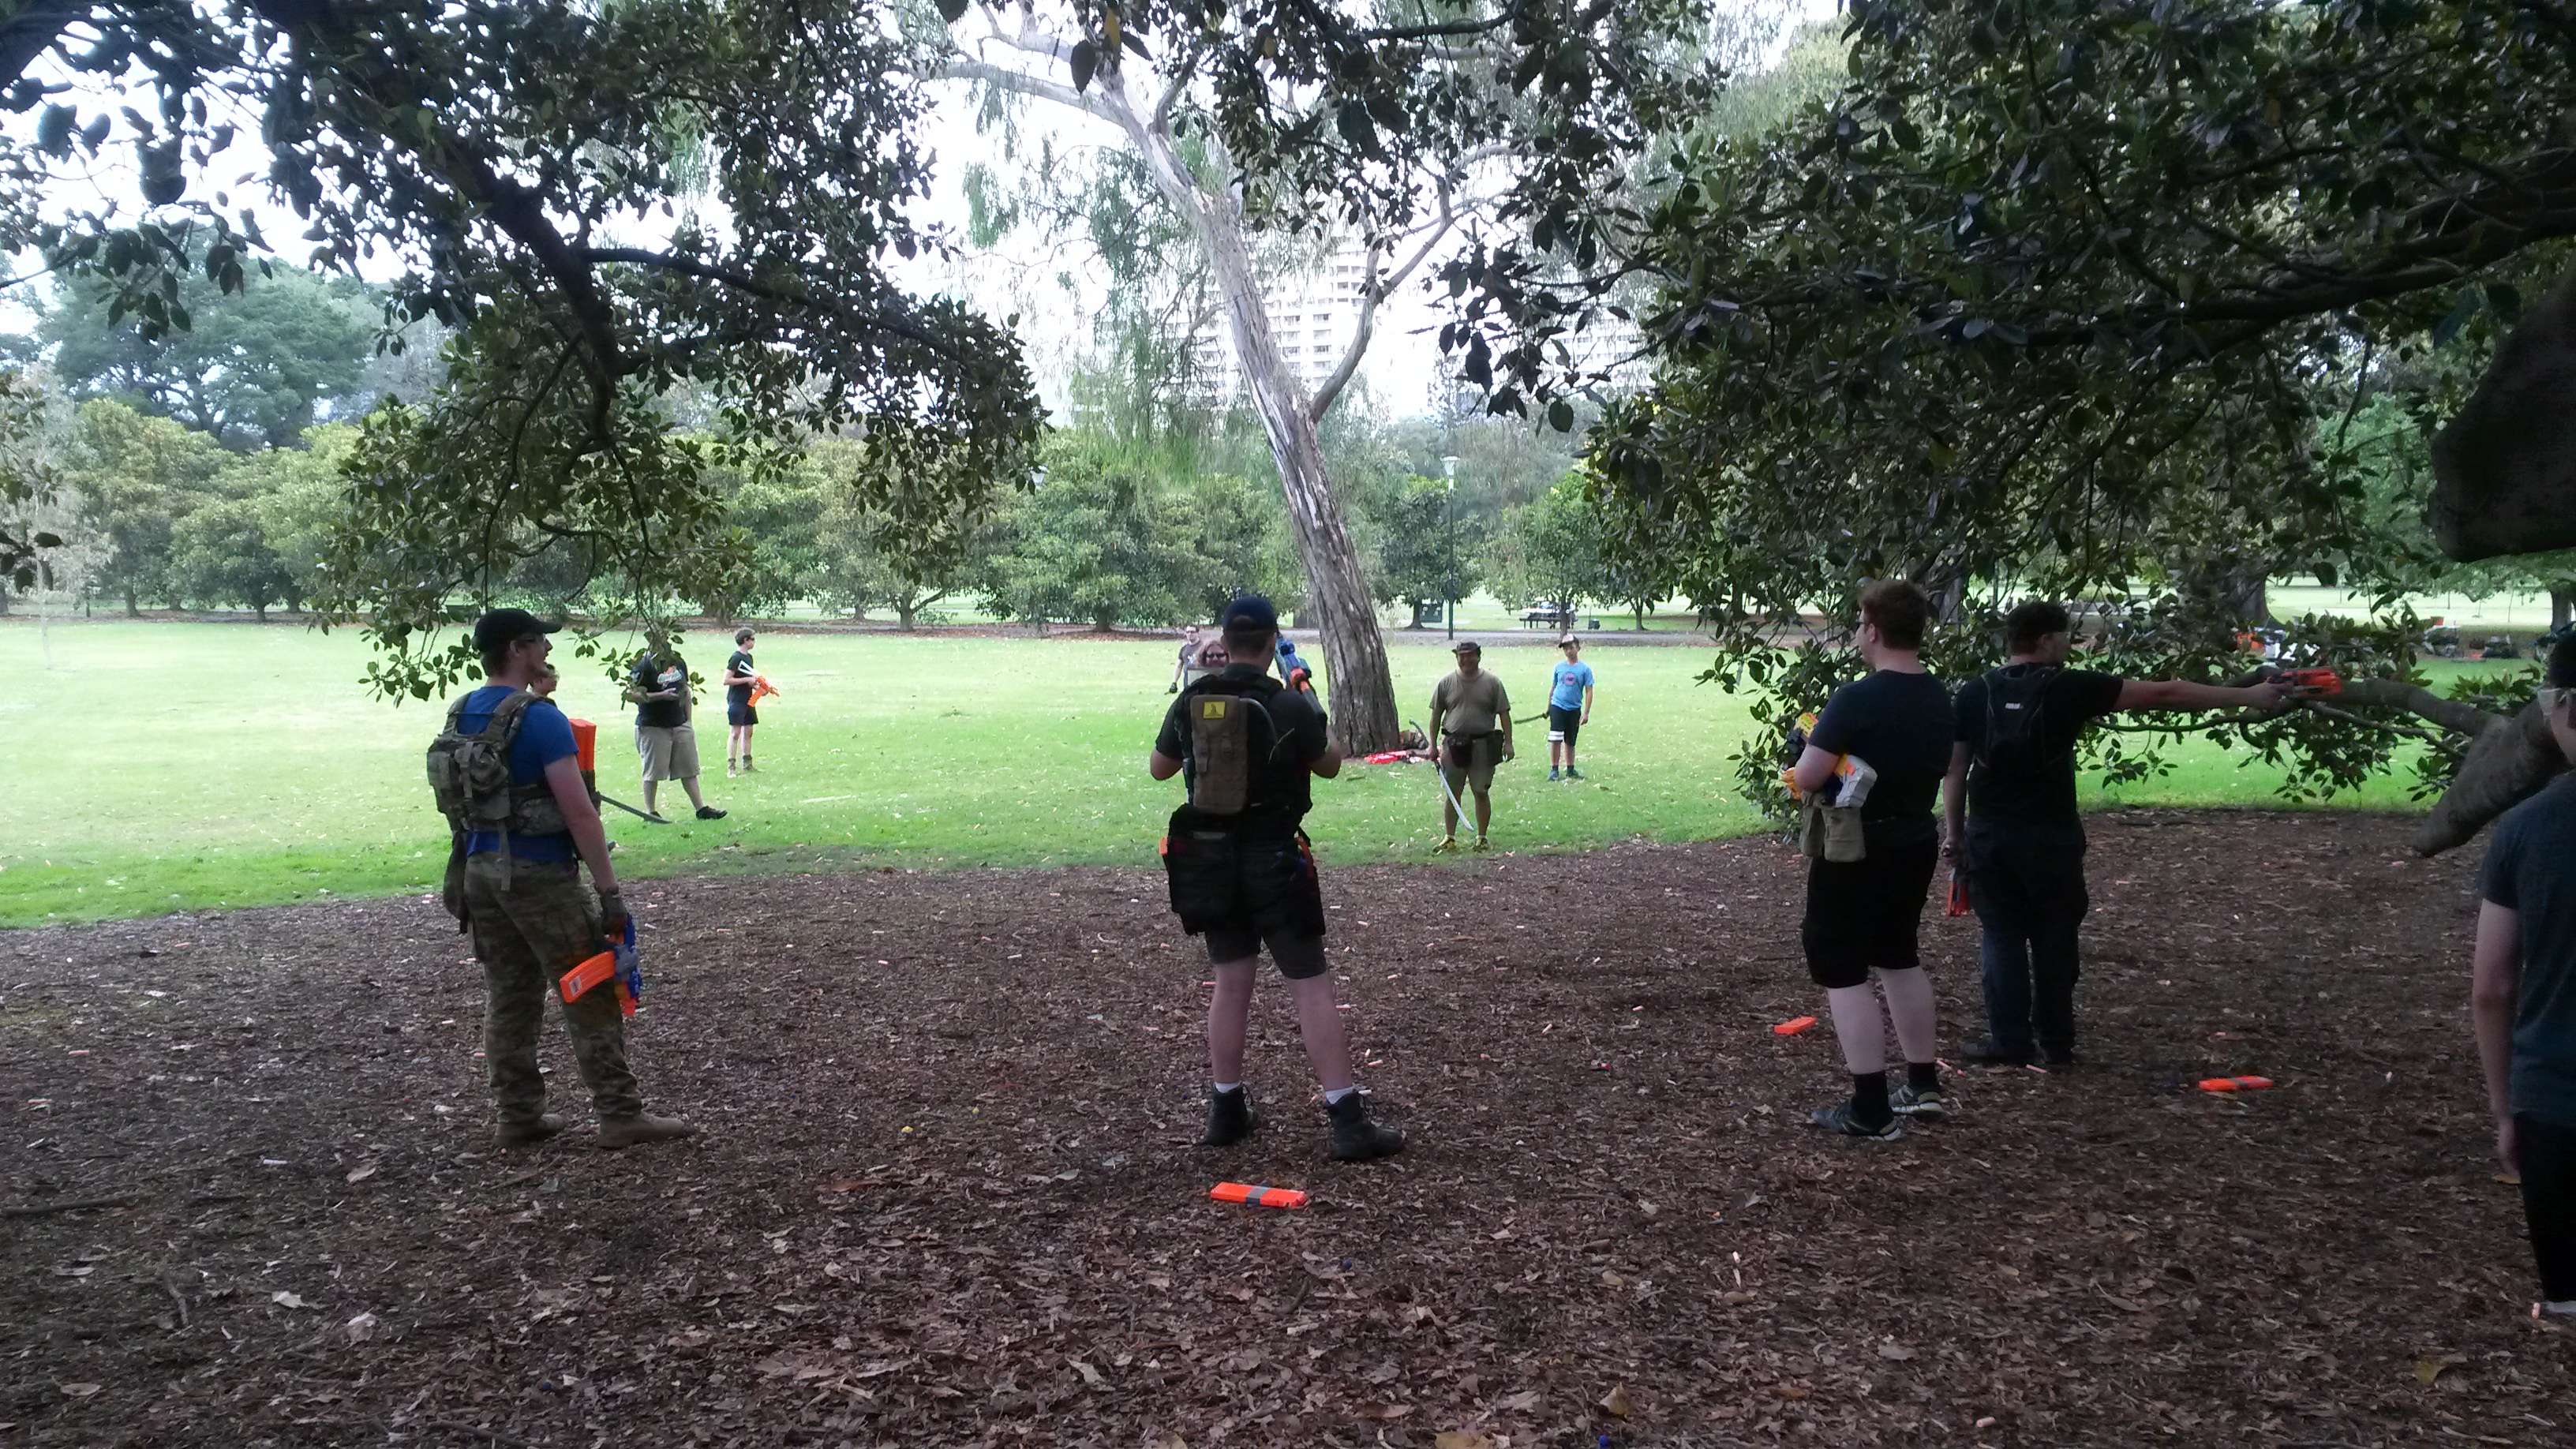
 We took a break for lunch, and returned with some Space Pope rounds.
The first round began with relatively few starting zombies, around seven. Right from the start of the game, a group of around seven humans, including the General, decided to leave the tanbark and stay towards the north-west of the area. Though this left the humans down a notable amount, they were nevertheless more than capable of fending off most zombie attacks. A combination of good human coordination and relatively low zombie count prevented the zombie charges from being too effective. Additionally, the Traitor attempted to get some tags early on, however was quickly exposed and eliminated. The General’s group in fact was able to sit out the entire round without firing a single shot and lead the humans to an easy 15 minute survival.
Unfortunately, things got a lot more complicated when we tried to learn the identity of the Space Pope. As it turns out, the player who had been chosen by the General had in fact not noticed during the picking, and thus was not actually aware of their identity. Just before the round started, they then volunteered to be a starting zombie as we were slightly low on starters. So we in fact played the entire round without a live Space Pope, and because the General left as soon as the round started, they did not notice the problem.
Generally speaking, I see no reason for any human to stray far away from the tanbark zone, unless they are being a successful distraction. Less humans in the zone means less firepower and fewer sets of eyes, which in turn means a much better chance for the zombies to get tags. This typically offsets the zombies having fewer targets to go for, as in general in this type of HvZ (or at least in my experience), more humans typically means a better chance of survival if combat is unavoidable. However, there is something to be said for the brave/reckless/etc human who leaves but stays near the tanbark area, running around stunning zombies from behind. Such humans are a fantastic distraction and a short-term deterrent, and are especially useful for slowing down or preemptively halting Tank charges.
 With the first round being a total zombie massacre, a lot of humans still had enough ammo to do another round without much refill. Any human without sufficient ammo was to be a starting zombie. As such, we had a massively higher starting zombie count this round, probably close to fifteen, maybe even more. I was selected to be Space Pope in this round. This round was far more intense and combat heavy, with humans being tagged left and right even early in the round, before Tanks. With the human count dwindling rapidly and the General recently tagged, I was caught out trying to fend off zombies from multiple directions, and tagged with a couple of minutes to go. The Traitor actually never revealed themselves in this round, though as it turns out their presence was not needed for a zombie victory.
These first two rounds demonstrated quite well the importance of starting zombie number in Space Pope. Not enough starting zombies, without an excellent Traitor, the humans have a fairly easy win. Too many zombies and only the very best armed, skilled and coordinated human groups have a chance to survive the 15 minutes. These rounds we played demonstrated this delicate balance quite starkly, with the humans cruising to an easy win (ignoring the Space Pope confusion) in the first round, and the humans getting totally overwhelmed in the second round. From my point of view at least, the humans should have a slightly higher chance of winning than the zombies, but not substantially (a 60-40 split is probably reasonable). I think with the player count we had today, 10-12 starting zombies would probably have gotten close to that balance. Seven starter zombies were not really enough, and fifteen or so was in my opinion a couple too many. While the first round rarely had any feeling of threat or claustrophobia, the second had an aura of inevitability of defeat. Naturally reaching this balance depends heavily on player count, and human and zombie coordination, but I think a couple more starting zombies than is default currently would work well.
 My last round was a third Space Pope round. I believe we had a similar starting zombie count to the first round. Unlike with the other two rounds, the General was tagged quite early on. The Traitor also revealed themself early, tagging two other humans (one with the grenade). As such, we were left with a now-exposed Space Pope quite early on in the game, which is rather uncommon. Nonetheless, the humans were able to hold relatively firm for much of the game, with a good number still alive by the time the Husk came out. However, it was in fact the Husk who ended the game, tagging the Space Pope with a good throw.
The Husk is always a dangerous zombie, as the only one who can actually threaten the humans from afar. The threat of attacking from range is massively amplified in Space Pope, where the humans are concentrated into a relatively small area. It is certainly not unreasonable for the Husk to earn a few tags just from lobbing their projectile towards the most densely packed human group. In this round, the Husk made the effort of targeting the Space Pope, and was rewarded. In most gamemodes, but especially in Space Pope, the Husk is a massive threat and a high priority target. For Space Pope, I’d go so far as to suggest that it might even be worth popping of a dart in their direction every 20-30 seconds to keep them stunned as long as possible, just to make sure they get as few throws as possible.
 I believe another Survival round was played afterwards, however I had to leave. I had good fun in the first event of the year, and got to try out a couple of pieces of equipment in combat. I’m hoping that we can find a slightly better starter zombie balance for Space Pope that more consistently results in competitive and winnable rounds for both sides.
You can find the same post on my own blog: Outback Nerf