


We tried out a couple of new things at today’s event, namely small shields, a reworked Mega Zombie, and some altered PvP rules.
All rules can be found here.
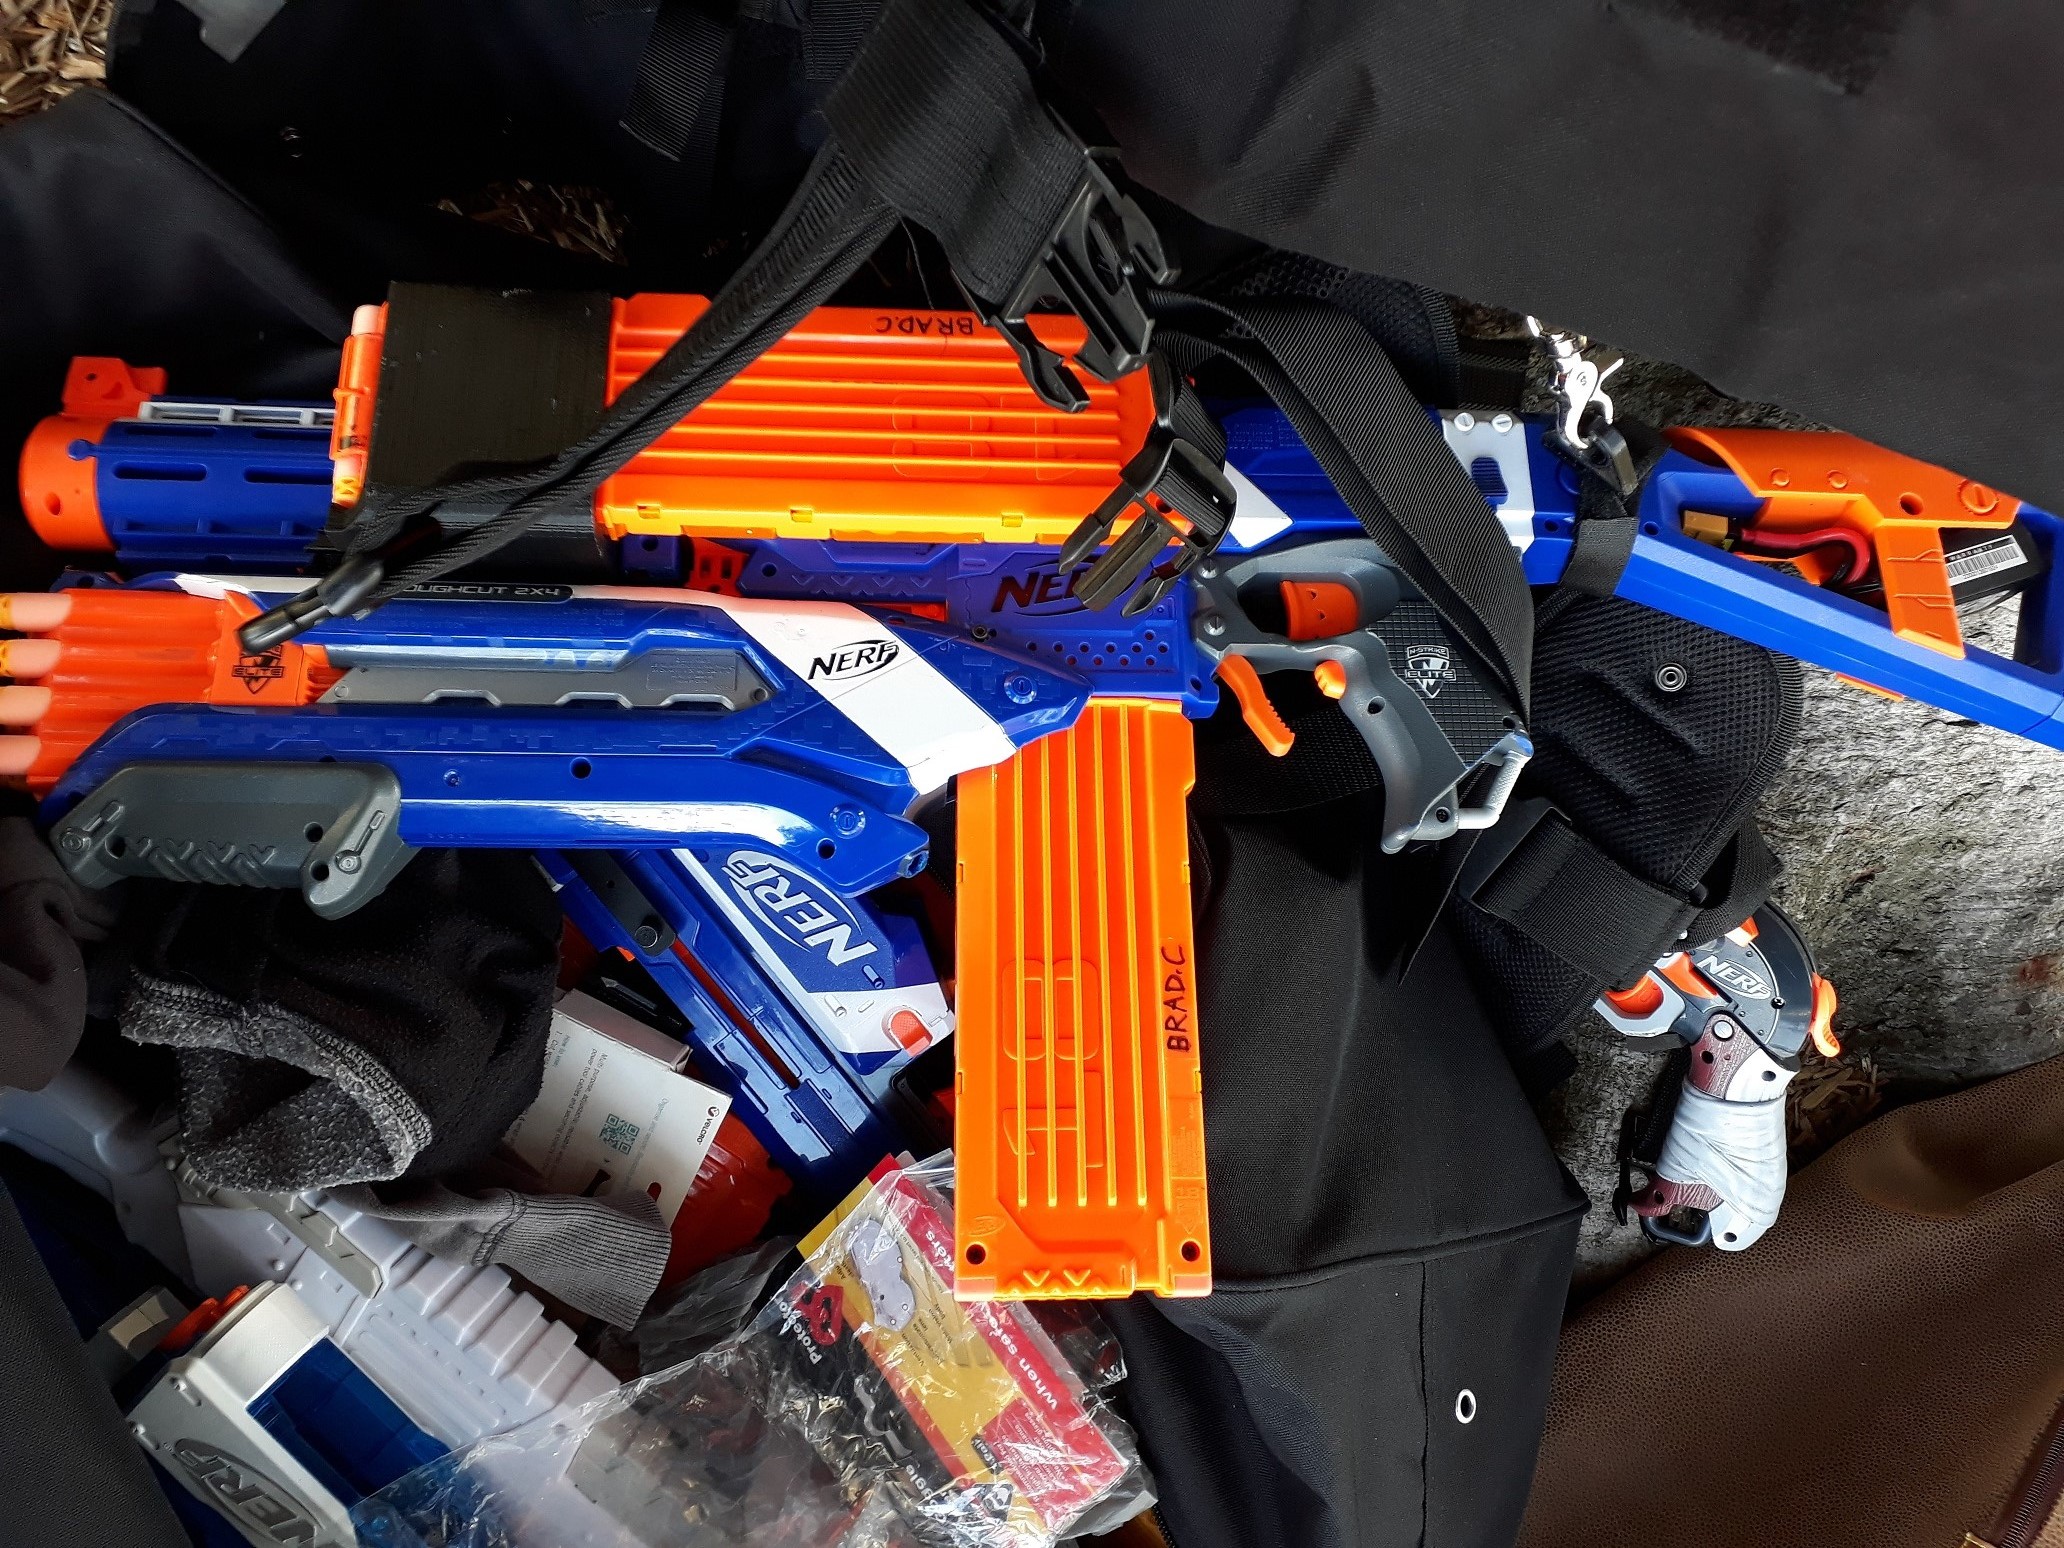
Blasters:
Note that while I do my best to cover all significant blasters, it is entirely possible that I missed or forgot to include some. Also note that I primarily cover/detail mods that affect functionality and performance.
Regular/Recurring:

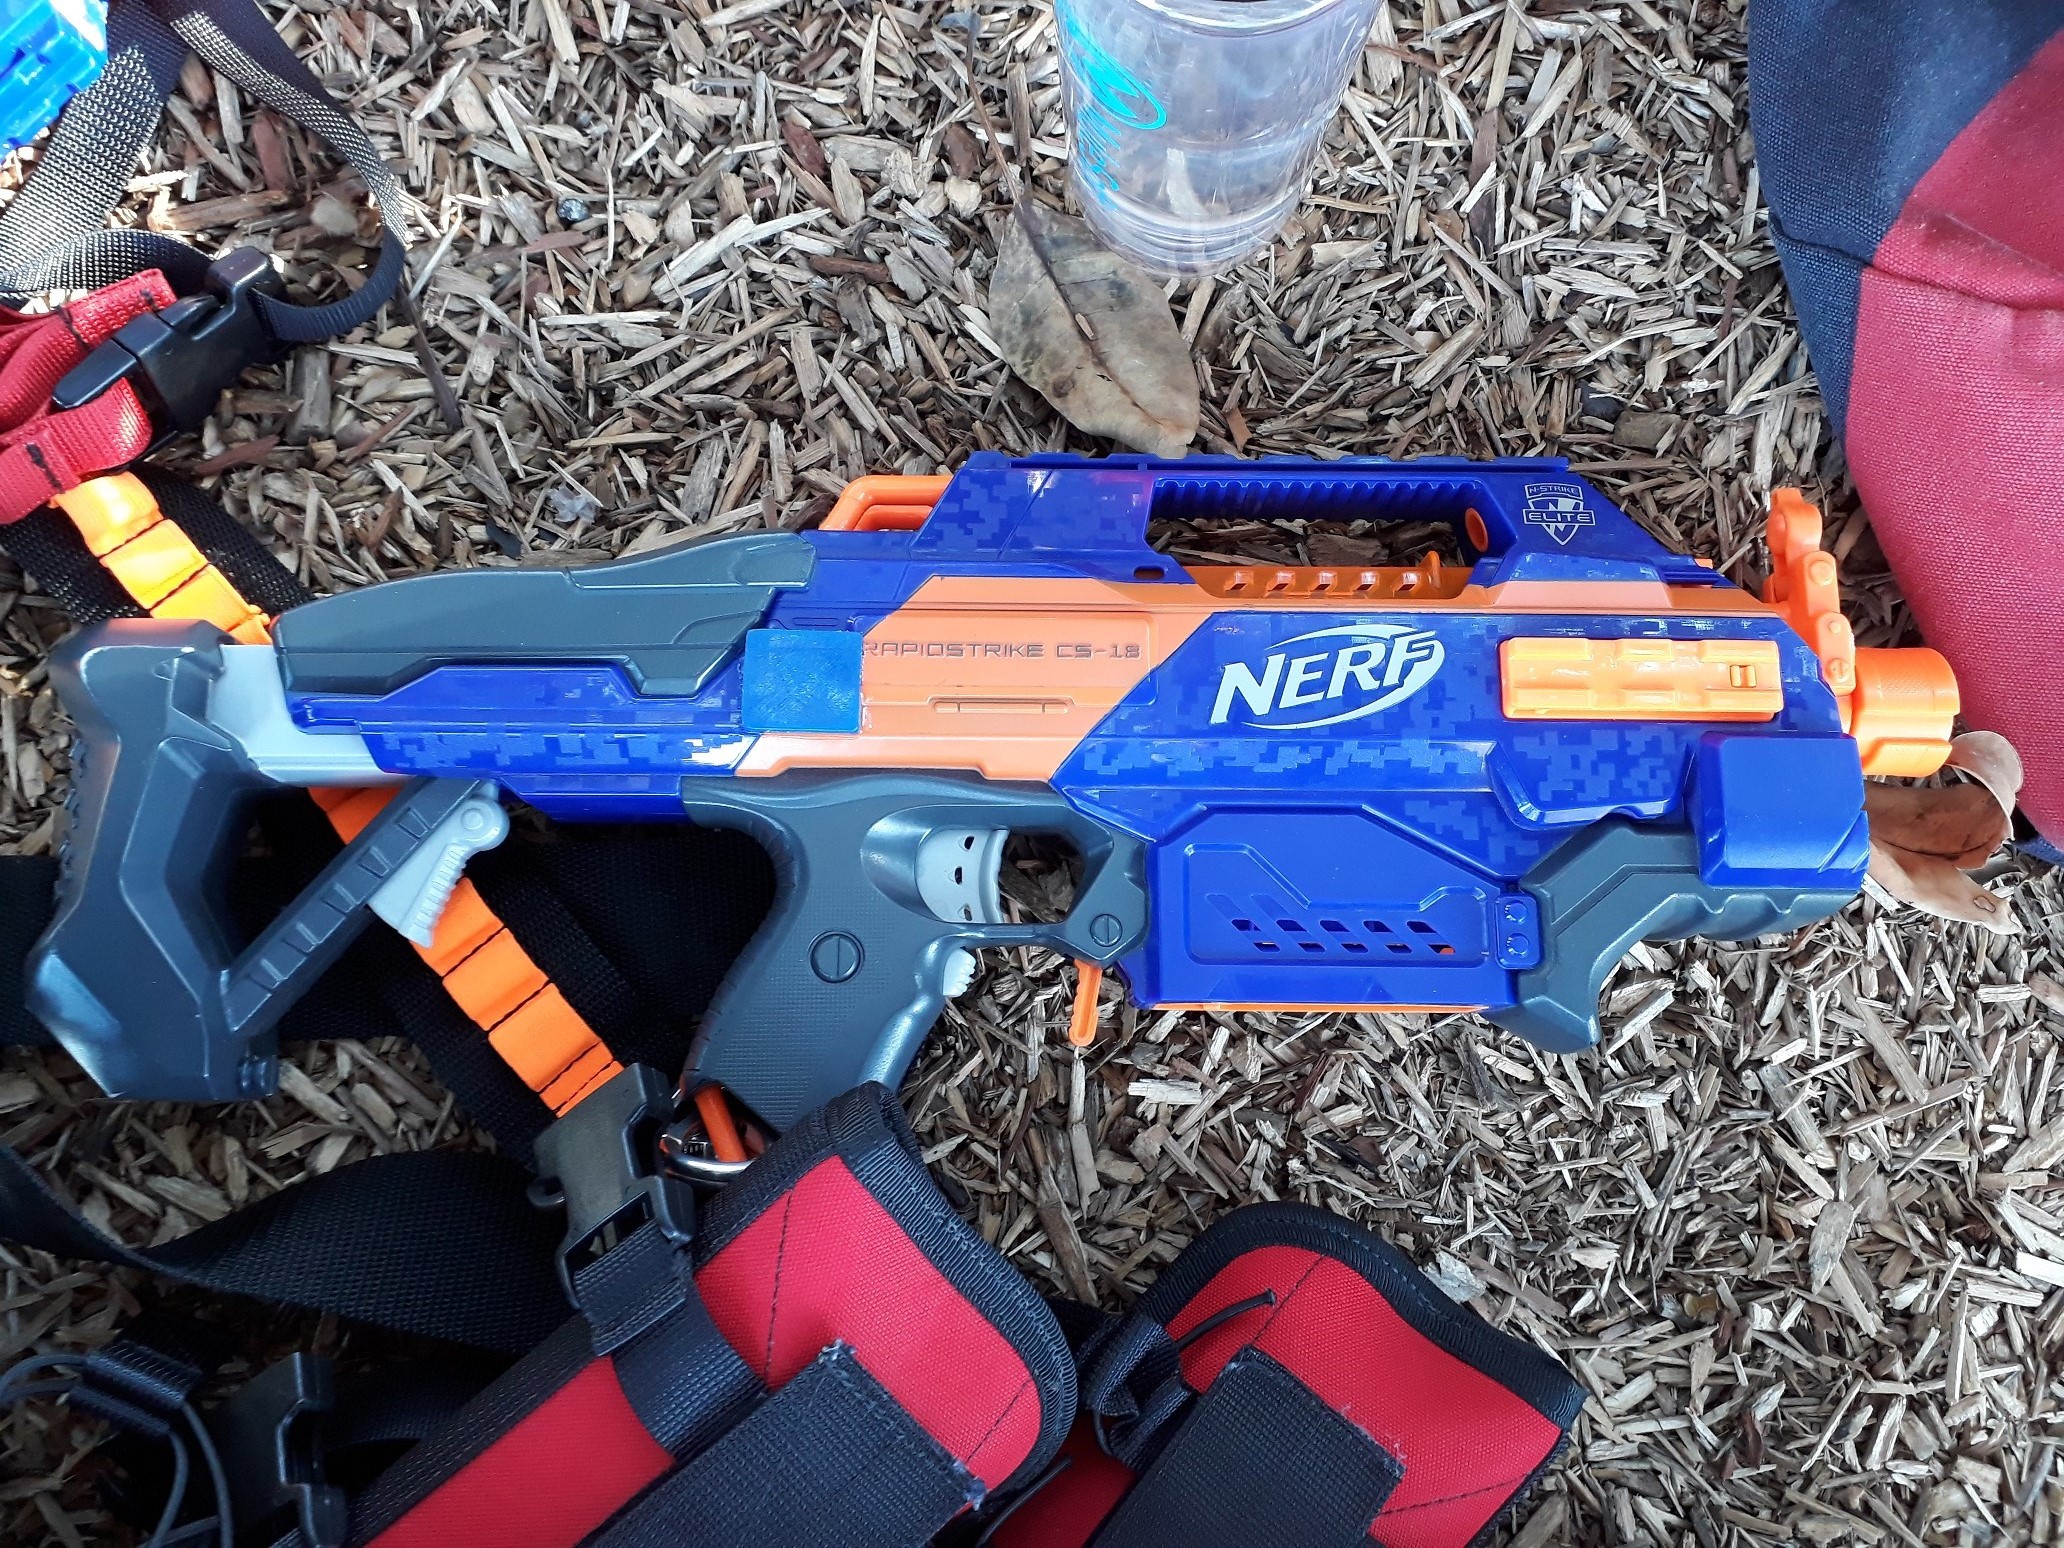

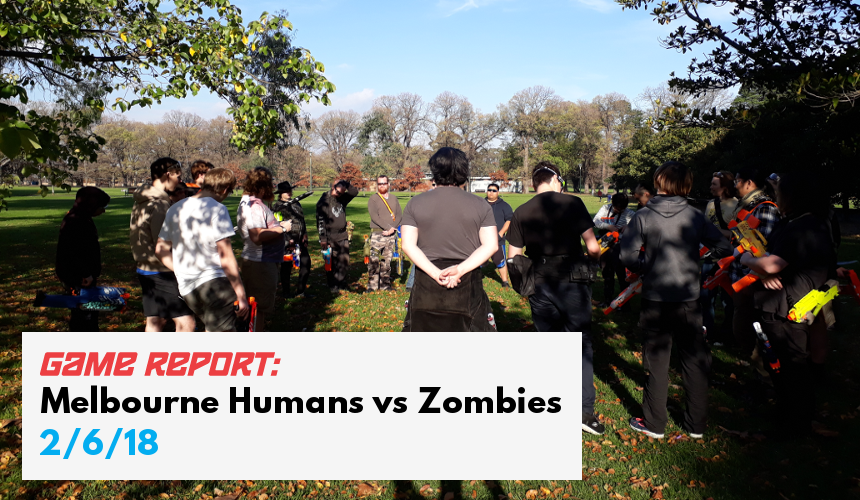
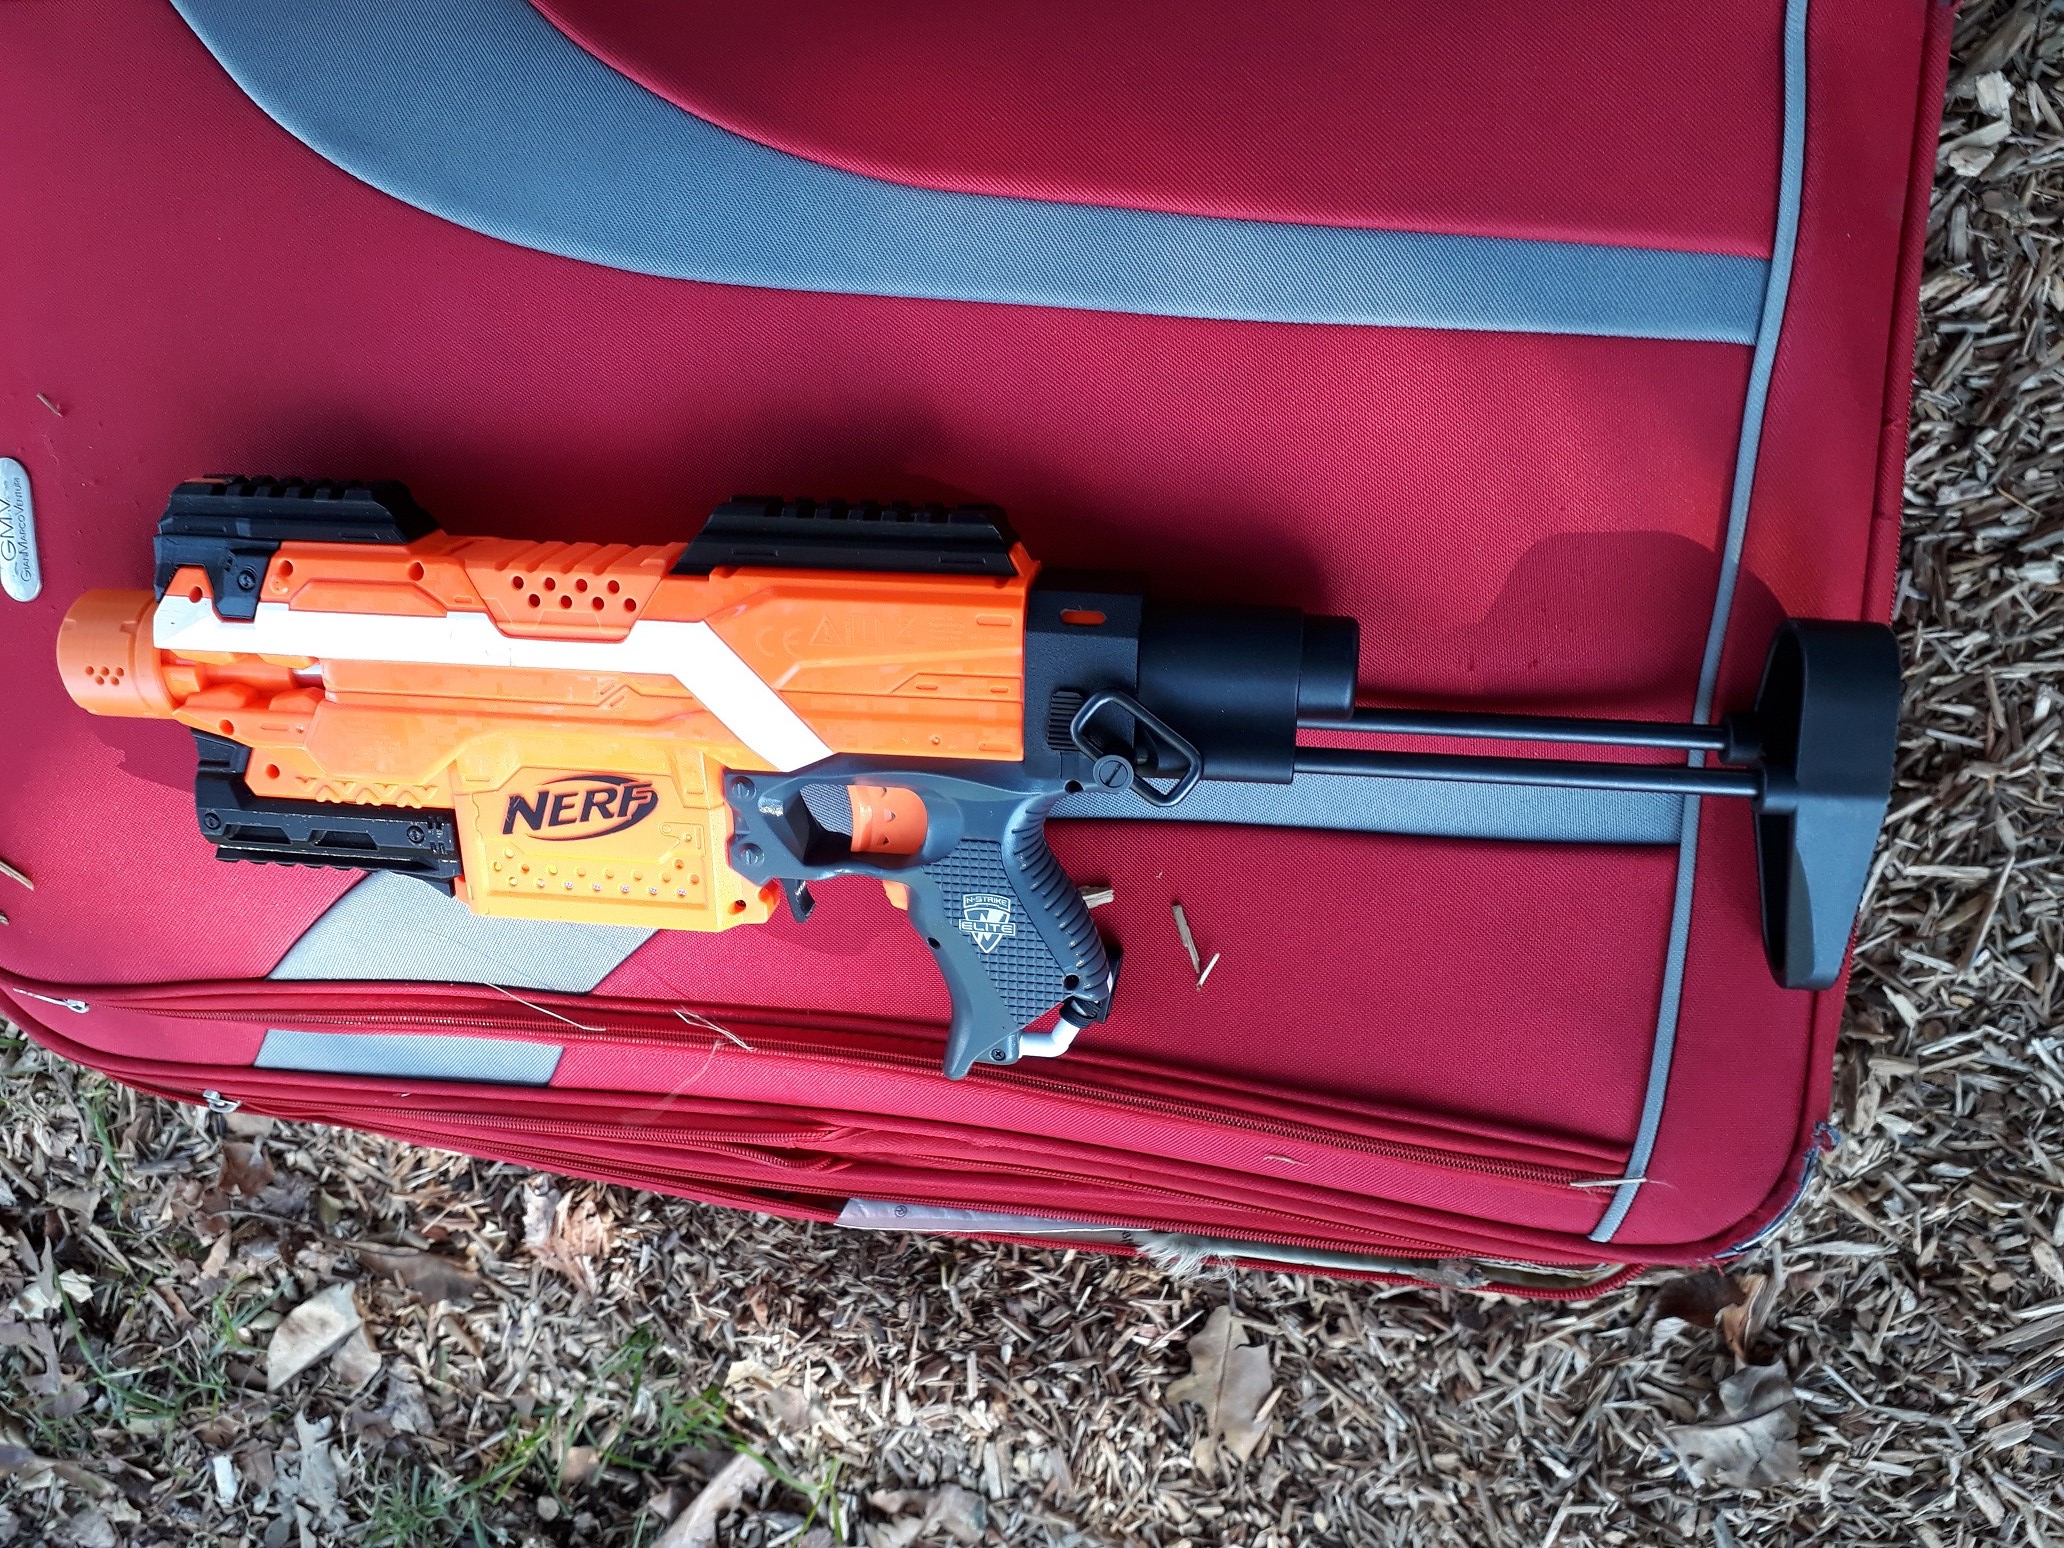
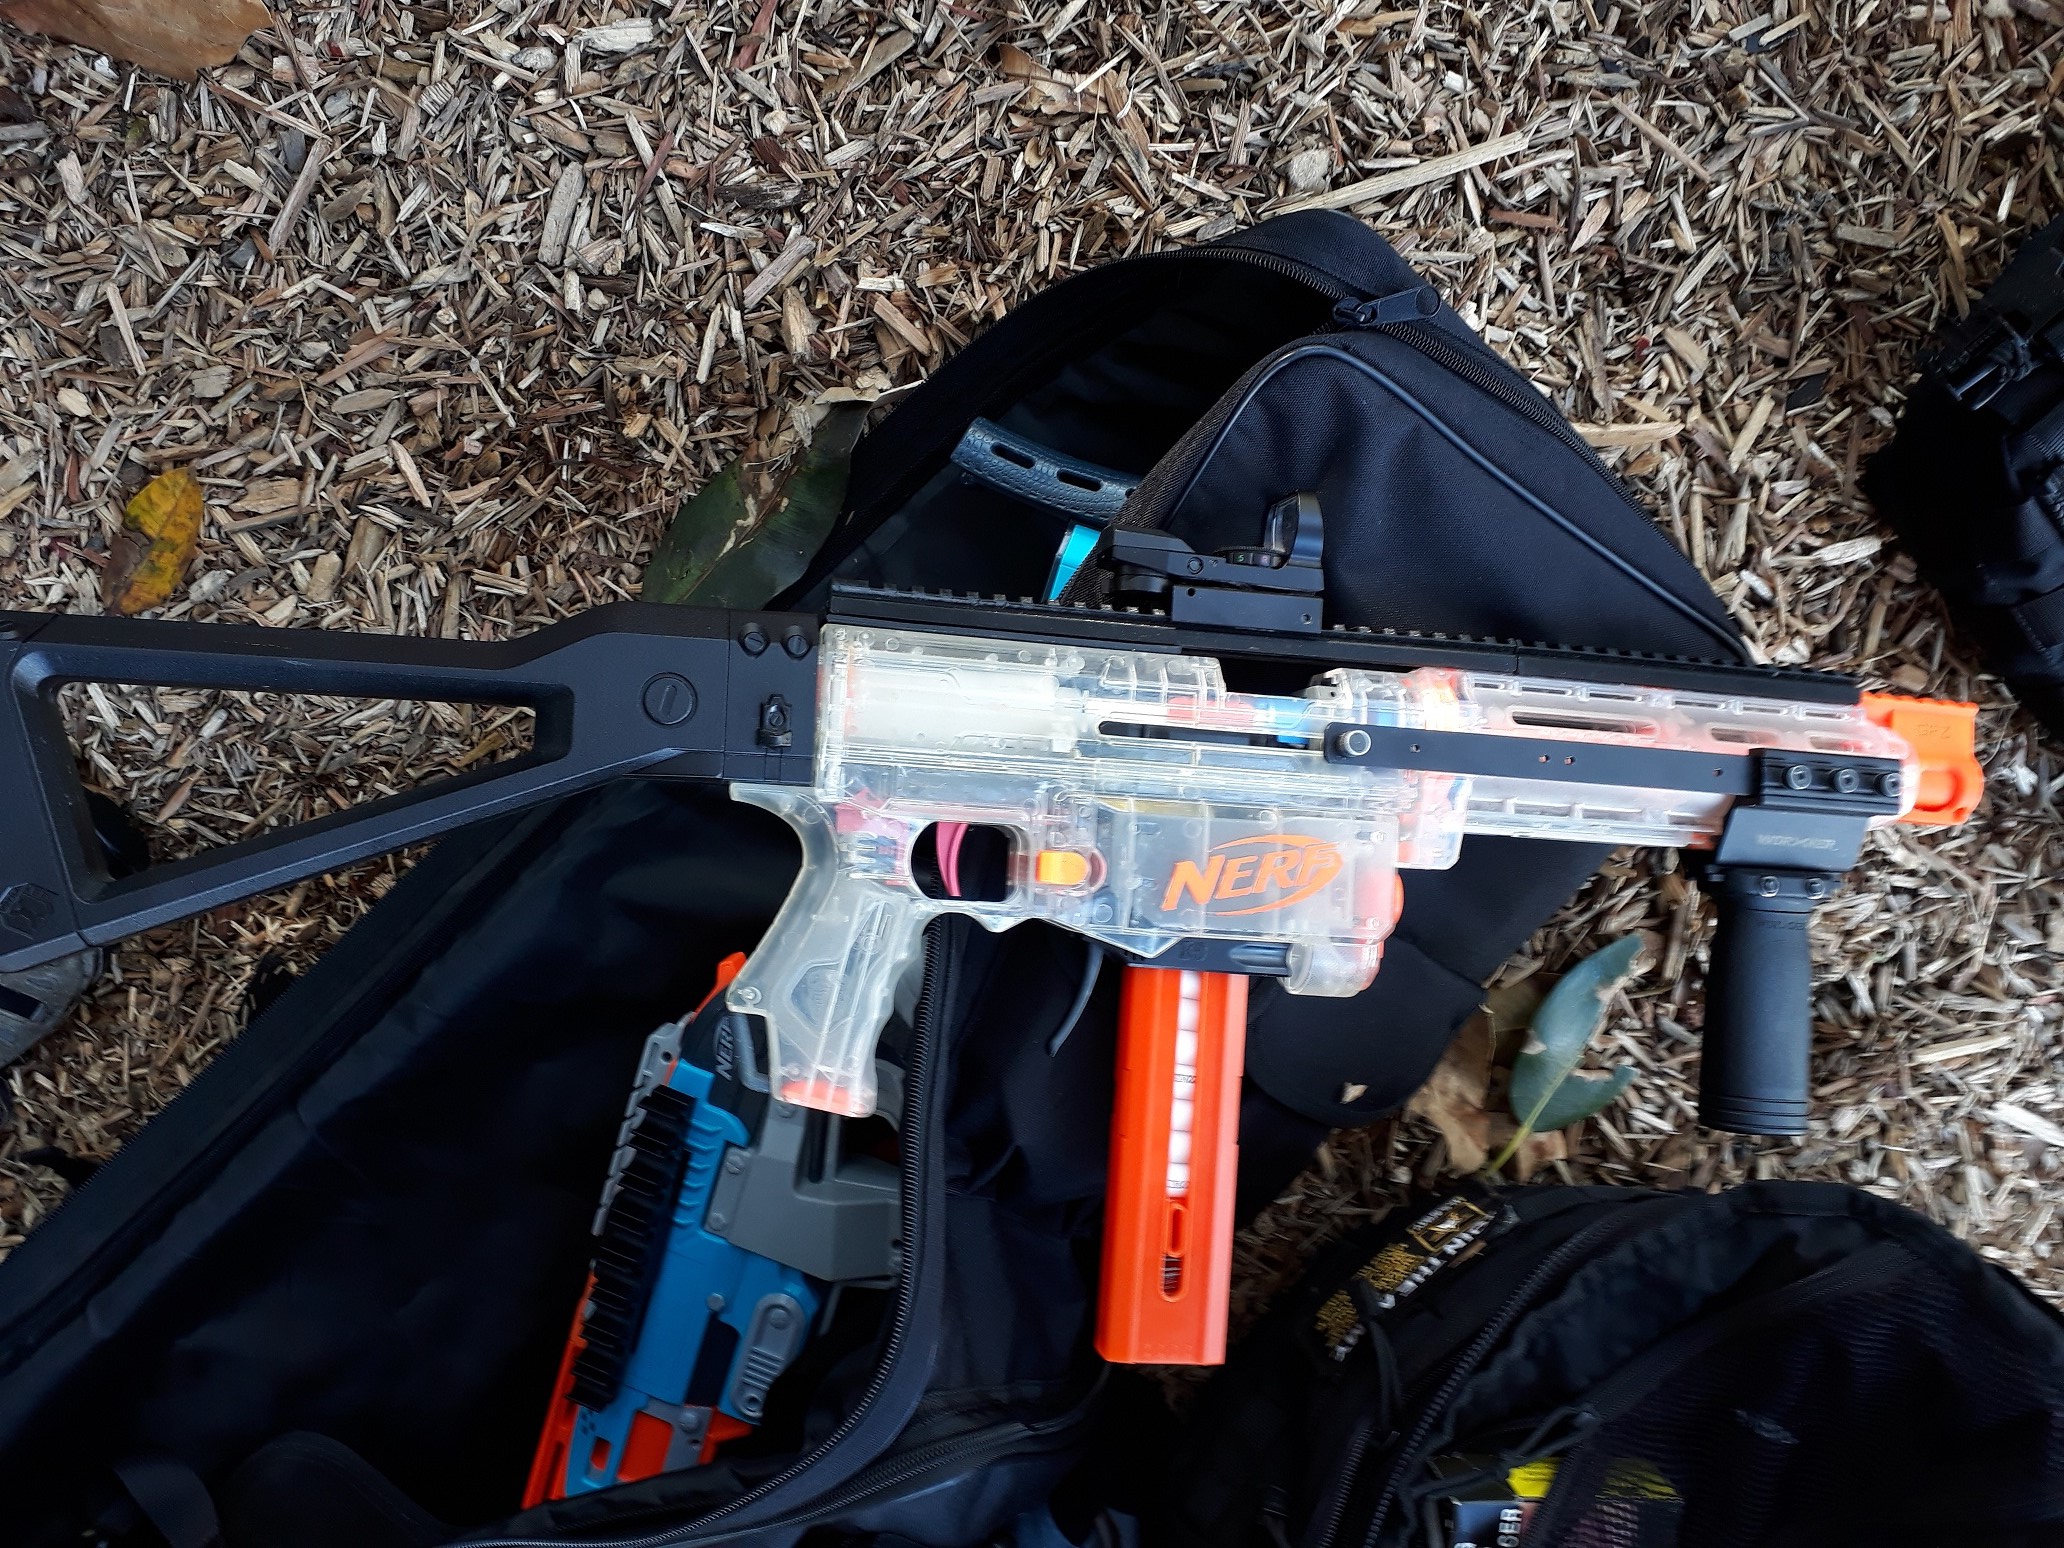
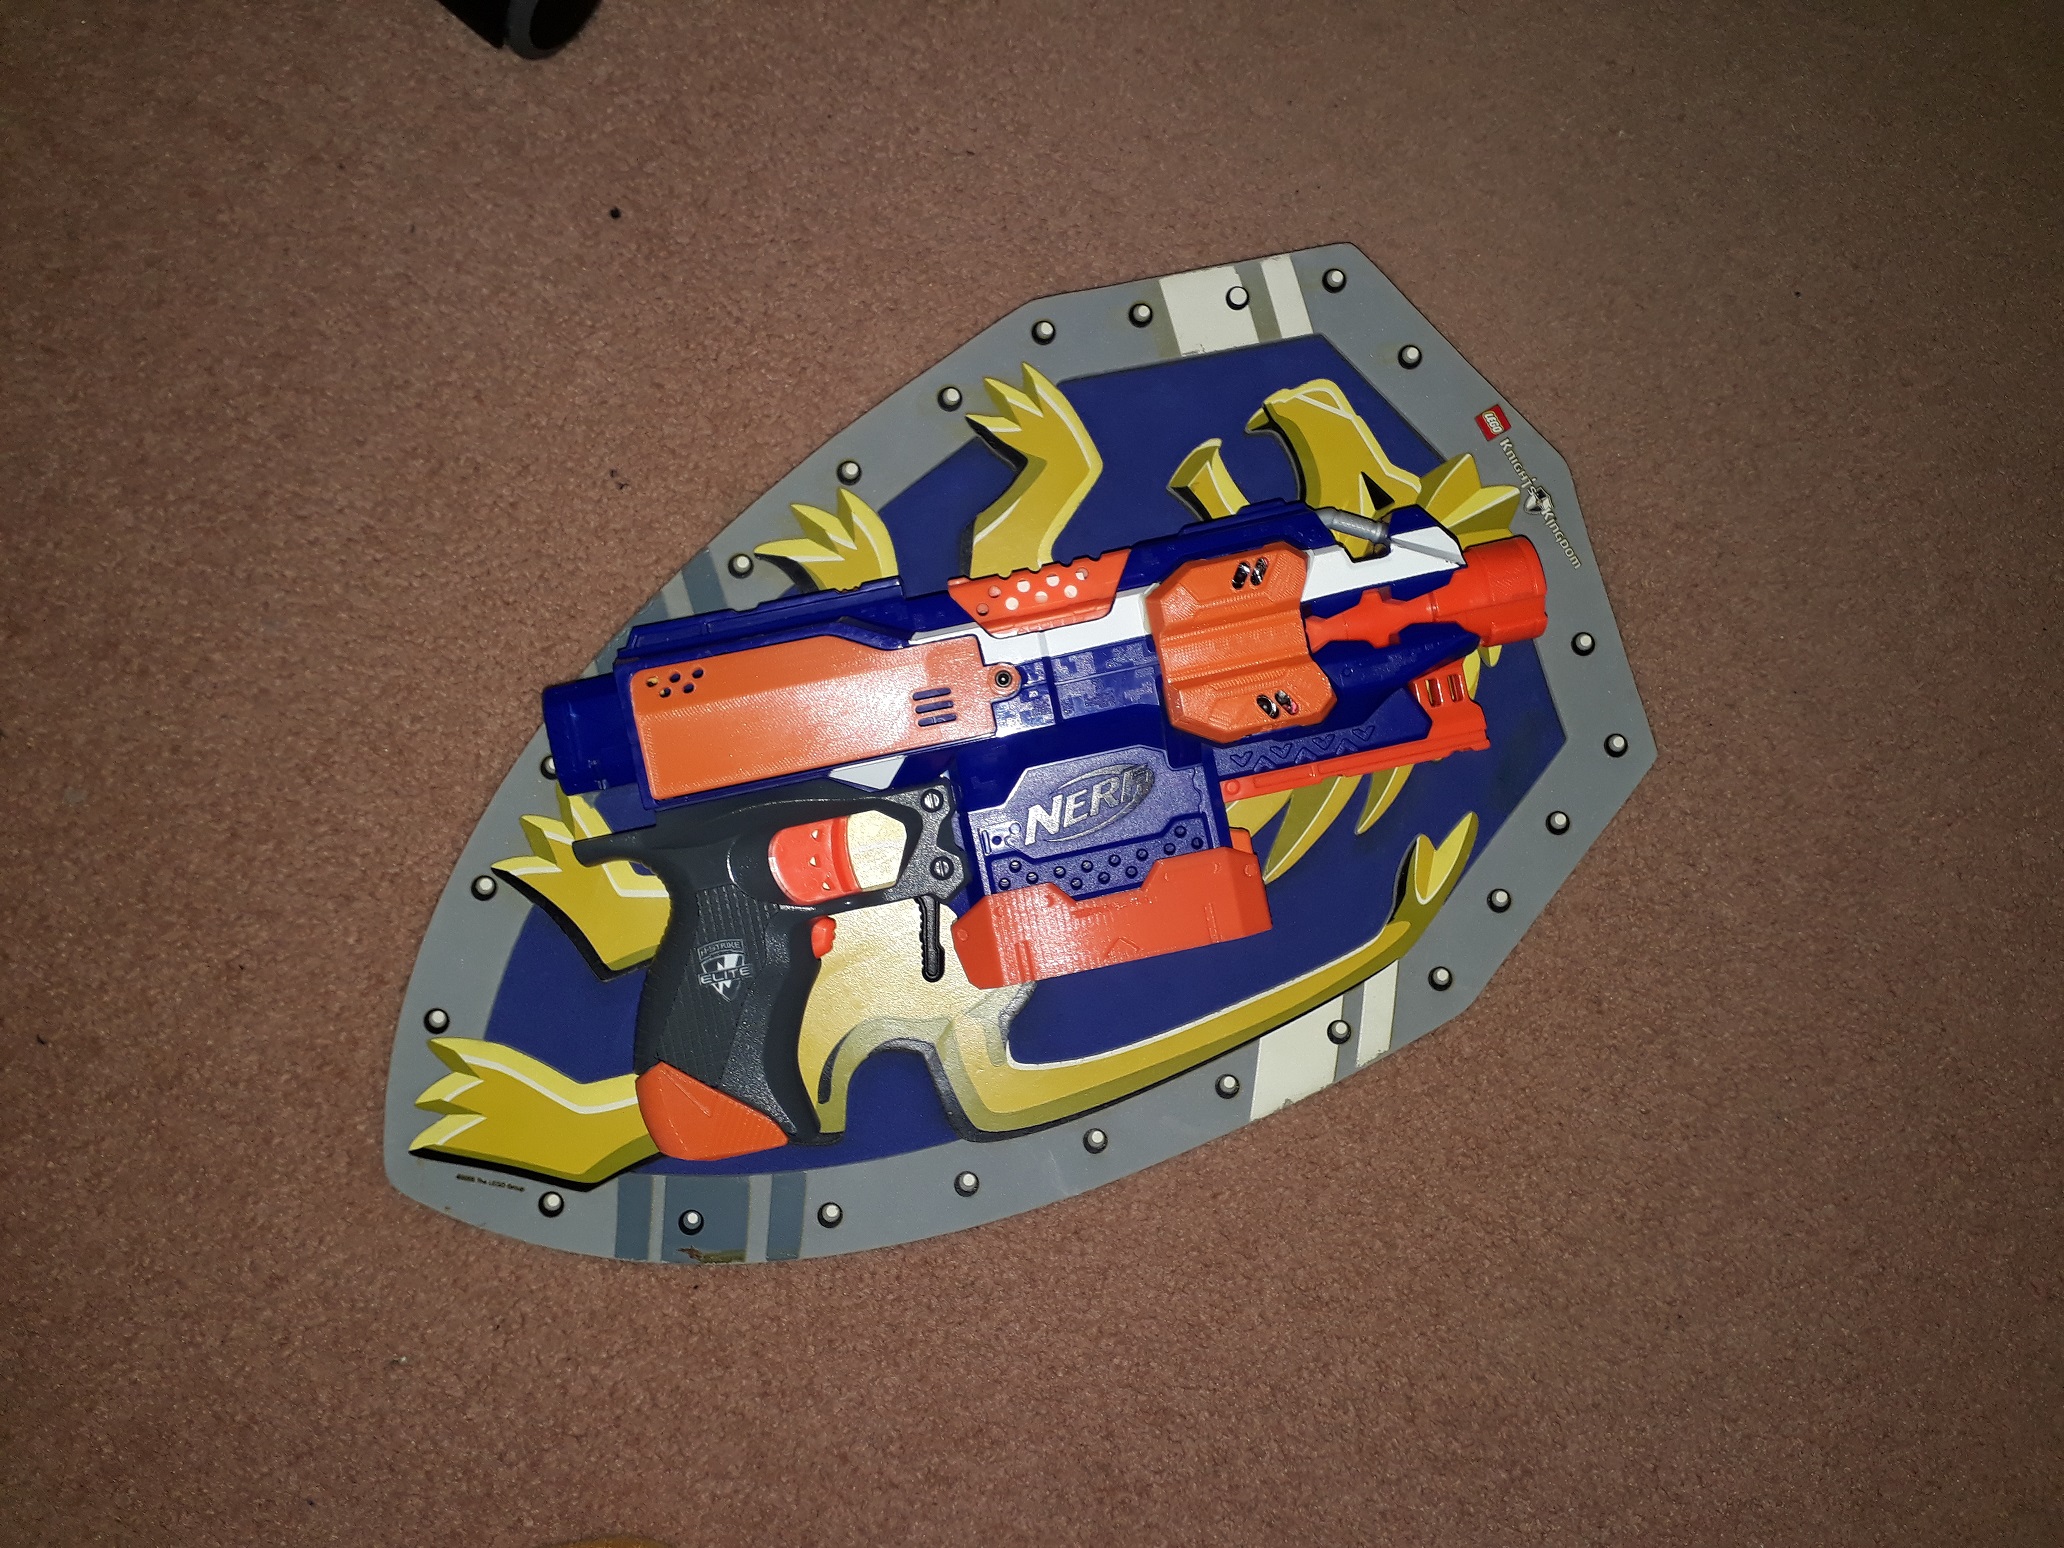
Elite Rapidstrike (various internal setups) – full-auto, mag-fed flywheeler. Extremely effective against groups and in close quarters. Also capable of accuracy-by-volume at longer ranges. Goes through ammo quite quickly if not handled with discipline.
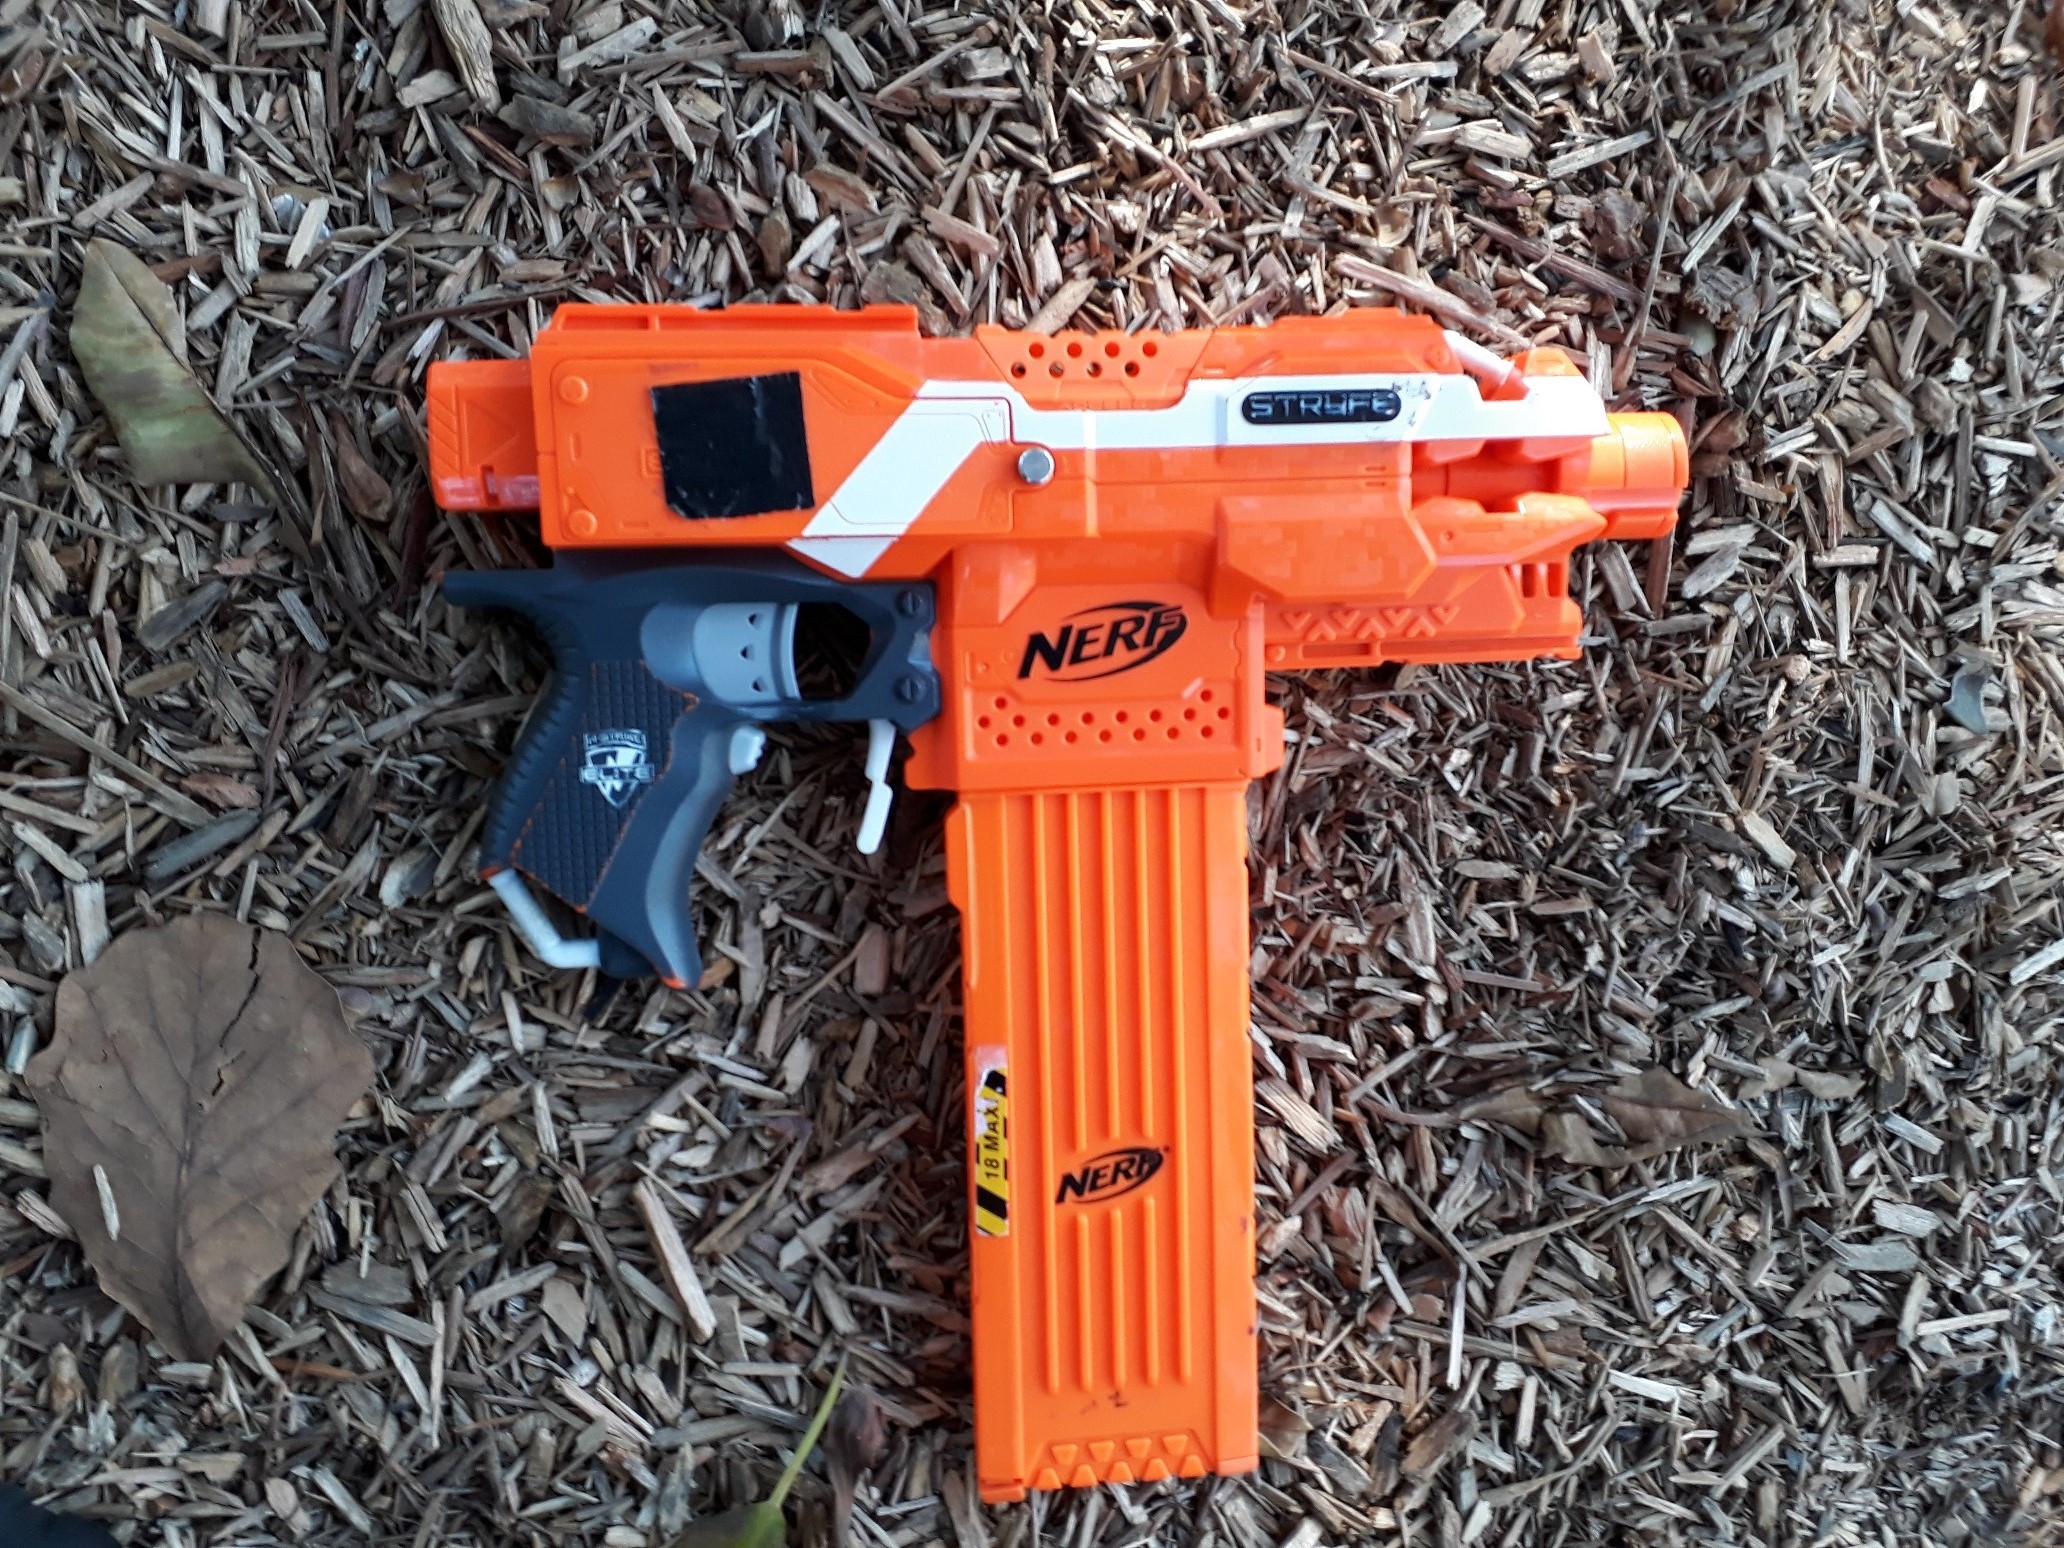
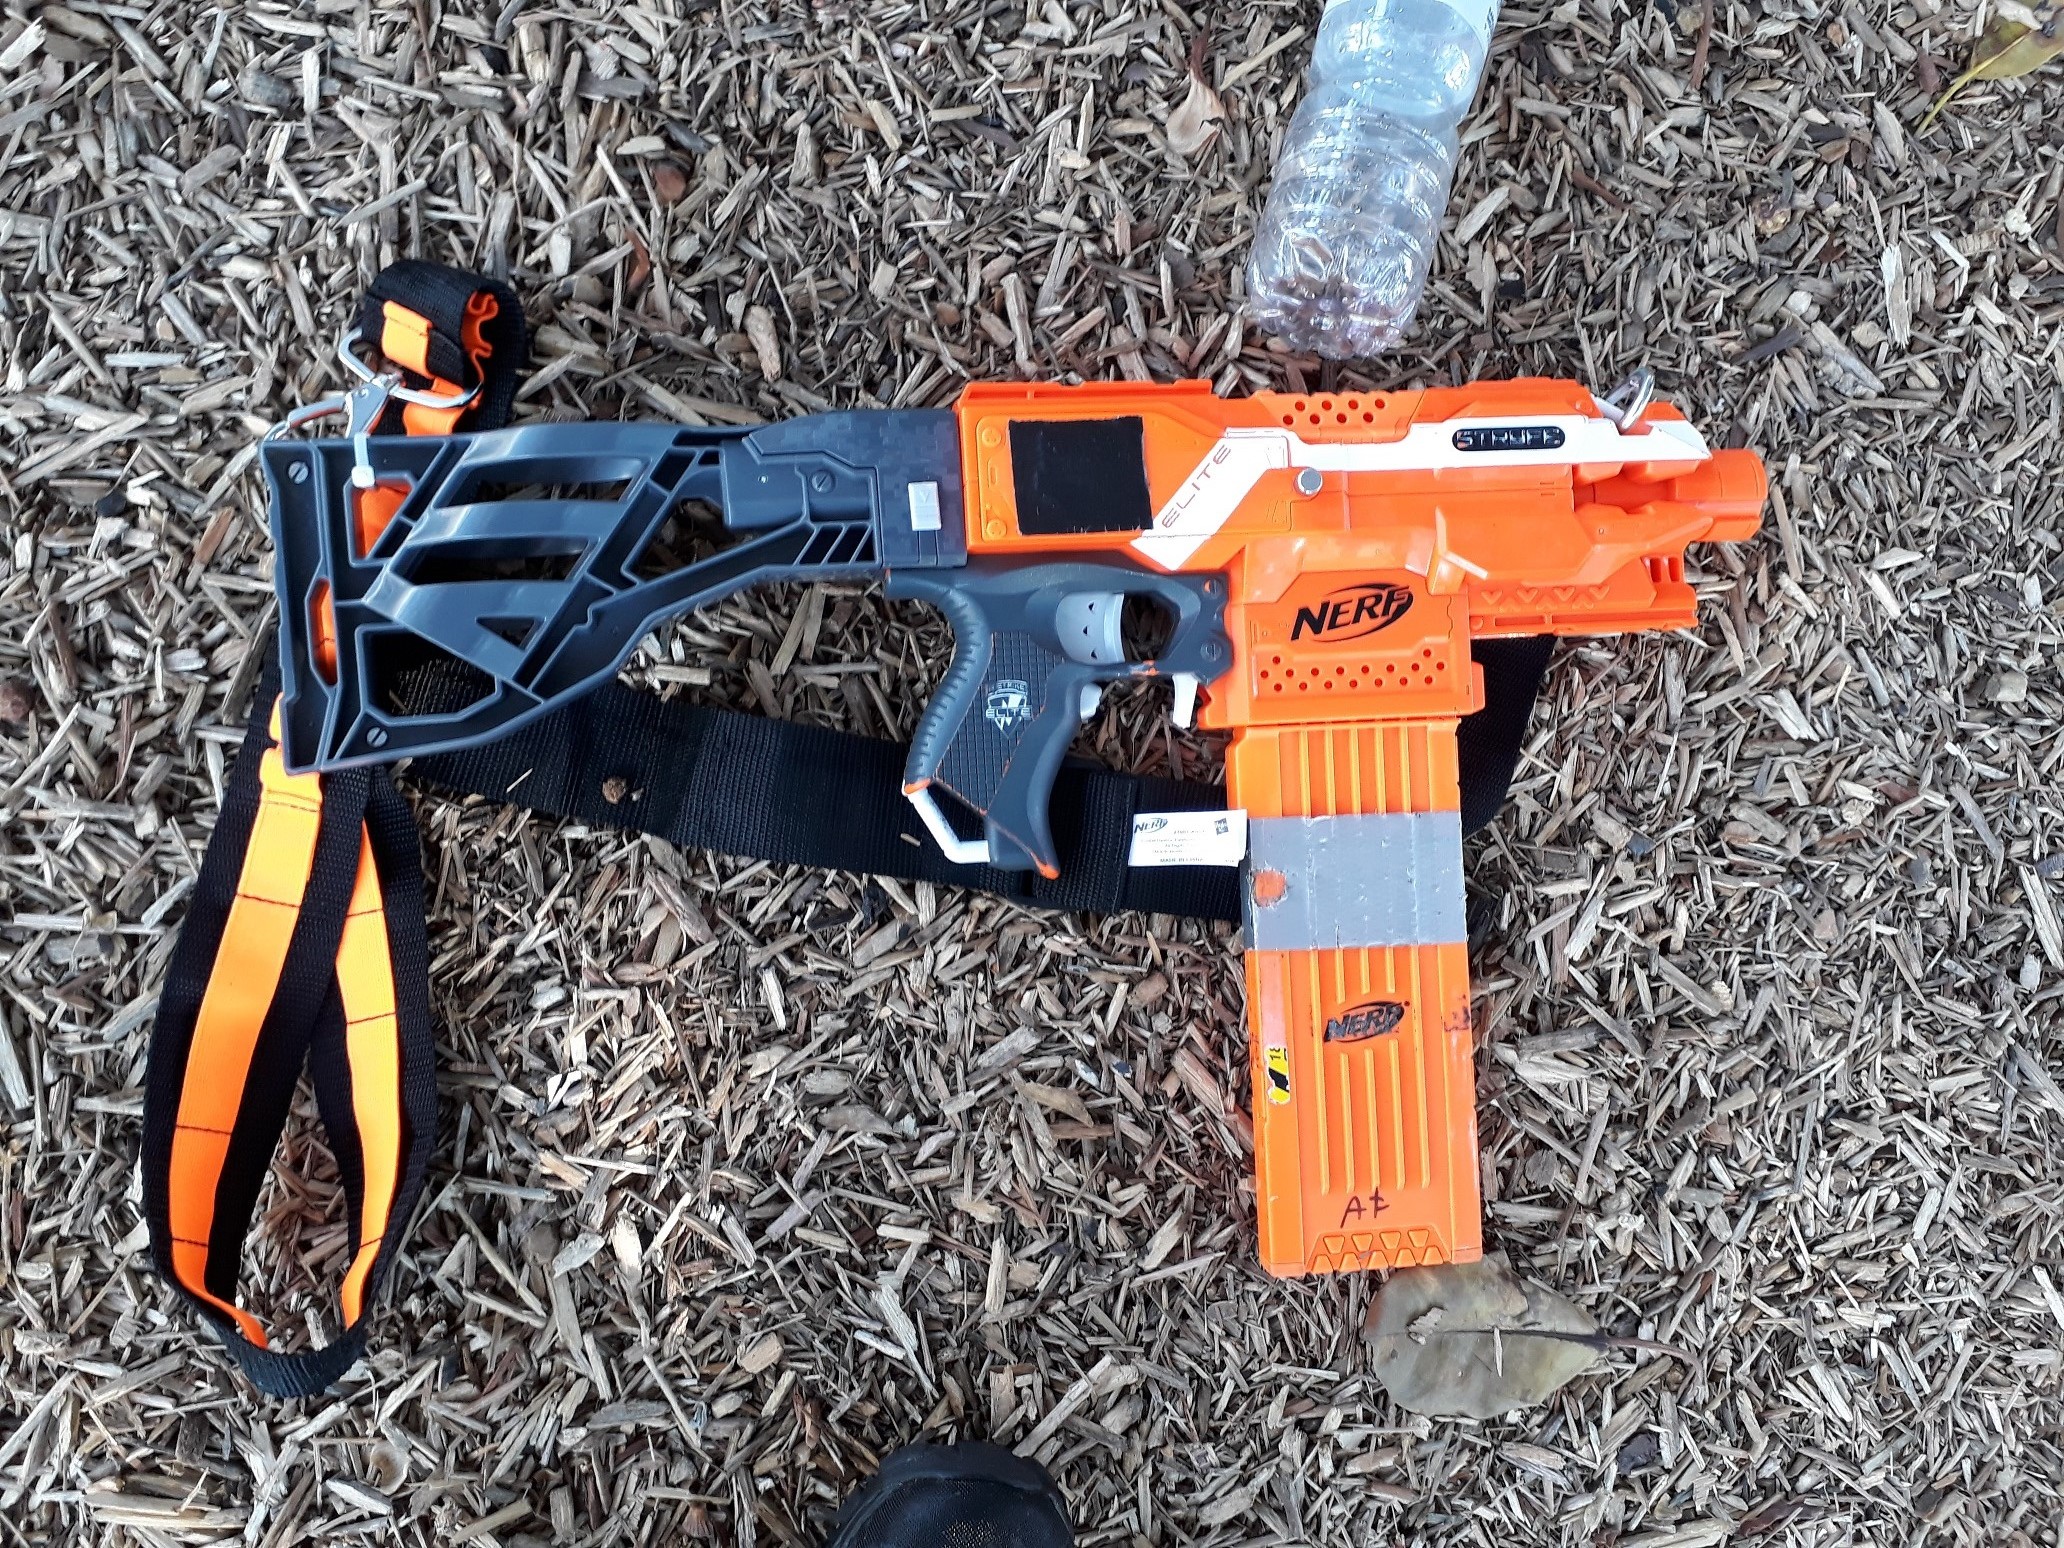
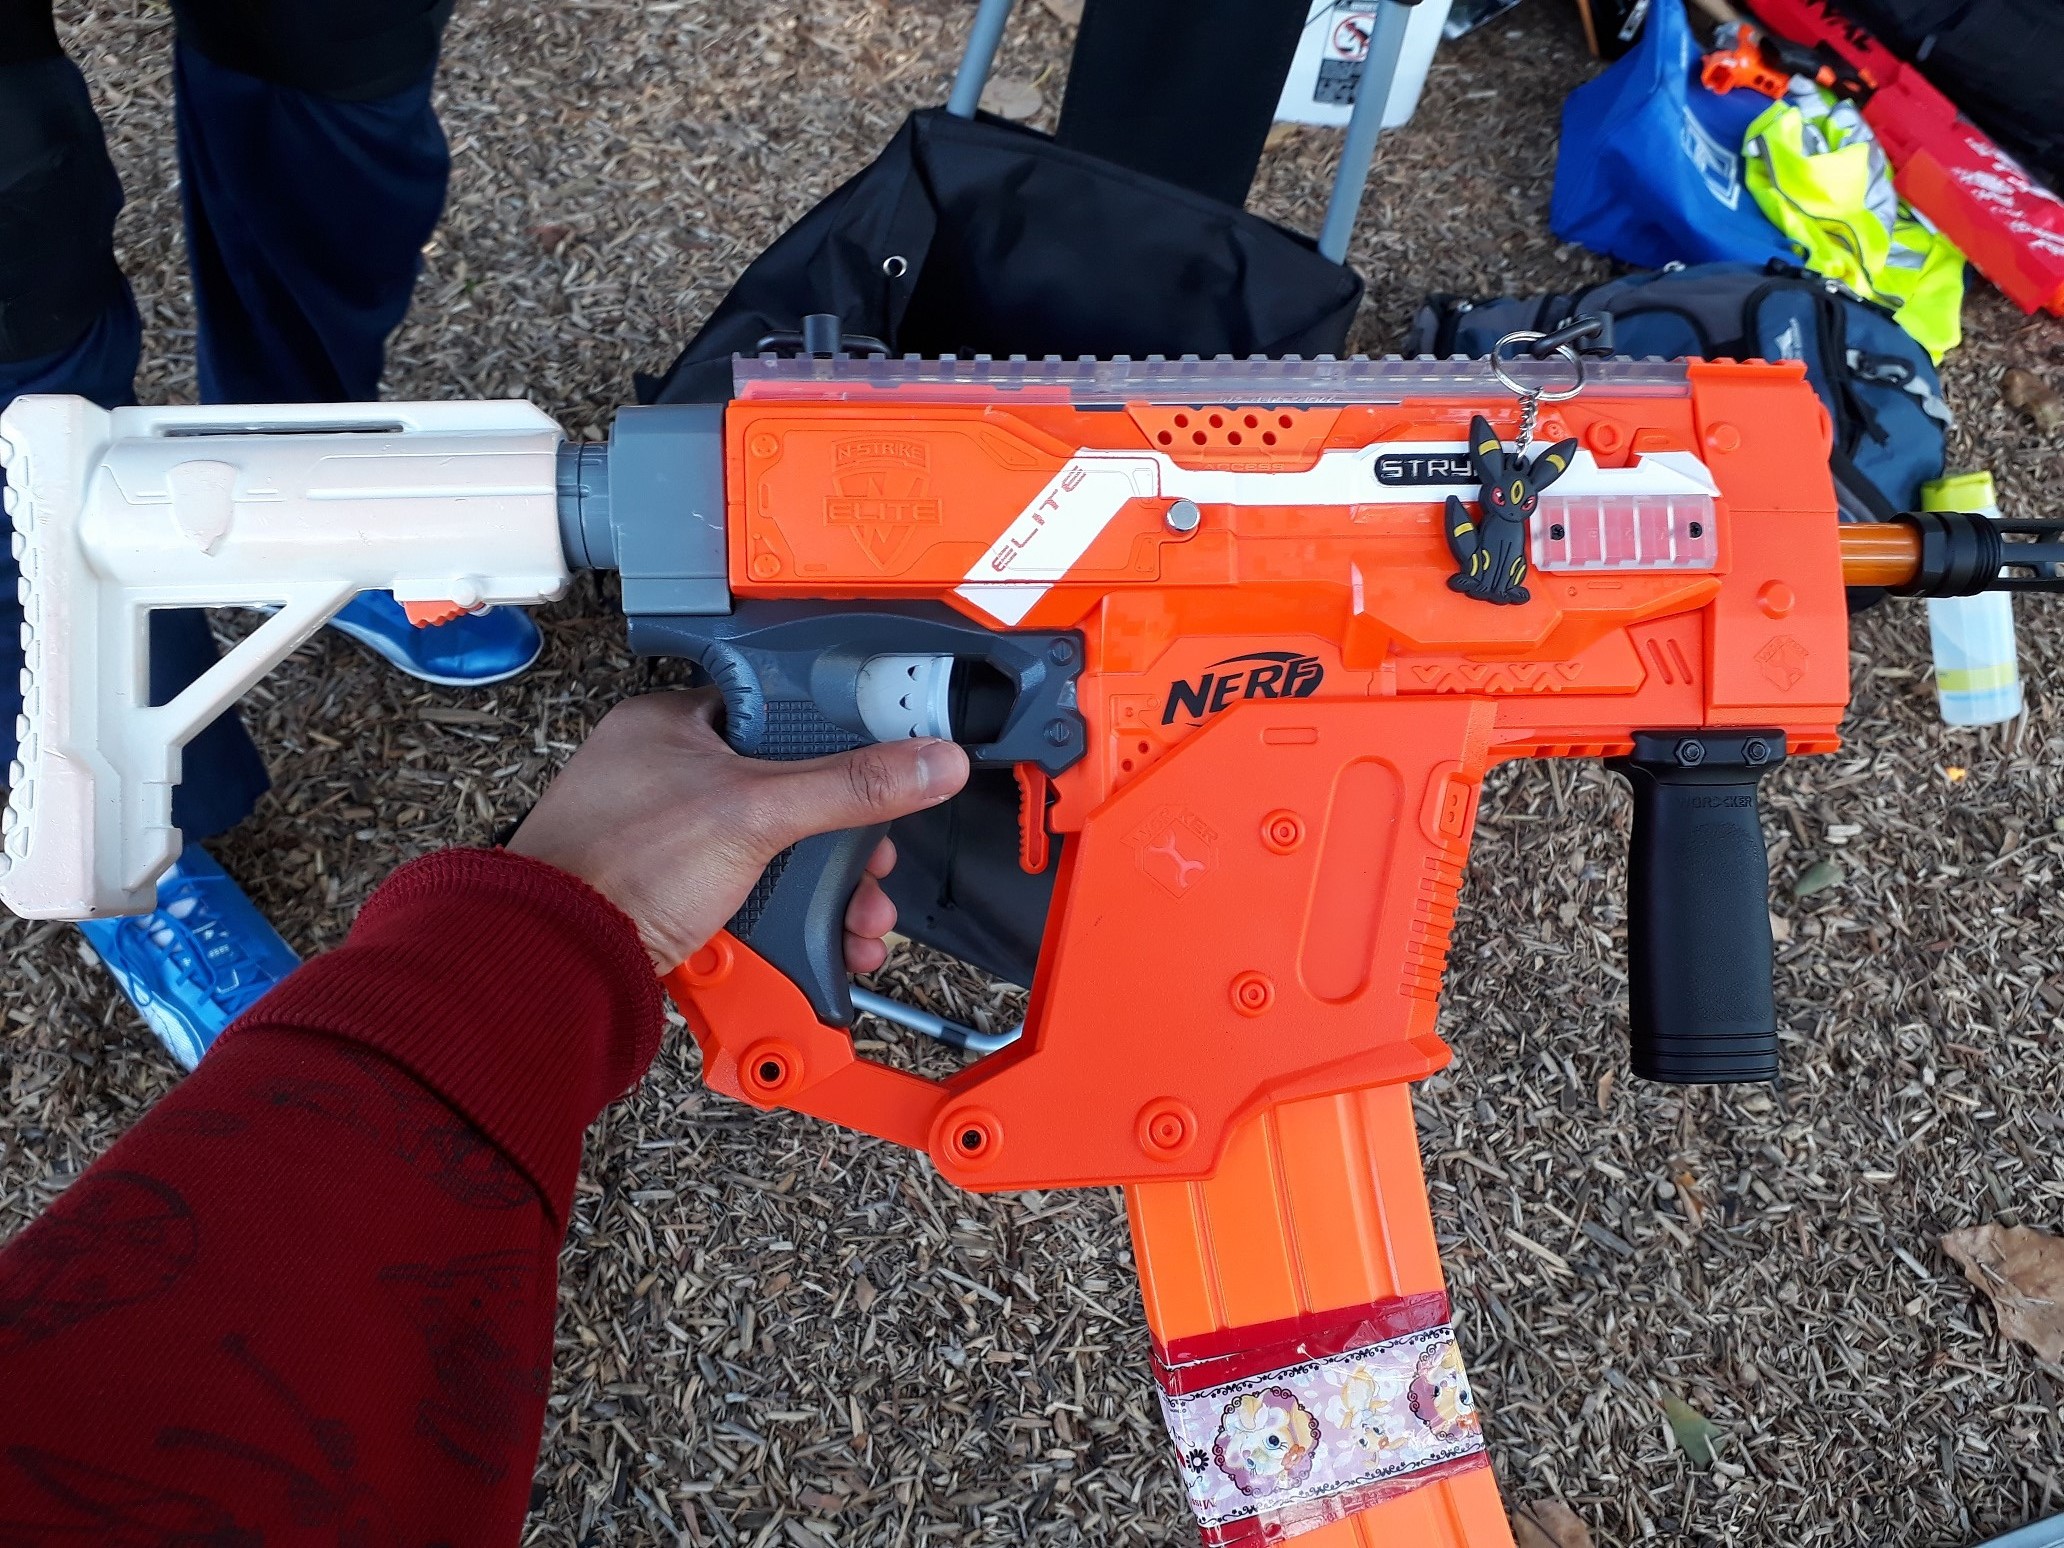

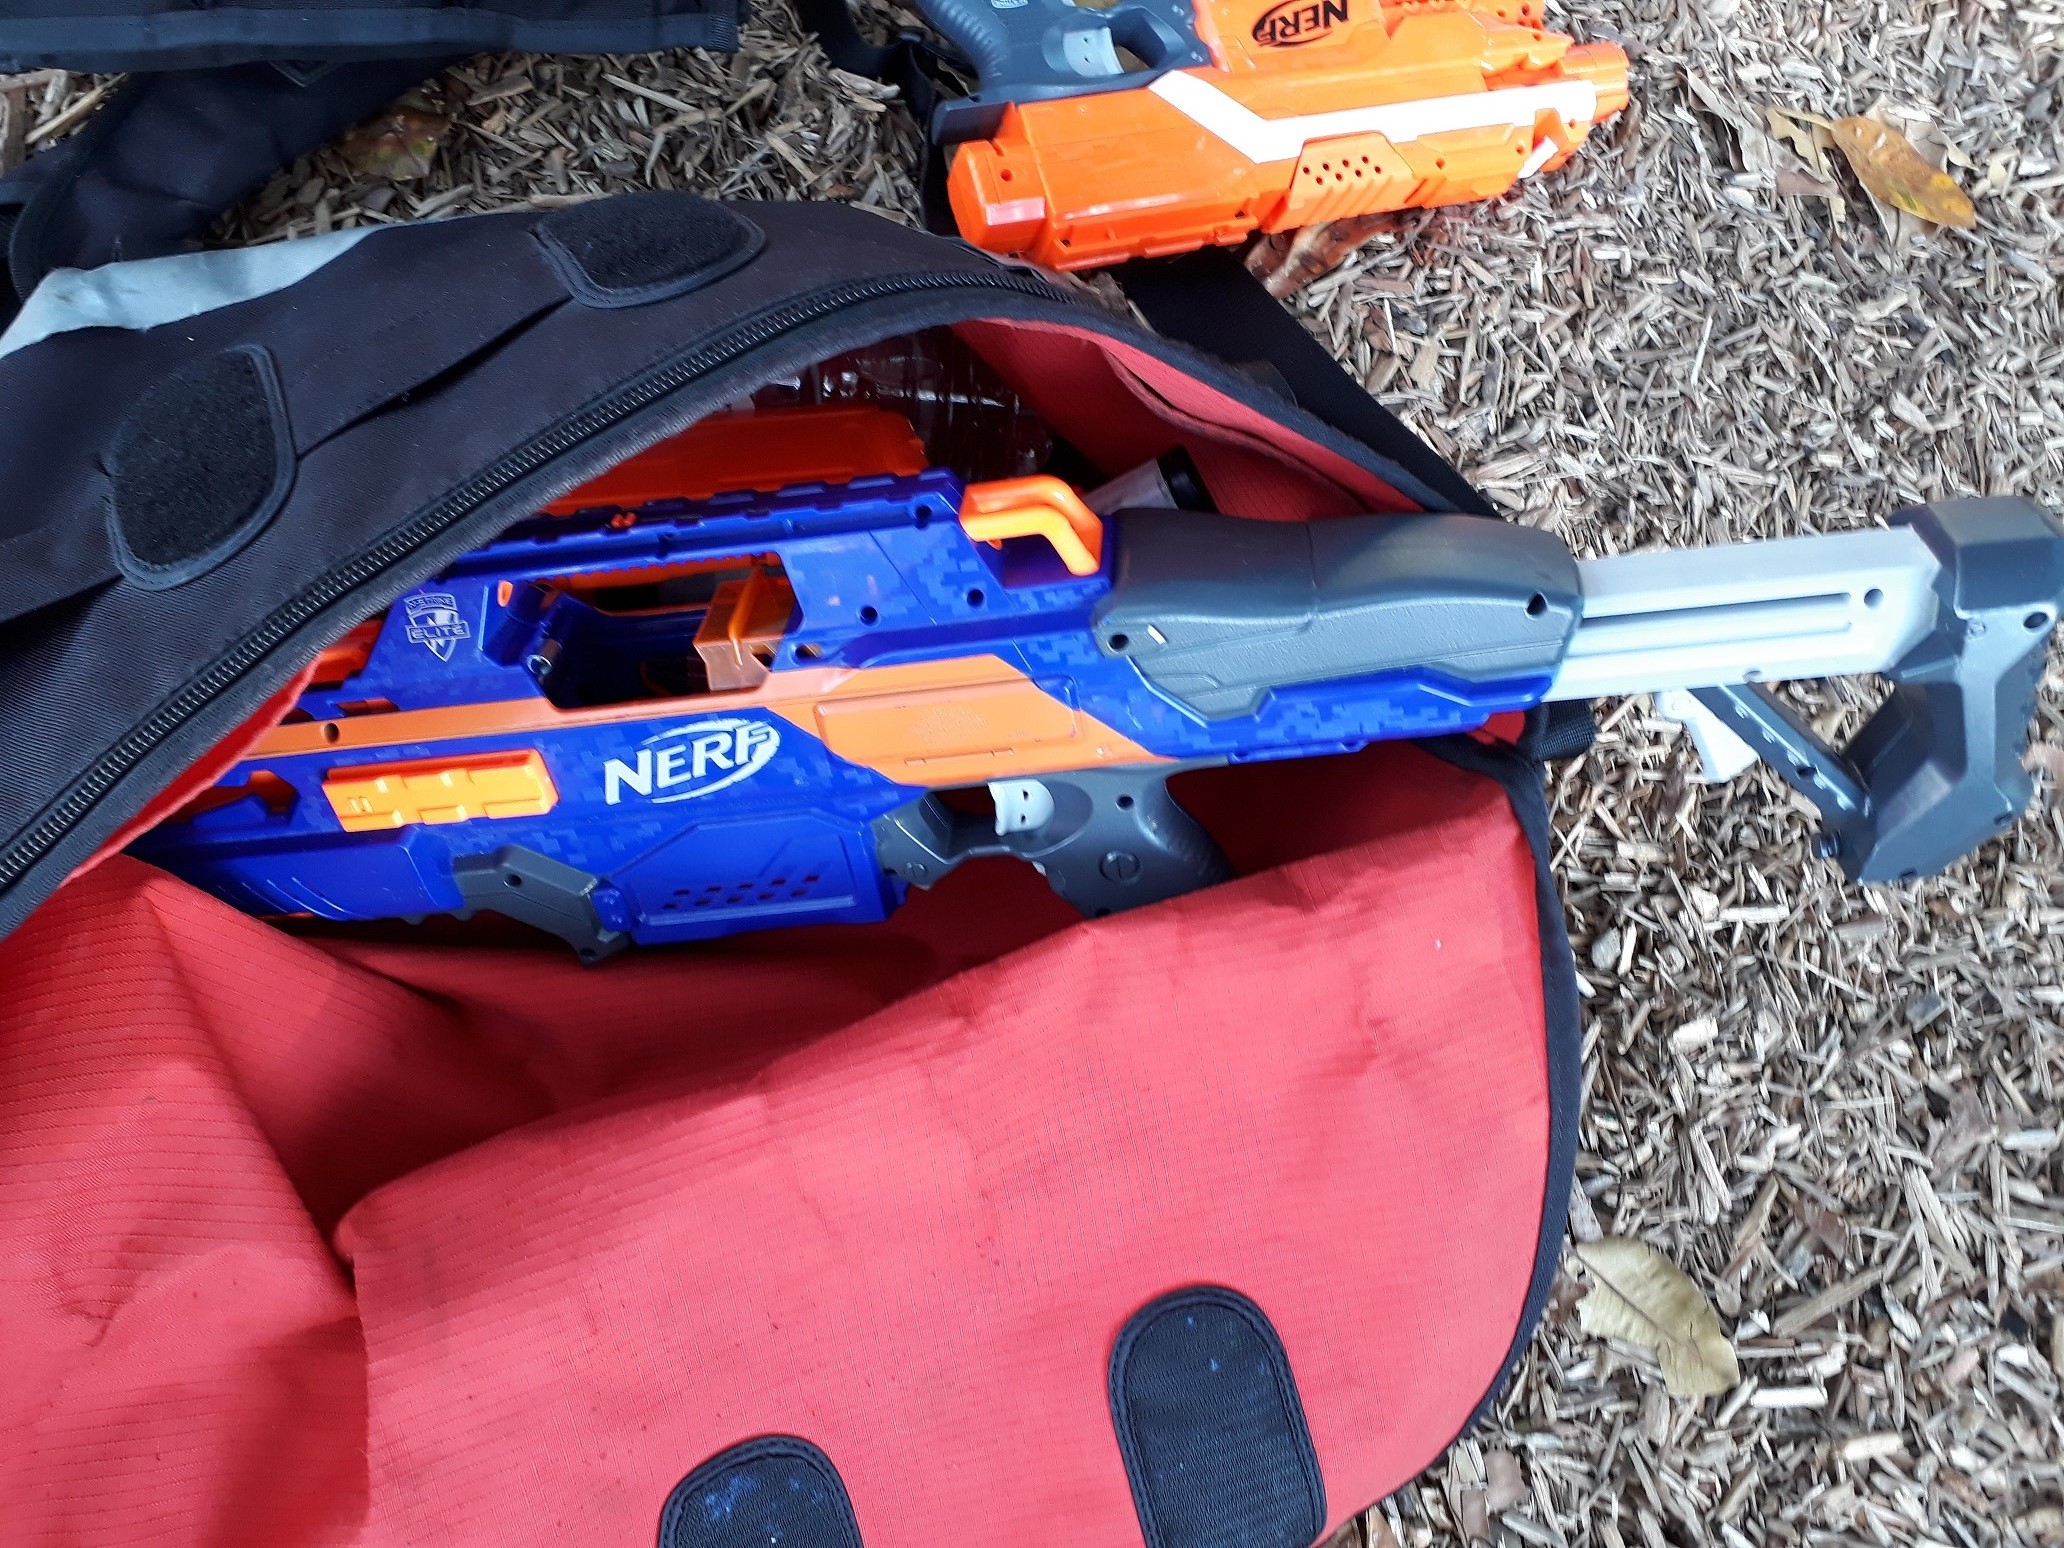
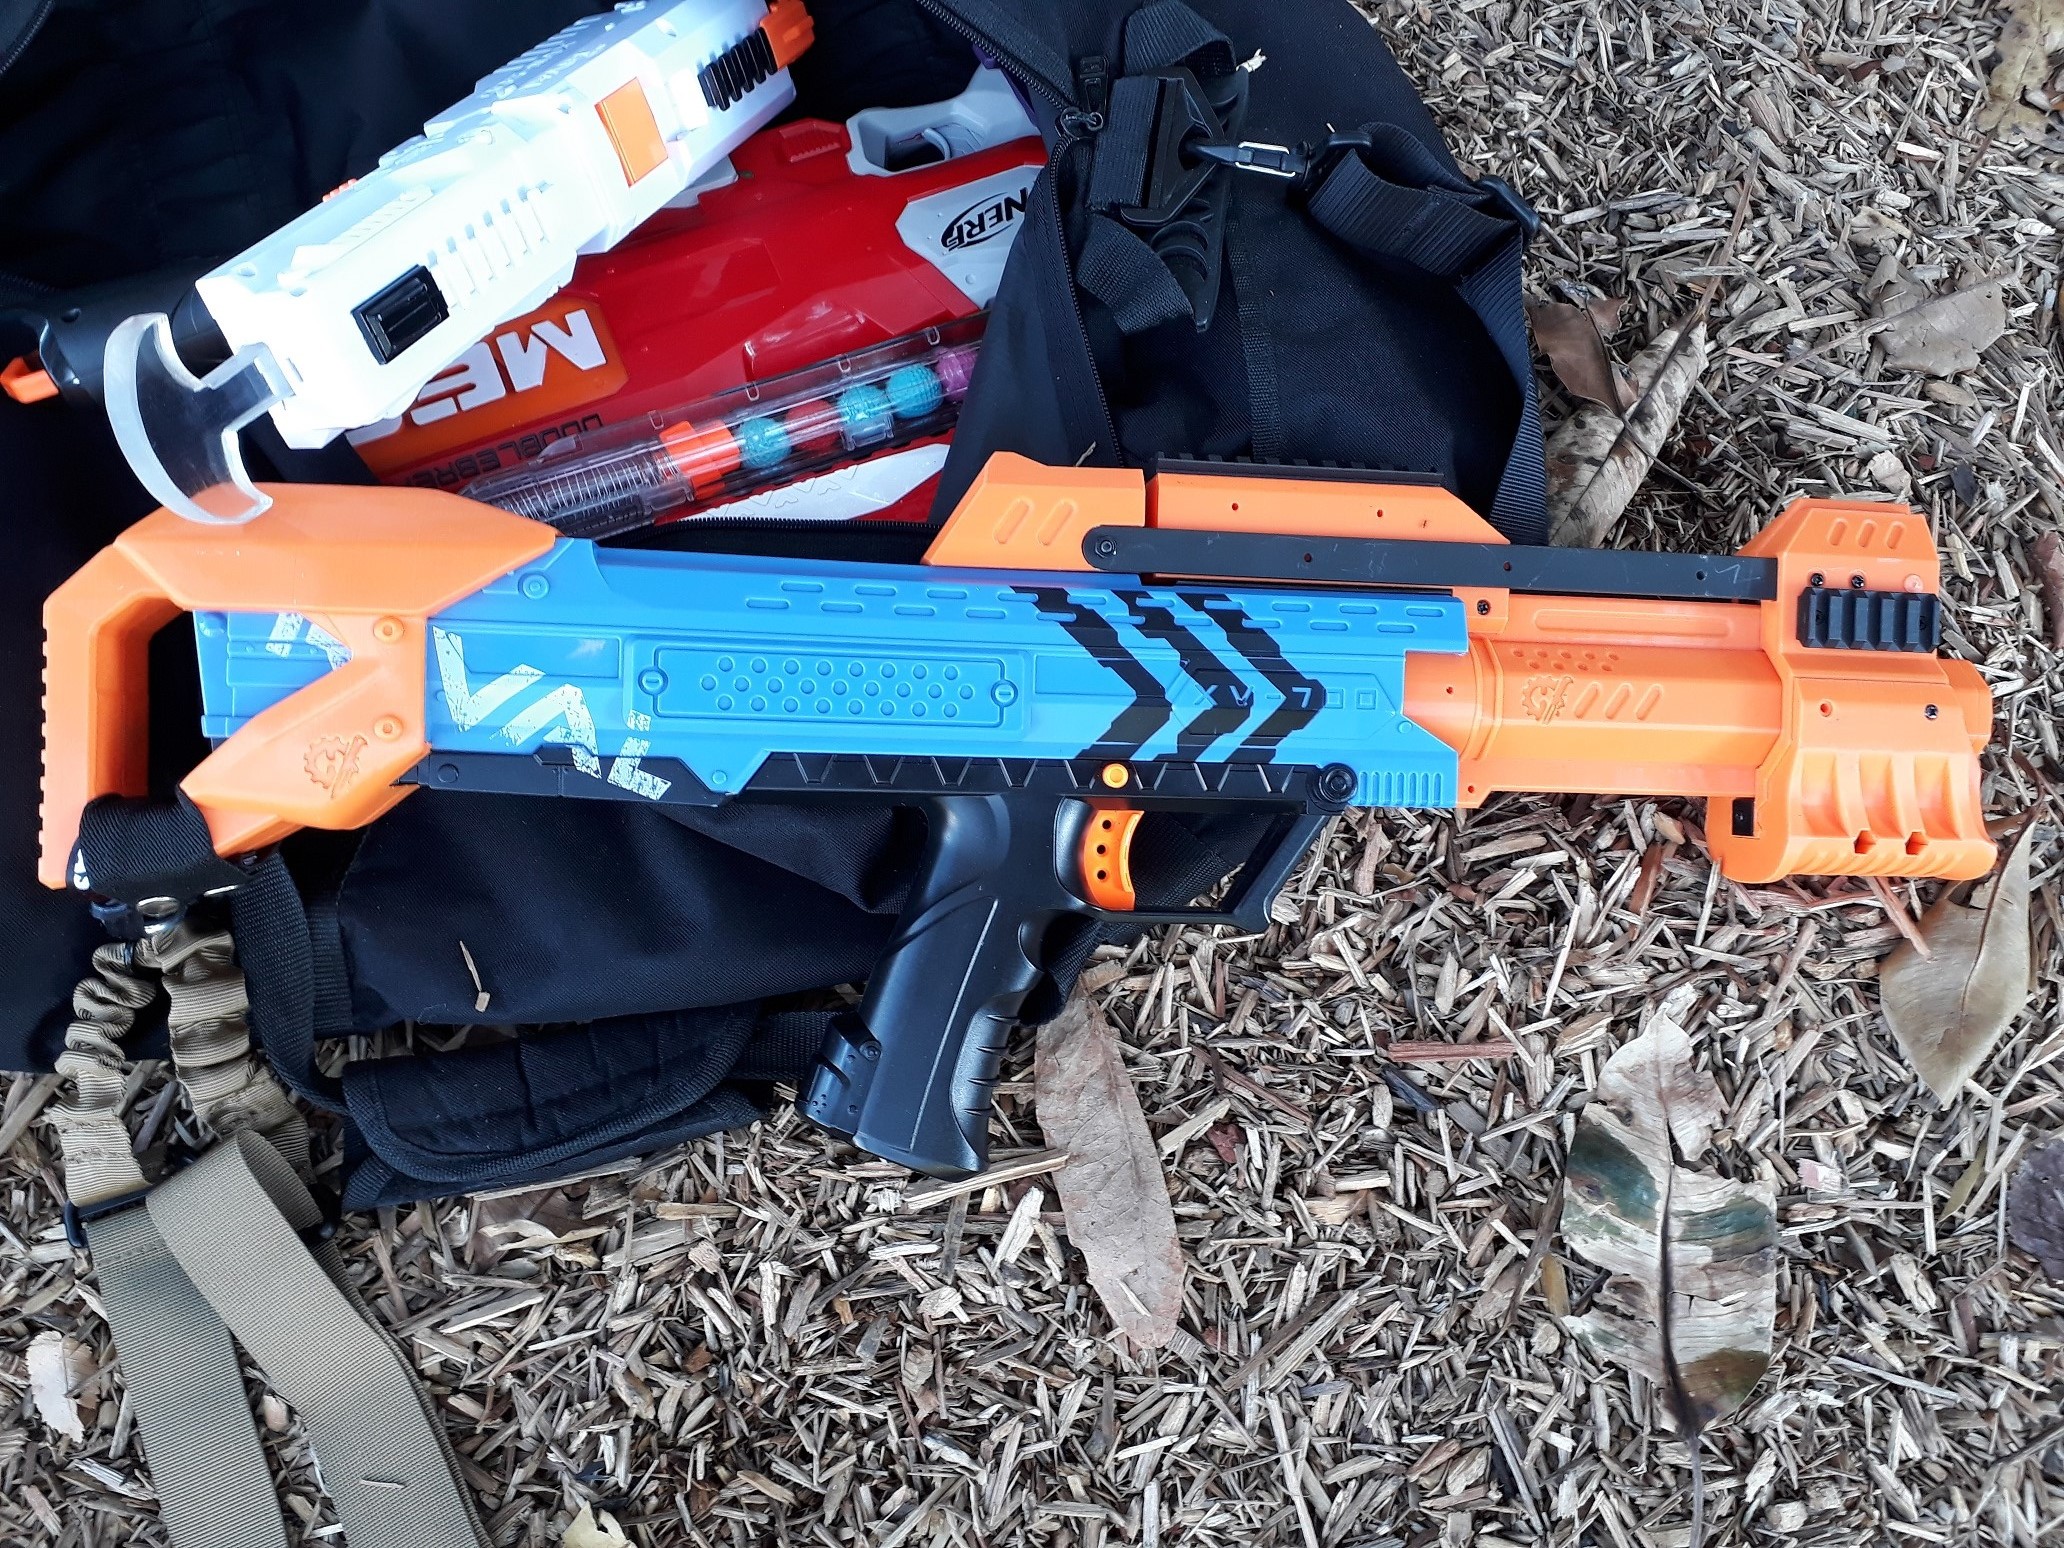
Elite Stryfe (various internal setups) – semi-auto, mag-fed flywheeler. Excellent all-rounder, leaning towards ROF. Highly effective in the majority of HvZ encounters. A great starter blaster.
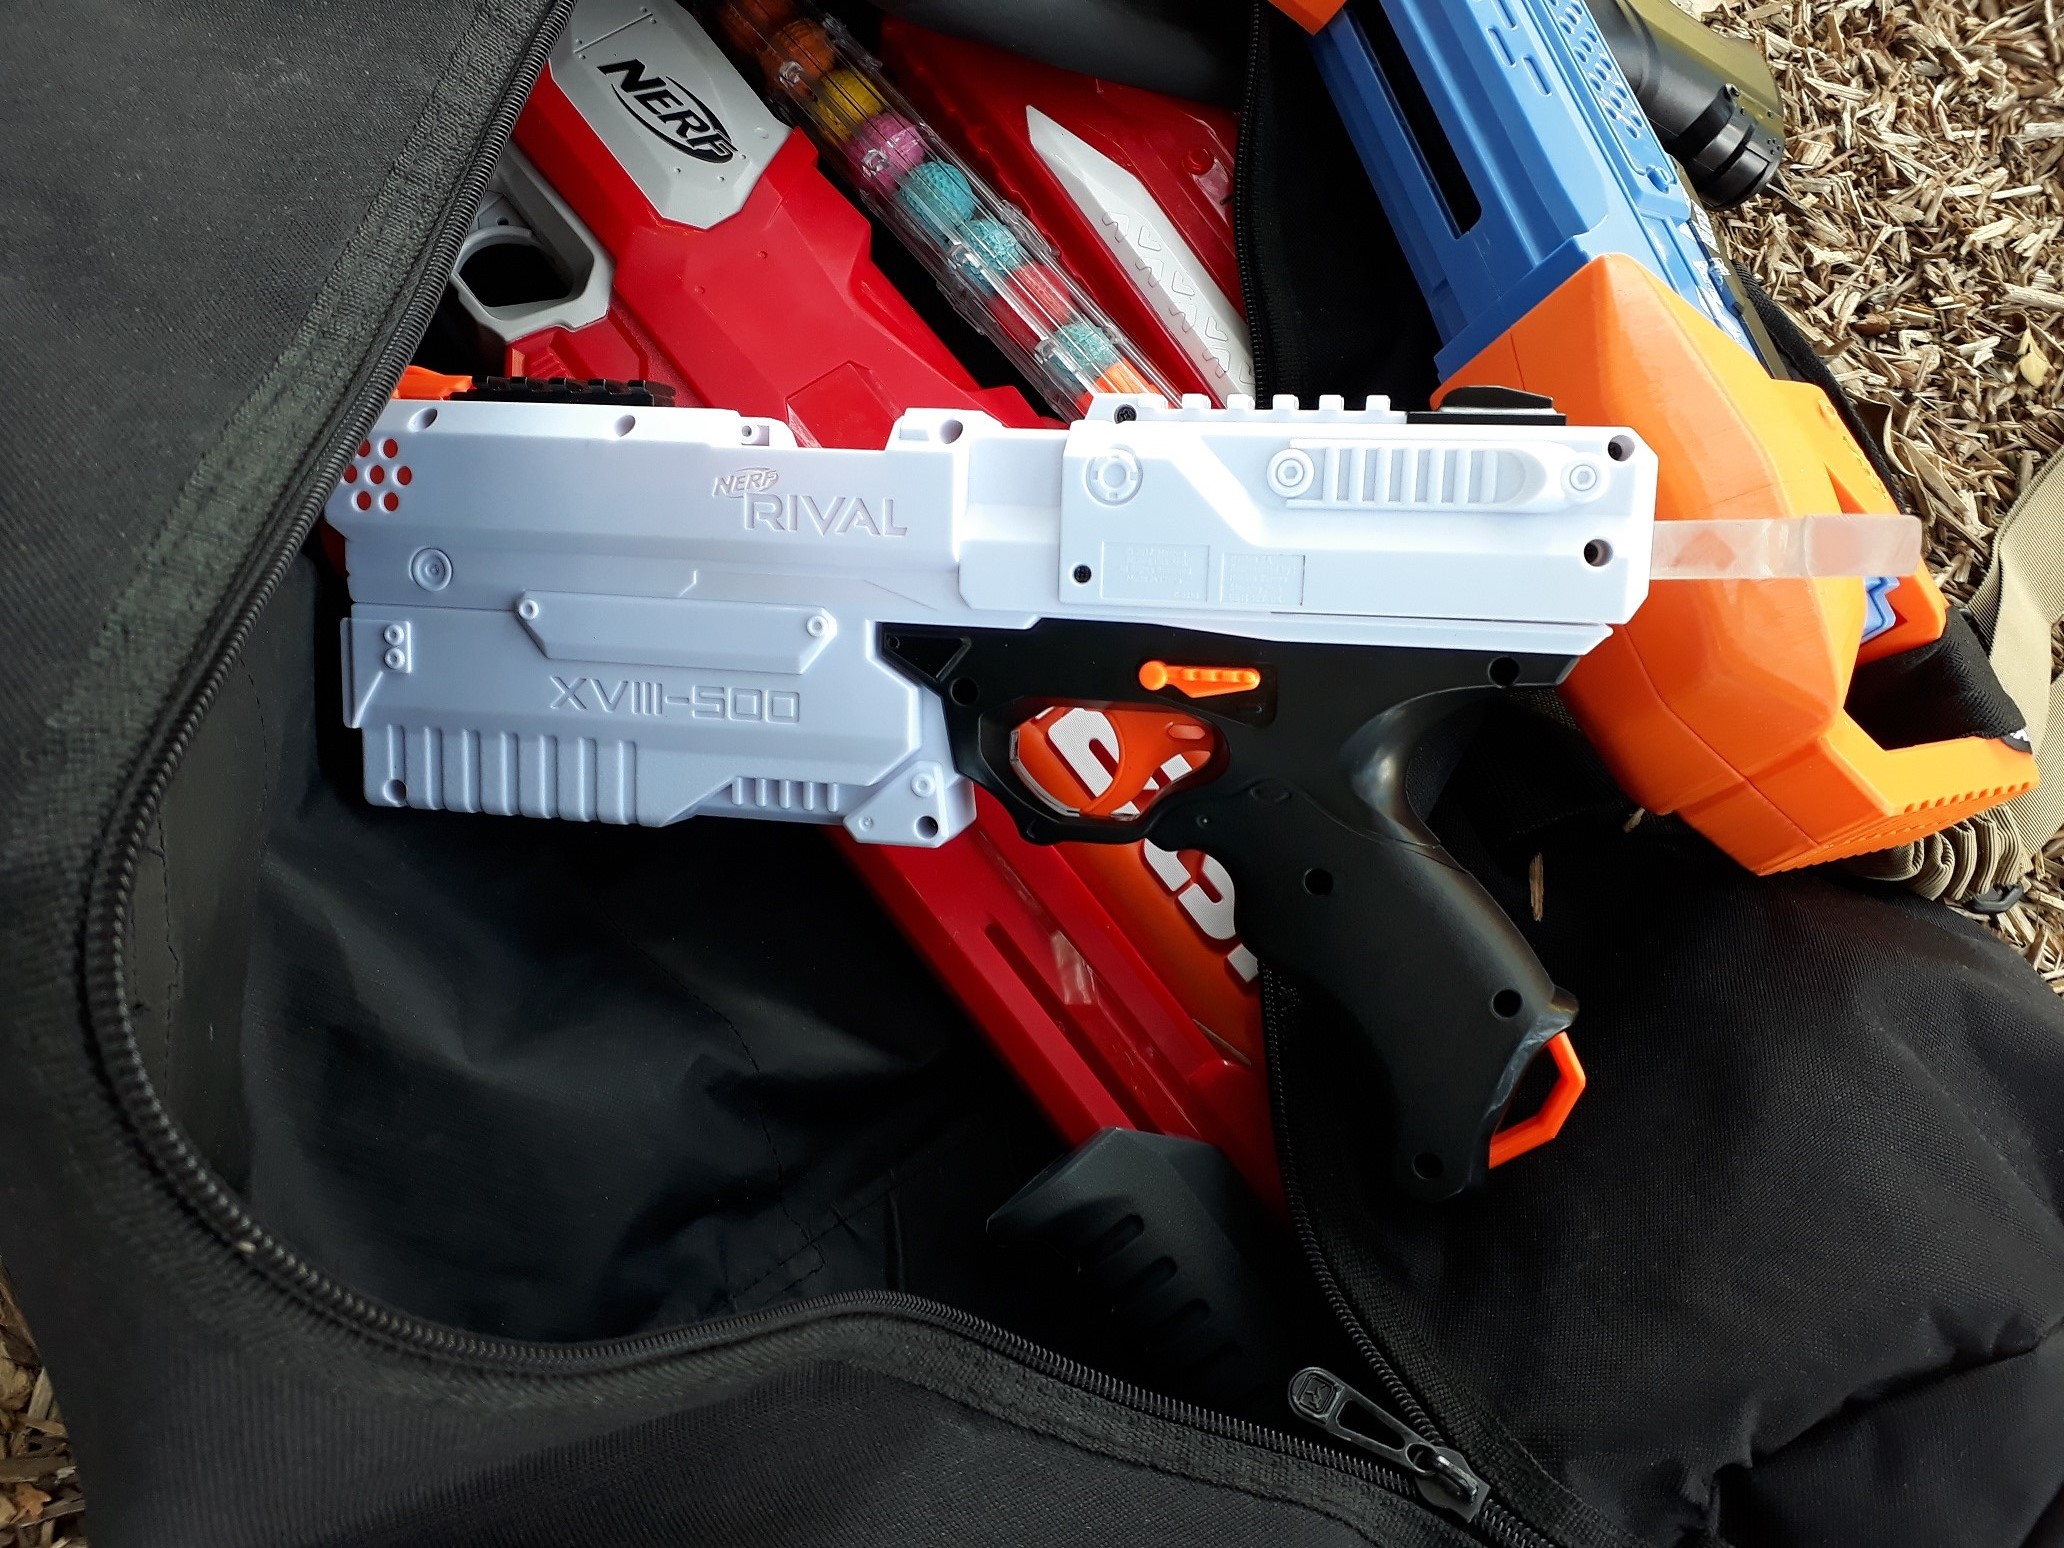
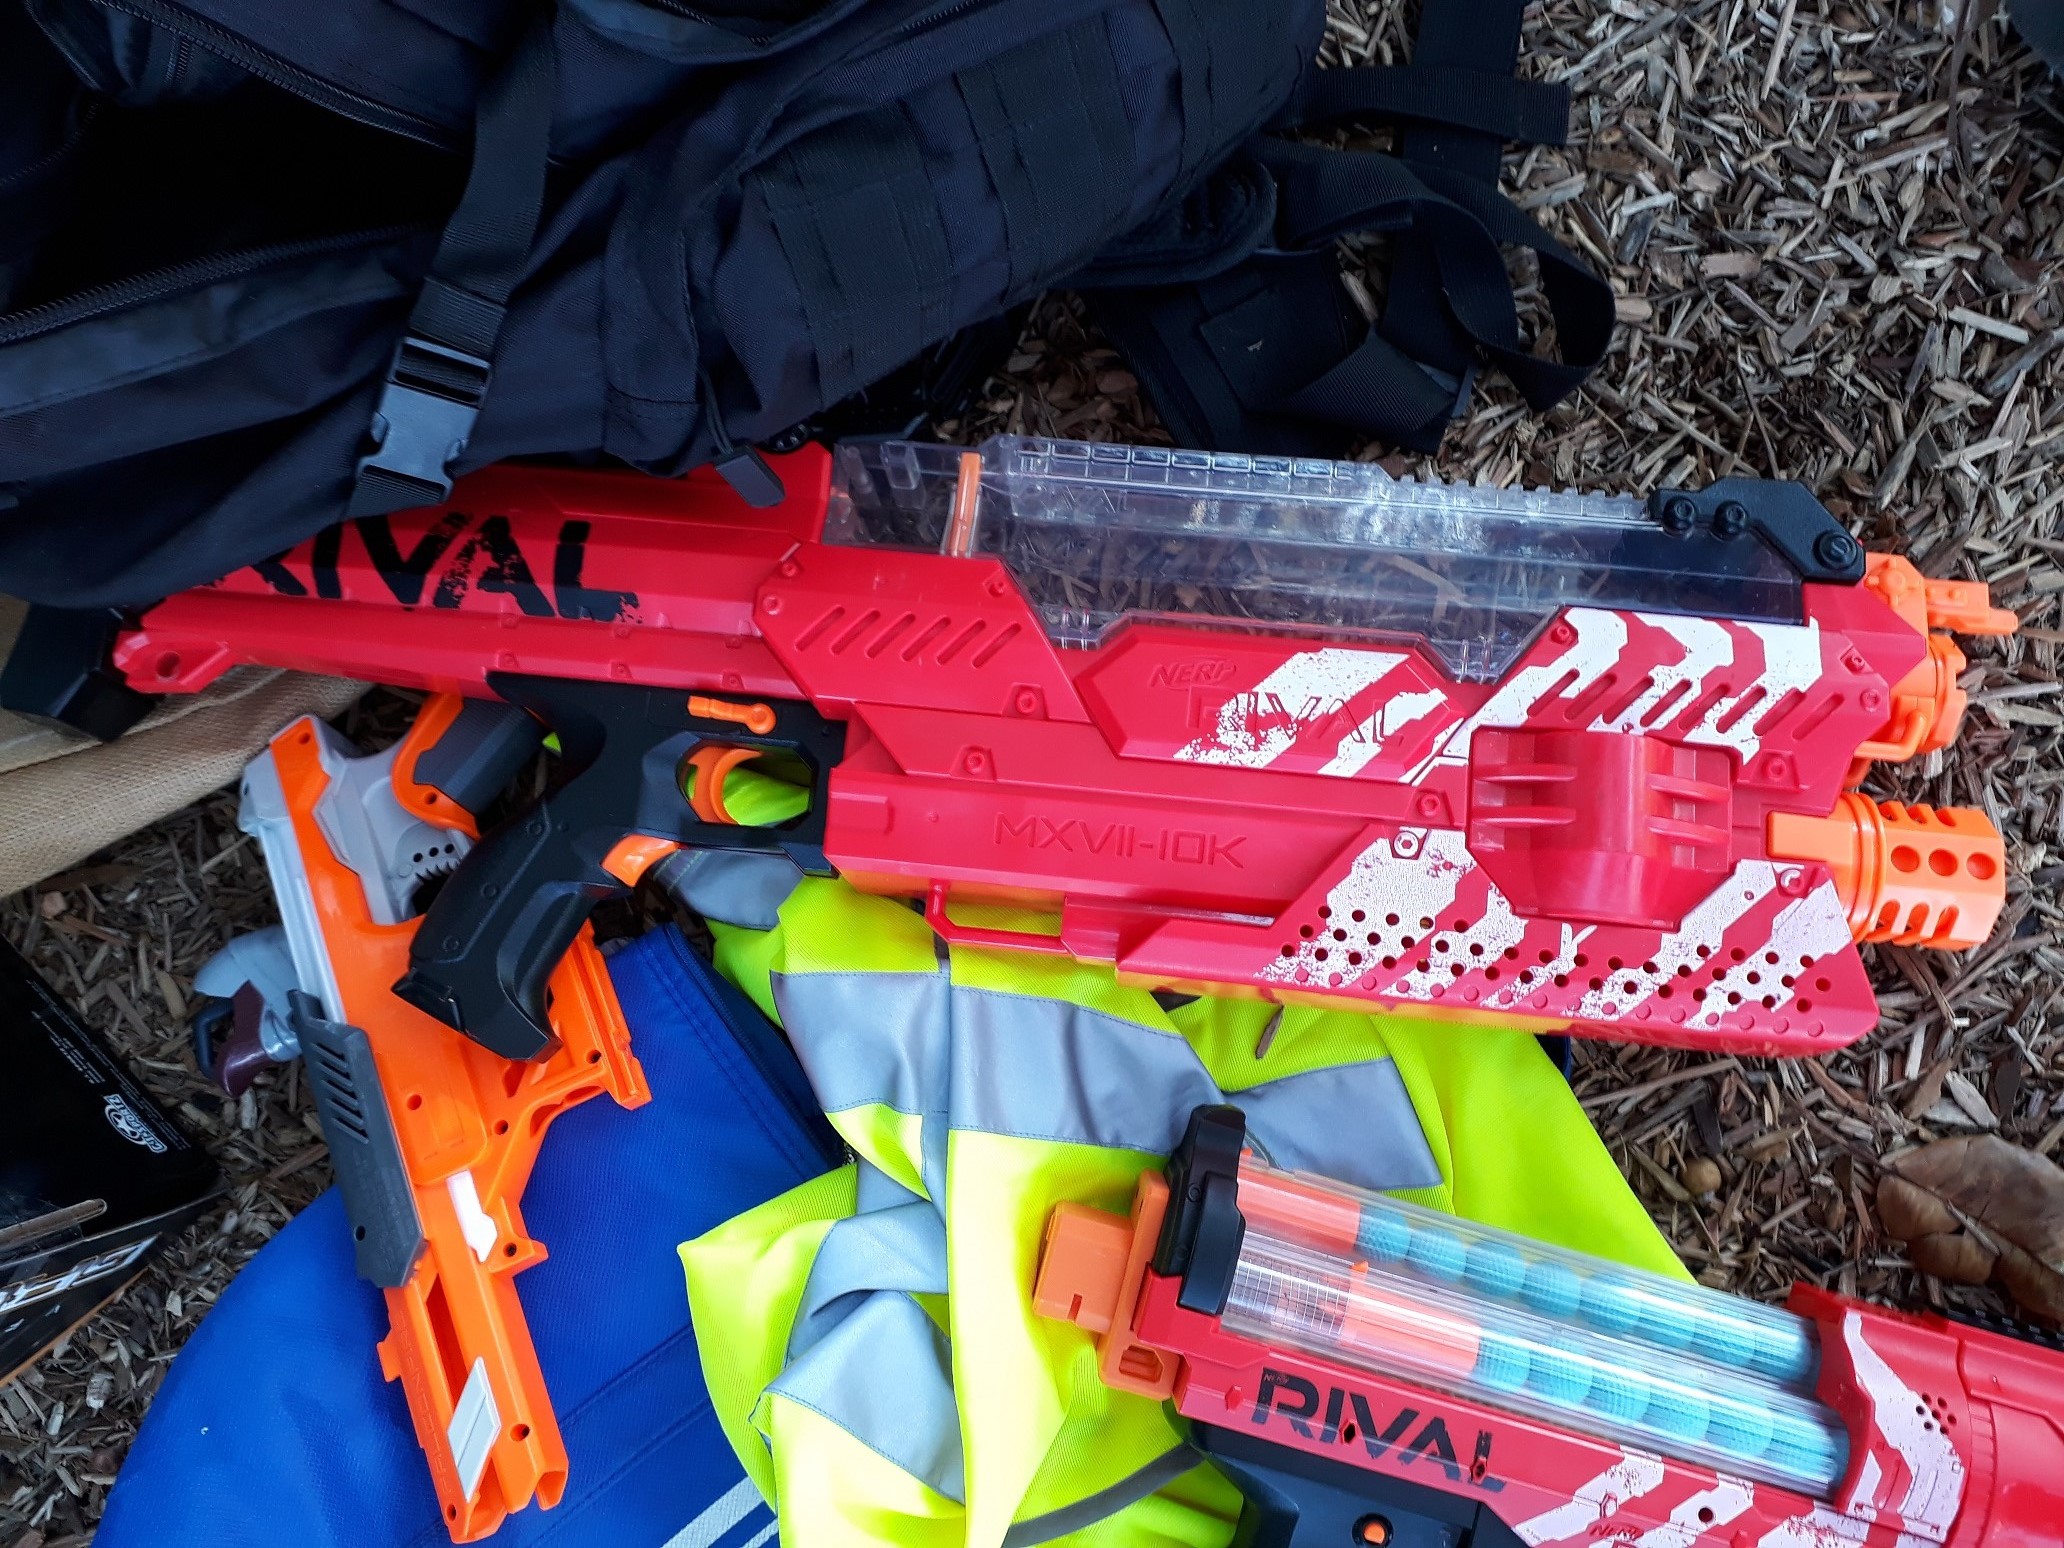
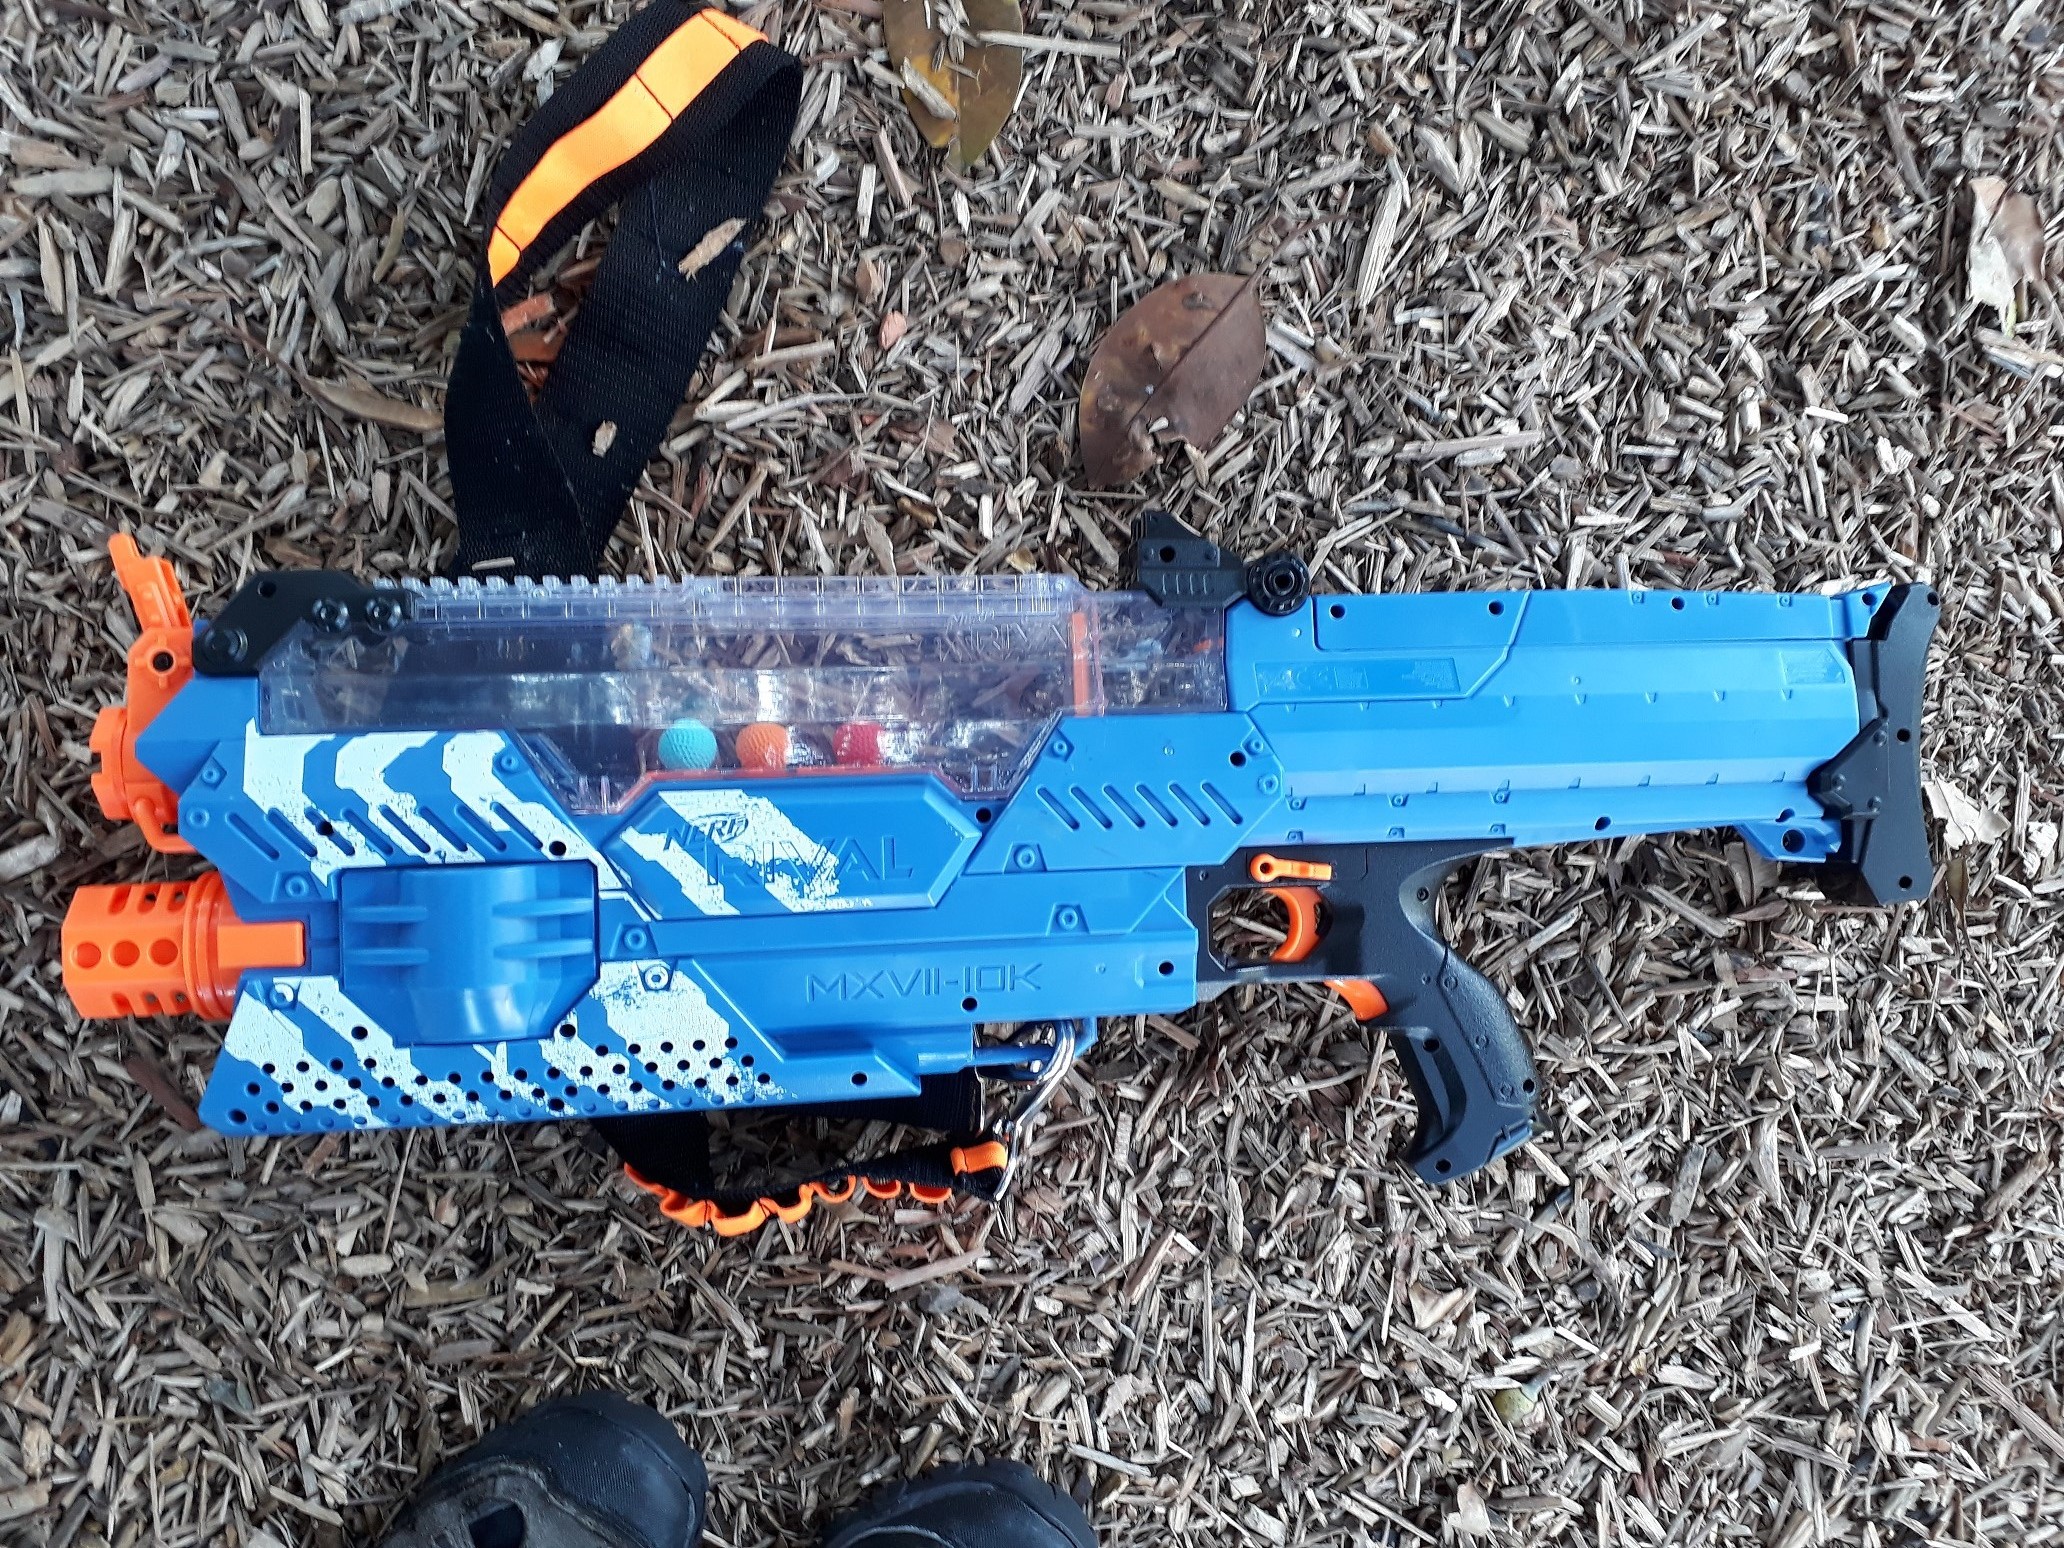
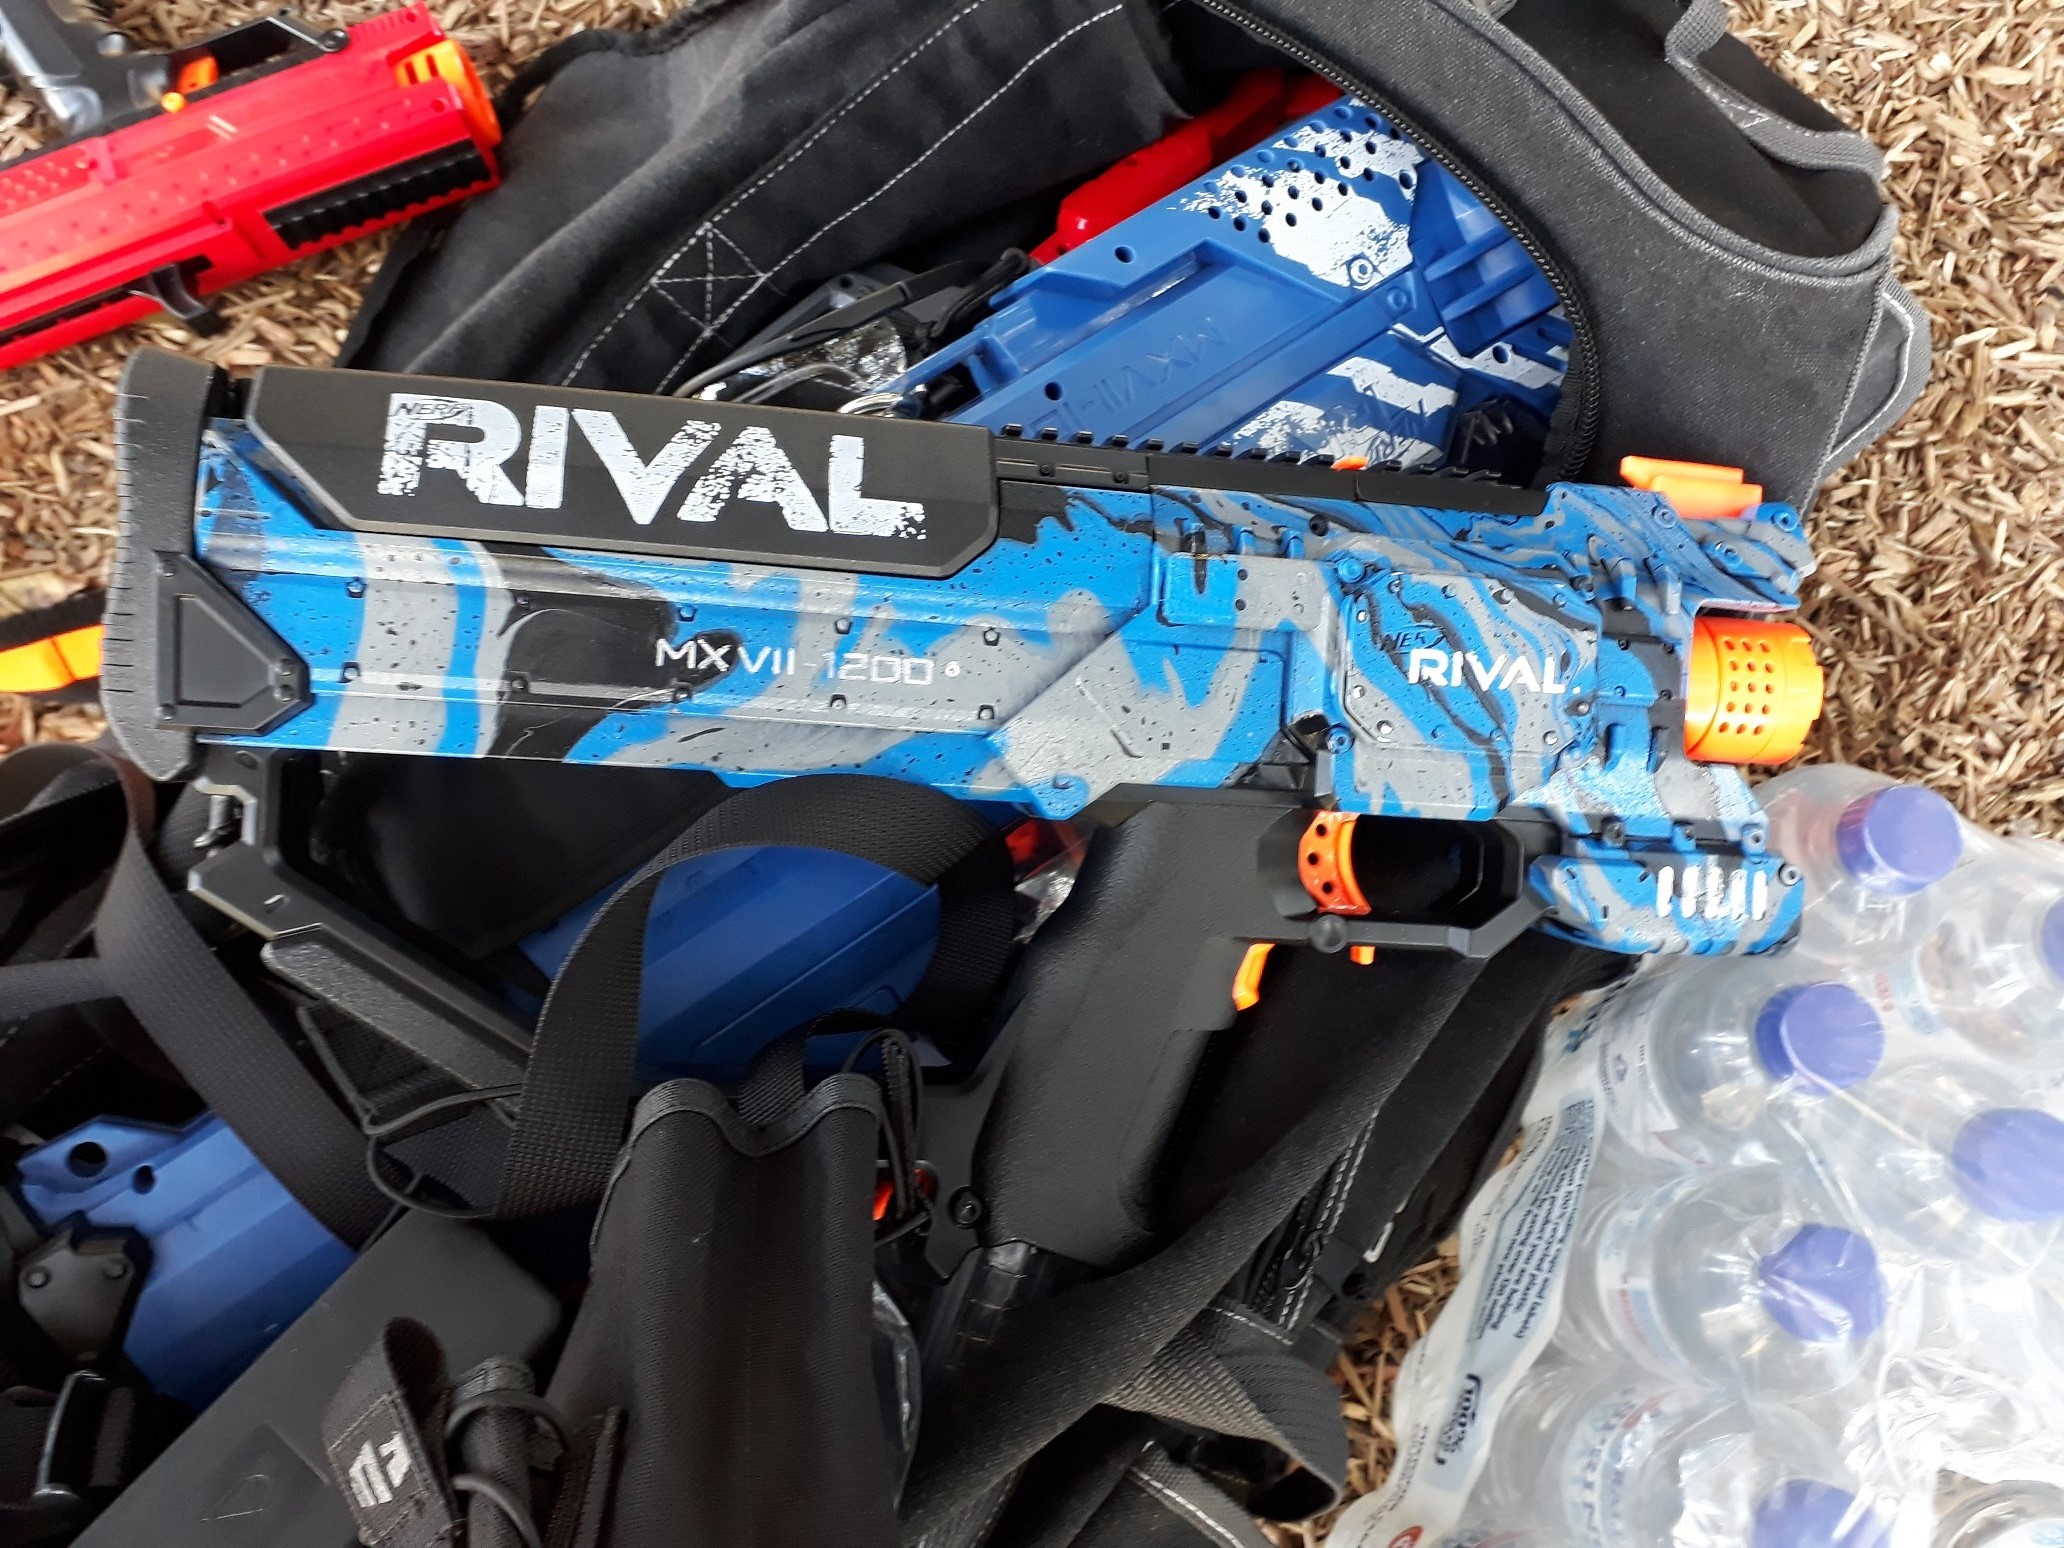
Rival Nemesis – full-auto, hopper-fed flywheeler. Exceptionally effective for area denial, accuracy-by-volume, and against groups. Goes through ammo extremely quickly if not handled with discipline. Can be topped up reasonably quickly. Very bulky, but has a very high capacity.

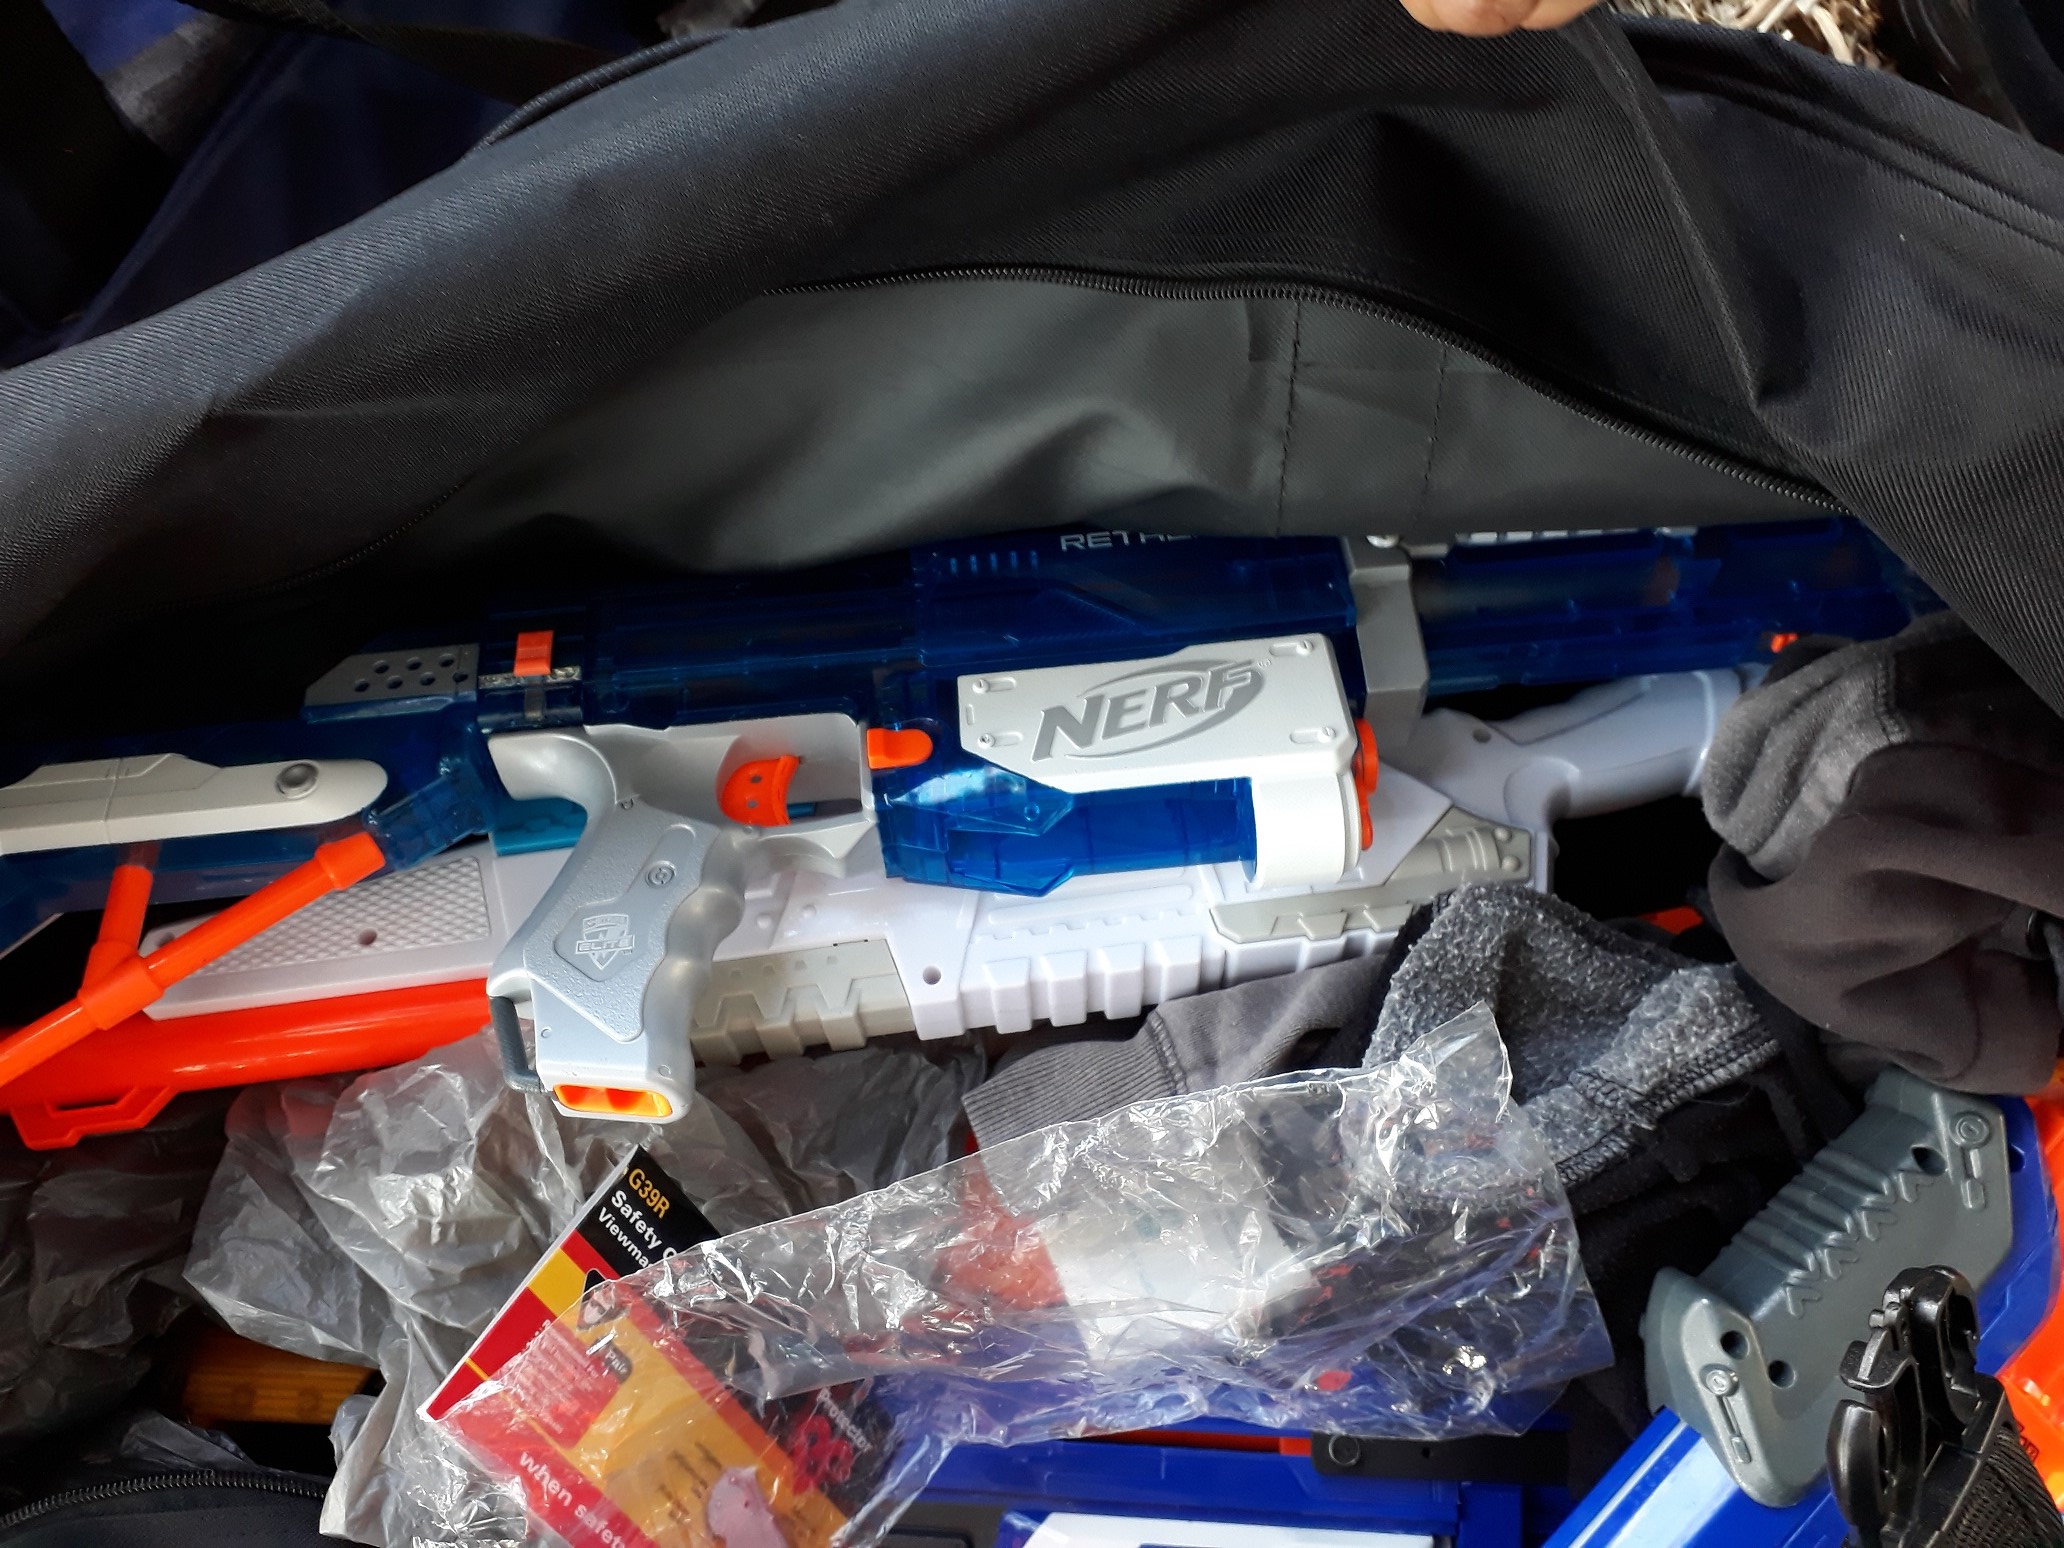

Elite Retaliator/Modulus Recon MkII (various setups) – slide/pump-action, mag-fed springer. Solid all-round, leaning towards power and accuracy. Effective at longer ranges, however low ROF leaves it more vulnerable to groups.
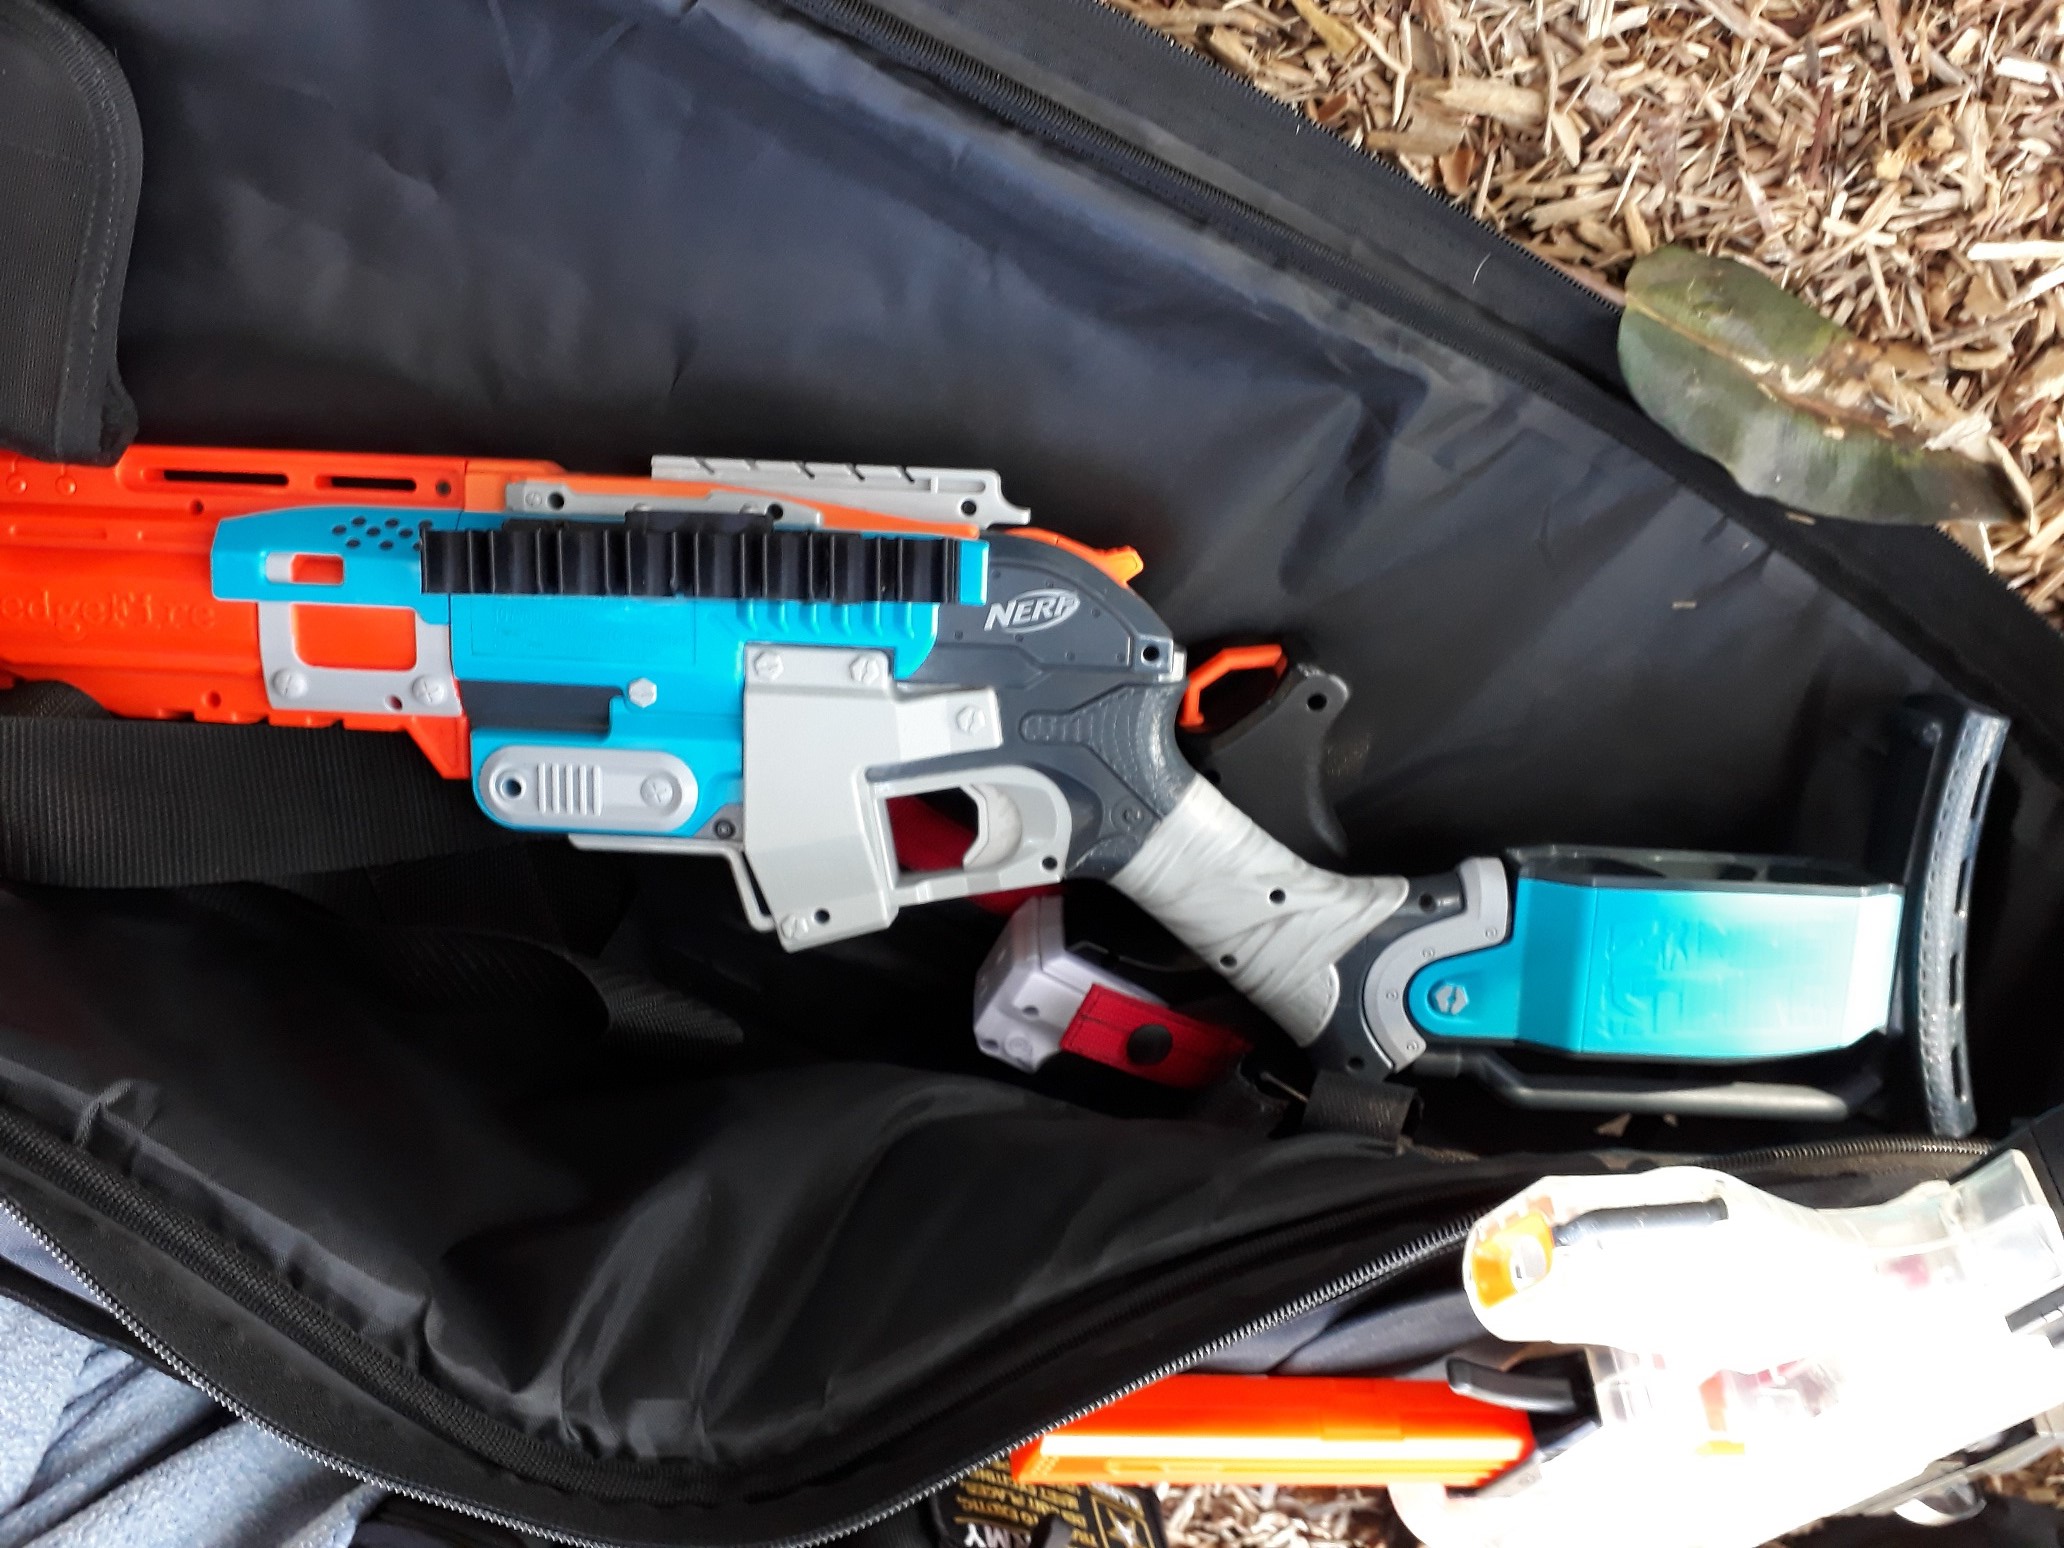
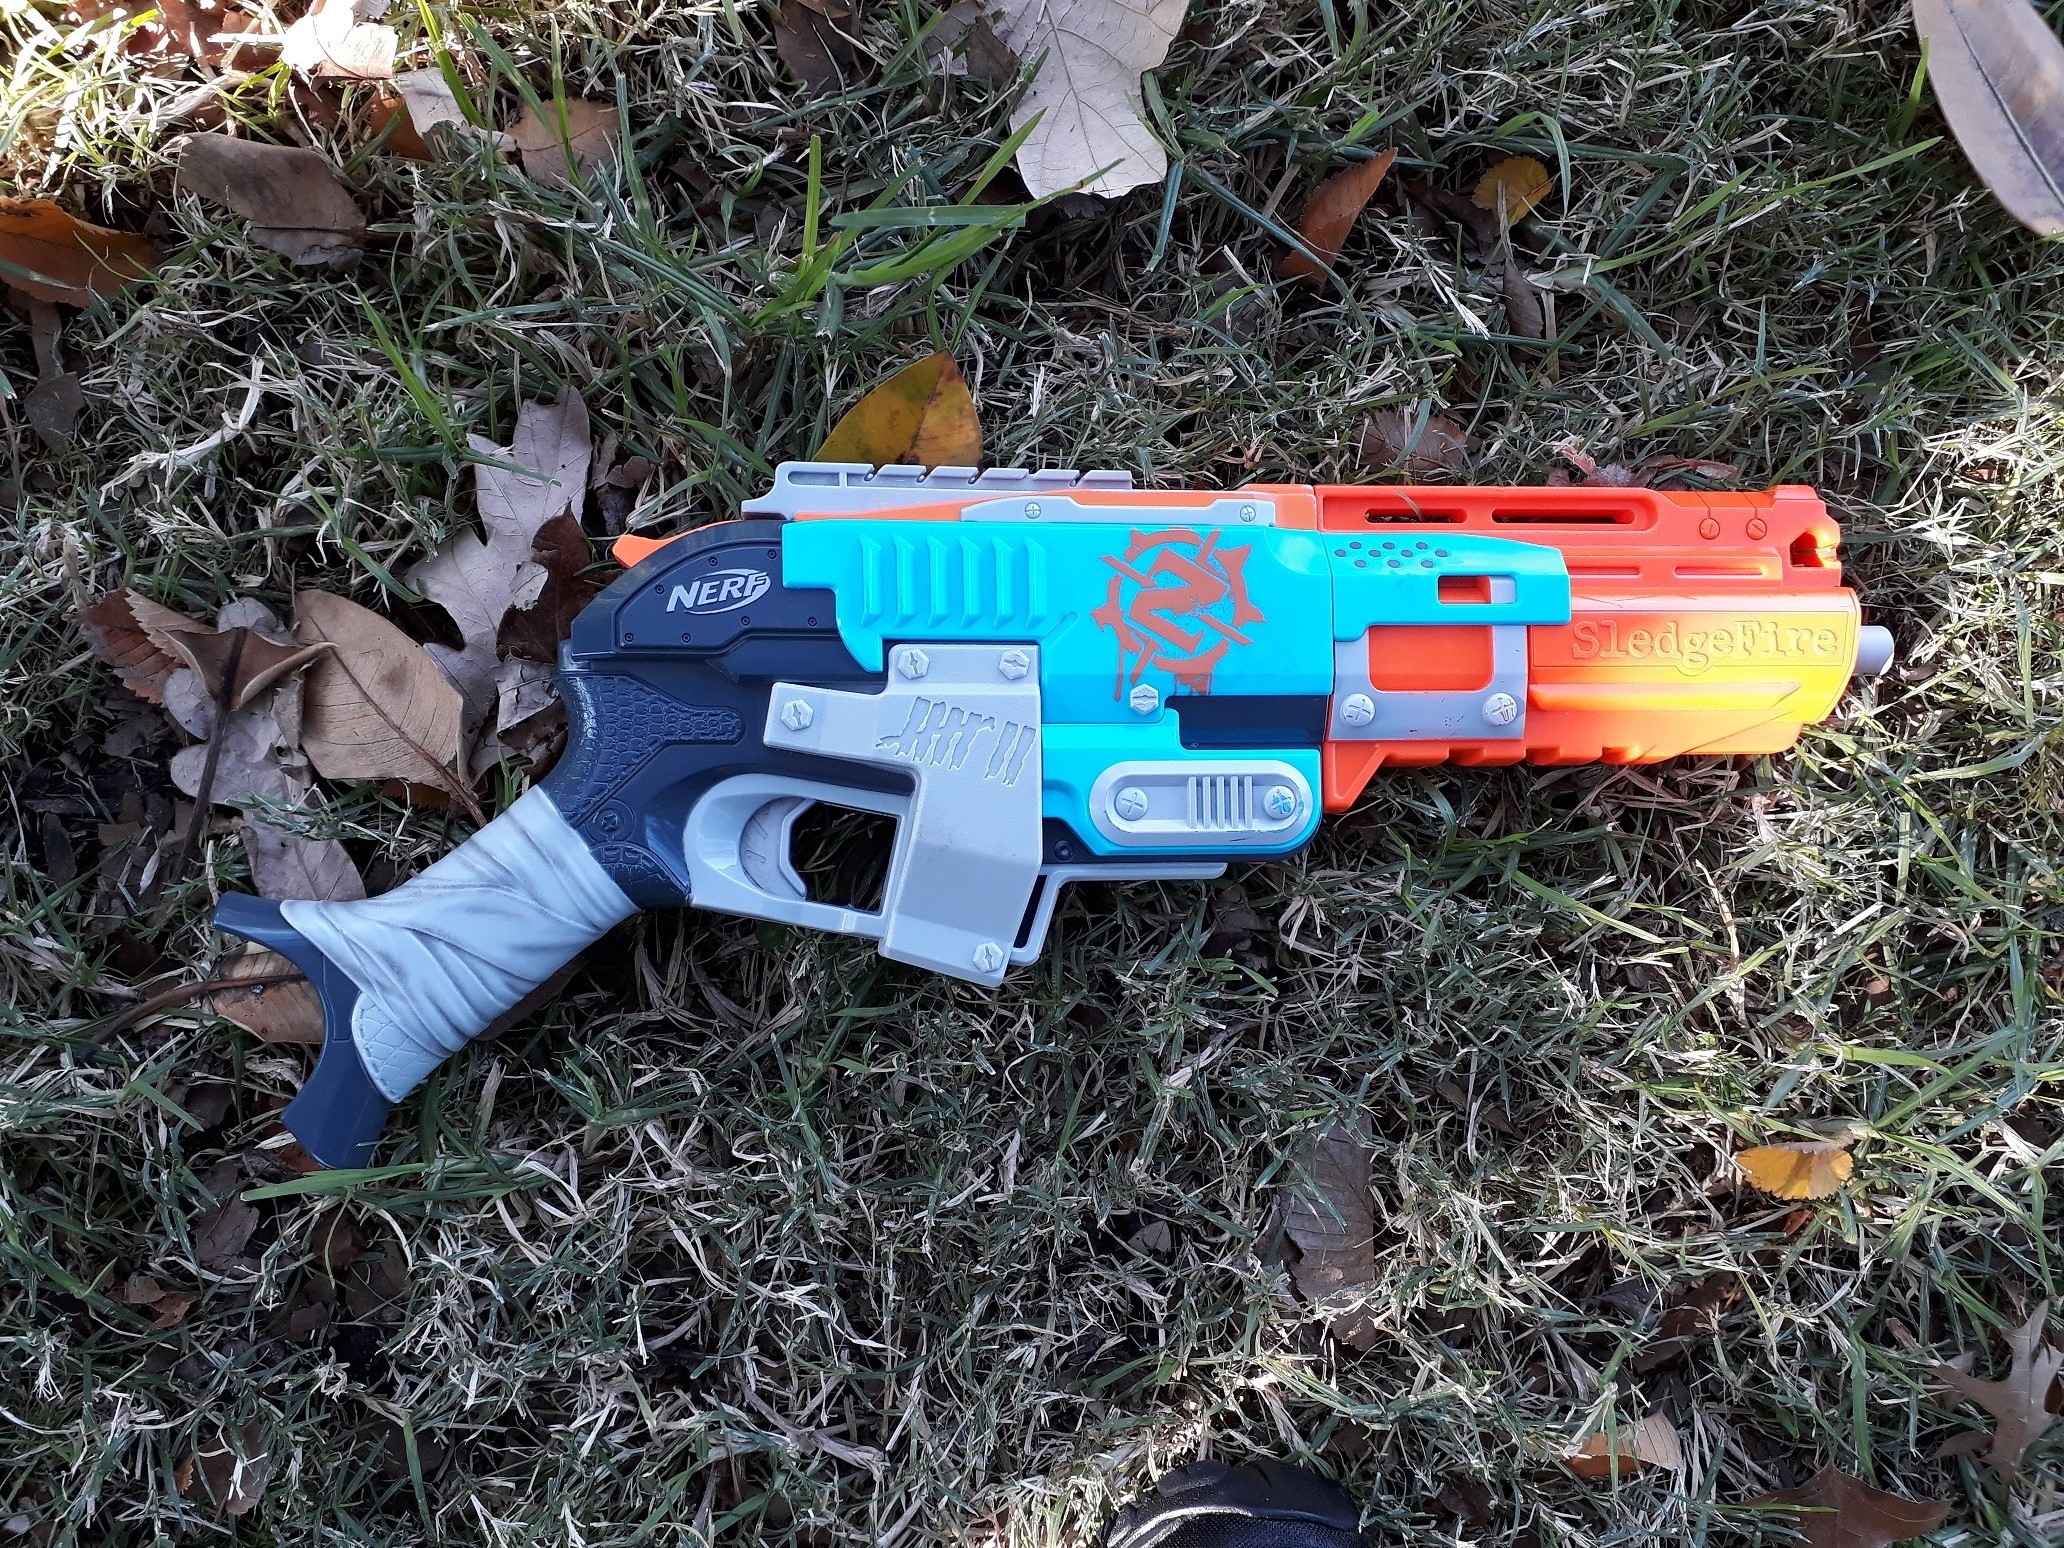
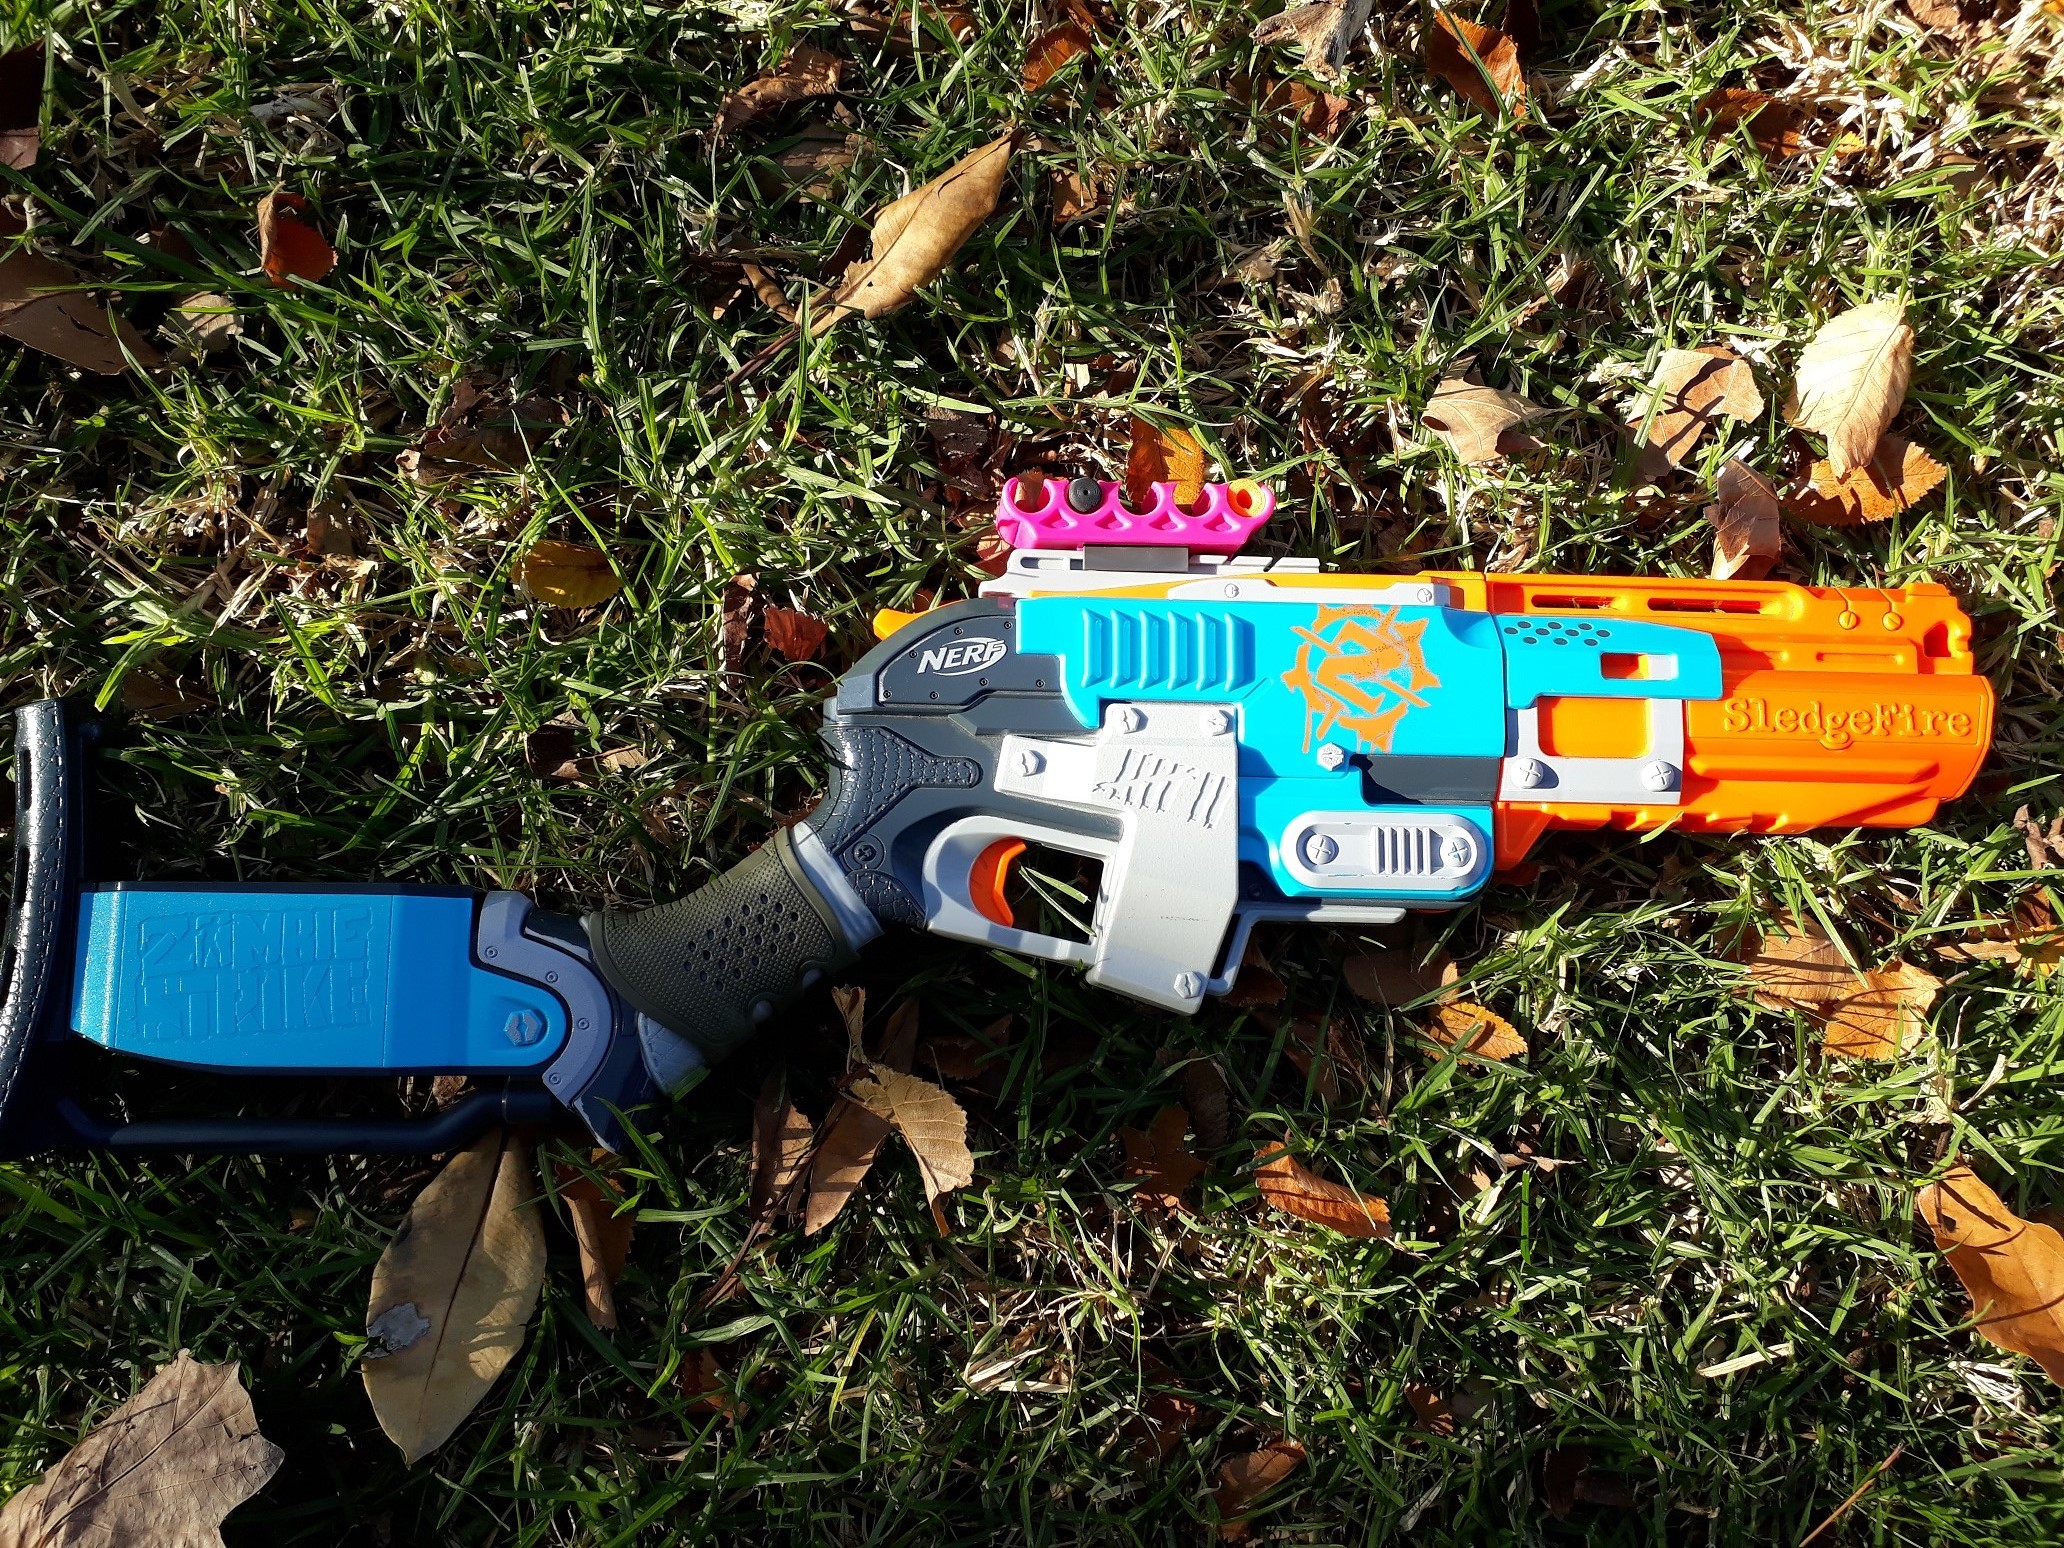
ZS Sledgefire (singled) – break-action, single-shot springer. Quite powerful and accurate, effective at picking off zombies from longer range. Single-shot nature leaves it highly vulnerable to groups in close quarters.
New/Infrequent:

Rival Apollo (with or without pump grip) – bolt/pump-action, mag-fed springer. Decent out-of-box power. Relatively low ROF and capacity hinder it against groups.


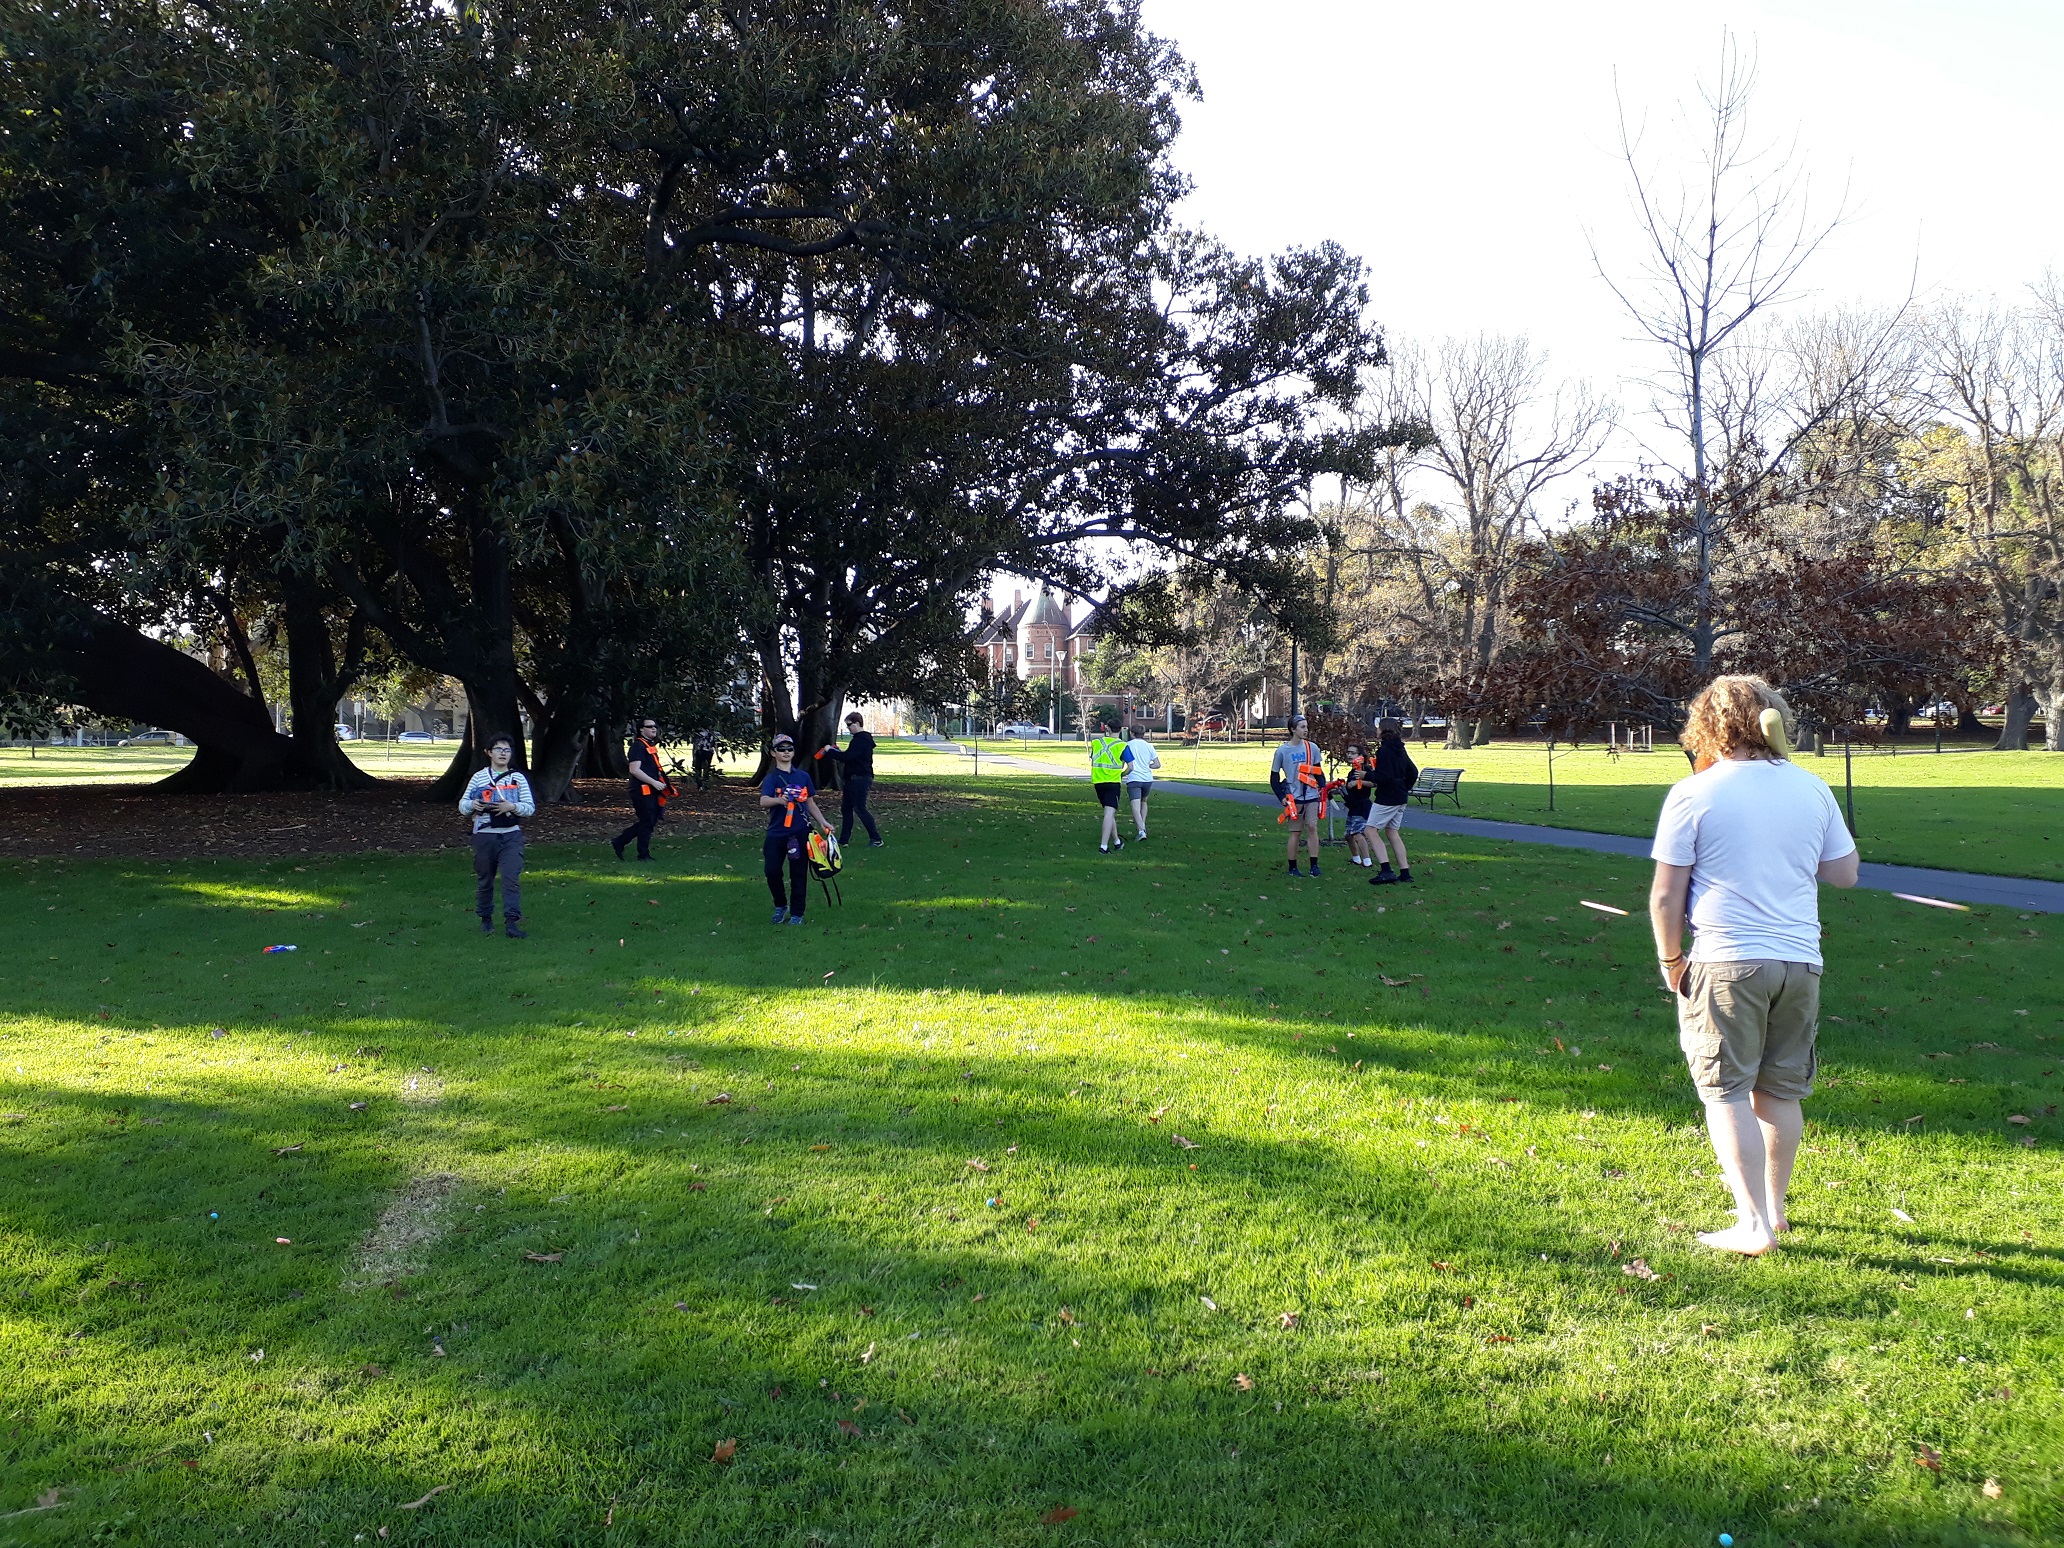
For the majority of this round, I stayed away from human groups, instead remaining alone typically in far off corners. This tactic worked very well, as I was able to largely avoid combat with zombies until the closing stages of the game, as the human numbers dwindled into single digits. A combination of firepower and speed allowed me to end up as the last survivor, whereupon I staged a final stand in the north-east corner, and allowed myself to be overwhelmed.
For the second round of Survival, zombies started with all mutations are per normal. This round, I decided to stick closer to the humans and thus the action. Though tags were much more frequent in this event than usual, the group I stuck with was mostly able to survive quite late into the game. During one particular zombie engagement just south of the tambark, our group was separated, so I ran north alone. I neared a pair of players, the second who I found out too late had just been tagged, failing to bring my blaster up to stun the first, who was a zombie. Having been tagged in my poor judgement, I joined the horde in cornering and tagging the remaining humans, who were mostly separated and easy to finish off.
After a lunch break, we played another round of Space Pope. With a slight increase in player numbers and in particular having more experienced players, we re-implemented the Traitor for this round. We also implemented slightly altered human vs human rules. If a human is hit by a dart, they are stunned for 15 seconds. They cannot move or shoot while stunned.
Right from the beginning, one of the humans opened fire on the rest of the human group, however they were quickly stunned and then grenaded. As it turned out, this human was not the Traitor, simply a player who wanted to introduce a little chaos into the game. Shortly afterwards however, the Traitor revealed themselves and used their tag on the General. With the Space Pope now revealed, the zombies were able to focus their efforts. Repeated zombie charges were able to whittle down the human group, and with around 5 minutes remaining, the zombies were able to tag the Space Pope.
Within a couple of minutes, the zombies had managed to tag several straggler humans, and had already begun to push the human groups around. The VIPs largely remained well protected and on the move, however the zombies were relentless and were able to whittle down the human group surprisingly fast. With zombie numbers steadily growing, the human groups were quickly reduced to a couple of survivors. Rather entertainingly, the VIPs were two of the last four or so humans left, and the zombies were able to clean up the rest of the humans without any extra upgrades.

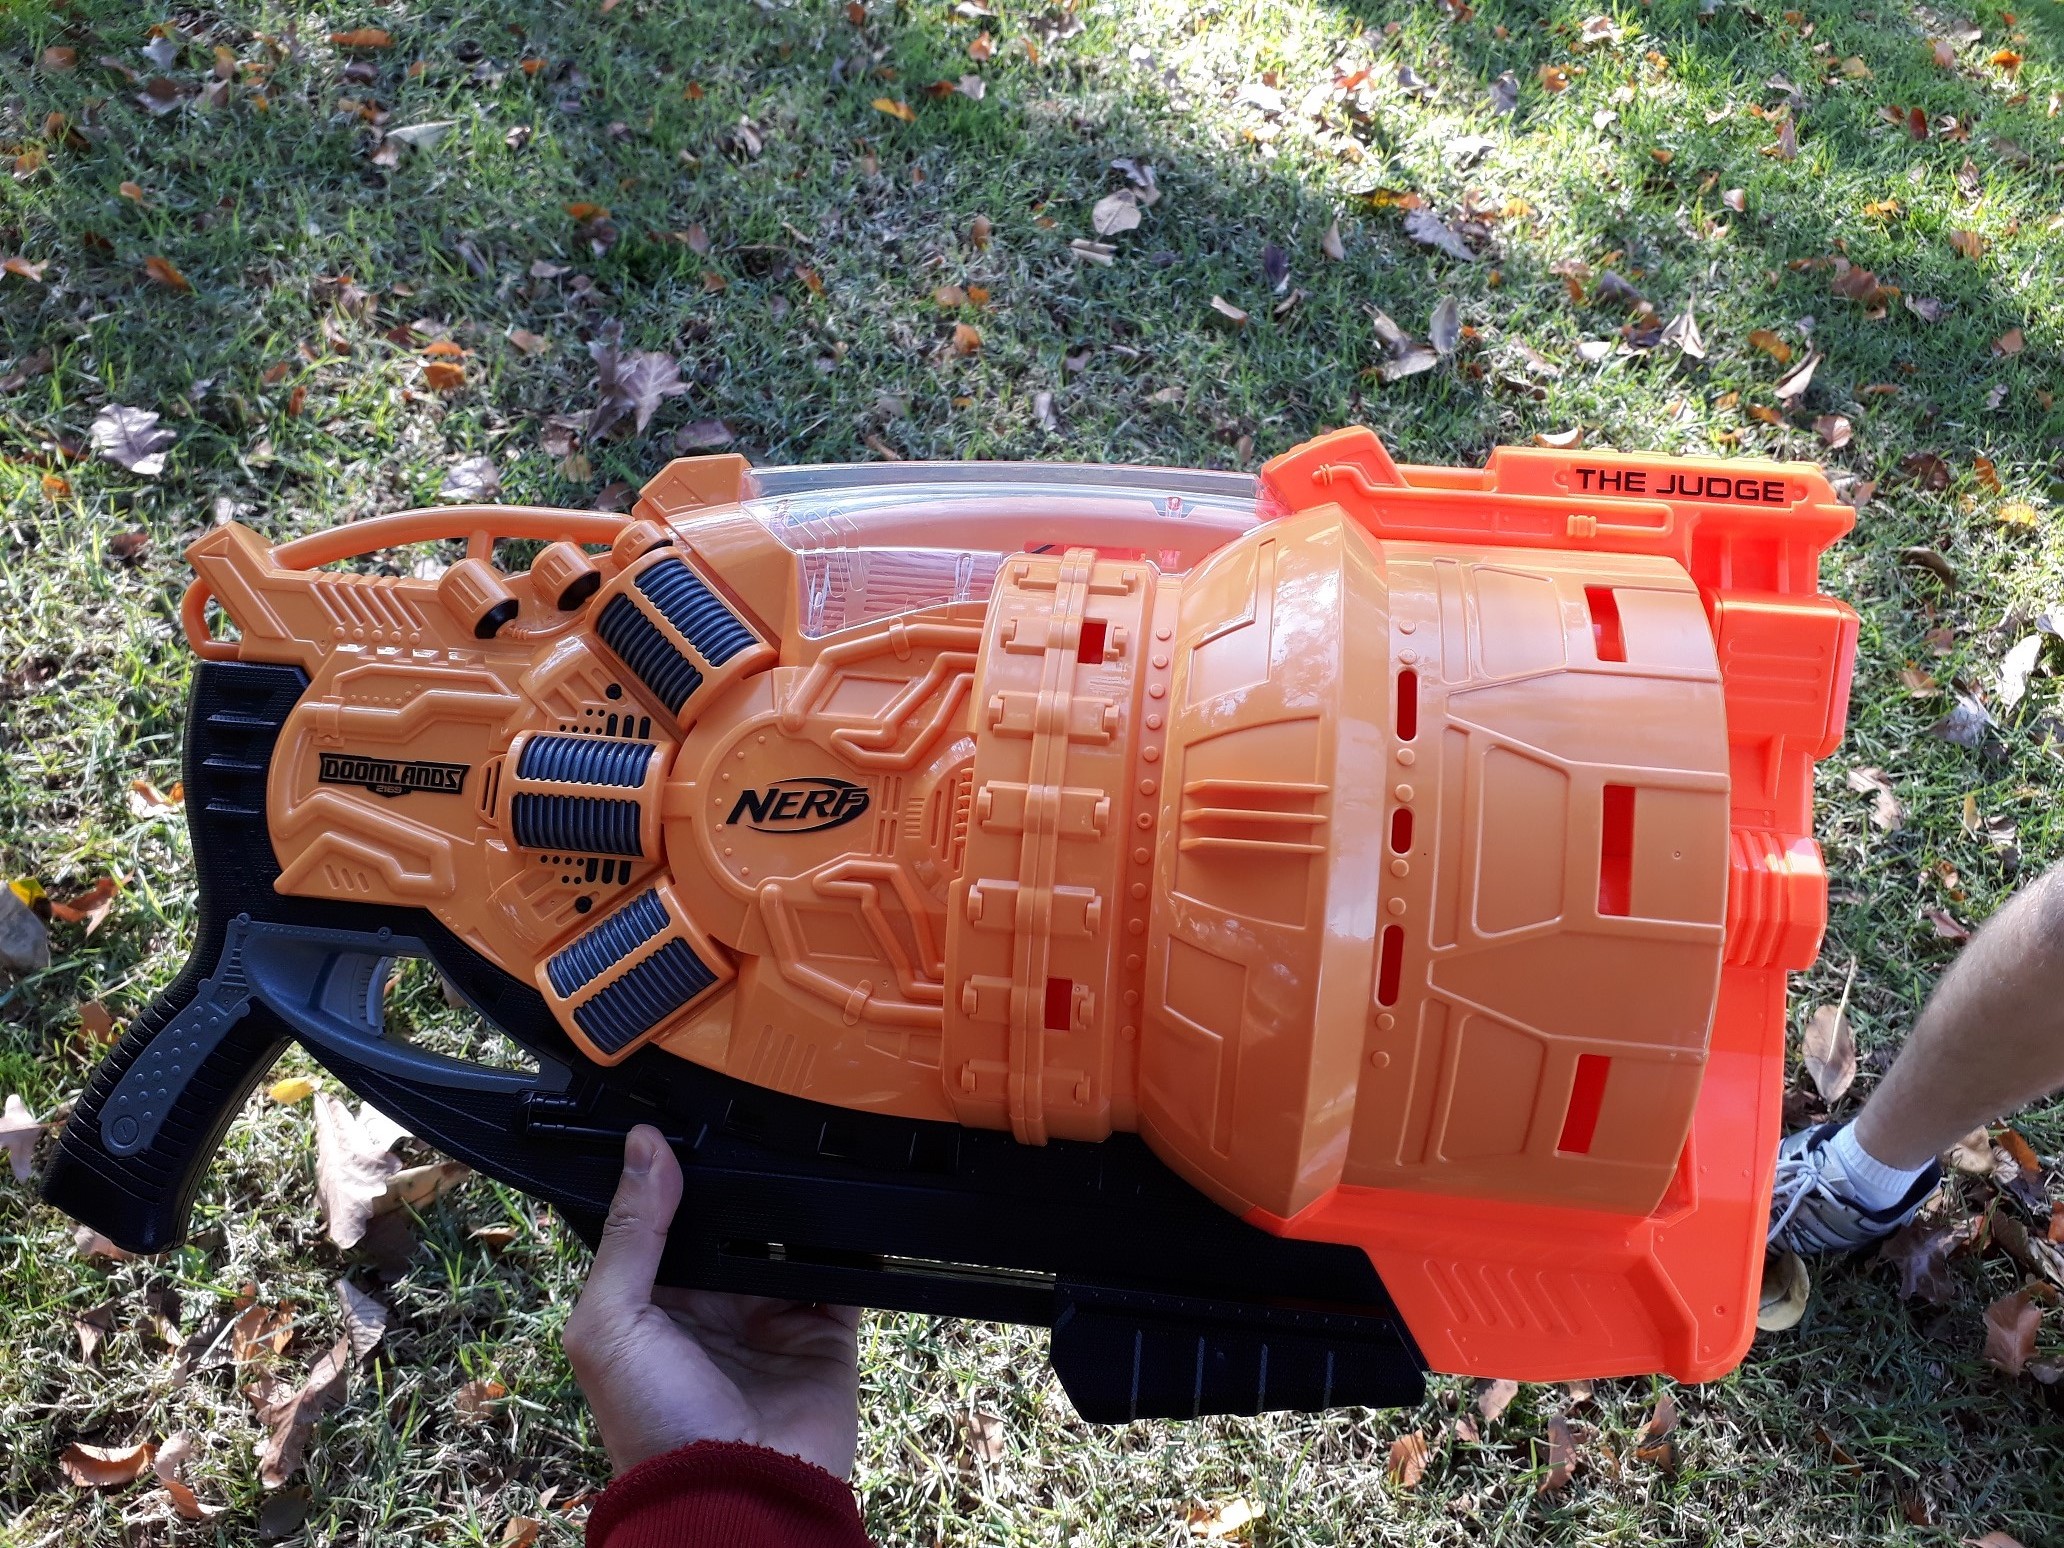
In early game, the Mega zombie allowed the fledgling horde to push forward much more frequently, in particular allowing the Tanks to advance more regularly. This extra pressure did seem to speed up early game a little, since it was also much easier to catch humans off guard. I was able to survive until the end of the game by joining the human group where necessary, but breaking off when convenient. Eventually, I became too tired to run, and allowed myself to be tagged by the ball launcher Husk.
The typical tactic for dealing with the Mega Zombie was to stun all regular zombies, quickly re-stun the zombie that the Mega revives, then stun the Mega and quickly retreat. While this worked well earlier in the game, as the game went on and the zombie horde grew, it became increasingly difficult to stop the Mega zombie. On top of being stunnable only by Mega darts, the Mega zombie is typically found in the middle of a horde, out of the line of fire but close enough to revive front line zombies.
With a large zombie horde, without a particularly well armed and coordinated group, stunning every nearby zombie is practically impossible, especially with Tanks, the Husk and the Mega in play. Not to mention the necessity to switch to a Mega blaster just for the Mega zombie, since most players run dart-firing or Rival blasters. As such, the Mega is practically free to run rampant in late game. Although one revive every 13 seconds is not a huge deal in late game, having to deal with one extra Tank charge when already tired, low on ammo and low on allies is a little annoying and in my opinion a bit unnecessary. I think allowing the Mega zombie to be stunned by regular darts (along with an appropriate rename), perhaps also with cooldown tweaks, would be much more fun to play against without impacting human-zombie balance significantly.
The Traitor revealed themselves early in this game, quickly moving back and opening fire on the human group. Due to a rules misunderstanding however, they left themselves vulnerable to human counterattack and were quickly stunned and grenaded. Nonetheless, due to the higher-than-usual starting ratio, and relative lack of humans, the zombies were able to make significant inroads into the human defences even from early on. A quick tag here and there made much more of an impact than with larger human groups. Tags became even more frequent once Tanks were released, at which point it became a bit of a slaughter. Eventually, the Space Pope was the only human left, and was tagged at around the 10 minute mark.
With fewer, less experienced and less well equipped players, the Traitor is much less of a necessity in Space Pope. Without the typical level of experience and firepower, it is far easier for the zombies to achieve a few tags here and there, and whittle down the human group. With much more favourable attrition rates, a zombie victory is much more feasible, and the Traitor is not required to give zombies a reasonable chance. Additionally, trying to discreetly reveal the Space Pope’s identity to the humans is still quite risky, since any human who knows and is then tagged, can reveal the information to the zombies.
These small shields did not appear to have a major impact on the balance of the game. They could be used to effectively block most upper body shots, however the head, lower torso and limbs of the zombie are typically all left exposed. In close quarters, they offered zombies an advantage over lone humans with slower firing blasters, however groups of humans, or humans with high ROF blasters, could easily mow down these small Tanks. At longer range, they also allow zombies to close the distance more safely, though of course at this range they are still a non-threat. Perhaps most importantly however, these shields are far easier to run with than the large shields.
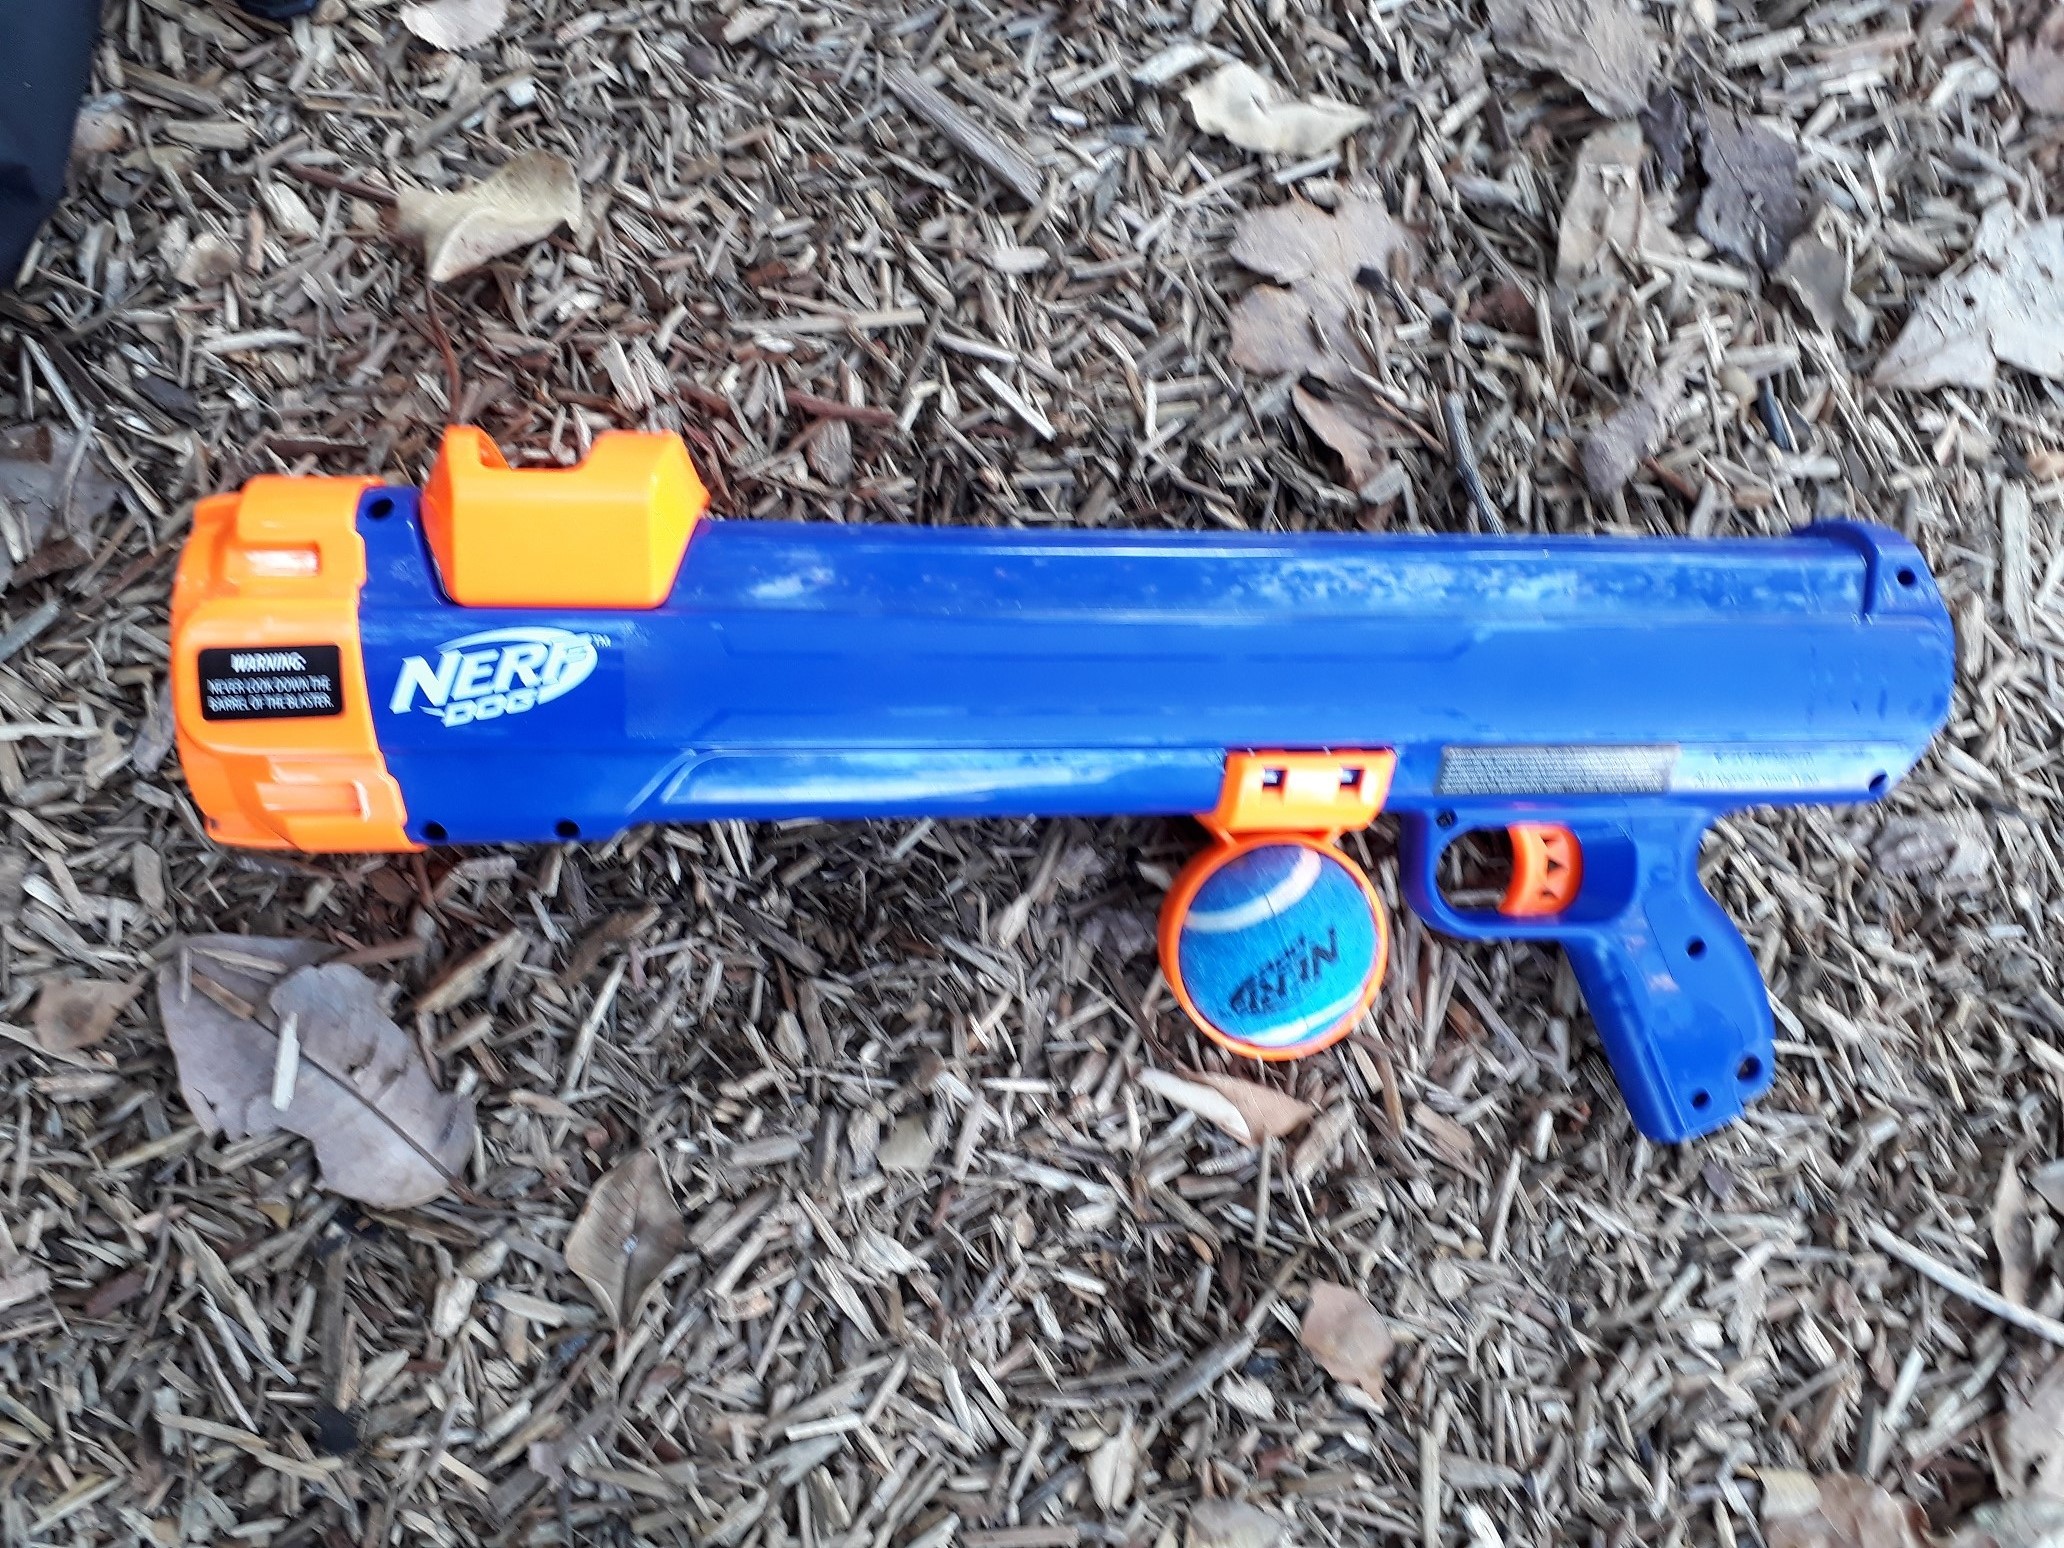
For some rounds, the ball launcher was used as a second or replacement Husk. With a maximum range of around 12m, but an effective range of maybe 6m due to low projectile speed, it was a bit useless and didn’t remotely compare to the standard Mega Vortex Howler Husk.
You can find the same post on my own blog: Outback Nerf