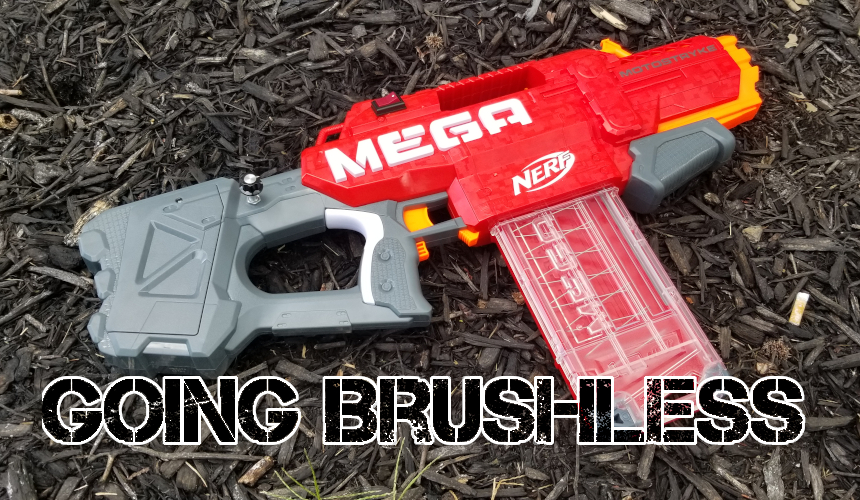
Mod Project: The Cruxstryke
September 8, 2020I may have a problem: in addition to having 25 or so Tyrant magazines for Mega blasters, I’ve also bought four Motostrykes. That many blasters (and mags) means I have lots of project fodder. To that end, I’ve gone and made my first brushless build, thanks to parts from Project FDL and Out of Darts. Now I’m shooting Mega darts at 130fps, with all the fun benefits of a brushless setup.
This won’t quite be a build guide, but I will go over making the blaster!
This writeup assumes you have some familiarity with Nerf modding.
Parts
 These are what I used for this particular project. You can, of course, source alternate motors, electronic speed controllers, etc. But seeing as FDL has already done the work in designing a cage and wheels to go with some of their parts, it was easier to start there.
Additionally, I’m assuming you have basic electrical modding tools (wire, solder, soldering iron, connectors, etc) as well as access to a 3d printer.
- Two Crux motor/ESC combos. The ESCs come pre-flashed and pre-wired to the motors for spinning one way. So you’ll need one running clockwise (CW), the other running counterclockwise (CCW).
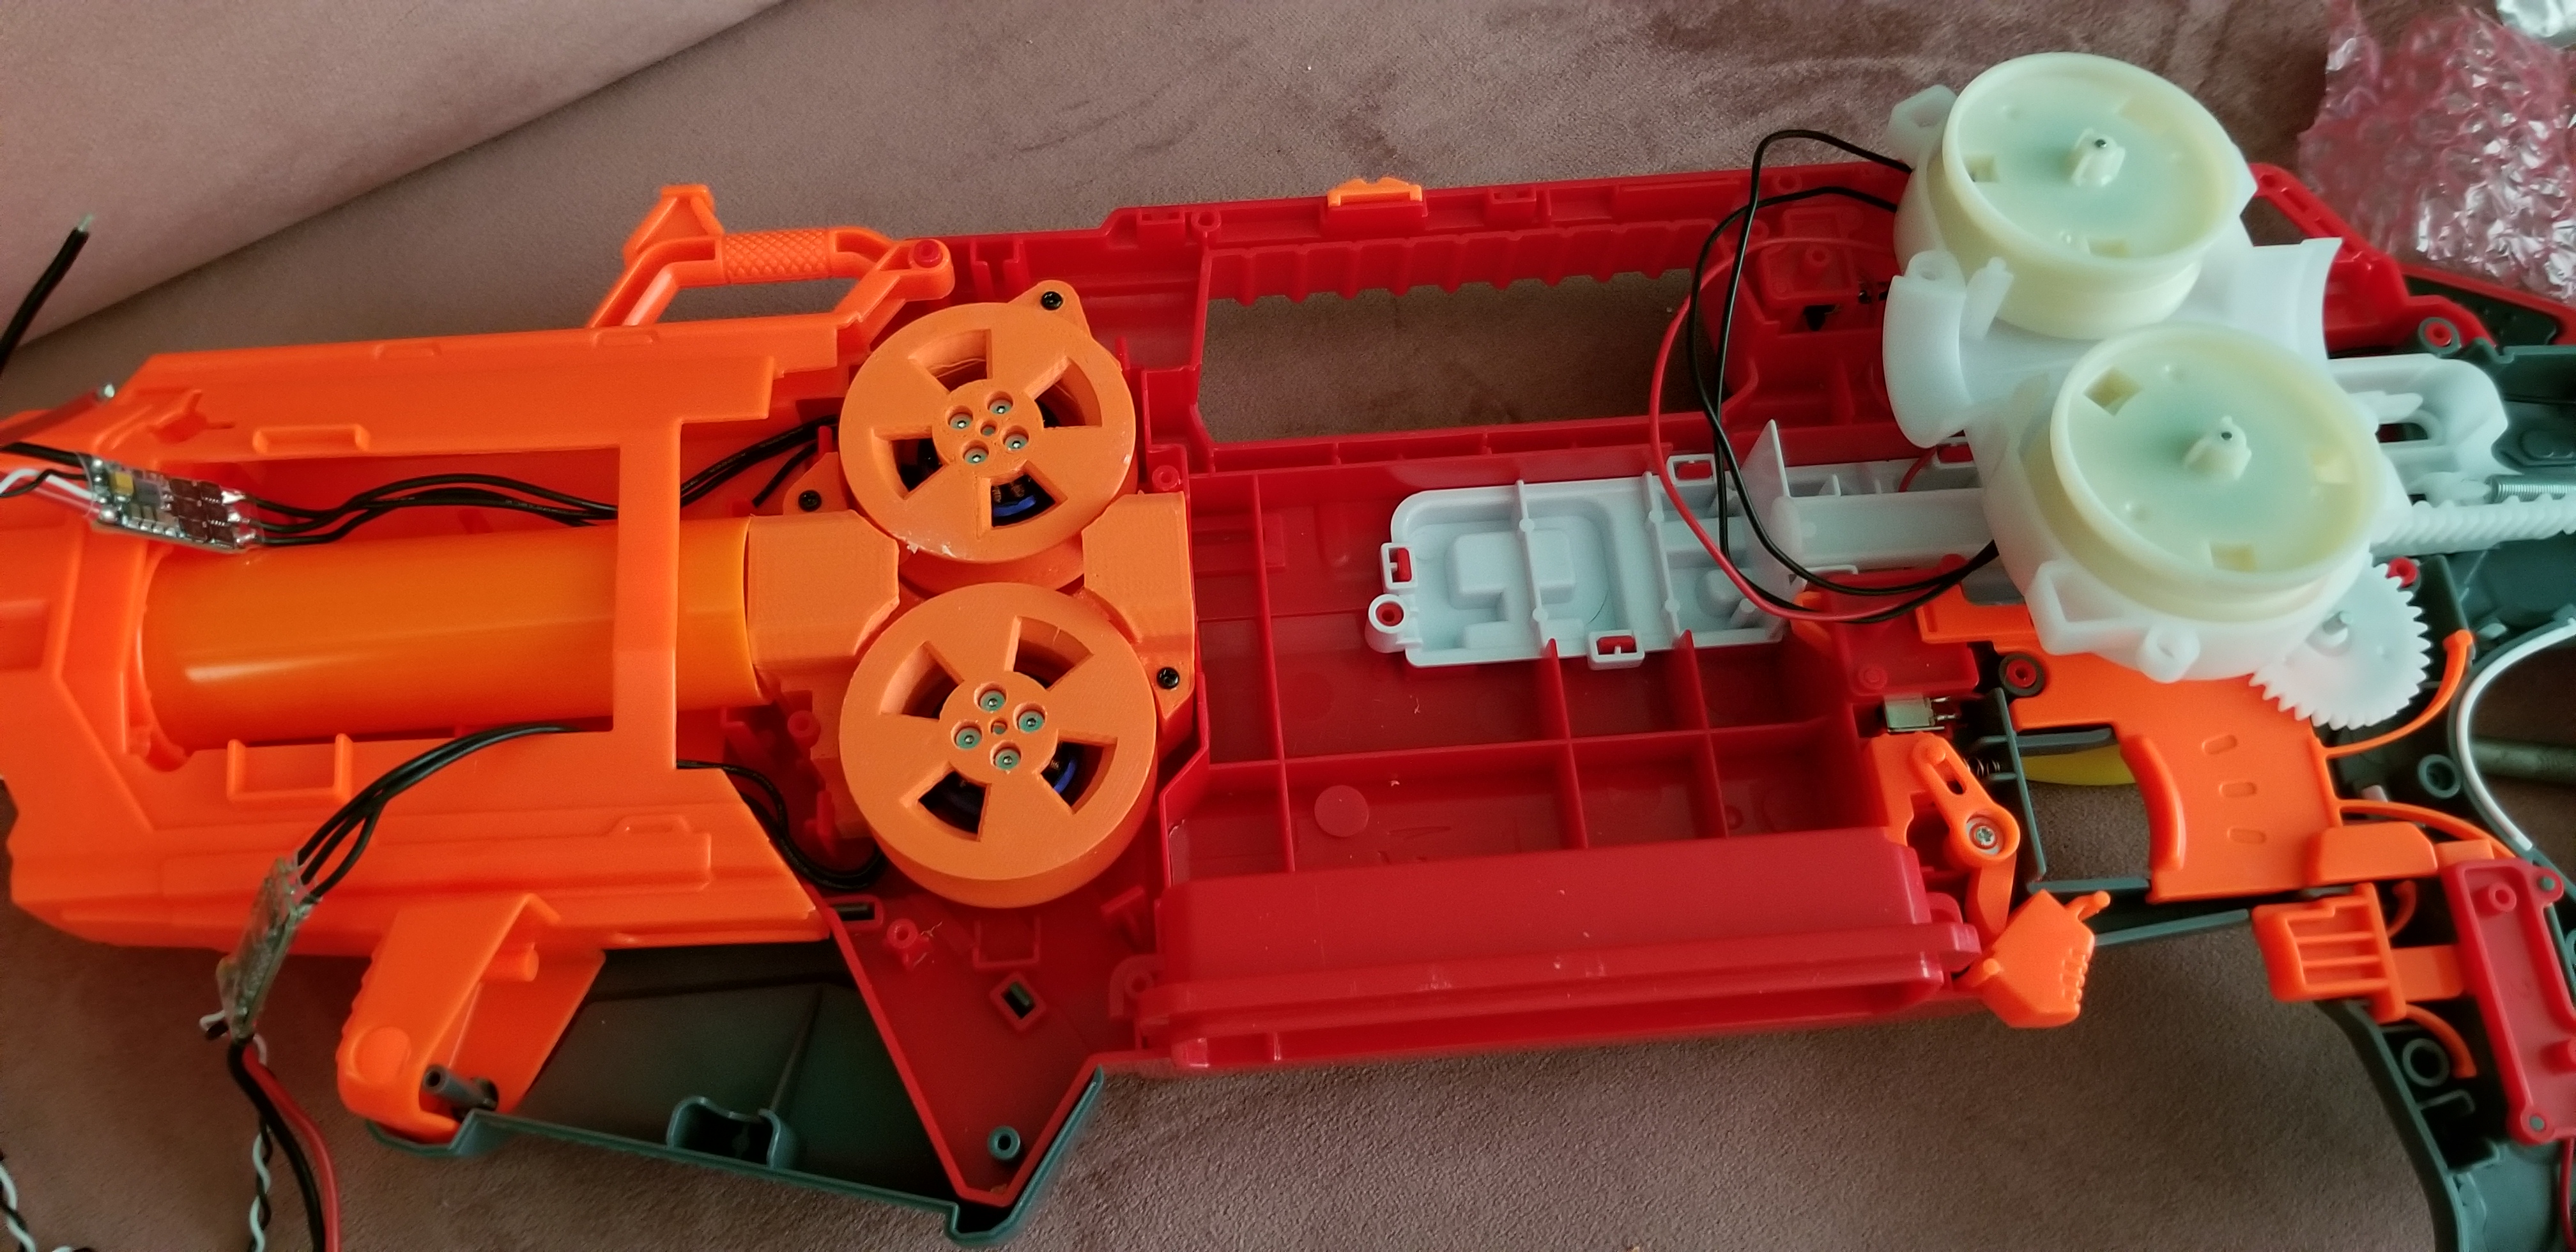
- Cruxstryke .stl files. With these, you can 3d print a new cage for mounting the motors, as well as flywheels (I chose 16mm spacing between the wheels, but 15mm is an option). Remove plastic from the shell as directed in the README, and source the listed screws if needed. I printed everything in ABS.
- Narfduino Brushless Micro Board. Using 1mm jumper wires to connect the pins and components, it’s easy to wire everything together. The board lets you set the upper limit for motor speed, and you can use a potentiometer to adjust speed while using the blaster. See the link for more details on using the board!
- Your choice of extras. I simply reused the stock wiring to connect the switches to the brushless board, but you could replace the switches to your liking. I also added a potentiometer for speed control, as well as a large 12v on/off switch.
- A Lipo battery to run the blaster. I removed the stock battery terminals and cleared space for a 1300mAh 3s battery.
Wiring the Blaster
 For ease of use, I used a dremel to cut a deeper slot through the carry handle. This allowed me to put the power wires, potentiometer wires, and switch wires all through the carry handle without having to fight to put the shell back together. The power wires sit on top, with the smaller ones underneath.
 Because I was silly and didn’t remember to initially add it, I placed a power switch at the back of the carry handle. Since I had extra length available on the ground wire…I used that. While in a low voltage DC circuit, the switch can be at the positive or negative end without much consequence…convention is still going on the positive (live) side.
I ended up stuffing the various core electronics (ESCs, Narfduino, soldered wire splices, etc) all in the nose of the blaster. This made for a packed nose piece, but it is indeed possible to fit everything. If you feel like slicing into the shell to make your own wire channels and a cleaner look, take a peek at this version made by u/Stellutoj.
Results
Running off a 3S battery and with the aforementioned work done, I’m averaging 131fps with the Narfduino board settings (as well as the potentiometer) turned all the way up. The spin up time is so much better than with the stock motors, and I can spam mega darts without losing much velocity. Basically, as long as I turn down the settings a bit from max, I’m ready to run a Mega loadout for HvZ, complete with a mag-dispensing backpack and lots of mega magazines.