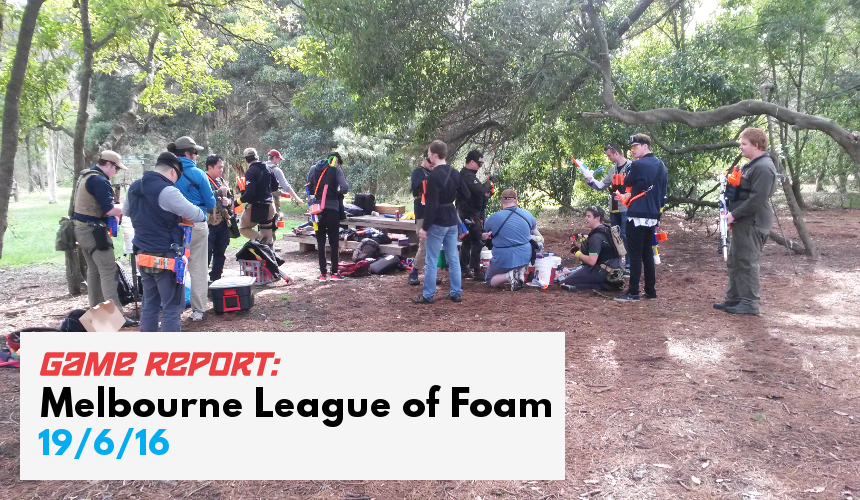
Nerf Game Report 19/6/16: Melbourne League of Foam
June 24, 2016Today’s MLF event was quite a good one. We had a much higher than usual player count and so had some quite intense games. There were also more Rapidstrikes than usual this event. In this Nerf game report I’ll be going through the main blasters that saw use, the gametypes we played, and how the high player count and changed play area affected our games.
Gamemodes:
Old:
- Kill Confirmed – very similar to Freeze Tag/Tag Teams. When a player is hit, they are downed and must wait for a teammate to revive them, which is achieved with a simple hand tag. In Kill Confirmed, all players are medics. An opposing player may tag a downed player with their hand to “confirm the kill” and eliminate them from the game. Naturally if an entire team is downed, then that team loses even if none of them are “confirmed”. The last team with surviving, non-downed players wins.
- VIP – one player from each team is designated as the VIP of that team (the teams do not need to tell other teams who their designated VIP is). If the VIP is downed, their team can no longer respawn (but can still be revived by their medic). The VIP must call out when they are downed, and cannot be revived by the medic. One player is designated as the medic of the team (likewise whose identity does not need to be publicly shared). The last team with surviving players wins.
- Capture the Flag (CTF) – classic gamemode, steal the enemy’s flag and return it to your flag at your base to win. Drop the flag if downed while holding it. If the flag is picked up, the player cannot put it down unless they are downed. The flags are not allowed within or behind ~5 metres in front of spawn.
New:
- None
Blasters:
Since there were a lot of different blasters there, I’ve generalised them and only listed down the ones that I saw as significant or noteworthy, or remember for that matter. Being that I can’t be everywhere at once, it’s entirely possible I completely missed some blasters.
Recurring/Regular:
Rebelle Sweet Revenges (light mods) – my standard dual sidearms. Saw a bit of use in this event after I had run completely out of mags. Naturally far from competitive with any proper primary blaster, but they’re not meant to compete with primaries anyway.
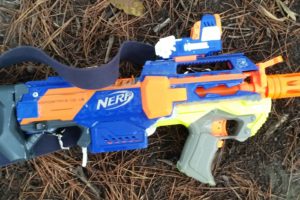
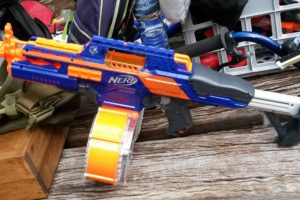
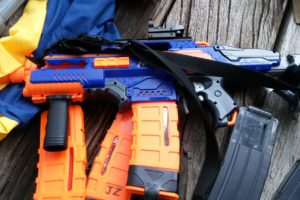
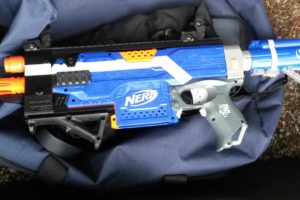
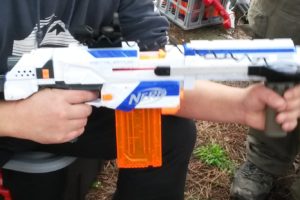
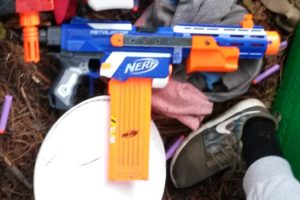
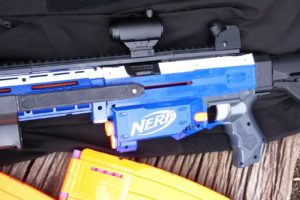
Elite Rapidstrike (various motors, LiPos) – there were more than usual this event, a good 6 or so. They served the same role as always, a high ROF blaster that excels in suppression and accuracy by volume. Requires good trigger discipline and a significant number of mags to fully take advantage of. The sheer number of Rapidstrikes resulted in a *lot* of mag dumps and the air was rife with the roar of flywheels and the whine of pusher boxes.
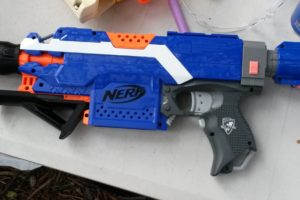
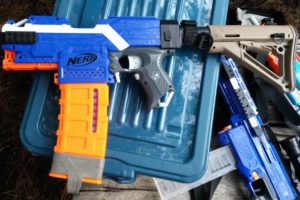
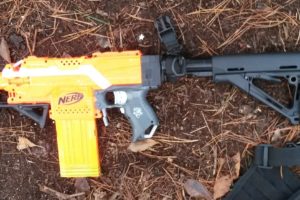
Elite Stryfe (various motors, LiPos) – standard staple of Melbourne games, good range, decent ROF and very easy to use. Not as powerful as a high level springer (say a high power Longshot), and not as high ROF as a Rapidstrike, but an excellent middle ground that makes for an excellent all round blaster.
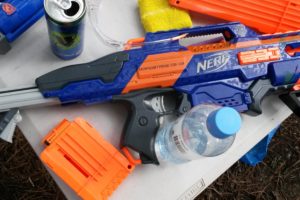
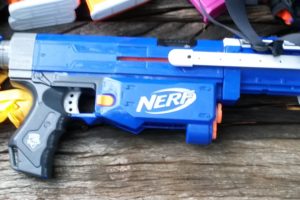
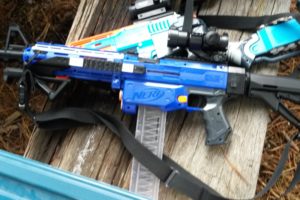
Elite Retaliator (various pump grips, springs) – probably the most common springer that I see in Melbourne games, one of the faster firing springers with firepower that can contend with the piles of flywheelers. Substantially slower ROF than any flywheeler of course, but probably the best all round springer for these sorts of games.
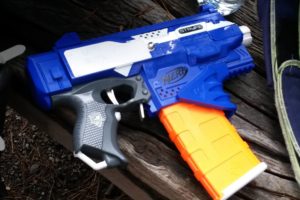
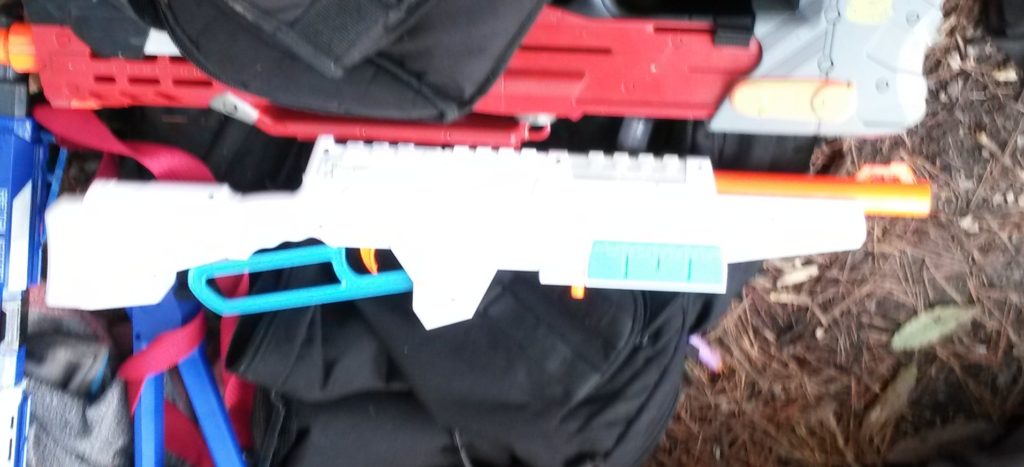 Buzz Bee Sentinel (stock?) – it’s incredible out-of-box power allows the Sentinel to be one of the only properly competitive stock blasters. Naturally it’s still somewhat lacking in power compared to flywheelers, but a few simple mods can fix that. Far from the best blaster you can use, but probably the best out-of-box blaster currently available for these sorts of games.
New/Infrequent:
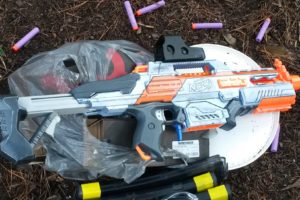
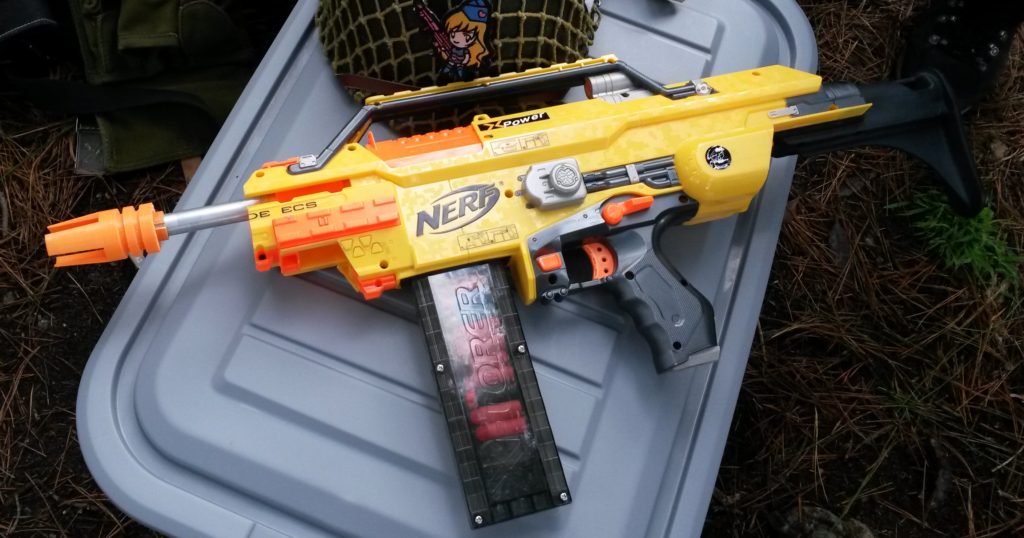 N-Strike Stampede (Xplorer kit) – quite a good blaster, it was getting muzzle velocities beyond what the top flywheelers were achieving, and thanks to its use of half length darts, was also quite effective at longer ranges. ROF was lower than any Rapidstrike or a well used Stryfe, but the raw power coupled with effective full auto made it quite a good blaster.
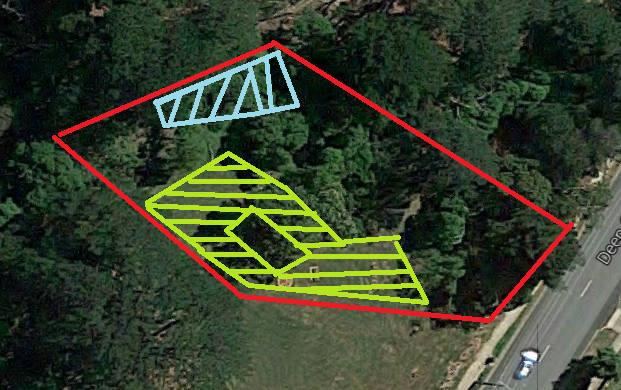 We used the second play area this event. Since the last time we used it however, a significant area had been cleared out of trees, this area being the light blue area. This presented a problem as it removed the cover for that side of the play area, unbalancing the play area. Previously, the play area worked well for two corridors of combat: one skirting around the edge of the open field, and one further in along the north edge, just next to the extremely thick bush just north. The removal of the trees from that light blue area removed a lot of middle cover for the team starting on the west, making it noticeably harder to push forward if pinned down in that area. The play area having only two main corridors of combat for such a high player count did result in a few issues particularly for some of the objective gamemodes. I think this play area is better suited to a lower player count, maybe 10-12 at most. The green highlighted area is the open field area, with the gap in the middle being a single very large bush. Weather was not a problem, decent cloud cover with temperature around 12-15 degrees C. There was a significantly larger turnout this event, with at least 14 players for most of the games, peaking at 16-18.
 We played a number of rounds of Kill Confirmed, and they mostly progressed as expected. As usual it was rather chaotic and typically quite short, usually only ~3 minutes or less. The unusually high player count did elongate the games a fair bit compared to smaller Kill Confirmed rounds. Not only are there just more players to eliminate, but there are also more players to down before you can move forward to eliminate a group. In smaller KC games of 4-6 players per team in wider play areas, you usually only need to down 2 or 3 players per “group” before you have an opening to move in and eliminate them. With so many more players, you have to down up to 4 or 5 players before the area is clear. Even then, because of how narrow the play area is, you will likely be within range of the surviving enemy players. This makes it much harder to move forward and conclusively eliminate a group of enemies. Often I would see several players downed in a particular area, only to be revived some time after because the enemies were unable to move forward and eliminate them. The first team to eliminate a significant number of enemies usually was able to ride that numerical advantage to victory, since in this event in particular, that numerical advantage is typically very large.
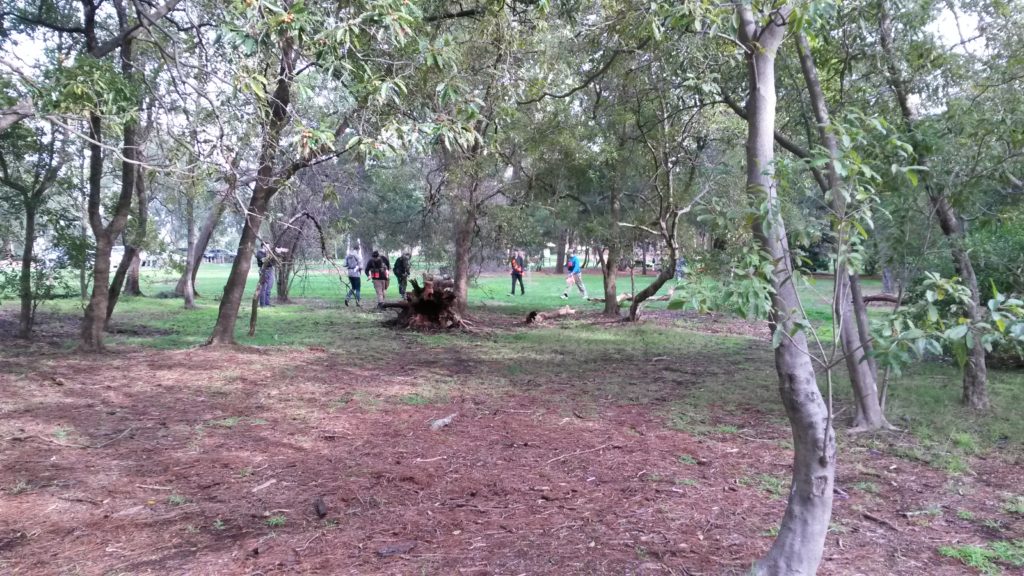 The three KC rounds I remember best are the last three we played, each progressing very differently. The first KC round was quite a long one, with a stalemate for a couple of minutes. Both teams had been able to down a significant number of players, but not eliminate many. My team was able to down most of the players on our right side along the north, however had lost several players in the process. I was able to run up and eliminate the downed players, however the remainder of the enemy team had flanked around the left open area, eliminating the rest of my teammates. I was then left with a 3v1 situation, which 95% of the time I would have lost quite quickly. The enemy players split up, two chasing me along the north edge while one went along the open field. Through sheer luck, I managed to dodge 2 mags worth of darts from a Rapidstrike, and was able to turn around and somehow down both enemy players coming from the north. I quickly went to eliminate them, after which I was attacked by the one remaining enemy, who I was able to down with my last 12 mag. 95% of the time, the enemy team’s flanking would have been a game winner, and it was only through sheer luck and reloading practice that I survived.
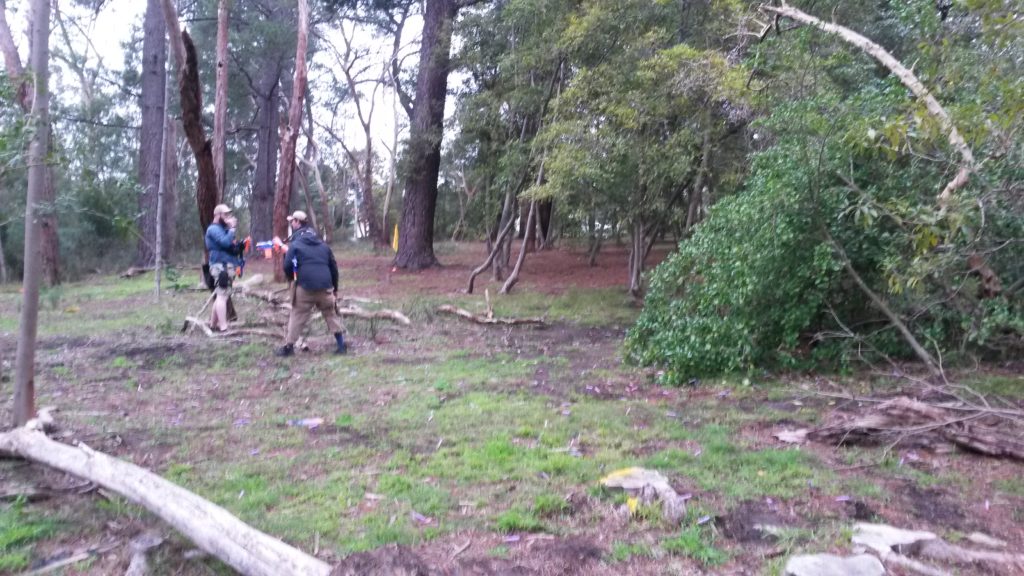 The second KC round was quite short and for the most part played out in quite a different way to the first. Instead of a long stalemate, my team was able to rush the enemy team from the start, catching some of them out in the open and pinning them down. I was able to down two enemies, and the rest of my team was able to attain a good offensive position. From that position, we were able to prevent enemy revivals, and were able to wipe out the entire enemy team without significant loss. The key in this round was that rush from the start. Obtaining a good offensive position early in KC is extremely valuable, due to the nature of the game. It’s very momentum based, and any momentum you can get early on puts your team in good stead for the rest of the game.
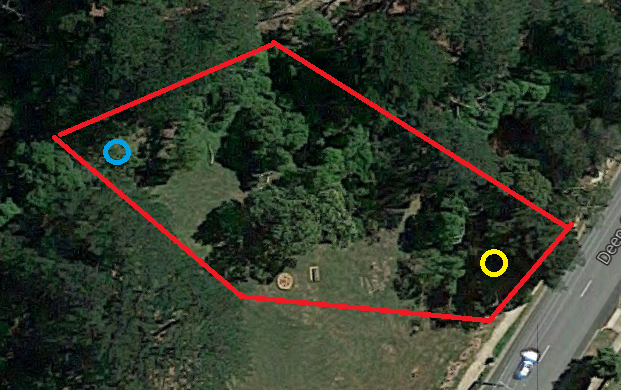
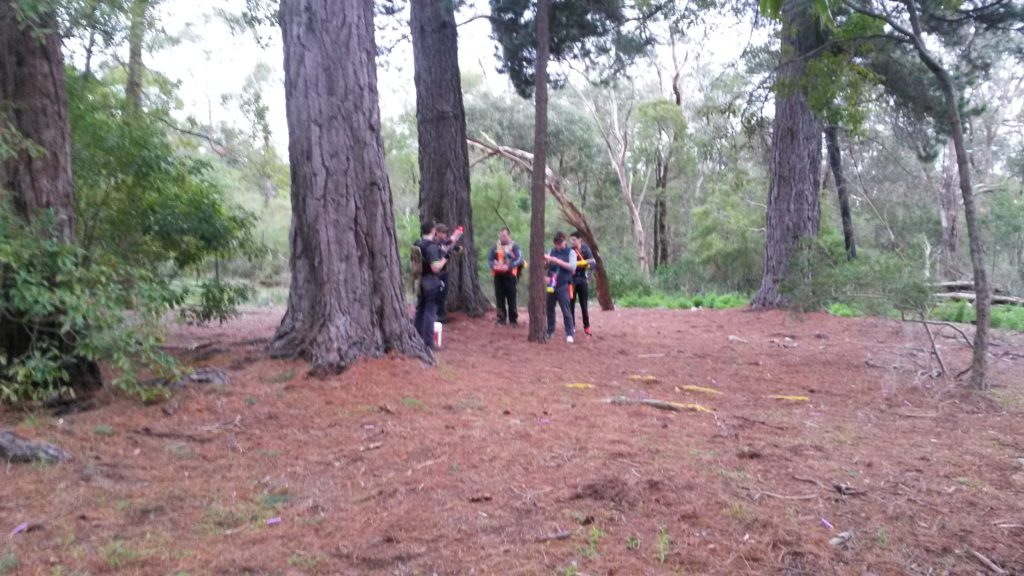 I sat out of the last KC round as I was completely out of darts and couldn’t be bothered reloading for just one more round, so spectated and took pictures. The blue team (starting east) rushed forward as with the second round and reached about the same place I did in the second round, however the yellow team (starting west) was able to reach a better defensible position. Several players were clustered together in particular areas of cover, and so the game progressed for quite a while as a stalemate. Though a lot of players were downed, neither team was able to push up to eliminate them, so inevitably those players were revived and the game continued. Eventually the game came down to people switching to their sidearms, and the blue team were eventually victorious. From the start, the blue team was the more mobile team, while yellow team became more entrenched and static, which gave the blue team a better shot at moving up to eliminate players. Nevertheless, such a long stalemate is relatively rare in MLF, and I think the narrow play area and large player counts contributed to the increased number of long stalemates.
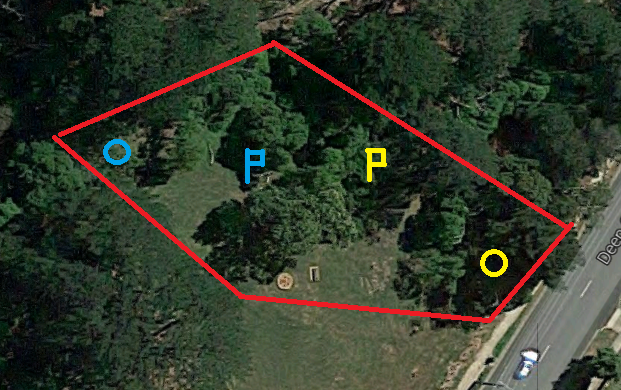 We played a couple of CTF rounds, and they seemed to generally last longer than usual. Flag placement was not anything special, I think the main contributor was player count in this play area. We had a good 16 players or so, which makes this play area quite cramped as it is not very wide. Quite often if you were on the front line, you would be within range of at least 4 enemies, and actively trading fire with probably at least 3 of them. Given the proliferation of rapid fire blasters, it was incredibly difficult to break through a well positioned enemy team. Even without notably good positioning, the sheer number of players in a relatively small area made it quite difficult to push forward. As a result, any flag steals either occured early on before the besieged team could properly establish position, or as a result of poor team communication.
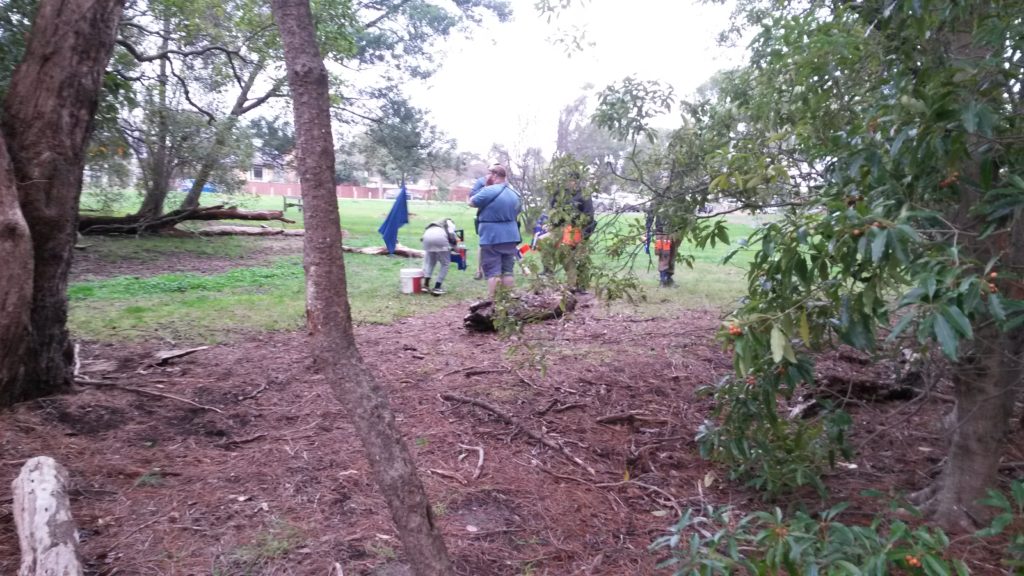 In one of the rounds I remember well, my team started in the west corner. I spent most of my time engaged in the north corner, downing several players but not being able to make much progress. Early on, one of our players had rushed forward and managed to steal the flag, but was downed shortly after. This left the enemy flag further in enemy territory, closer to their spawn. After some time in the north, upon respawn I moved fend off a few enemies near our flag. We were incredibly lucky during this time, as an enemy who was about to steal our flag temporarily lost his footing, giving me time to reload and hose him down. If not for that slip, he would have had a good chance of stealing our flag. After this, I noticed that while the enemy team was heavily entrenched in the north, there was a gap roughly southwest of where their flag was sitting. I coordinated my run with a teammate, who moved along the edge of the open field, attacking the enemies coming from spawn. This gave me an opening to run in and steal the flag, before the entrenched enemies realised what was happening. I was just able to outrun one pursuing enemy and successfully captured the flag.
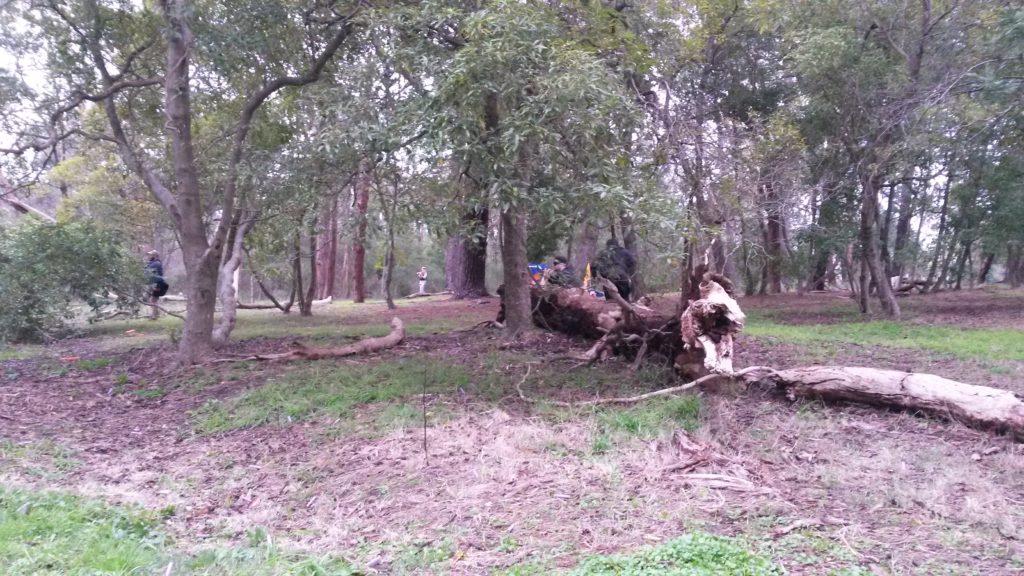 One of the major contributors to my flag run was communication/coordination. I worked with a fellow teammate who drew fire and attention away from myself, and I owe much to him. Without that distraction and cover fire, I likely would not have been able to get out of enemy territory with the flag. Part of it also came down to an apparent lack or delay in enemy communication. I was able to sneak behind the main entrenched group of enemies unnoticed, and it wasn’t until I already had the flag that I noticed any enemy pursuit. The enemy group had been effectively split in two, one on the front lines and the other stuck near spawn. The presence of a distinct gap in the enemy lines can likely also be put down to communication. I also owe a little to the teammate who made that early steal. Although the flag was moved further into enemy territory, it was also moved further away from the front enemy line. If the flag had remained in its post, I would have had to fight through the entire enemy front line to steal it.
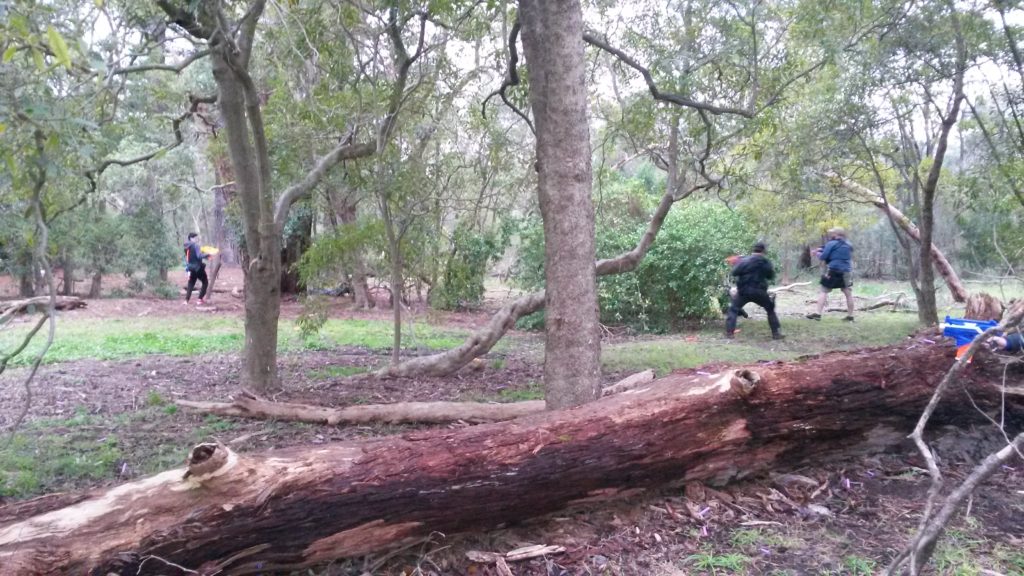 In the other round I remember well, my team lost through poor coordination. After some inconclusive combat again in the north corner, I noticed a pair of enemies moving up on the flag, and we had no defenders on that side. Unlike the previous round, I was not able to successfully fend them off on my own. Though I tried to call for reinforcements, they didn’t arrive in time and the enemy successfully stole the flag. An apparent lack of communication in my team led to our flag being left undefended, as we had several players available on the other side away from the flag. Communication and coordination are vital in CTF, and can be the difference between a decisive victory or a disappointing defeat. You’re unlikely to be able to make a huge difference on your own, whether offensively or defensively. Coordinating with even just one teammate massively expands the options and tactics available, and has led me to victory many times in CTF.
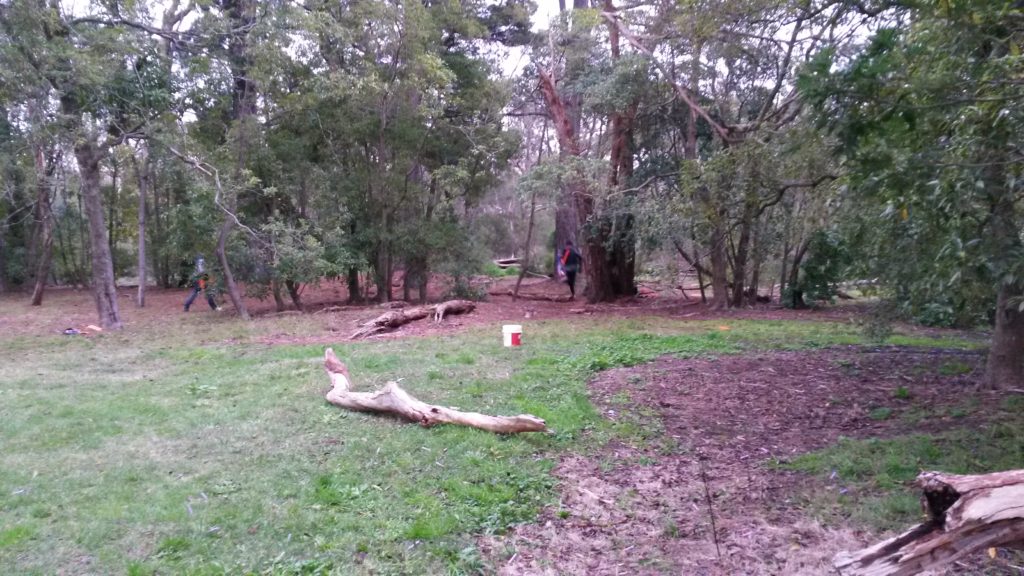 We played a pair of VIP rounds, which I think didn’t go too well. As with the other gametypes, I believe the main issues stemmed from the high player count relative to the play area size. In both CTF and KC, we had a few issues with the sheer density of players greatly hindering any progress. In each of those gamemodes though, there were ways to break the stalemates. KC typically rewards the more controlled aggressive team, and so even with the sheer number of players we had, a well executed and coordinated offence was often enough to gain an advantage. In CTF, the flags are not allowed too close to spawns, and so are still stealable with skill, coordination and luck. In VIP, there is currently no such rule, and so it is perfectly reasonable for the VIP to hide near or even behind the spawn. As a result, the second VIP round lasted so long that it was just turned into a sudden death so we could end the game. My team was by far more aggressive, and our VIP was in the middle of the field, yet under no threat. If not for the VIP hiding near their spawn, I have no doubt that we would have won the round. Besides that issue (which I believe will be fixed with a minor rule change), VIP worked ok, but I think still suffered from high density of players. Even if the VIP wasn’t camping near their spawn, the sheer density of players made it extremely difficult to push through for a shot at the VIP. The first VIP round we played, my team was able to win quite quickly as we were able to rush the enemy team. They weren’t fully prepared for us and hadn’t taken up proper positions yet, so were easily wiped out, leaving their VIP vulnerable for an easy win. If not for that, this VIP round could also have lasted for a long time.
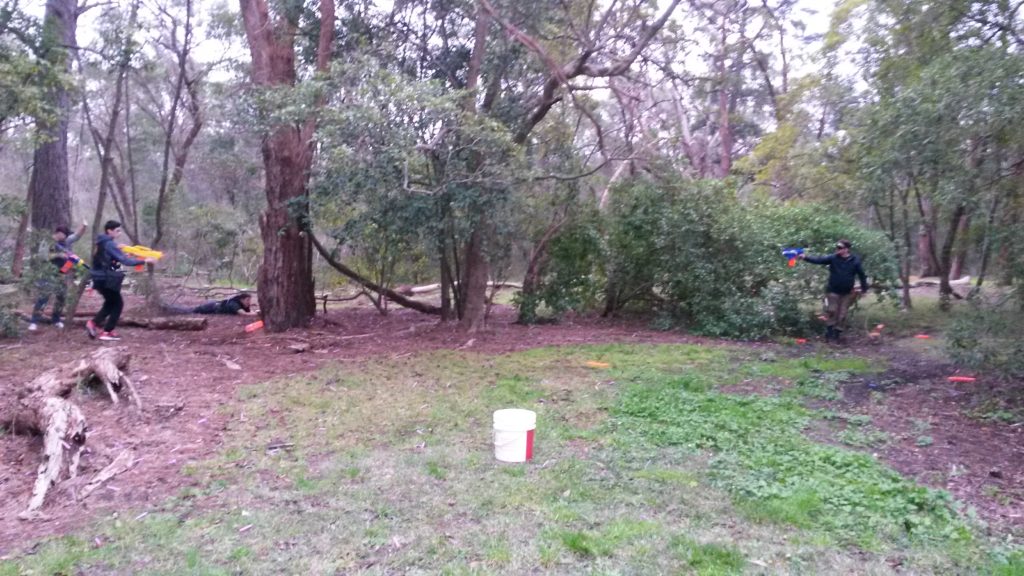 Overall this MLF event was quite fun. Although the high player count in this relatively narrower area I believe caused a few issues with some of the games, it also provided an intense and hectic environment. With the loss of the northwest cover though, I think this play area is a little too unbalanced. It provides too much disparity between the areas of cover, which I think significantly affects the symmetric gametypes like CTF. This high player count in a larger area such as the third play area would be practically perfect I think.
You can also find a link to the same Nerf game report on my own blog: Outback Nerf.
Warning: count(): Parameter must be an array or an object that implements Countable in /home/hju78utsnbn3/public_html/wp-content/themes/blaster-hub/functions/ps-content/post-content.php on line 206
