Game Report: Melbourne League of Foam 20/3/16
March 22, 2016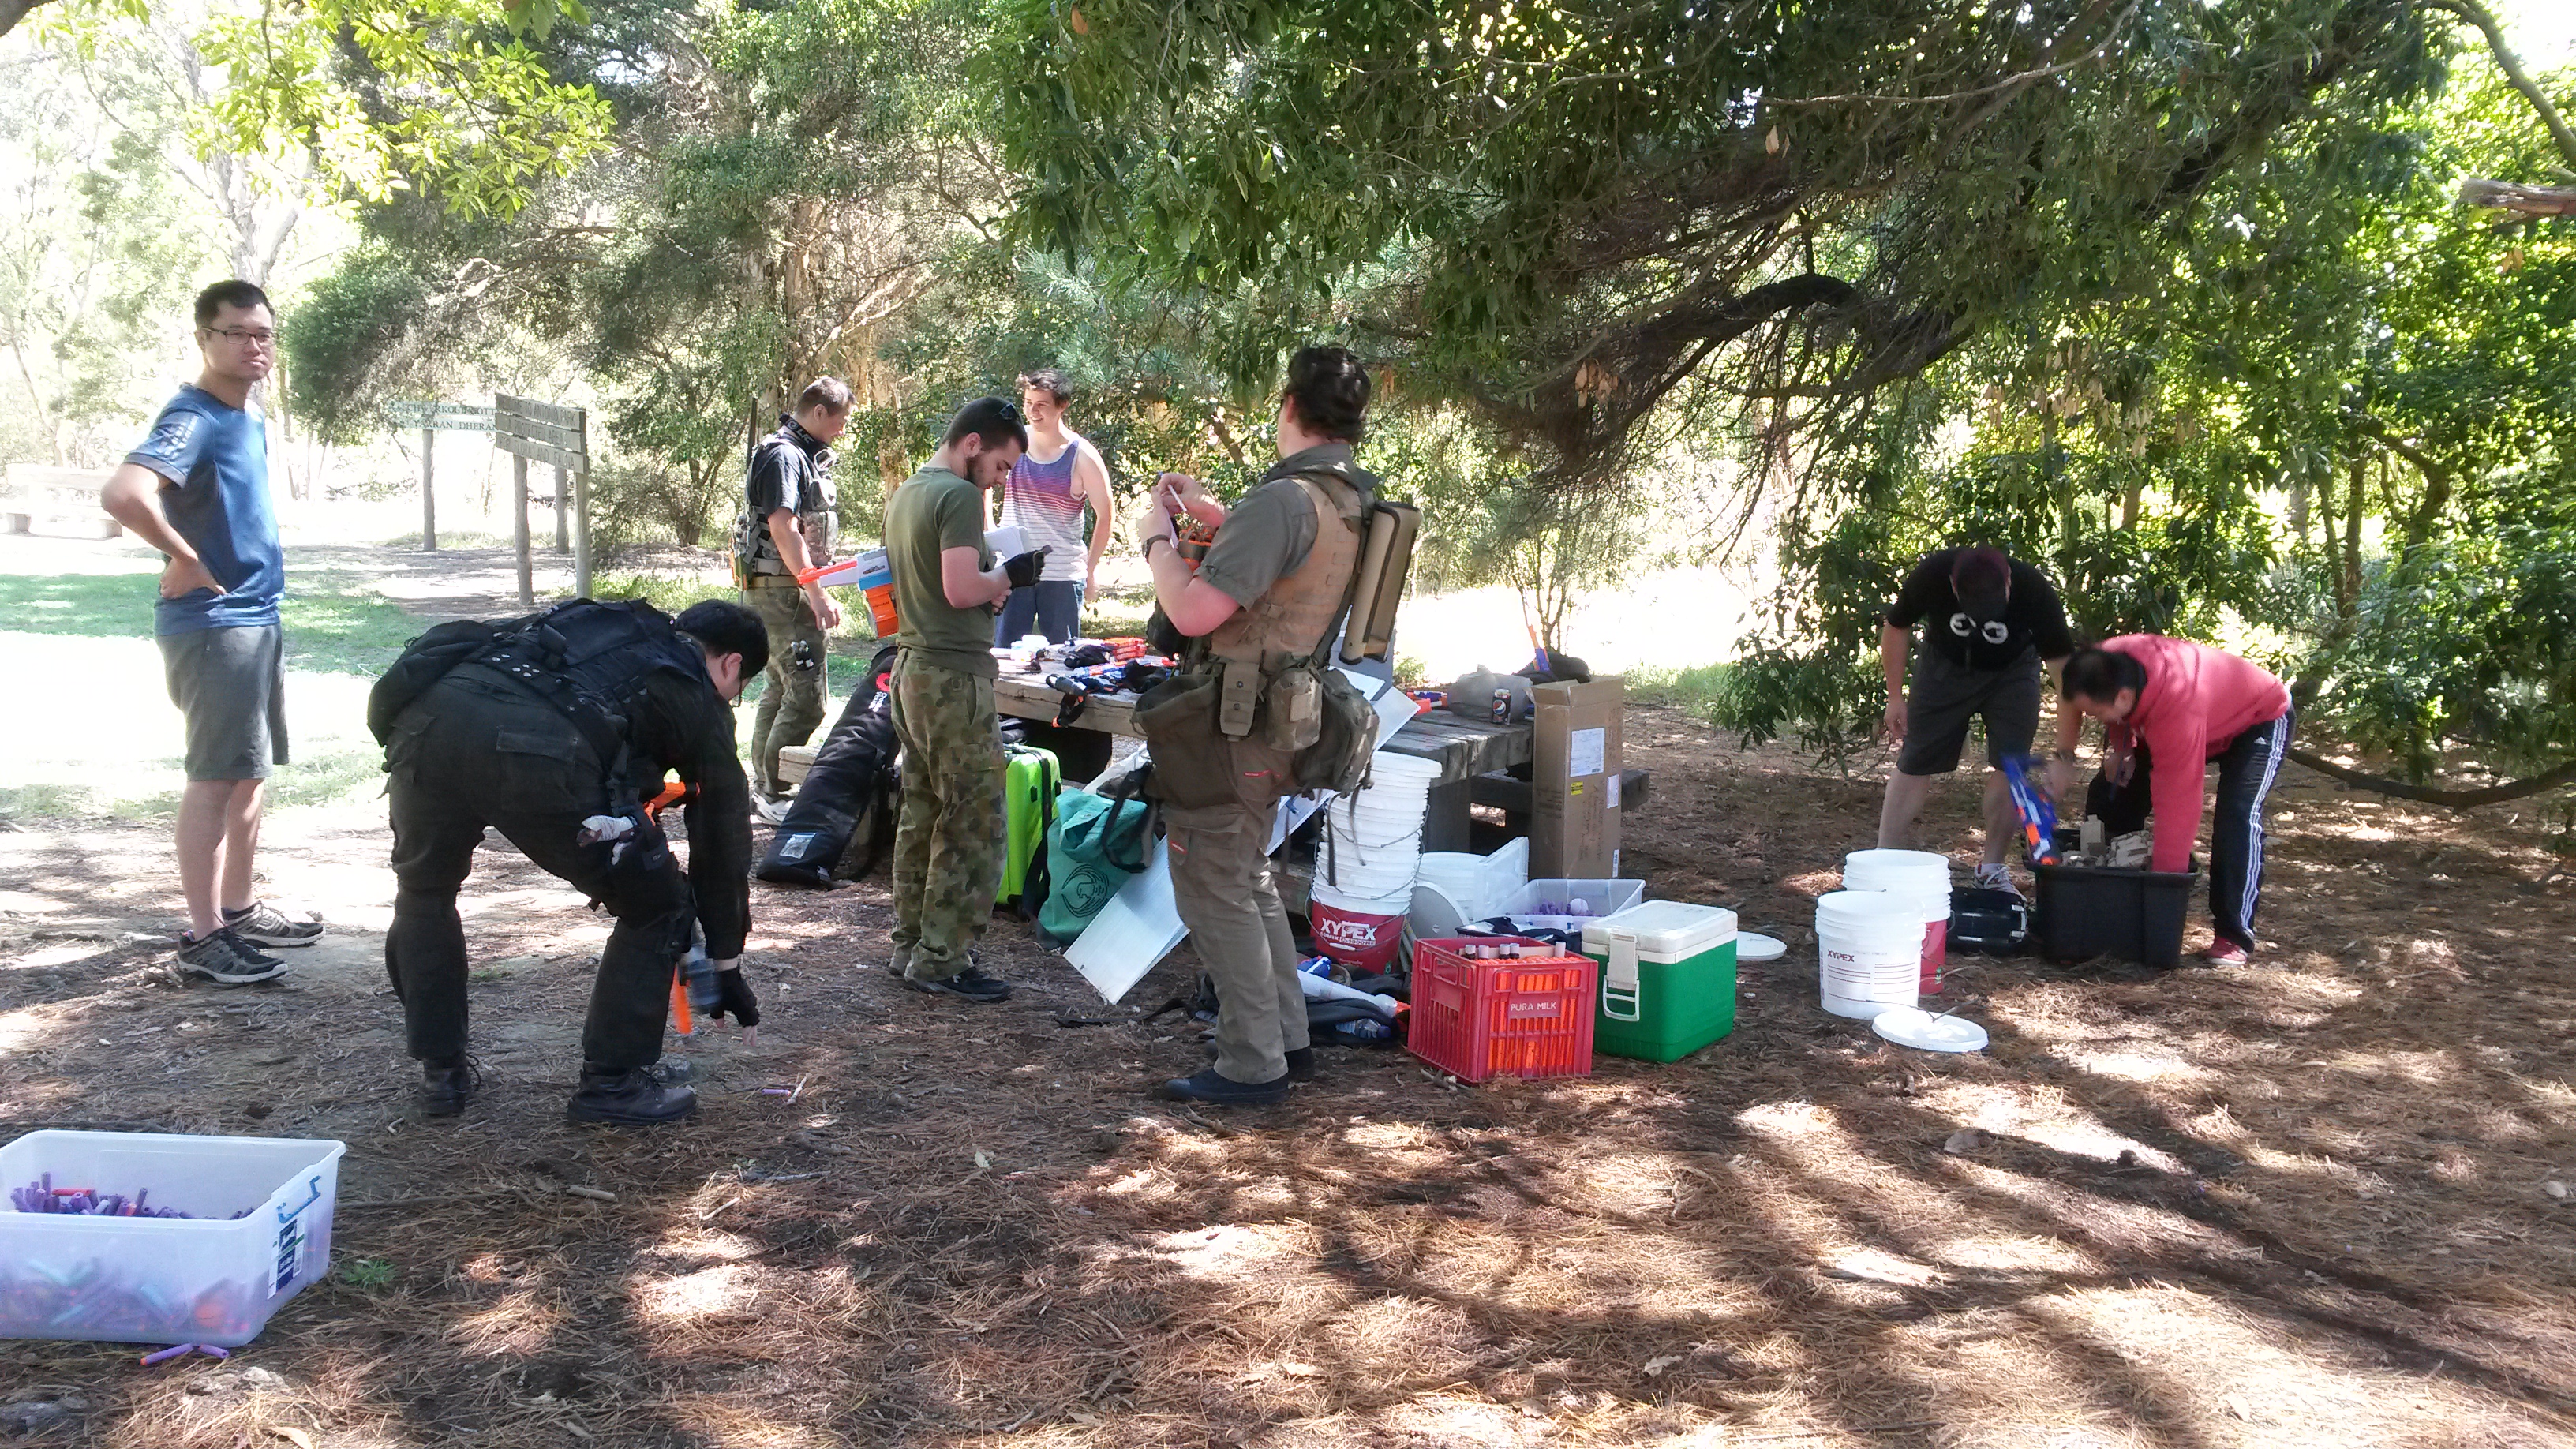 My second MLF event, with some shields and a new (to me at least) gamemode.
Base rules:
- If a player is hit with a dart, they are downed (“hit” and “downed” are often used interchangeably). When downed, they can choose to wait for a medic, or go to respawn (if the gamemode has respawns). If the downed player chooses to respawn, once they move from their spot they can no longer be revived by a medic.
- A medic revives a downed player by placing their hand on the player, counting to 3 (at a reasonable speed). Once the countdown is complete, the downed player is revived.
- A grenade hit forces a player to respawn, and they cannot be revived by a medic.
- A melee tag also forces a player to respawn. If a melee weapon is not available, the attacking player can simply tag the target player with their hand.
- A shield naturally blocks darts, but breaks when hit by a grenade – the shield must be dropped immediately and cannot be picked up by the same person for the rest of the round. Depending on the mode, other teammates may be able to use the shield.
Gamemodes:
Old:
- Kill Confirmed – very similar to Freeze Tag/Tag Teams. When a player is hit, they are downed and must wait for a teammate to revive them, which is achieved with a simple hand tag. In Kill Confirmed, all players are medics. An opposing player may tag a downed player with their hand to “confirm the kill” and eliminate them from the game. Naturally if an entire team is downed, then that team loses even if none of them are “confirmed”. The last team with surviving, non-downed players wins.
- Capture the Flag – classic gamemode, obtain both flags at your team’s flag post to win. When hit while holding the flag, drop the flag as well as being downed.
New:
- Black Hawk Down – assymetric gametype with two teams: the smaller Special Forces (SF) and larger Insurgents (who often go by a variety of less politically correct names). The SF win if they eliminate all Insurgents. The Insurgents win if they eliminate all SF, or capture the SF’s flag. The SF players are all medics and revive with a tag, while the Insurgents have a single medic.
- Team Elimination (w/ medic) – basic elimination gametype where each team has 1 medic. Last surviving team wins.
Blasters:
Only the blasters that saw significant action (that I saw) are listed here.
Regulars:
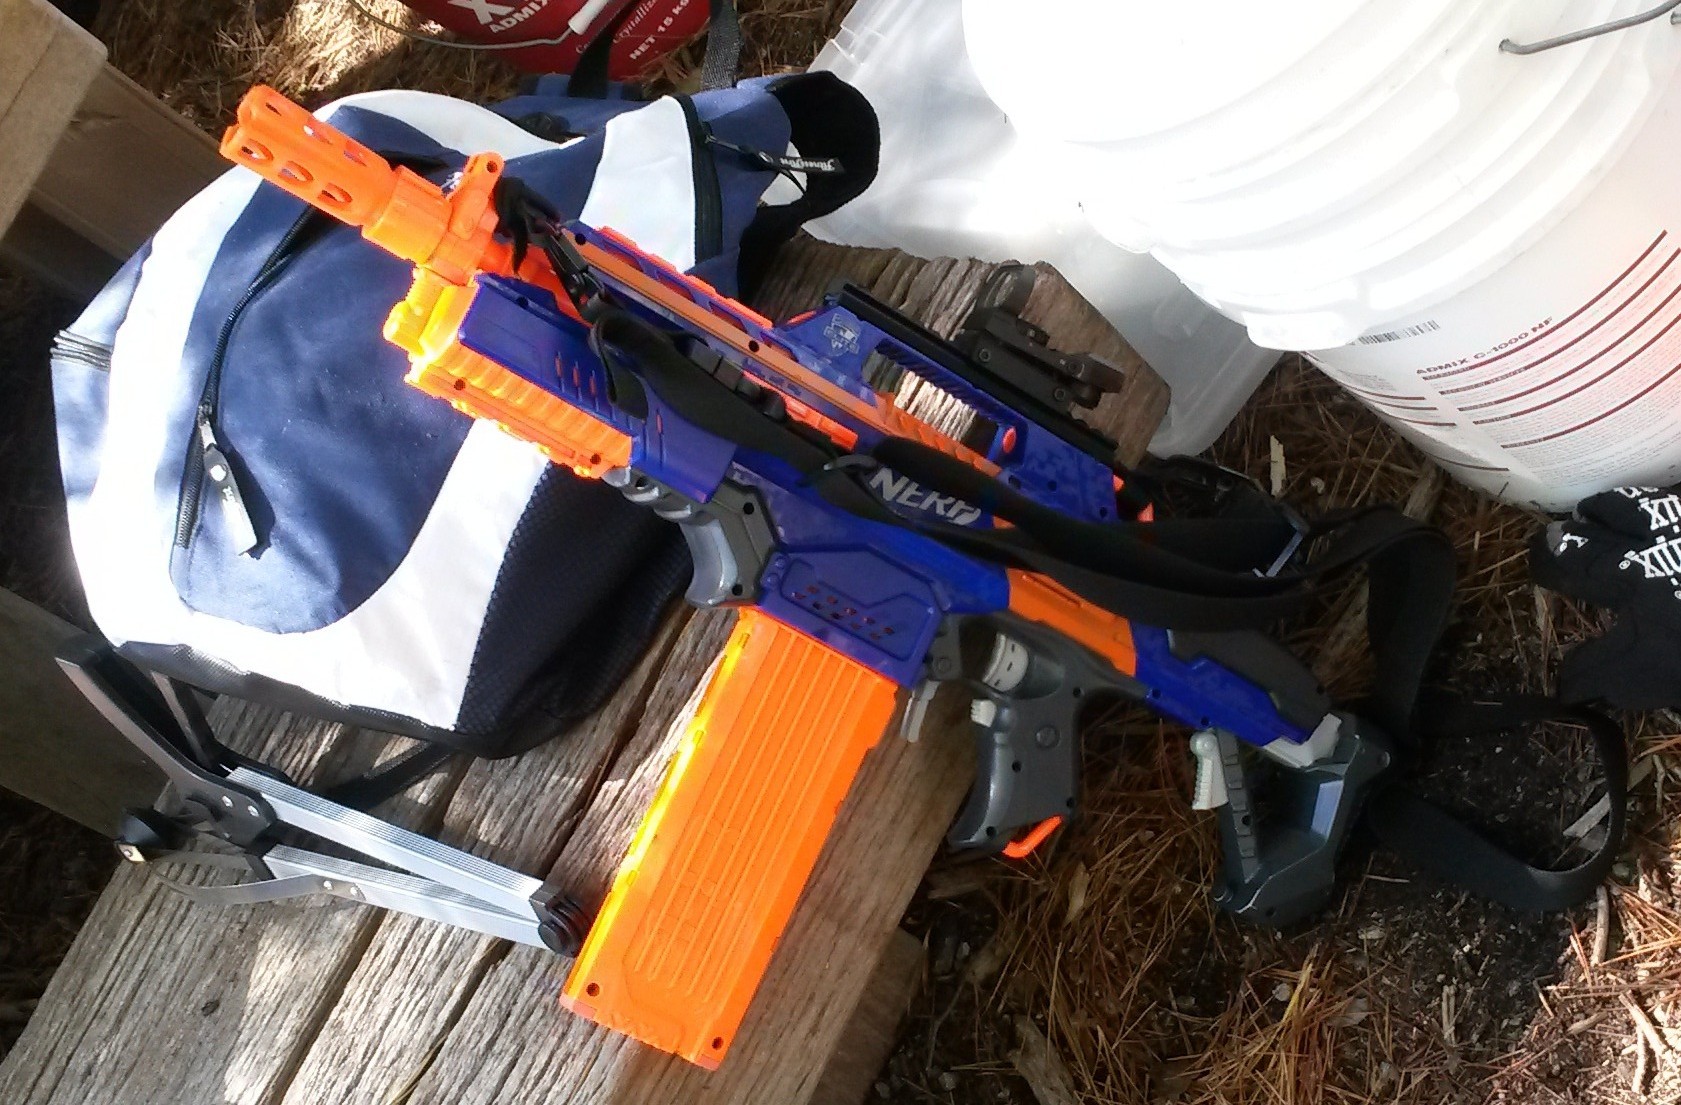
Elite Rapidstrike (various motors, LiPos) – a staple for these sorts of games, performed as usual. Excellent for raw dart output but somewhat lacking in longer range accuracy.
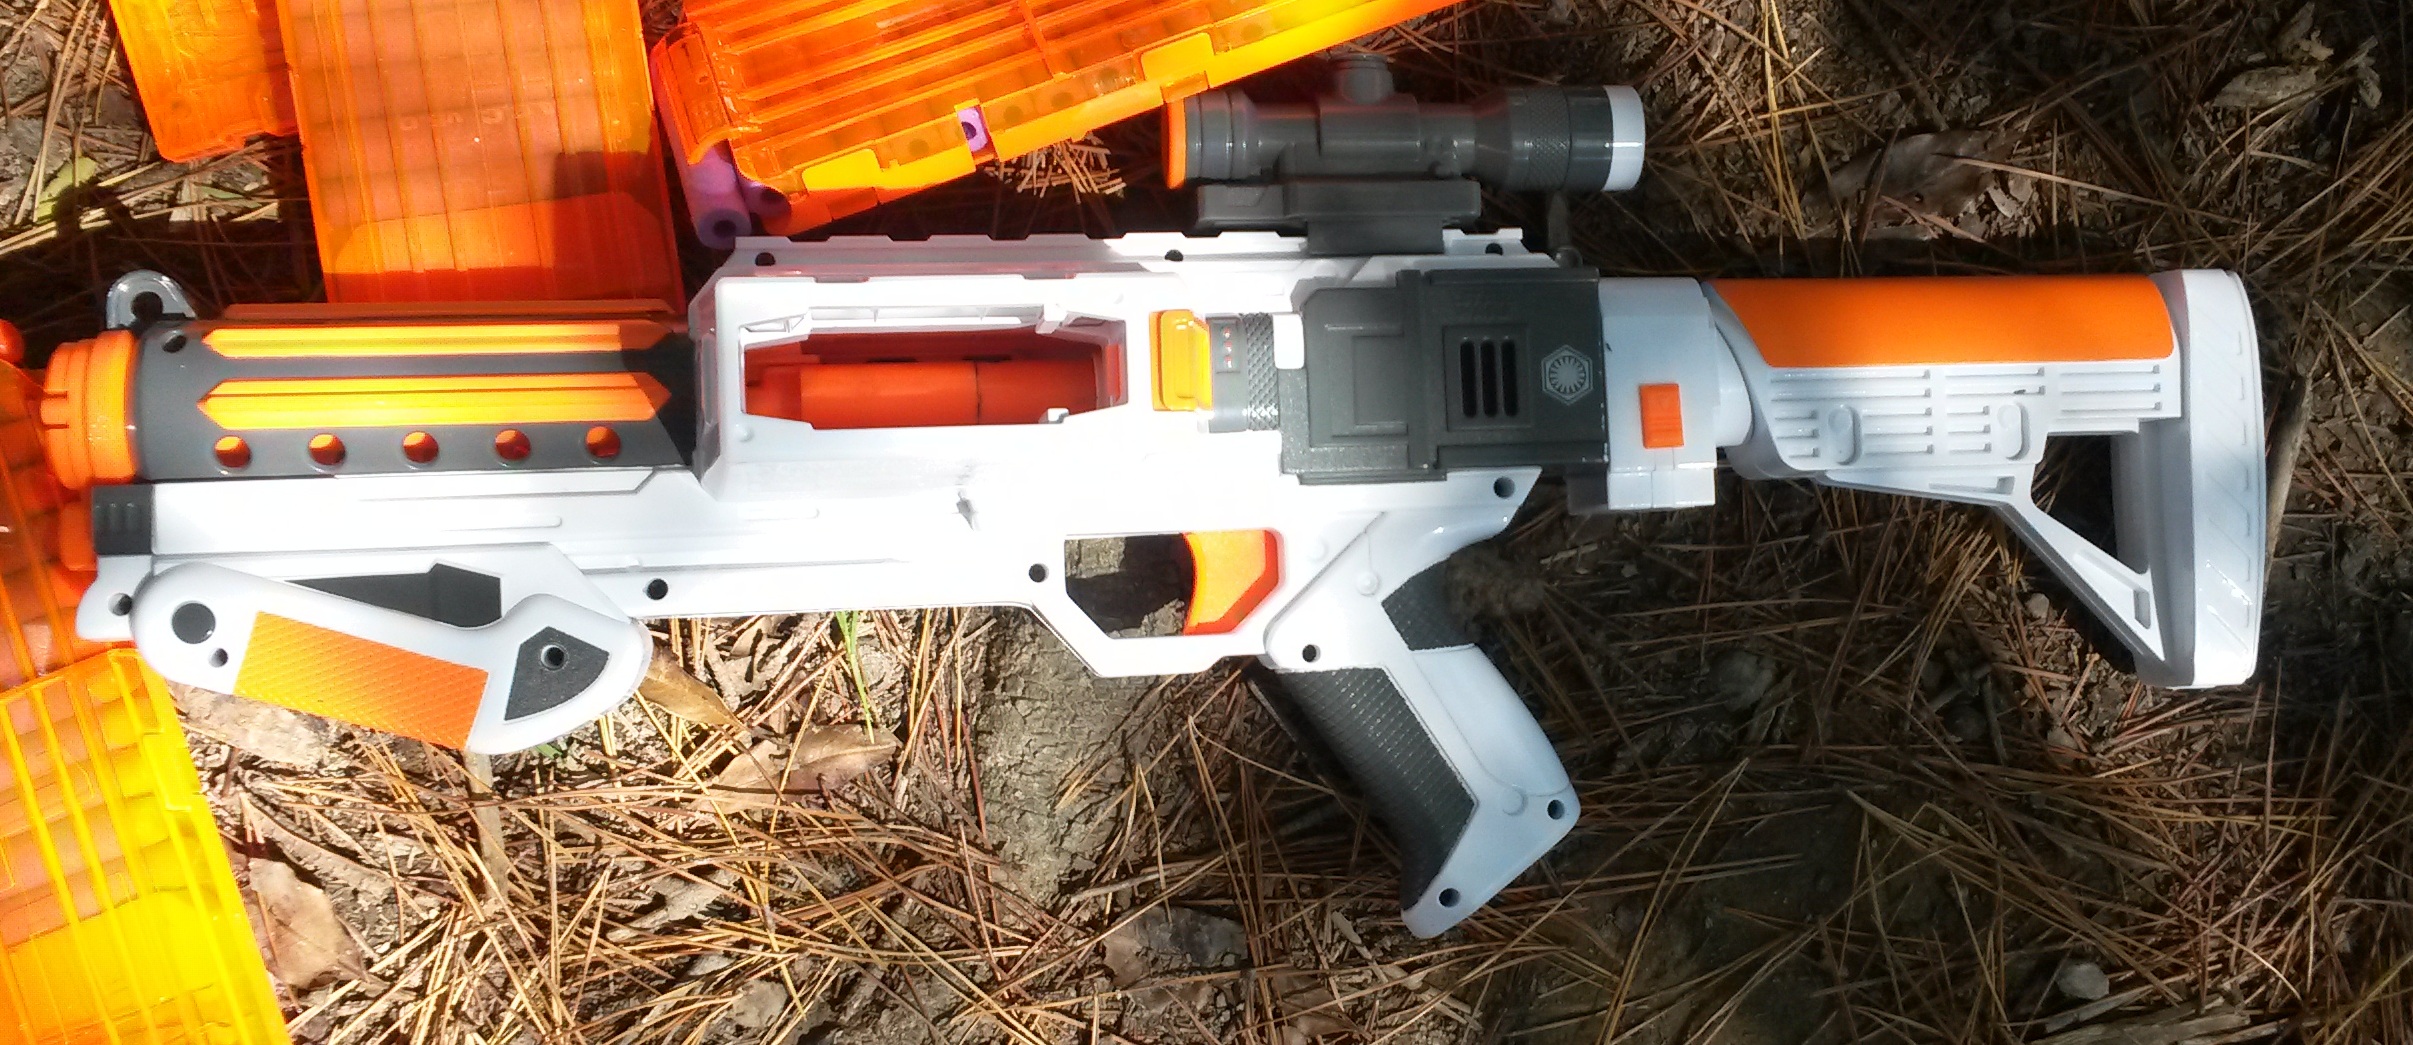 Star Wars Stormtrooper Deluxe Blaster (upgrade spring) – performed as usual, a standard pump action blaster like an EAT/Rampage. Easy to use and get the hang of, but the lack of ROF really hurts it when going up against flywheelers.
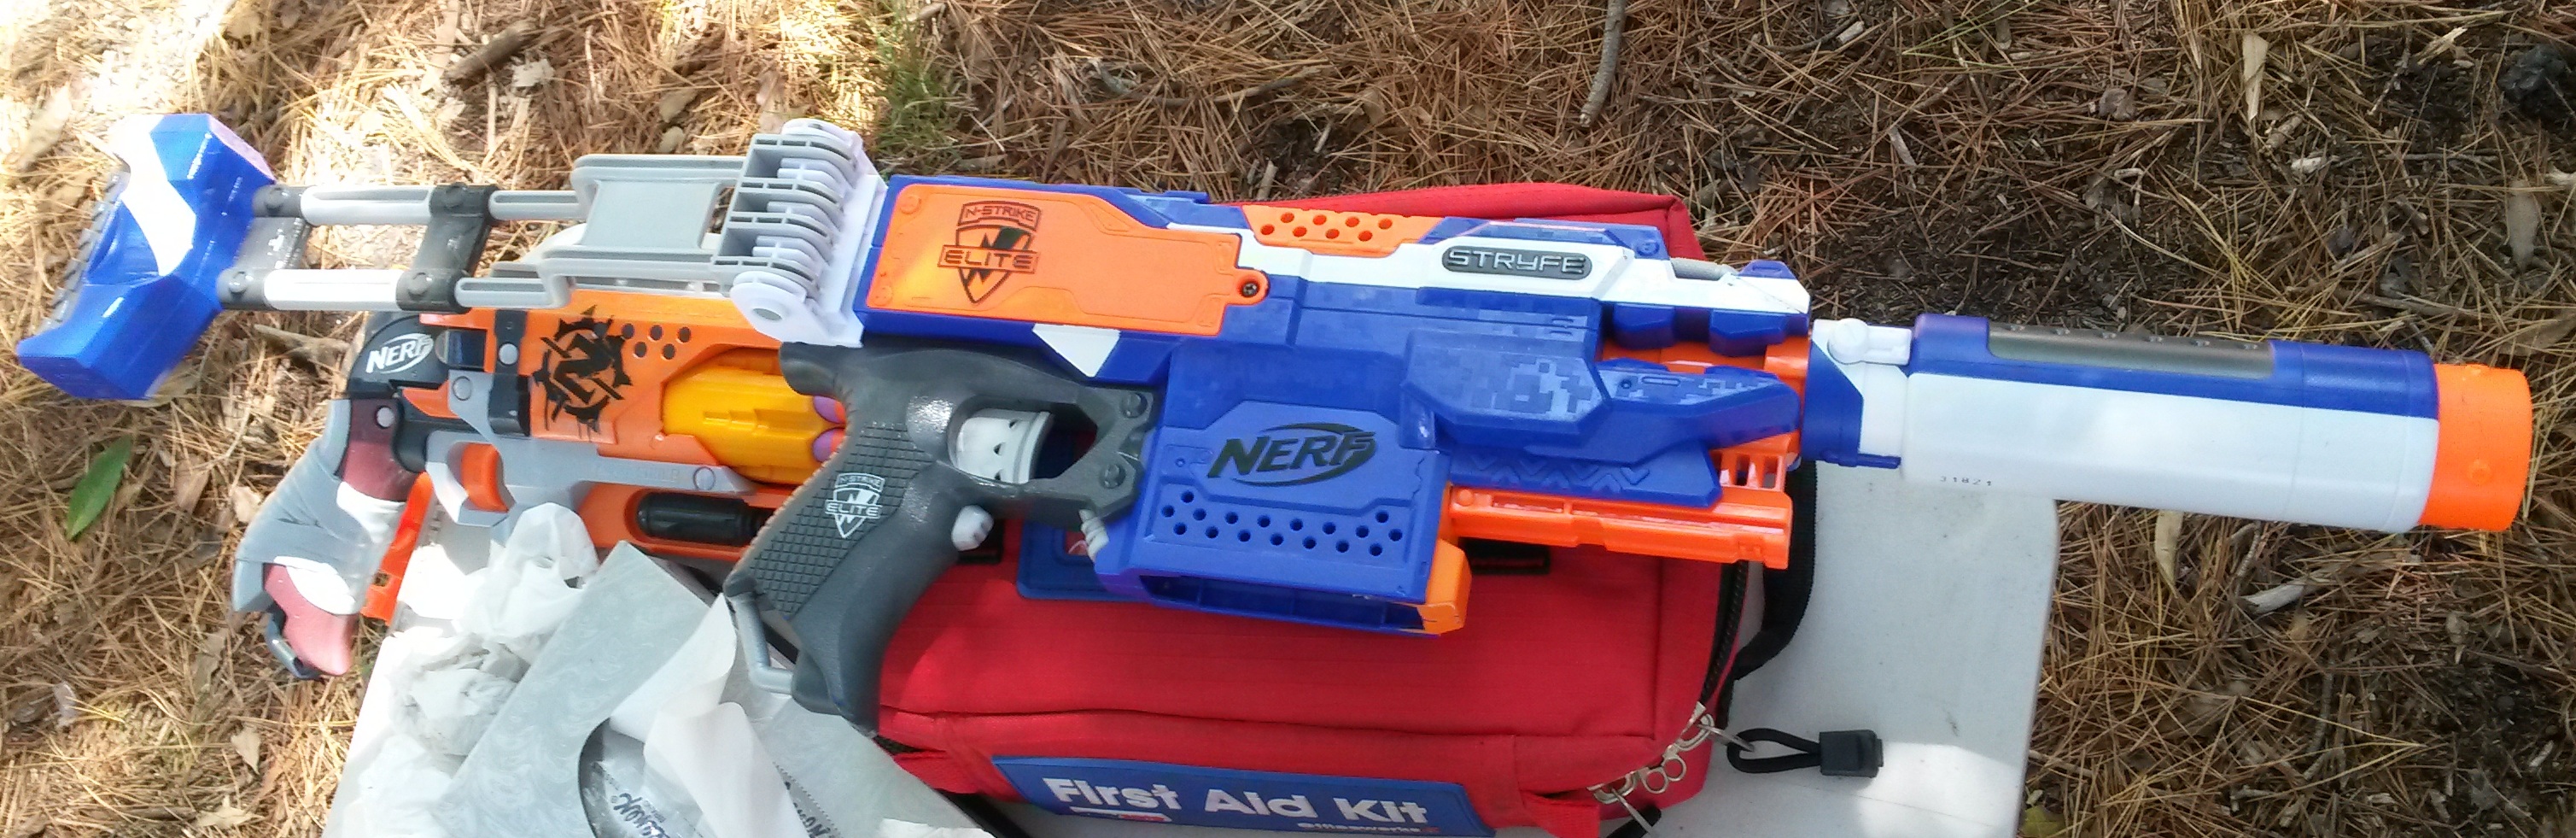

Elite Stryfe (various motors, LiPos) – the standard semi auto flywheeler, easy to use and control, and also substantially lighter than a Rapidstrike. Has lower dart output compared to a Rapidstrike, which is not usually an issue for experienced users.
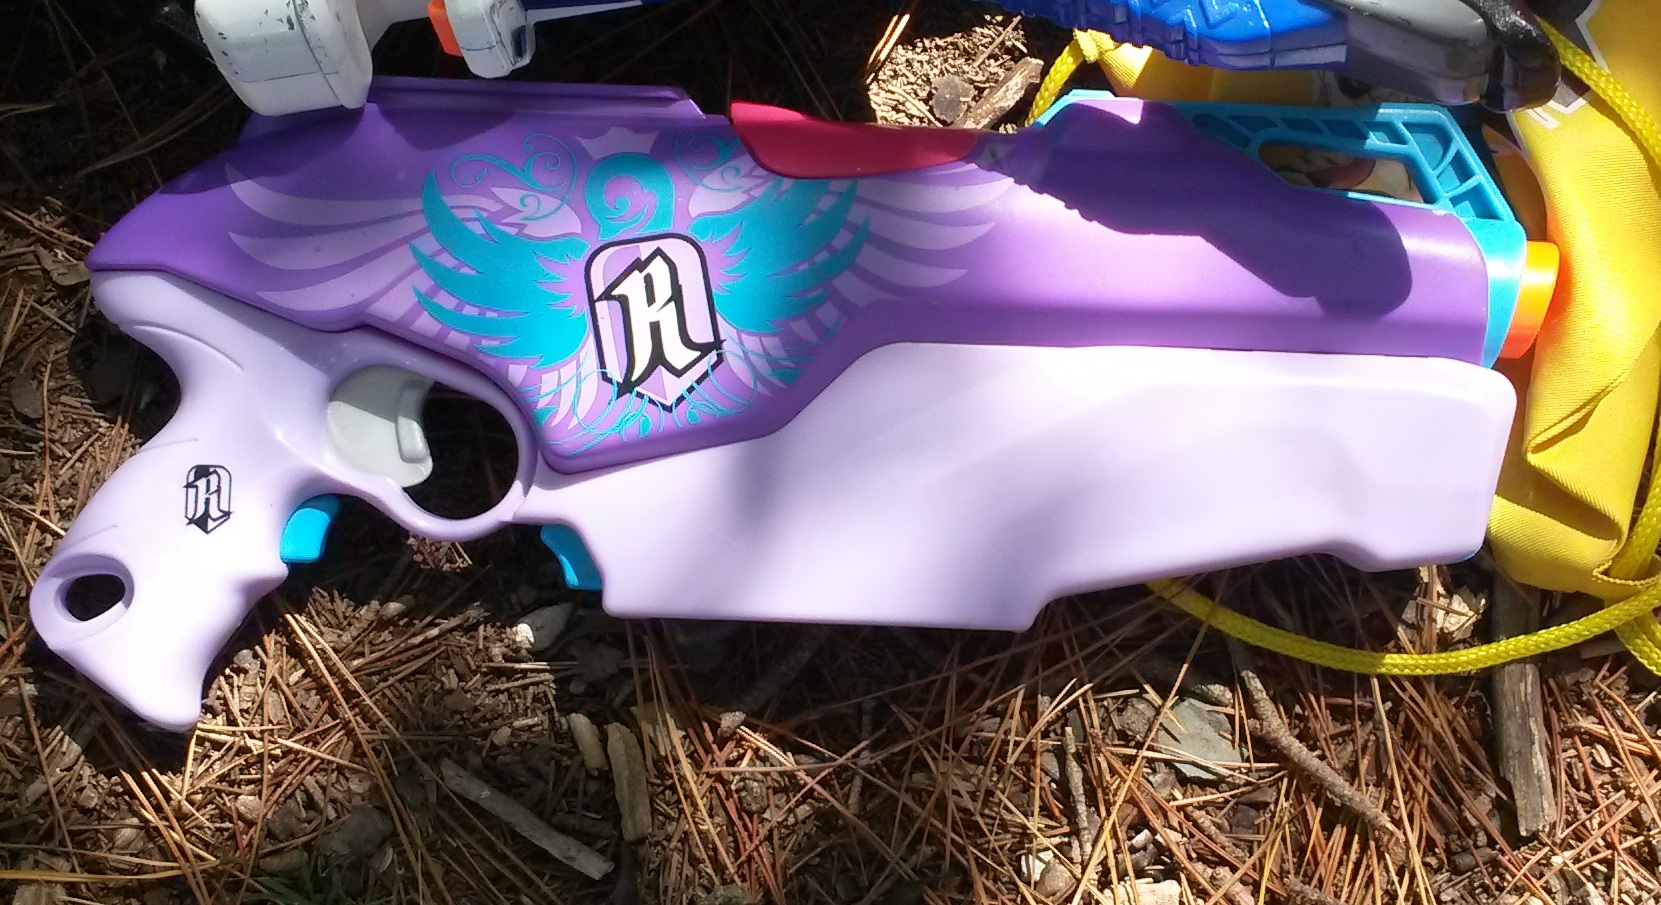 Rebelle Rapid Red (Banshee motors, 2s LiPo) – as usual, basically a stockless Stryfe. Worked fairly well, but a stock does help stabilise shots.
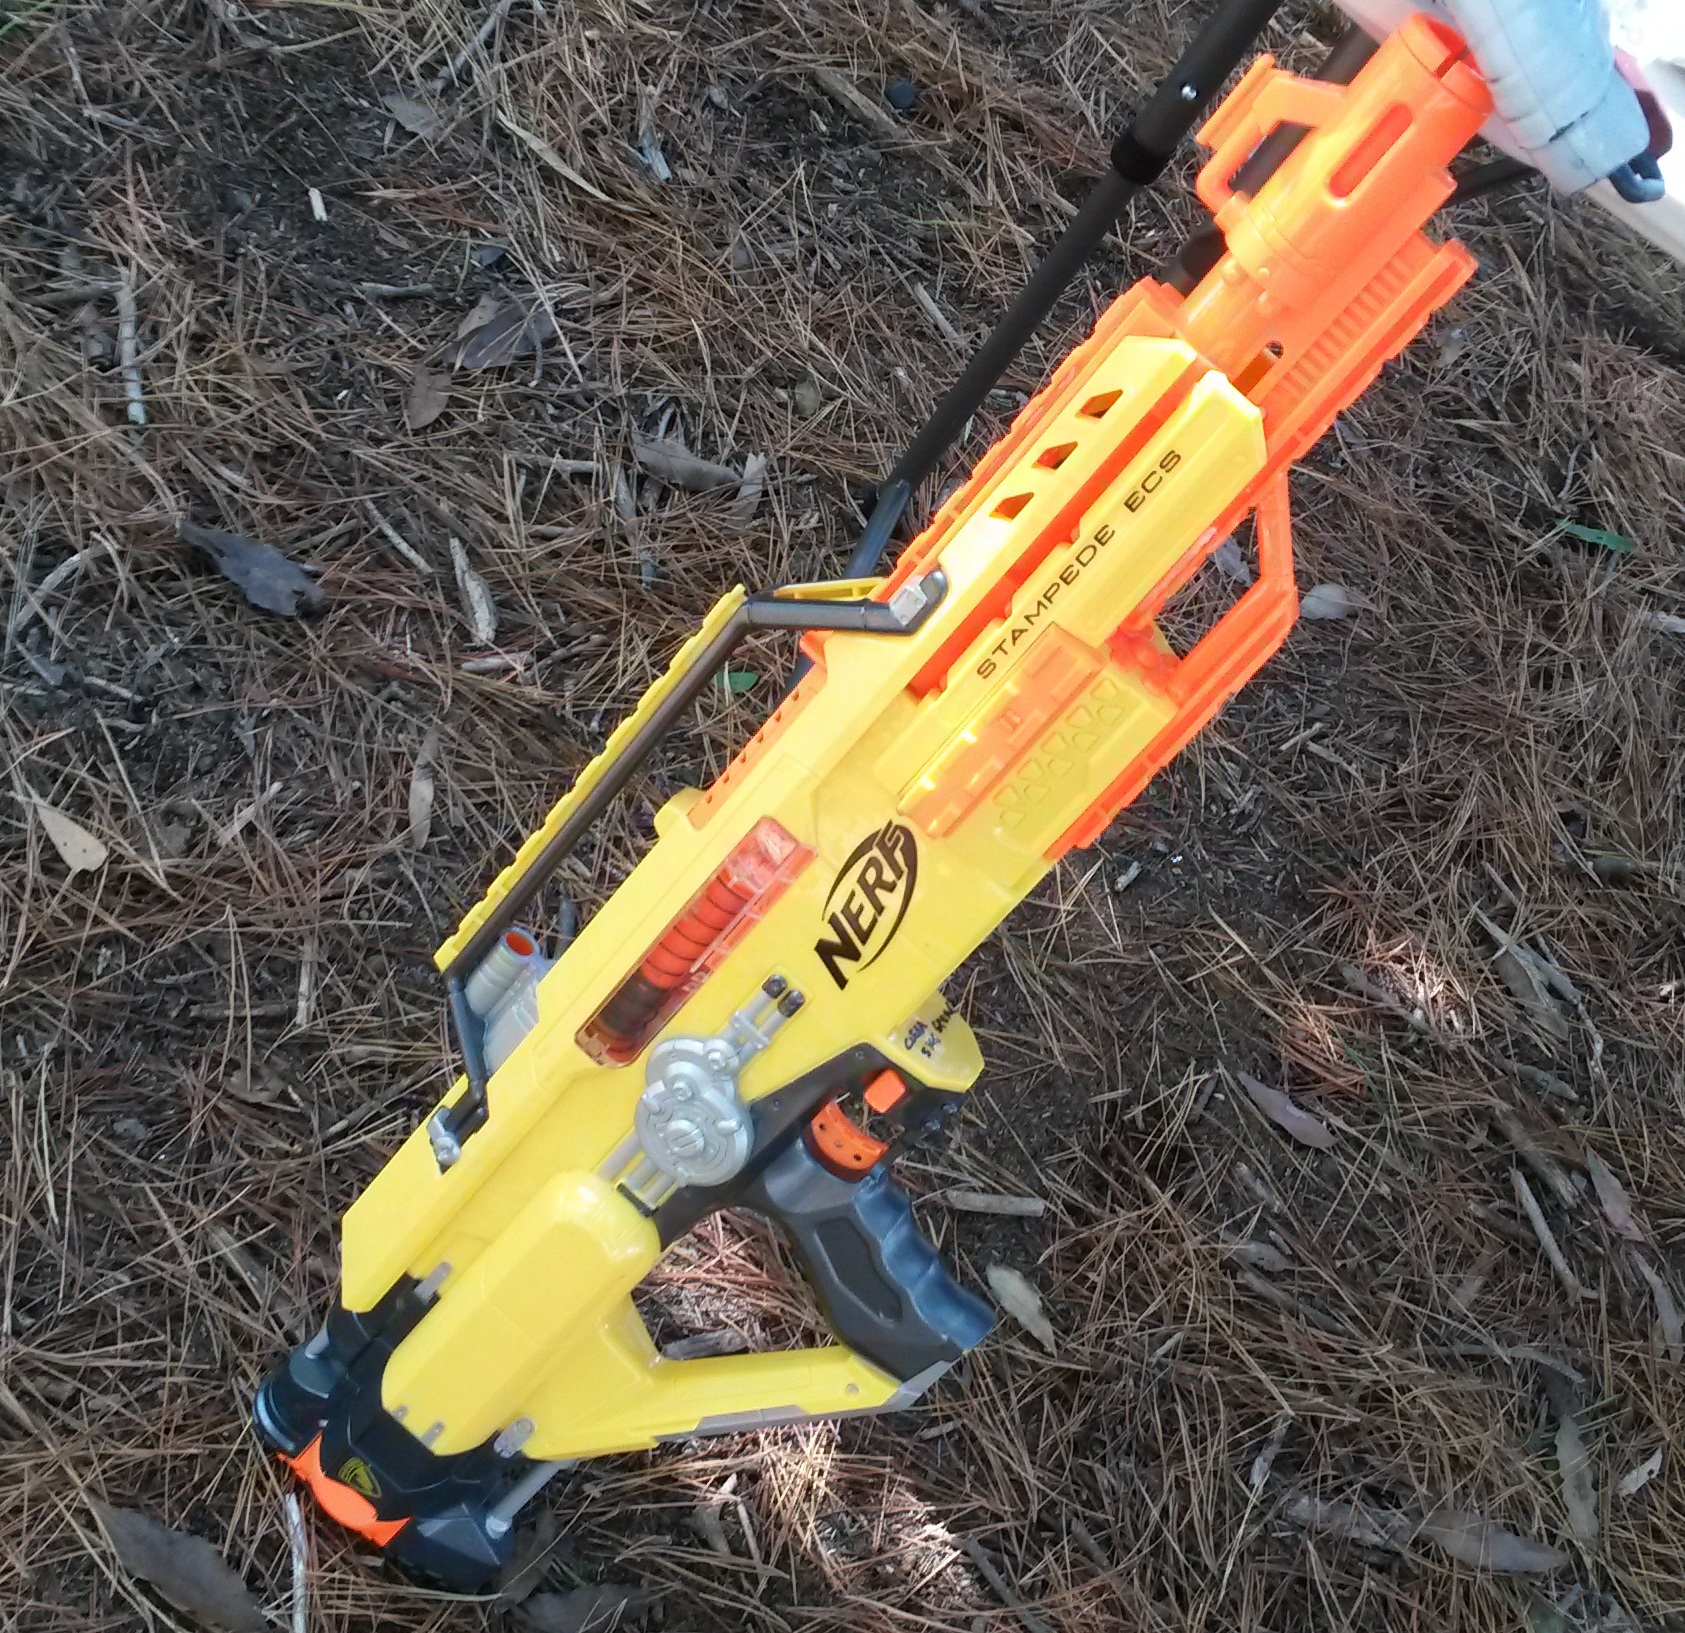 N-Strike Stampede (~5kg spring, Trustfires [soon to be upgraded to LiPo]) – had the range to compete with most other blasters, and has enough ROF to be usable. Flywheelers still beat it for ROF, but that’s not usually a big issue if utilised correctly. Worked decently well, though personally I’d prefer a flywheeler.
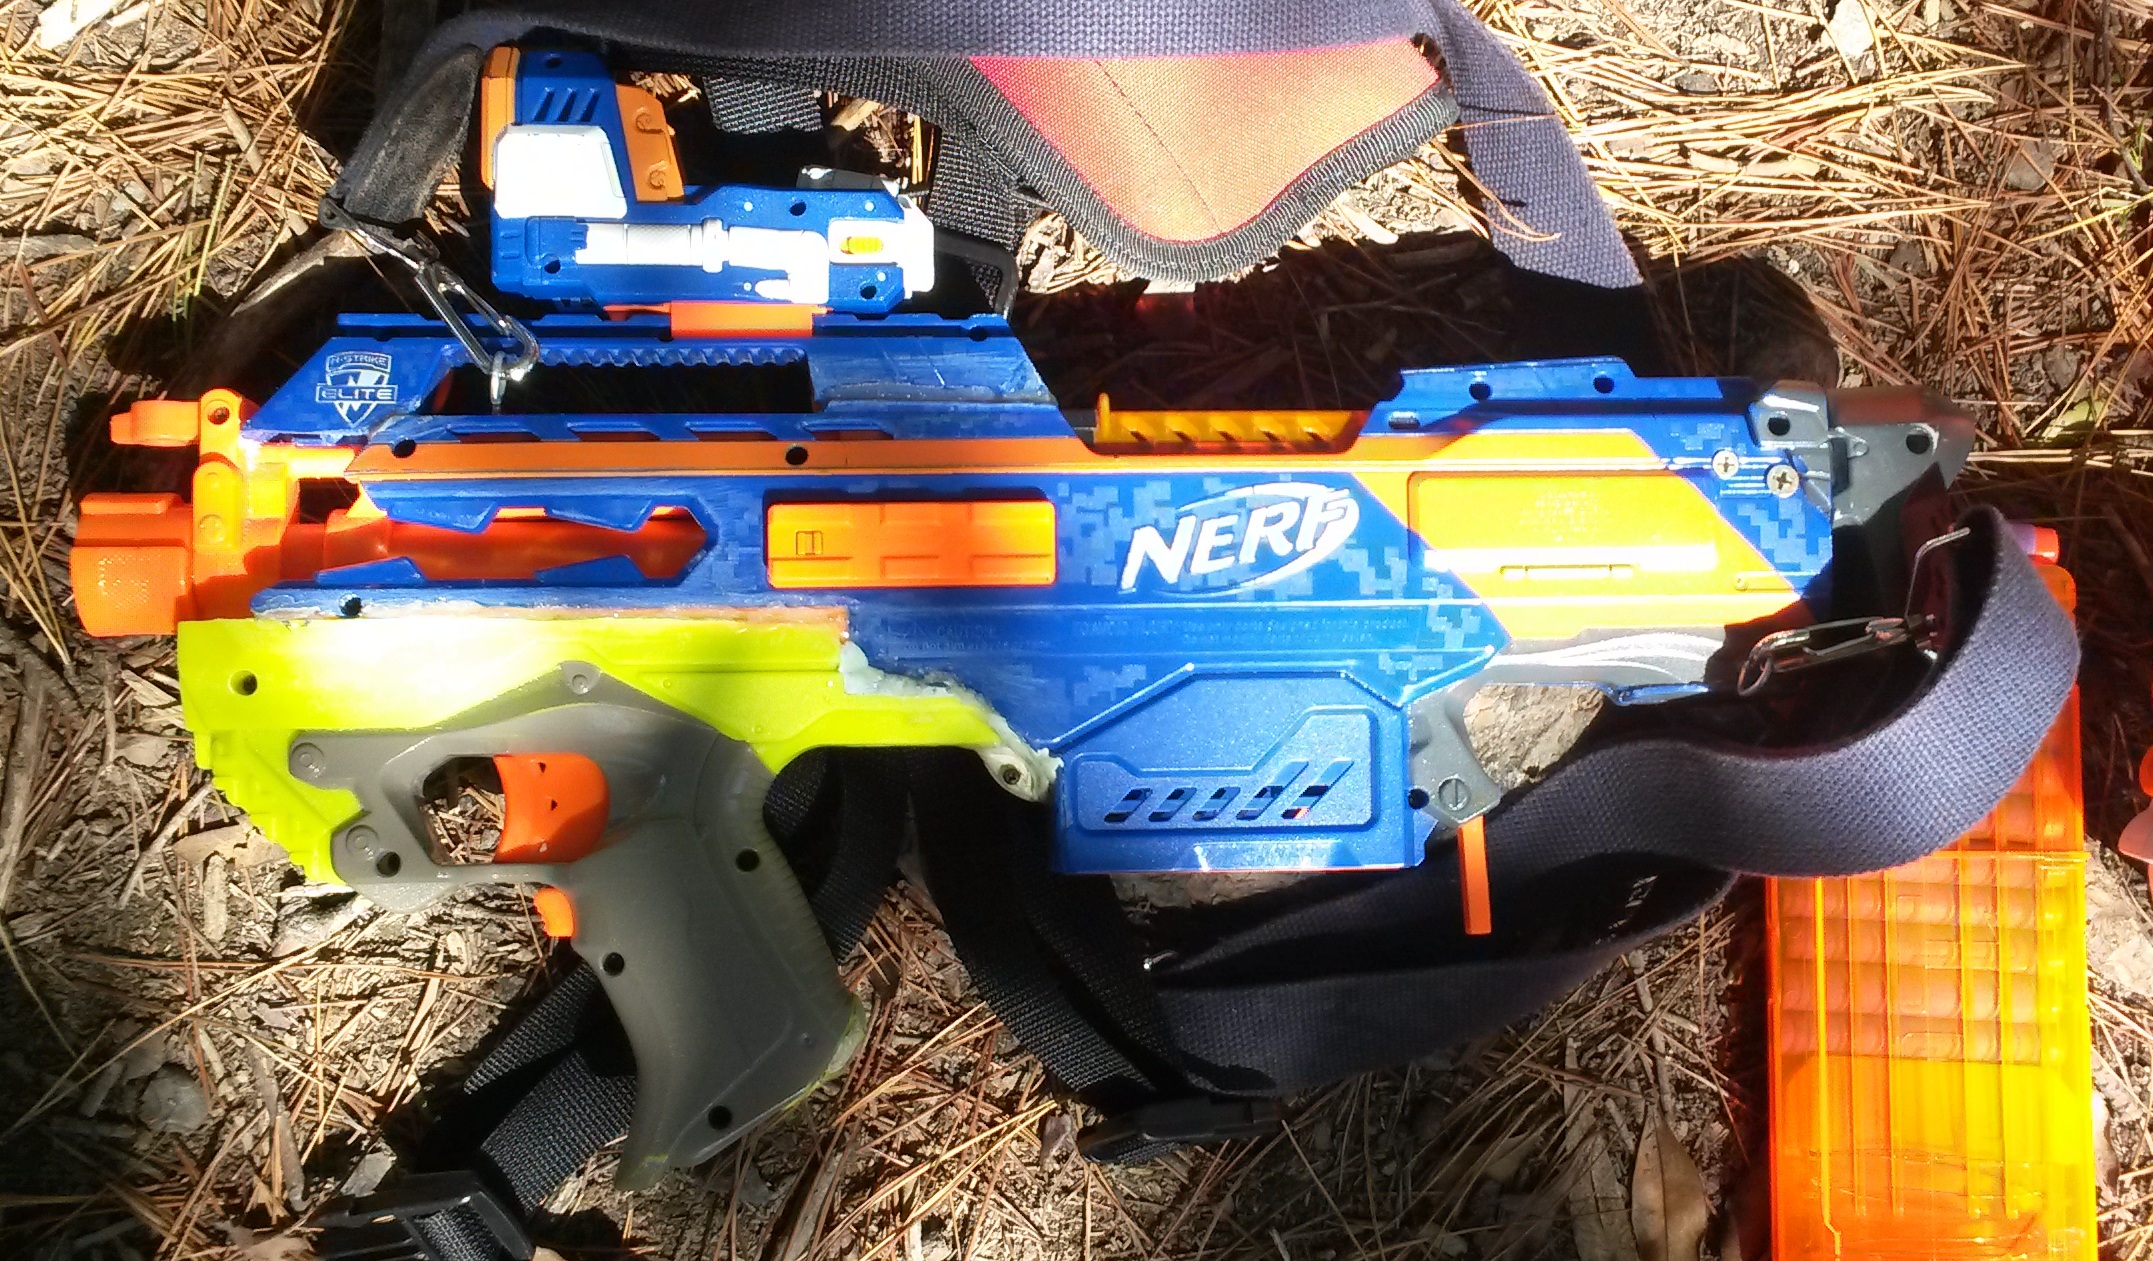
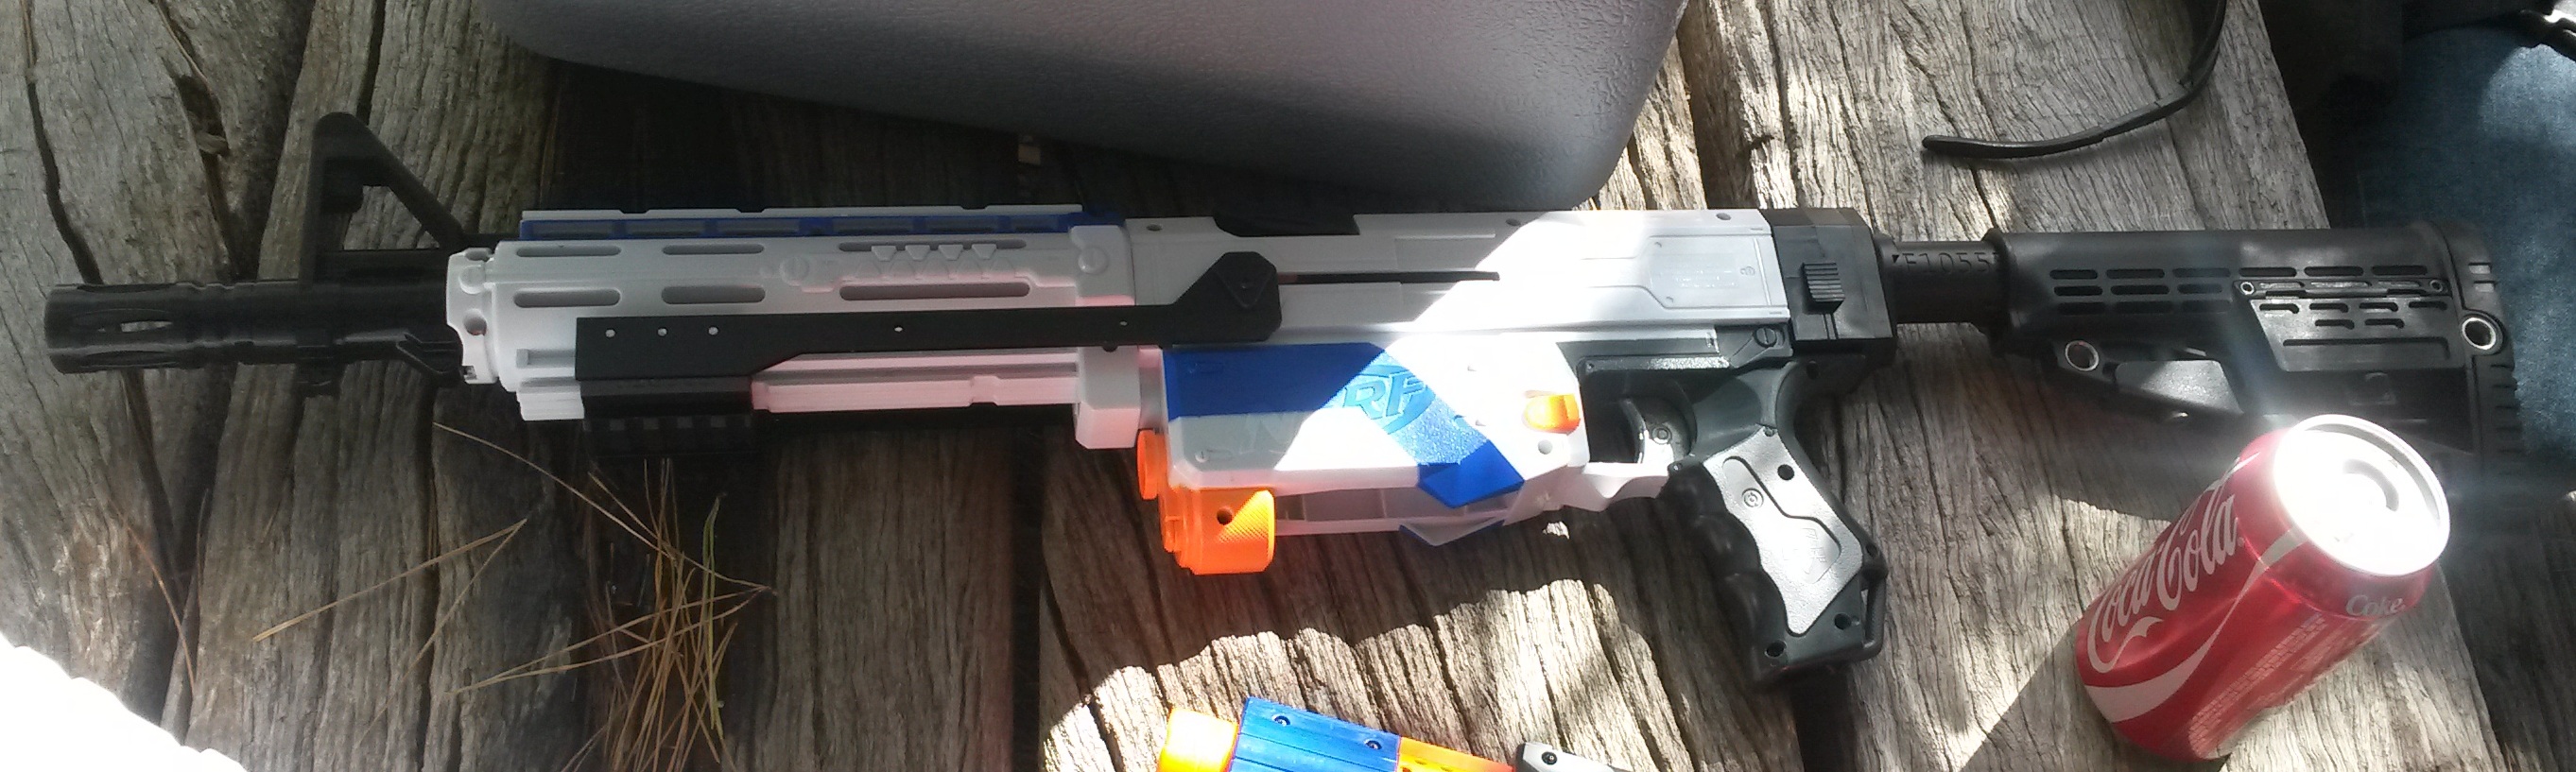
 N-Strike Longshot (Remedy Metal internals, pump grip) – powerful long range blaster. A muzzle attachment has been added to bring it under the 150fps limit (without said attachment the LS averages about 180fps). Somewhat vulnerable in close quarters and against multiple opponents due to its relatively slower ROF compared to most other blasters, particularly flywheelers.

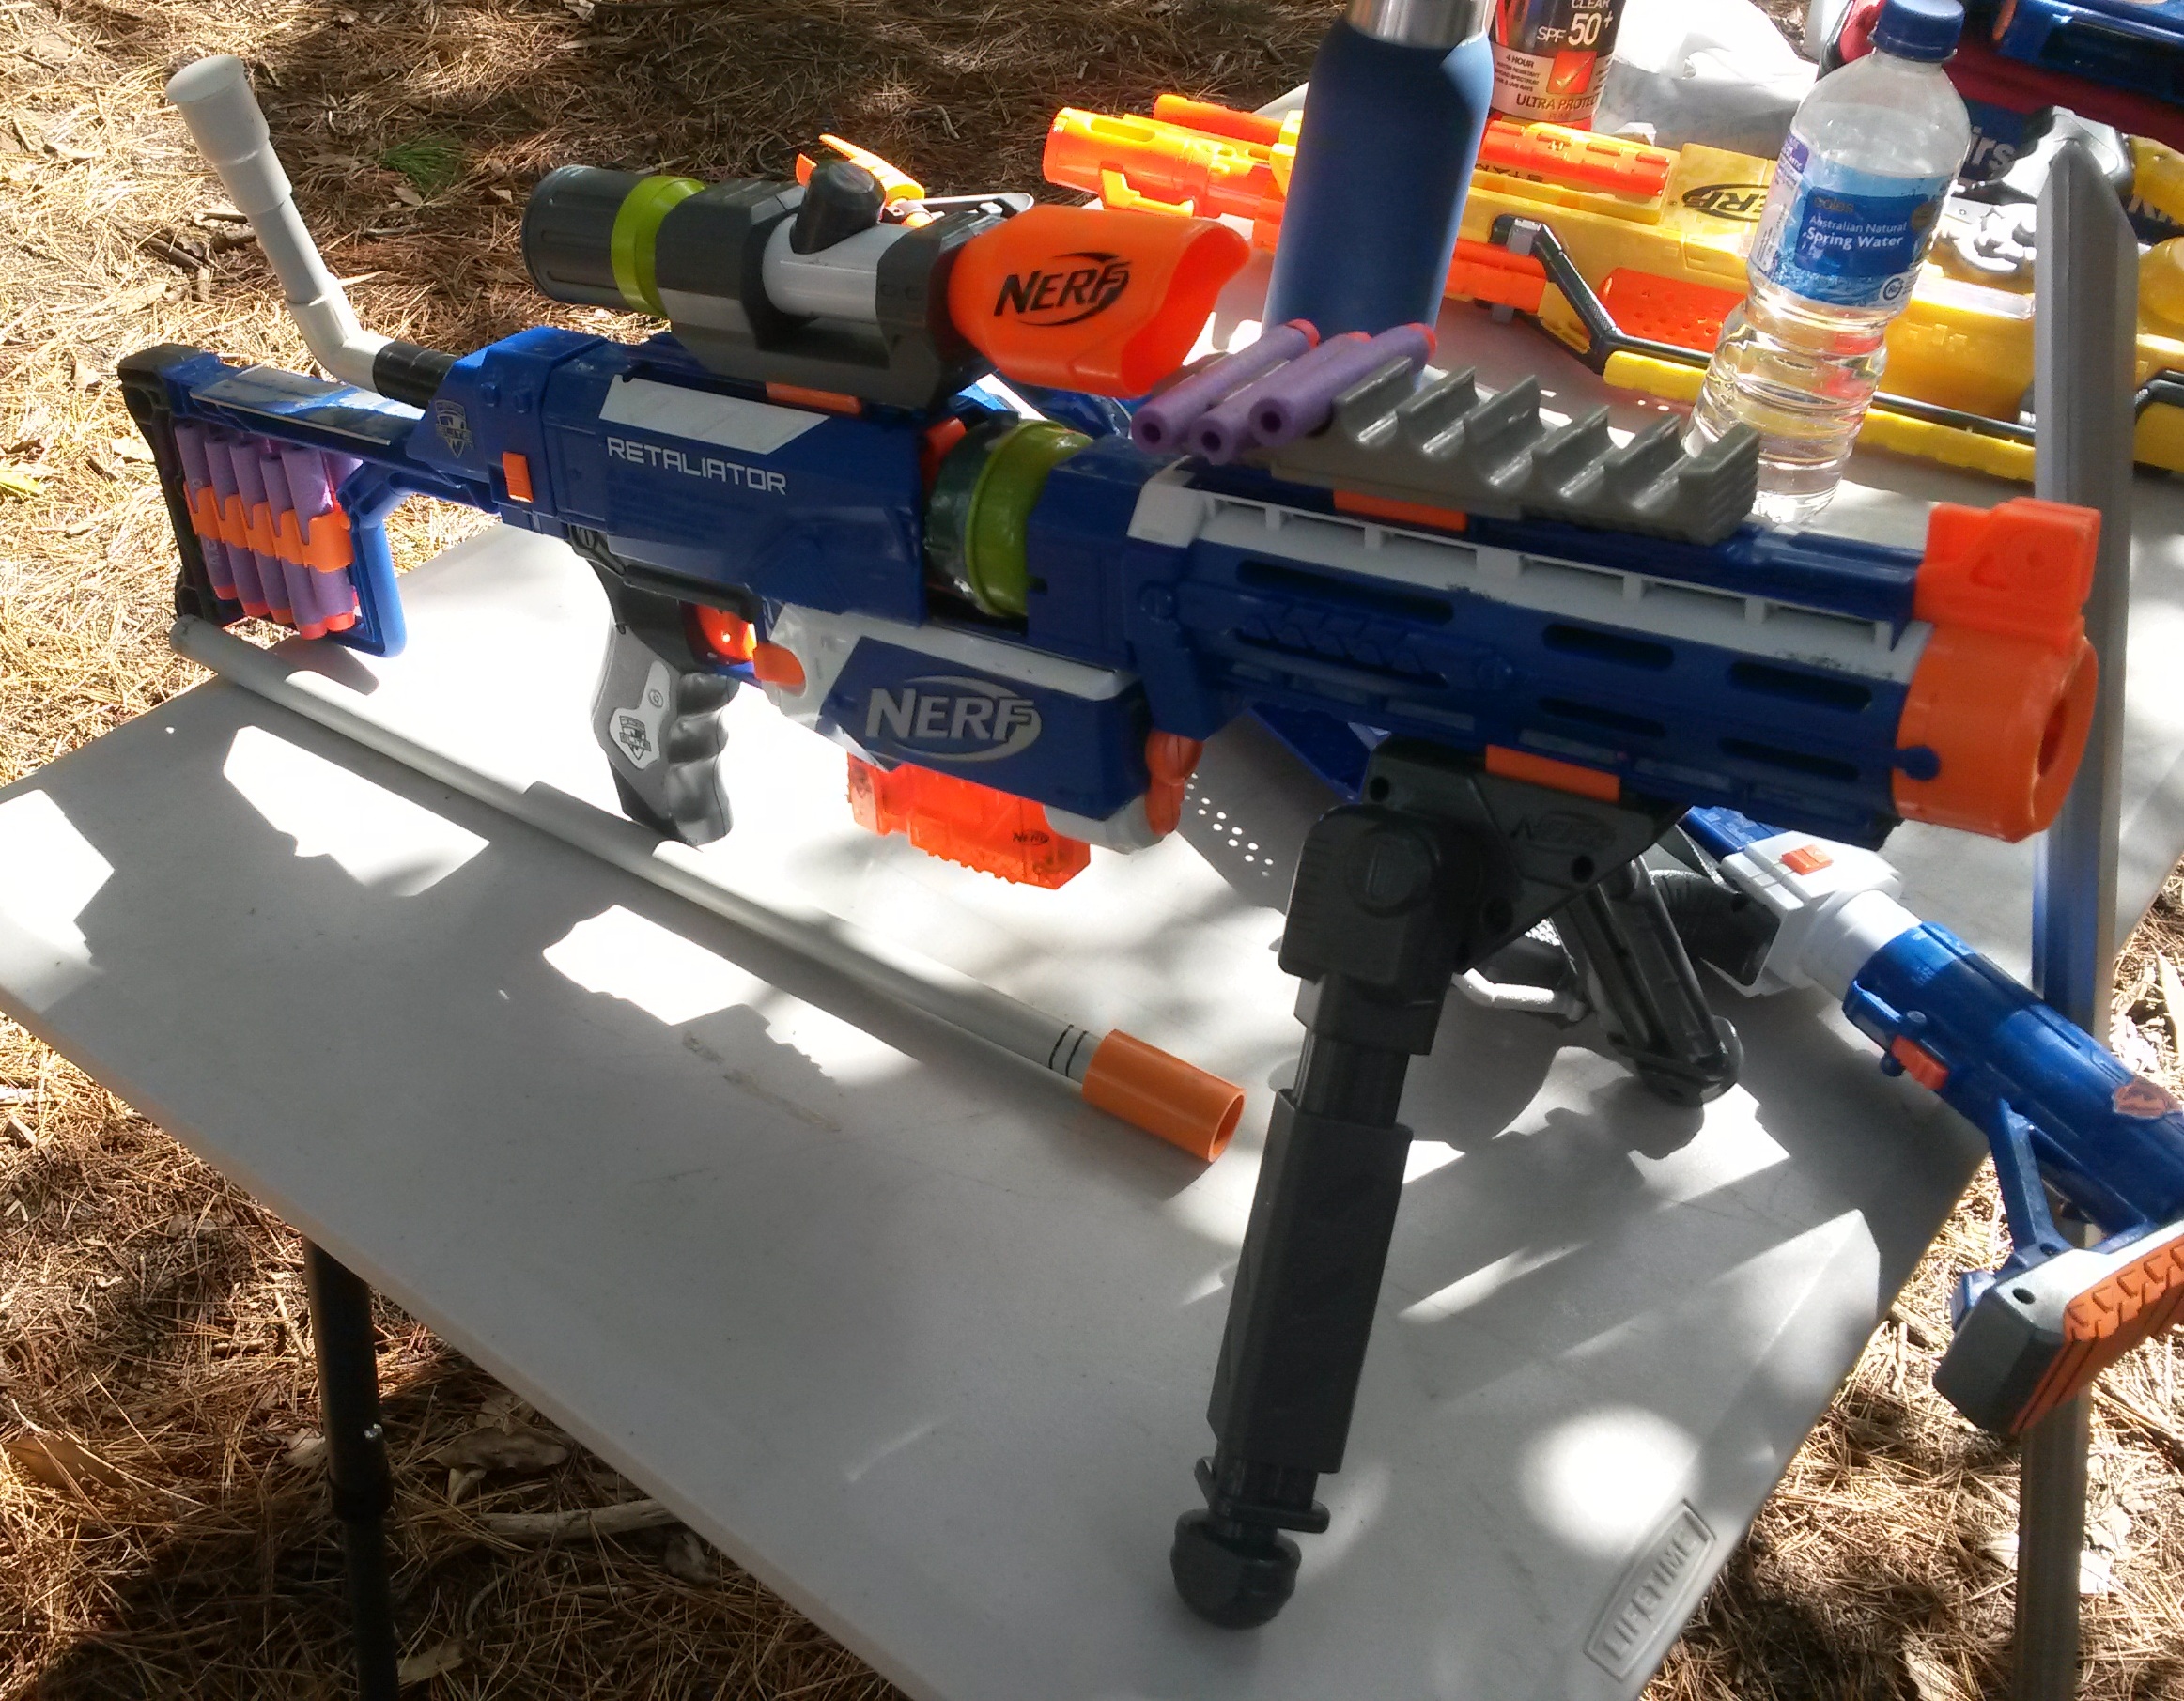
Elite Retaliator (pump grips, various upgrade springs) – the standard “higher end” pump action. More expensive to build than EATs or Rampages, but generally ergonomically superior and also more powerful and robust. Generally fairly accurate as well, giving it an advantage over flywheelers.
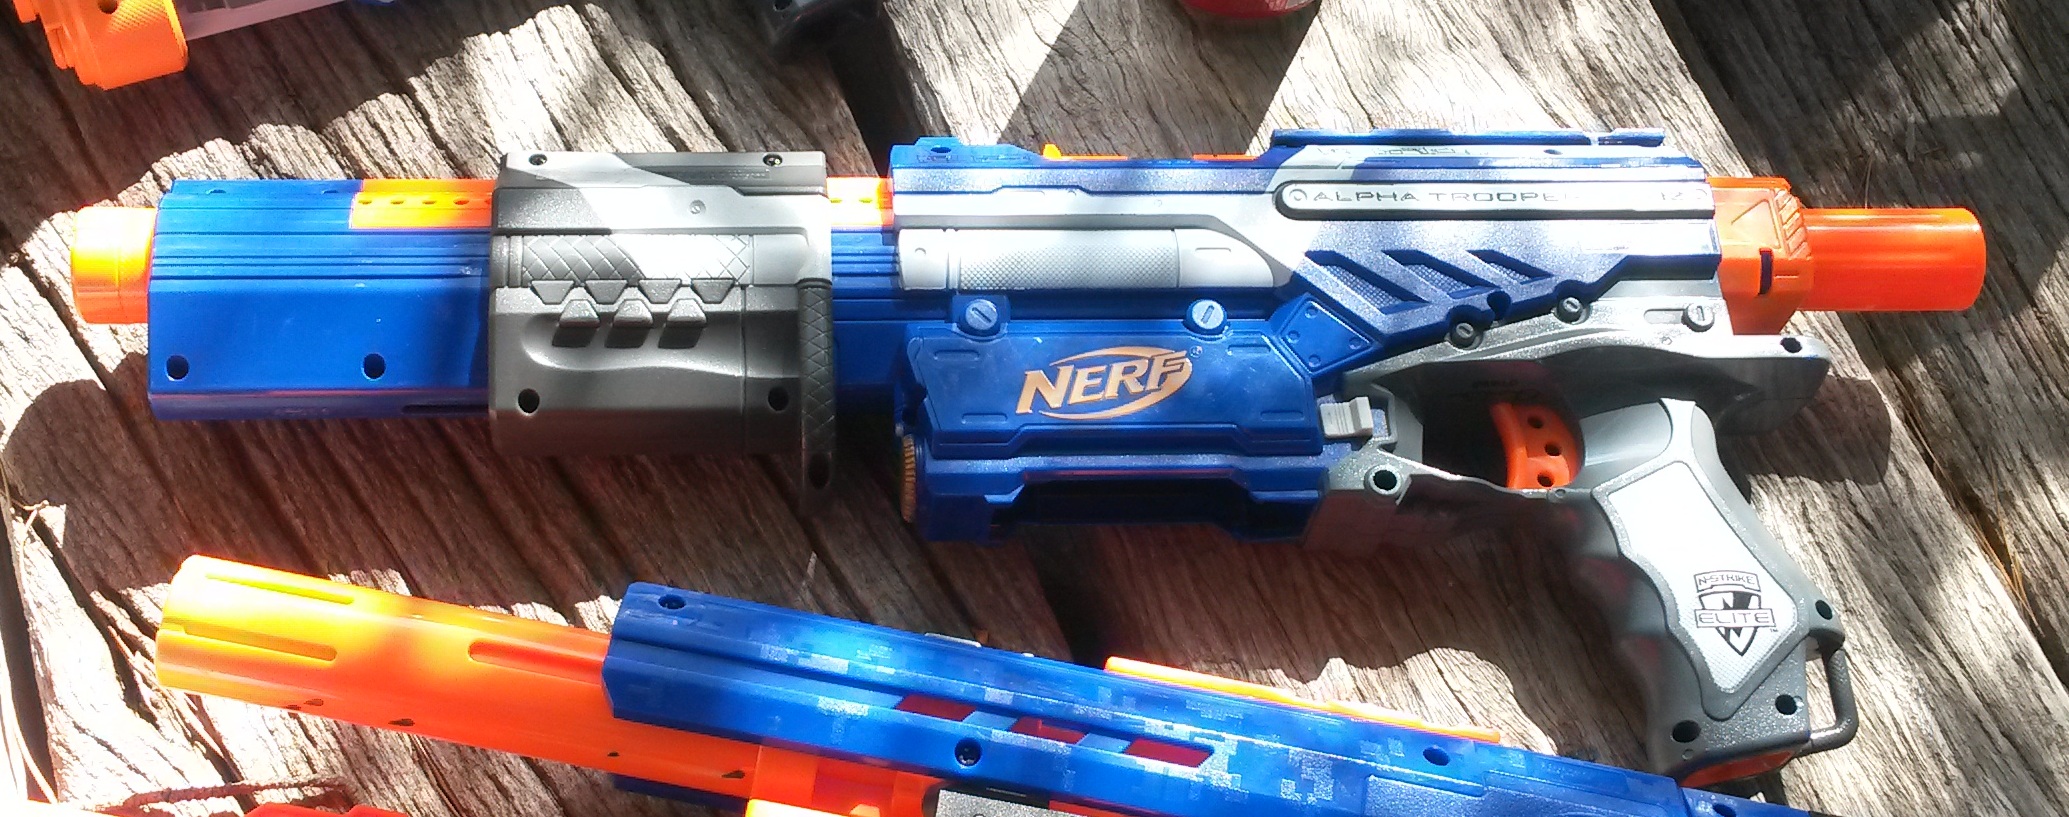 Elite Alpha Trooper (upgrade springs) – the standard pump action. Fairly easy to use and decently effective, though the substantially lower dart output than flywheelers can be an issue in combat.
 Buzz Bee Ultimate Missile Blast inside Retaliator – extremely powerful blaster capable of very long range shots, though at such ranges the darts tend to go wild. Extremely slow ROF by virtue of having to be pumped up for every shot, and being breech loaded. Certainly not my style of blaster, and generally didn’t appear to be particularly effective for actual hits. Also very vulnerable in close quarters.
New:
 Buzz Bee Sentinel (US spec, stock) – these things are absolutely loved by many members of the Nerfing community in the US, and for very good reason. The US spec Sentinel spring is extremely strong, probably 2-3x stronger than a stock Aus spec spring. As a result, a stock Sentinel is comparable in power to a spring upgraded EAT. Though the lever action does slow its ROF down considerably, having such power out of a stock blaster is insane.
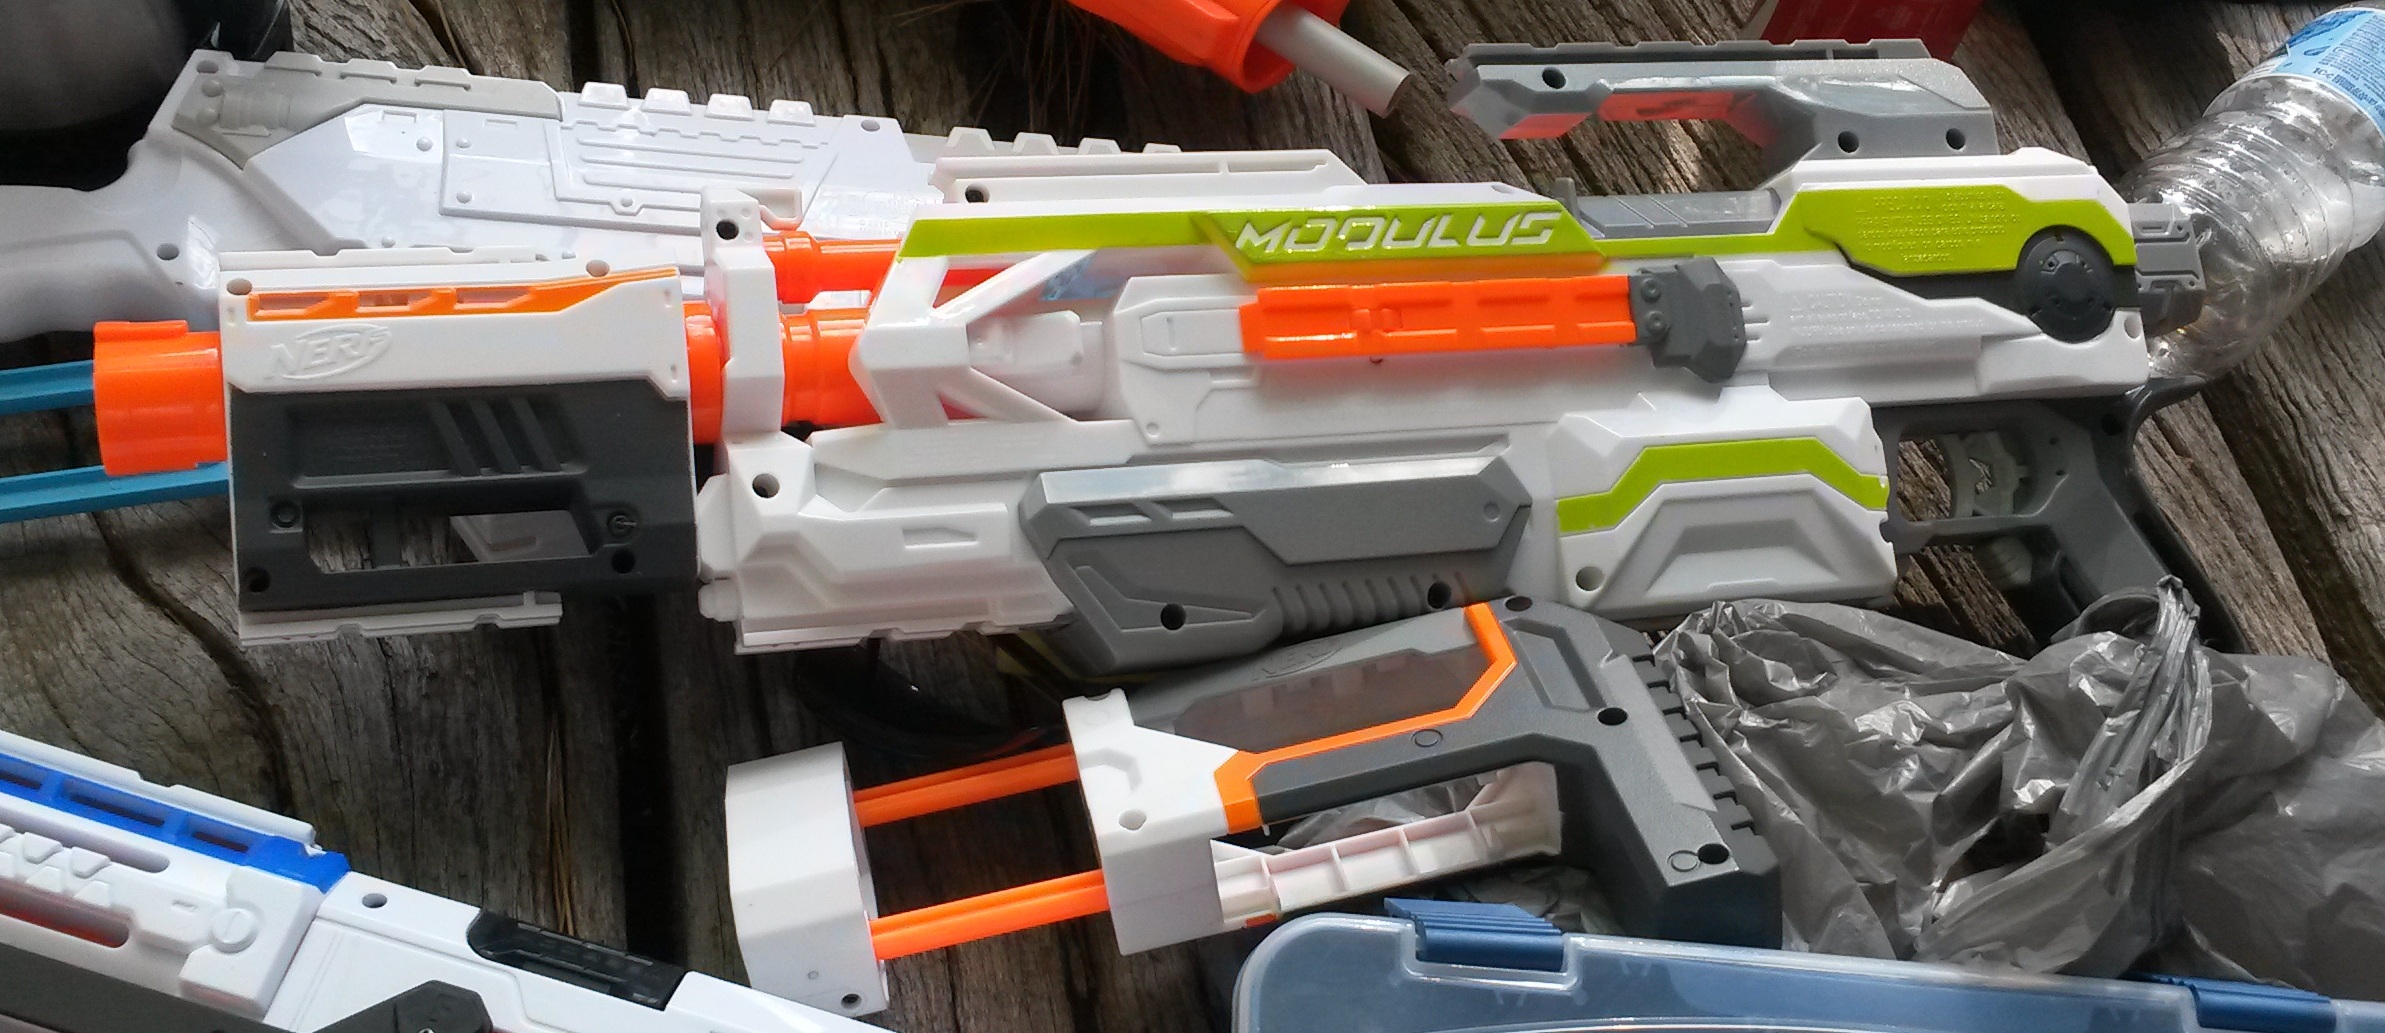 Modulus (2s or 3s LiPo) – being that its motors were still stock, it spun up substantially slower than the other flywheelers around. I didn’t see too much use of it, but included it as Moduli are quite rare to see.
Mega Lightning Bow (rebarreled for Elites) – not notably powerful or accurate, was more of just a goof weapon than anything else.

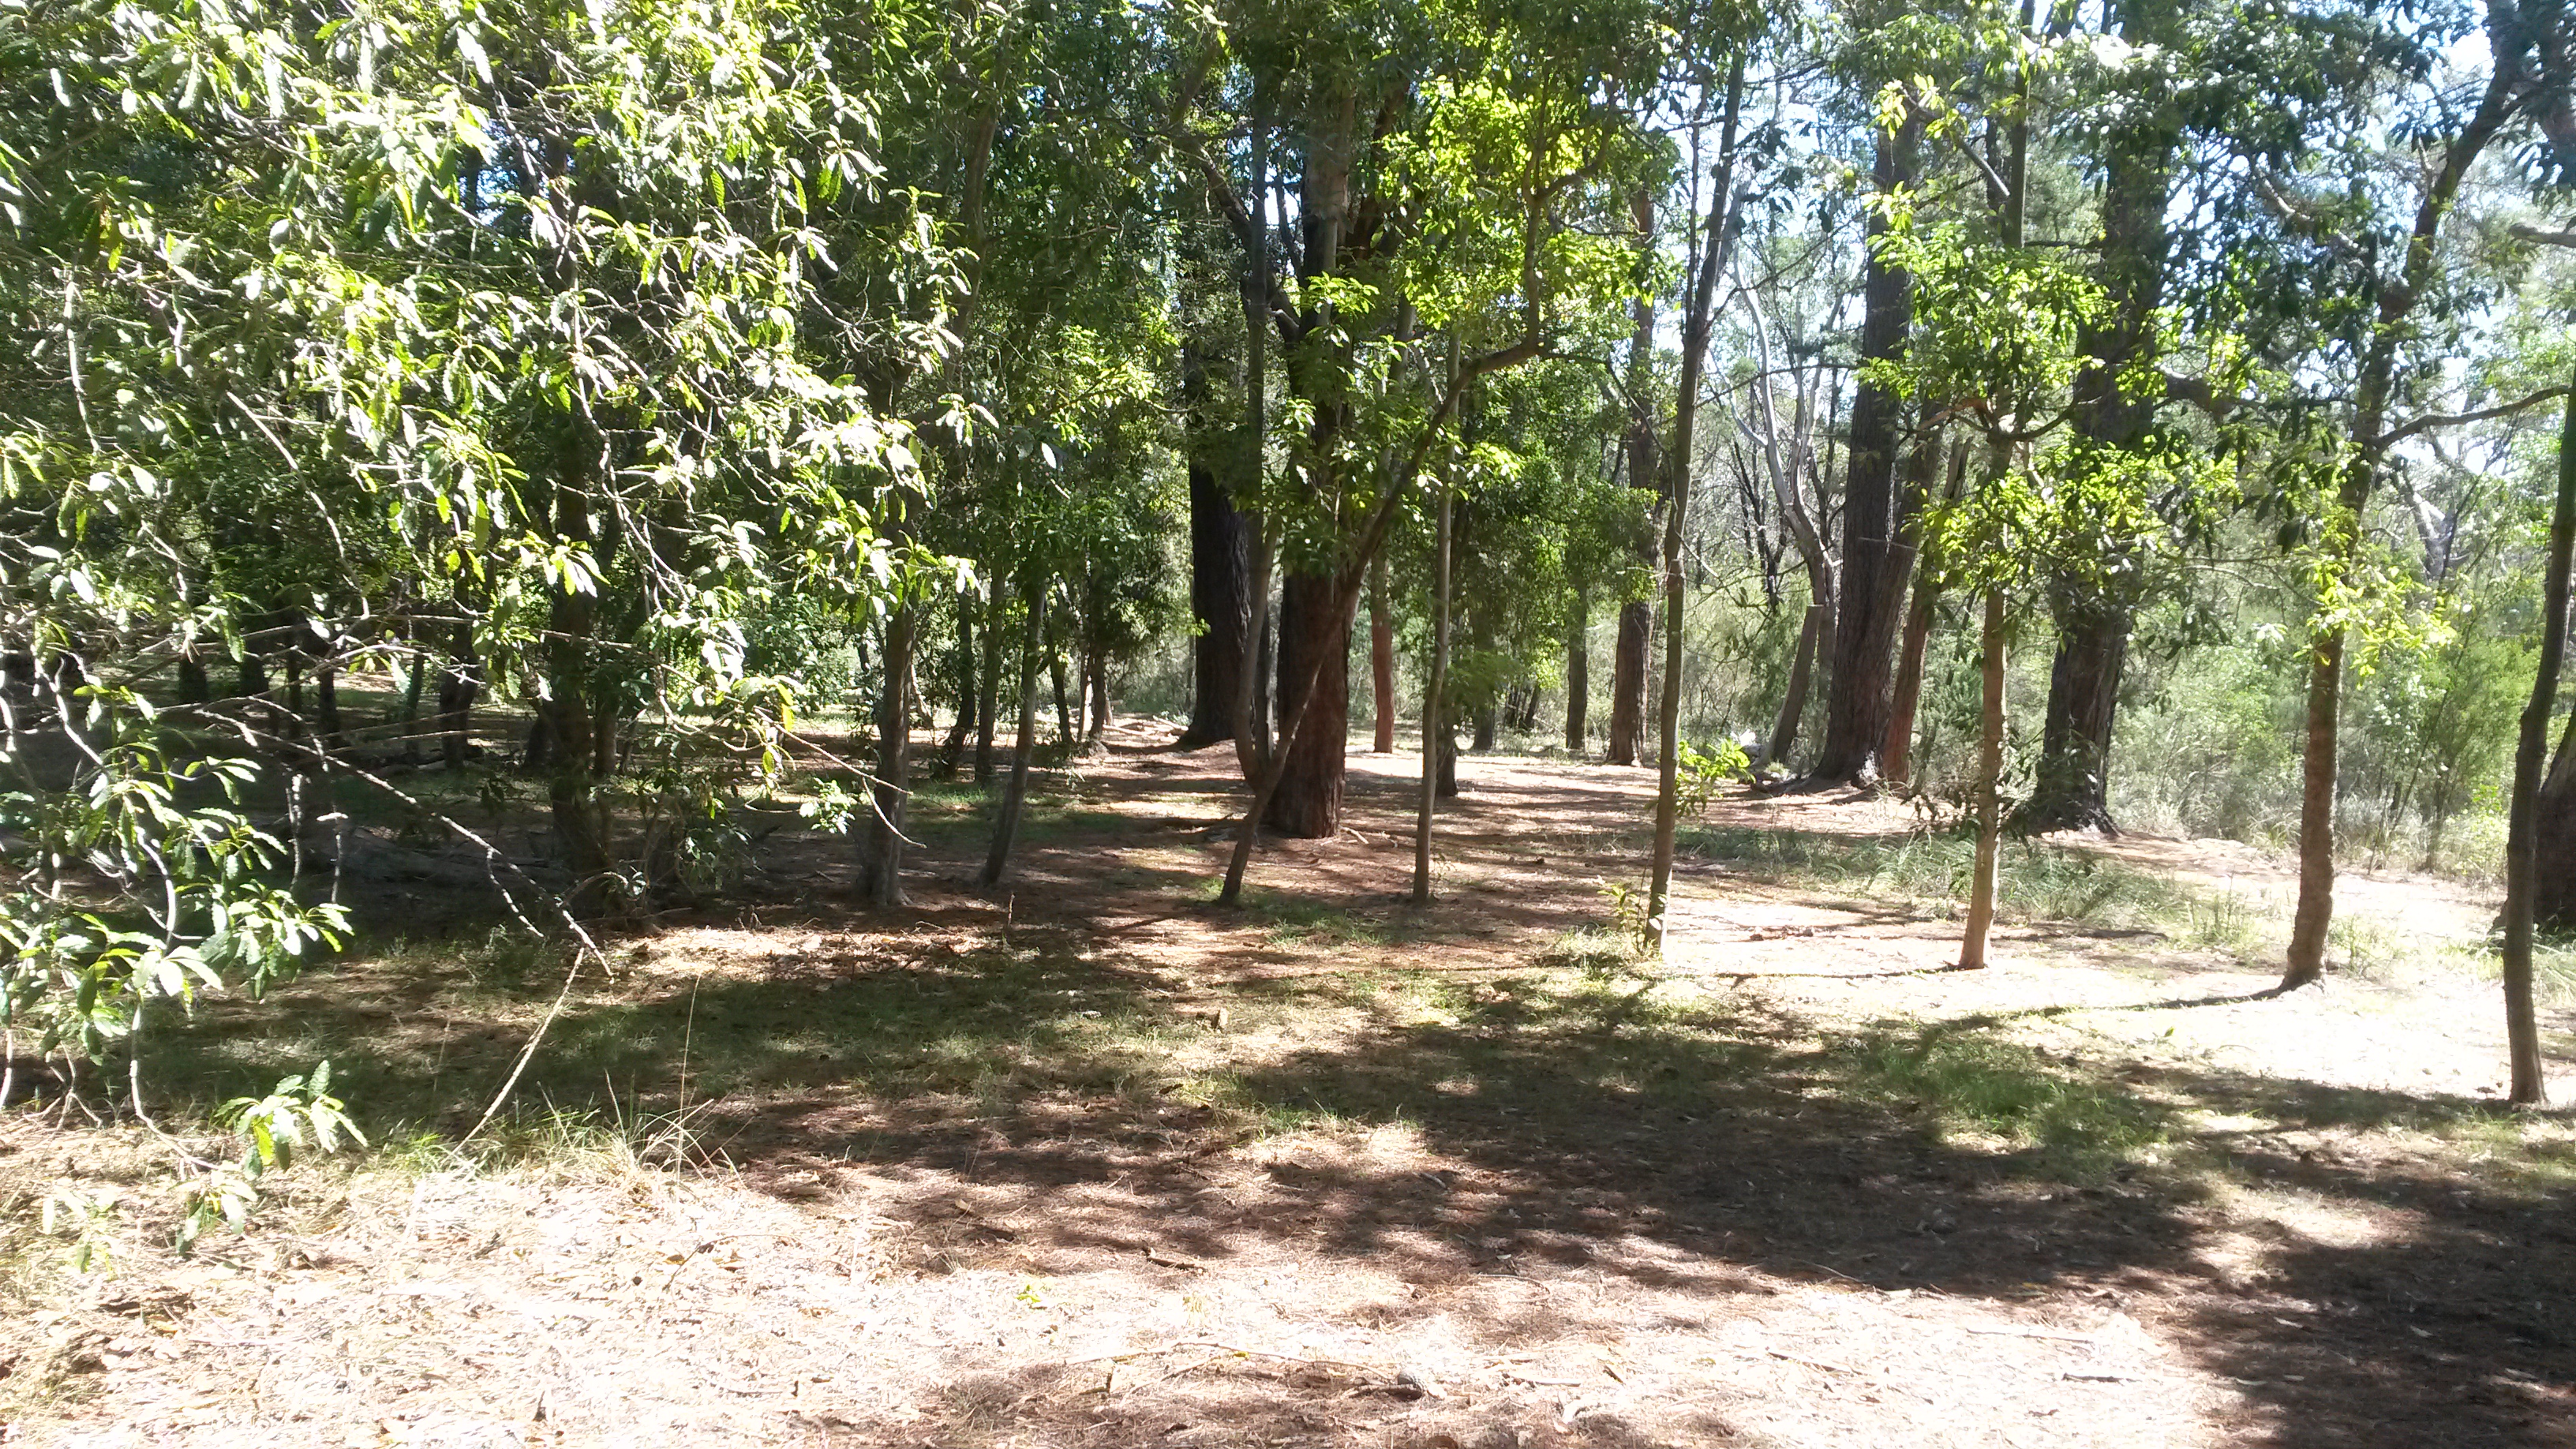
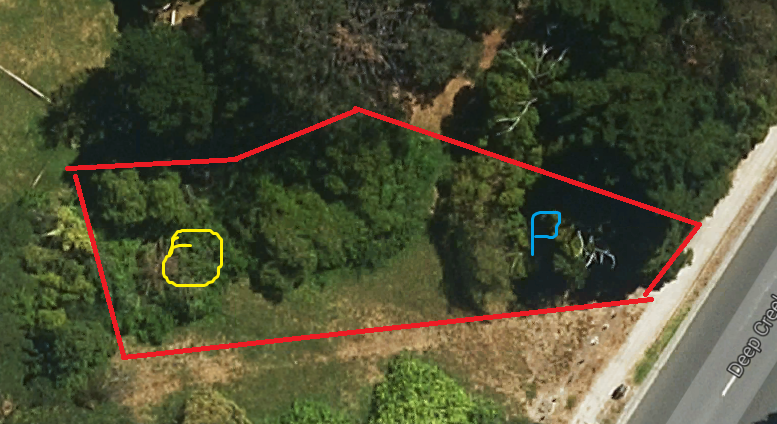
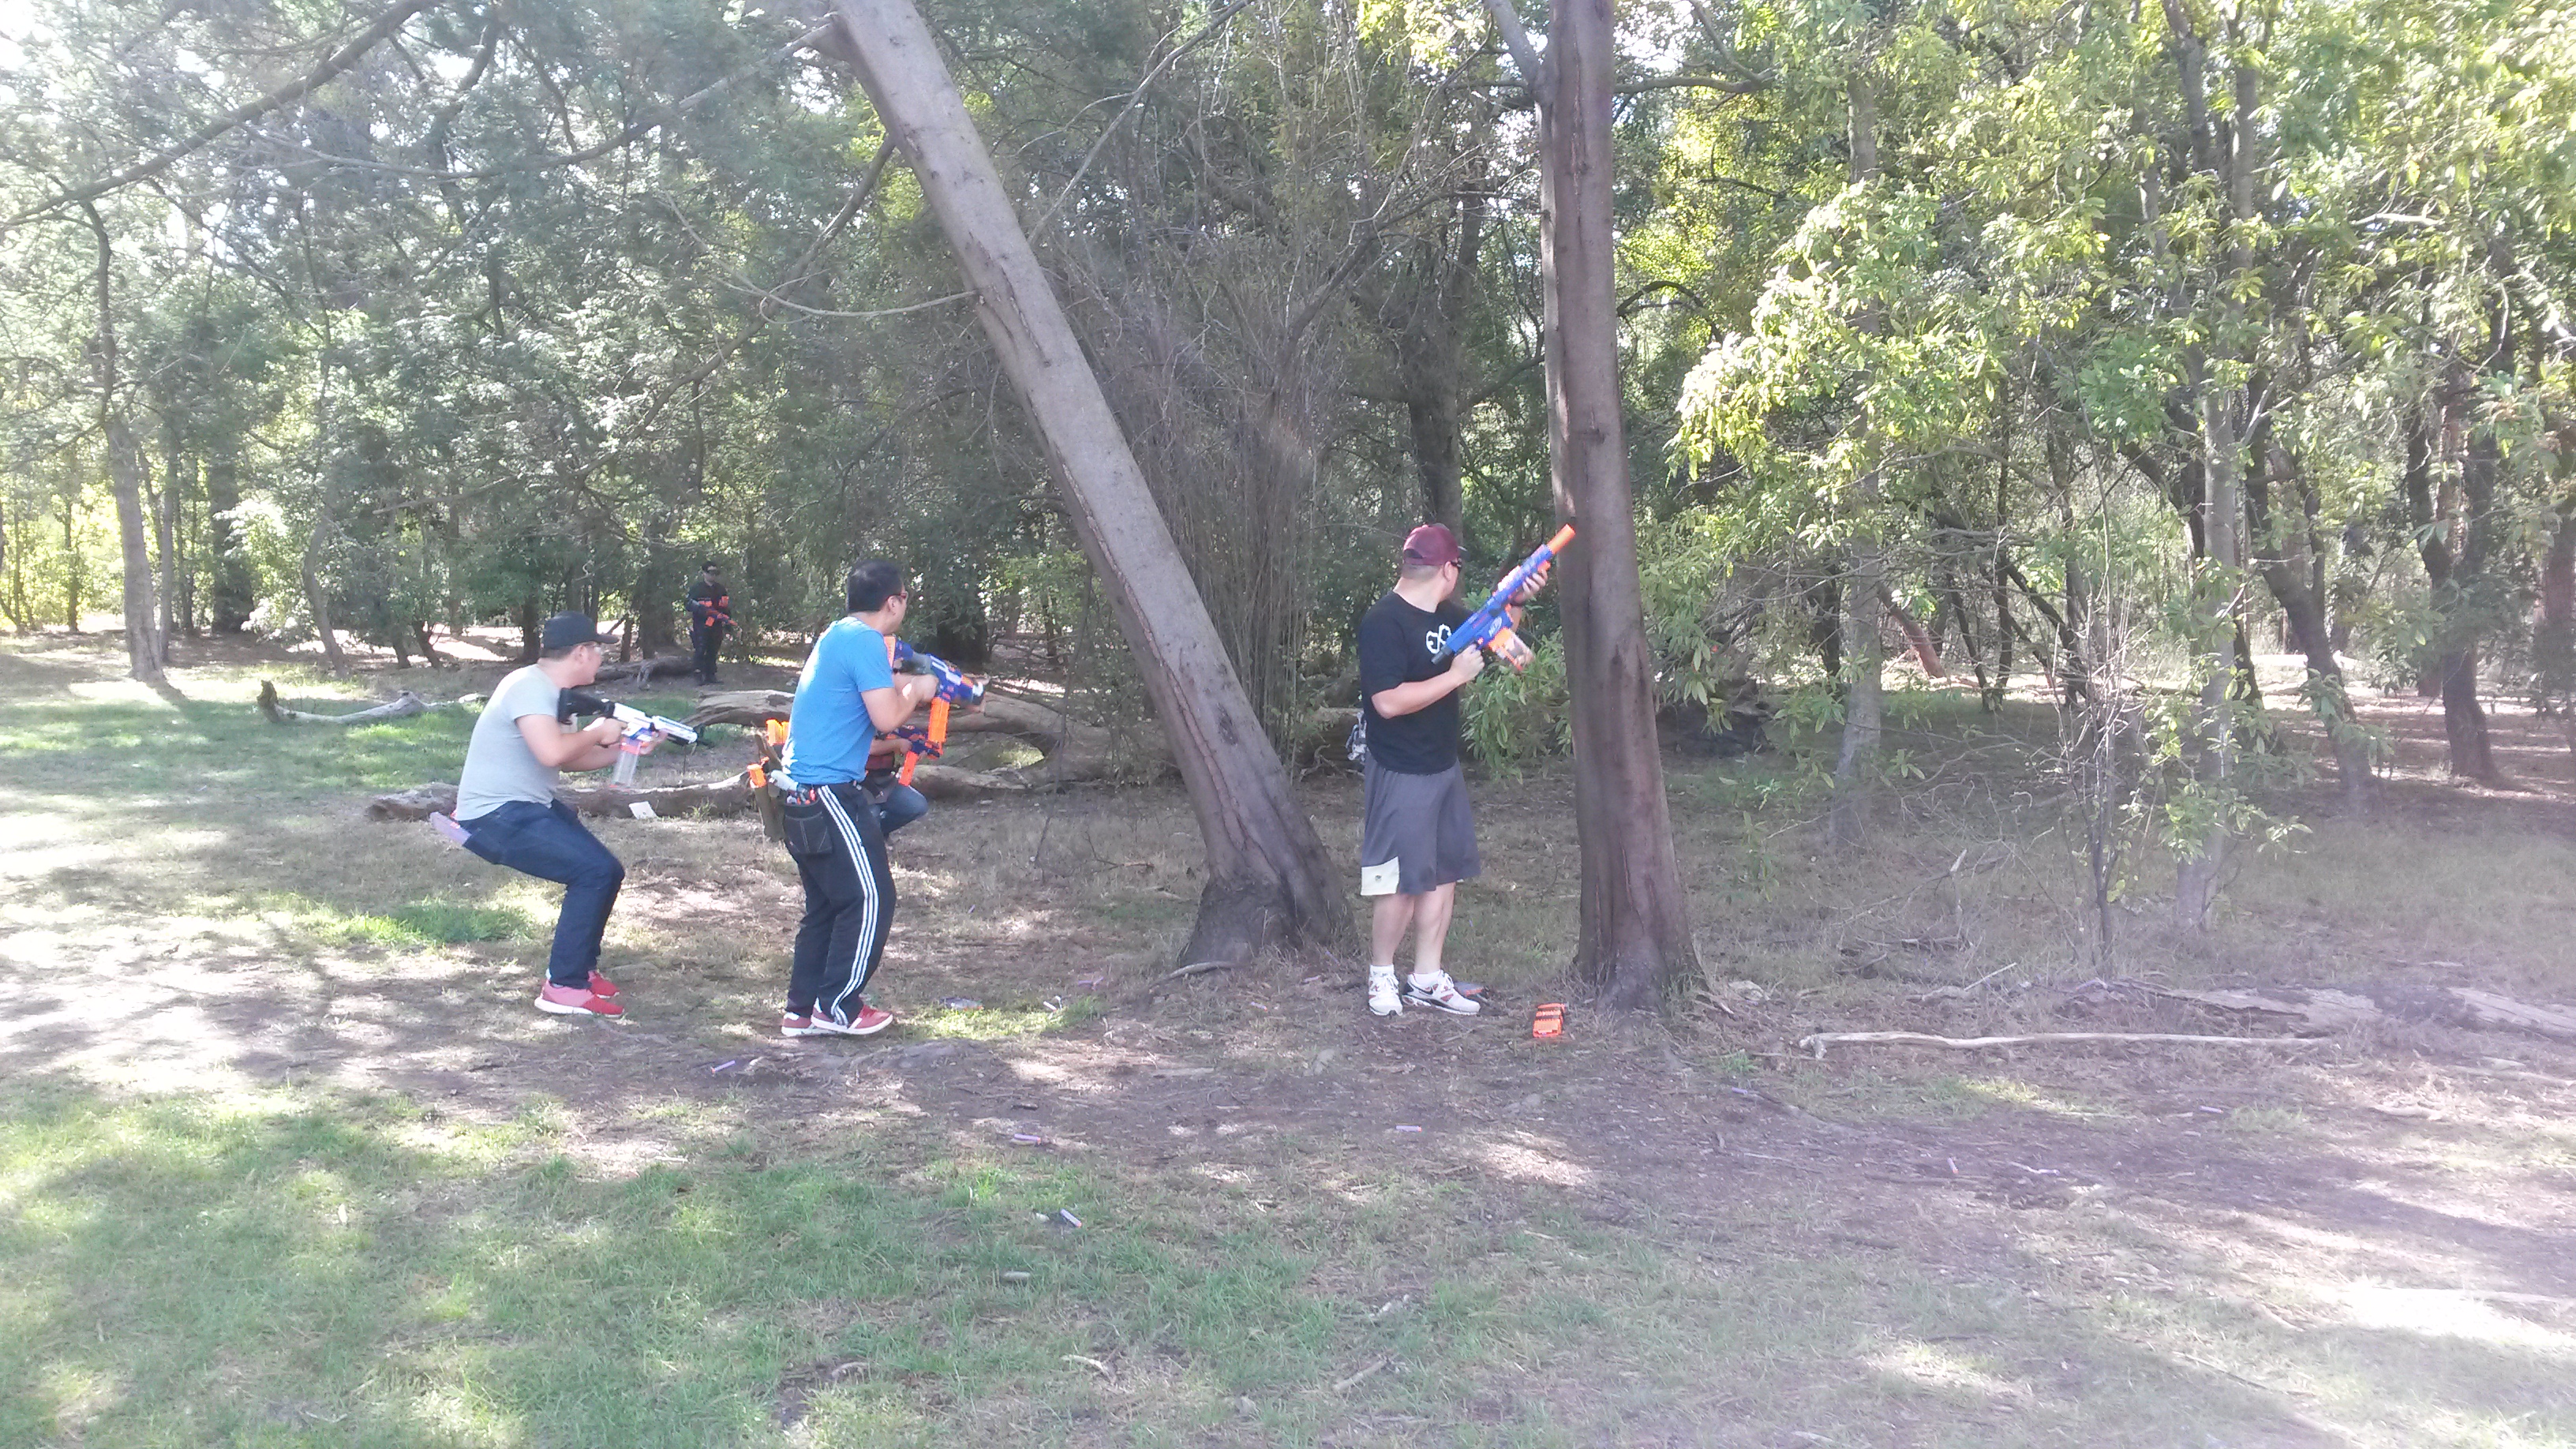
Roughly the play area used.
The play area we used is roughly triangular-ish, though in terms of cover it functions effectively like a very wide, curved rectangle as the central southern area is open. Player count was 12 for the majority of the games, which allowed for some good team games. Weather was very good, temperature in the low 20s Celsius with few clouds. Unlike the previous play area, this play area was mostly flat, with a very slight incline up the east end. Tree cover is also very dense, much denser than the previous area. This area is almost completely shaded and there are a lot of trees, though a lot of them are too thin to take cover behind.

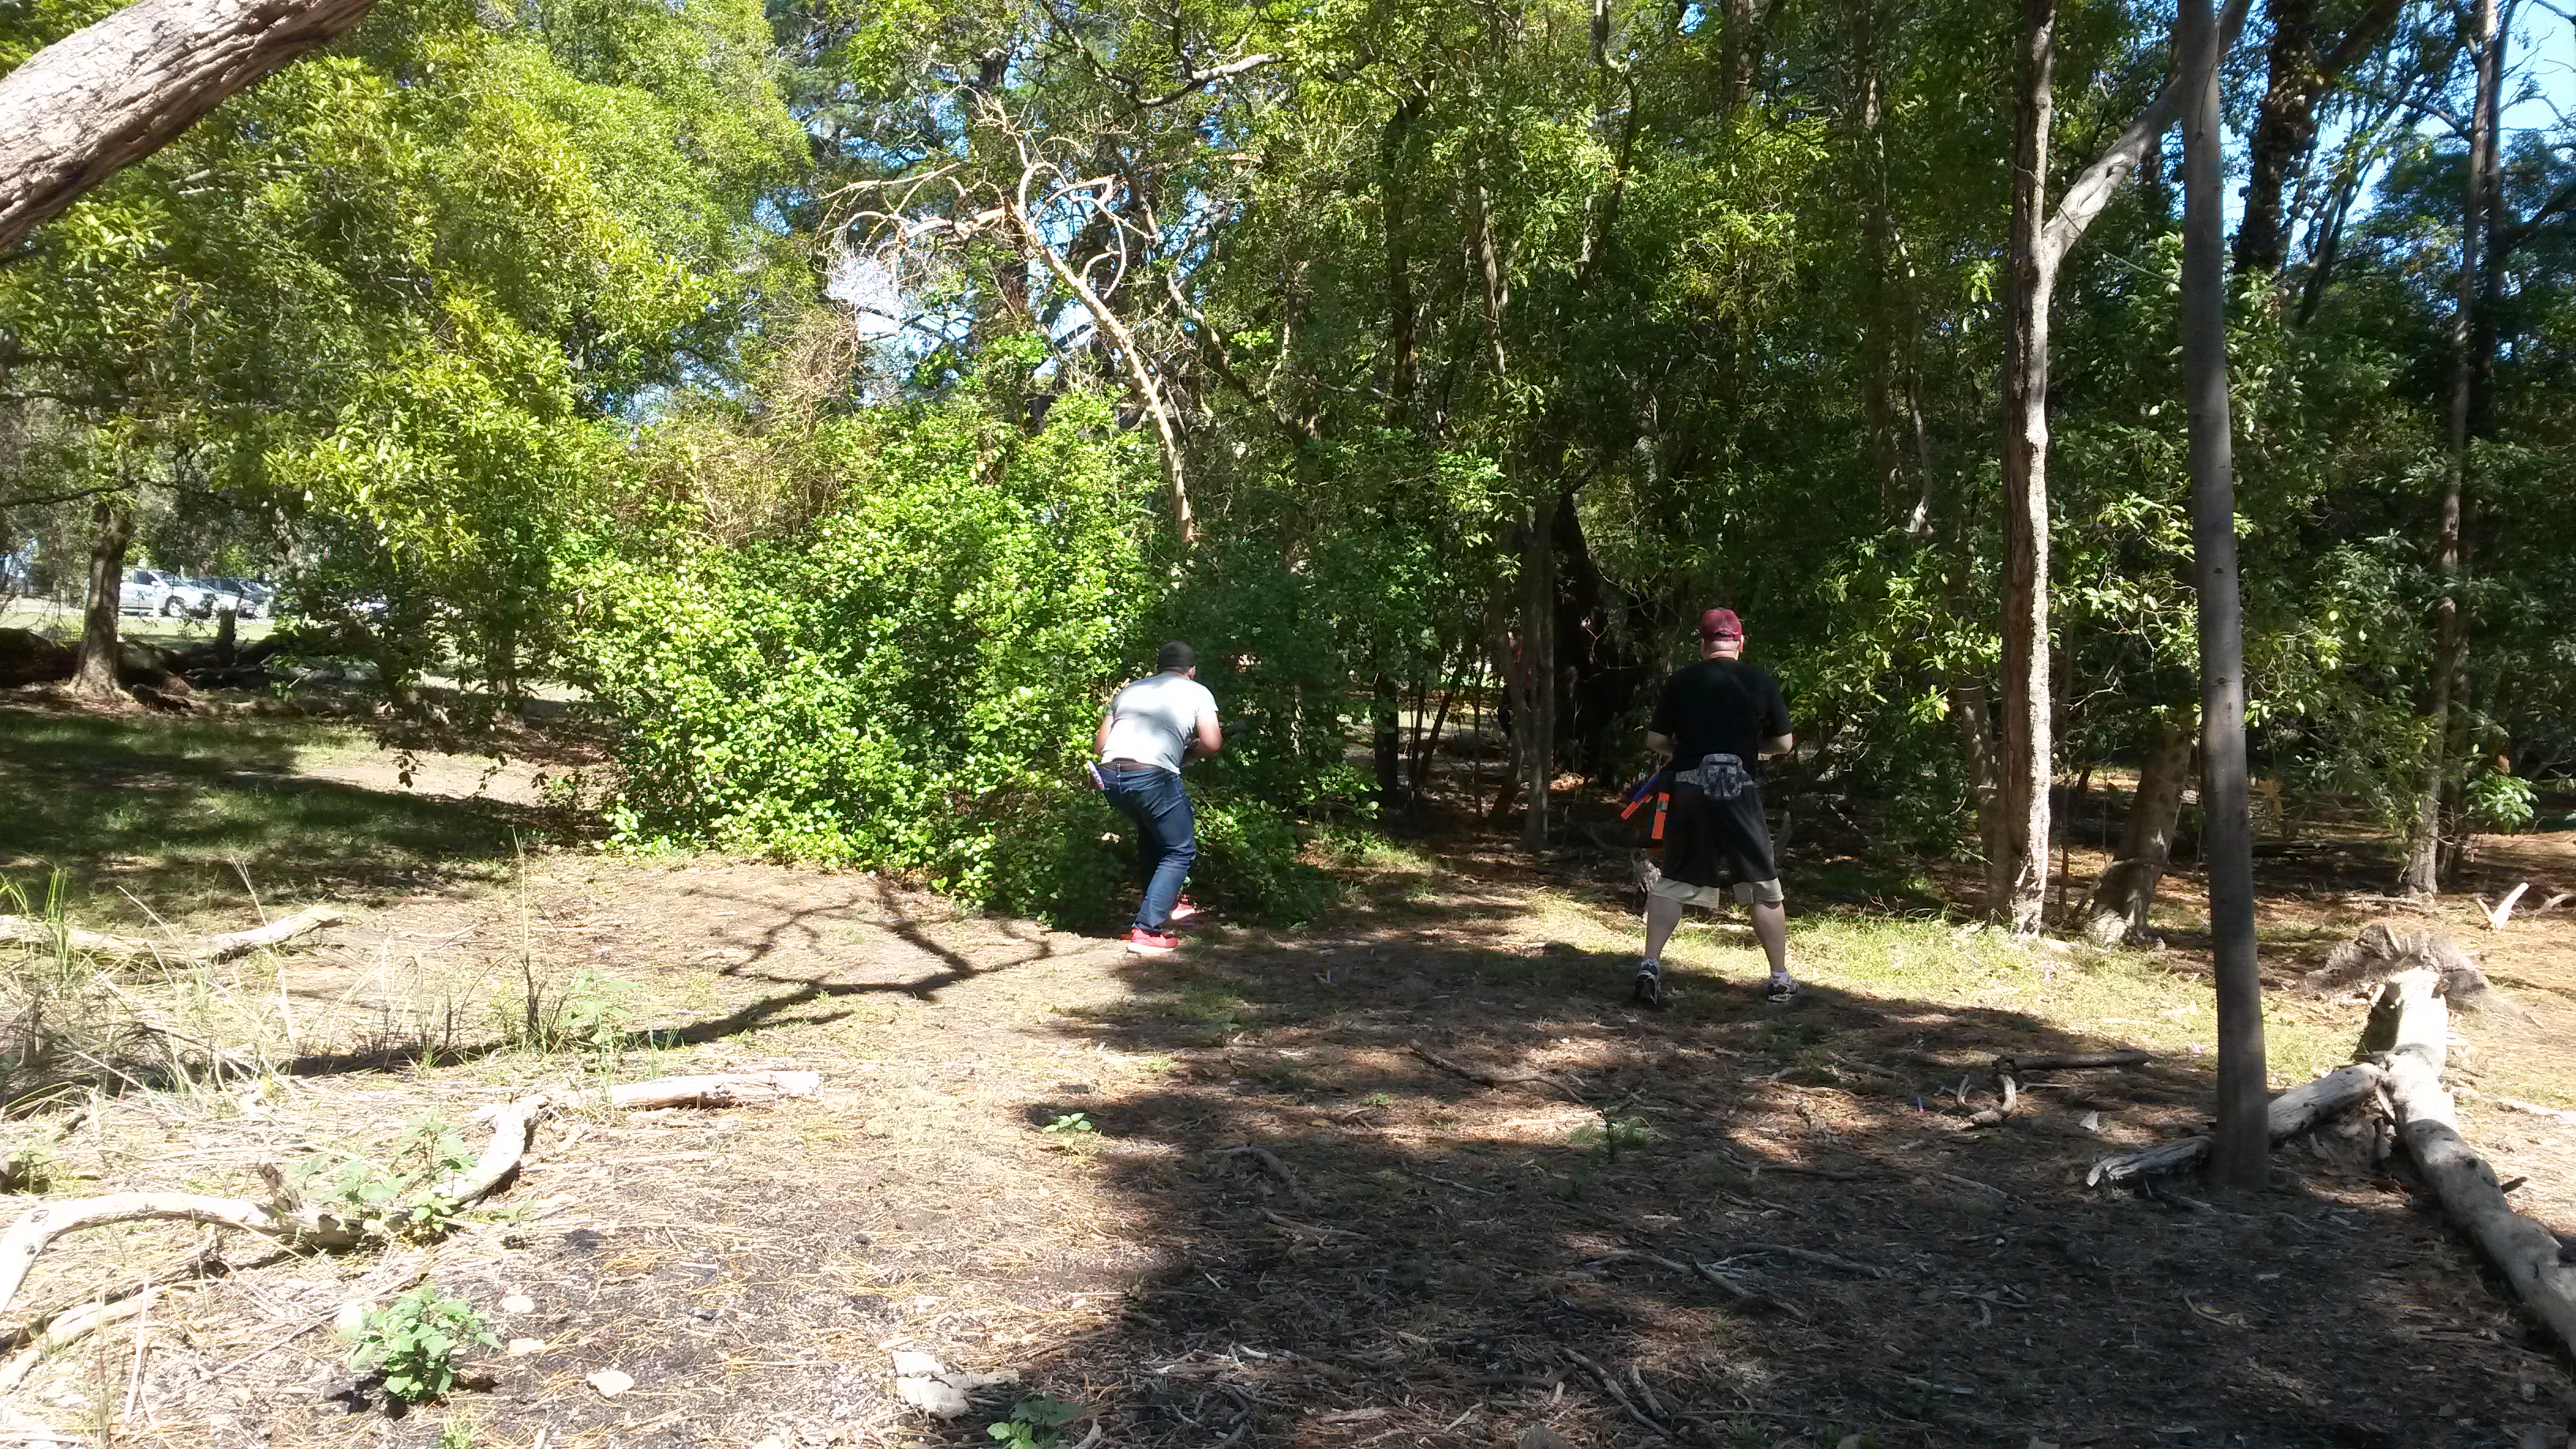
The width of the play area usually results in two fronts of combat – one near the open area to the south, and one further up north far in the tree cover. There are a couple particular trees that provide excellent cover for their respective areas and combat is usually concentrated around those. The presence of those two distinct fronts usually results in teams splitting in half. If either half is able to defeat their opposing half team, they are in an excellent position to flank and wipe out the remaining opposing half, assuming the other half of their own team is not wiped out as well. Likewise, any team that chooses to stick together in the middle usually ends up getting flanked and wiped out pretty quickly.
 We played a couple of Kill Confirmed rounds to start the day while waiting for the last few players to arrive and get ready. They progressed pretty much as expected, a couple of tit-for-tat skirmishes, which for the most part are draws. One team gets a substantial and usually winning advantage when they are able to “confirm” their hits. Since most players stay in small groups to ensure revival, “confirming” hits is typically only possible by wiping out the entire group. The new substantial numbers advantage usually leads that team to victory.
Overall worked about as well as usual, a good warmup gamemode that usually requires a little teamwork.
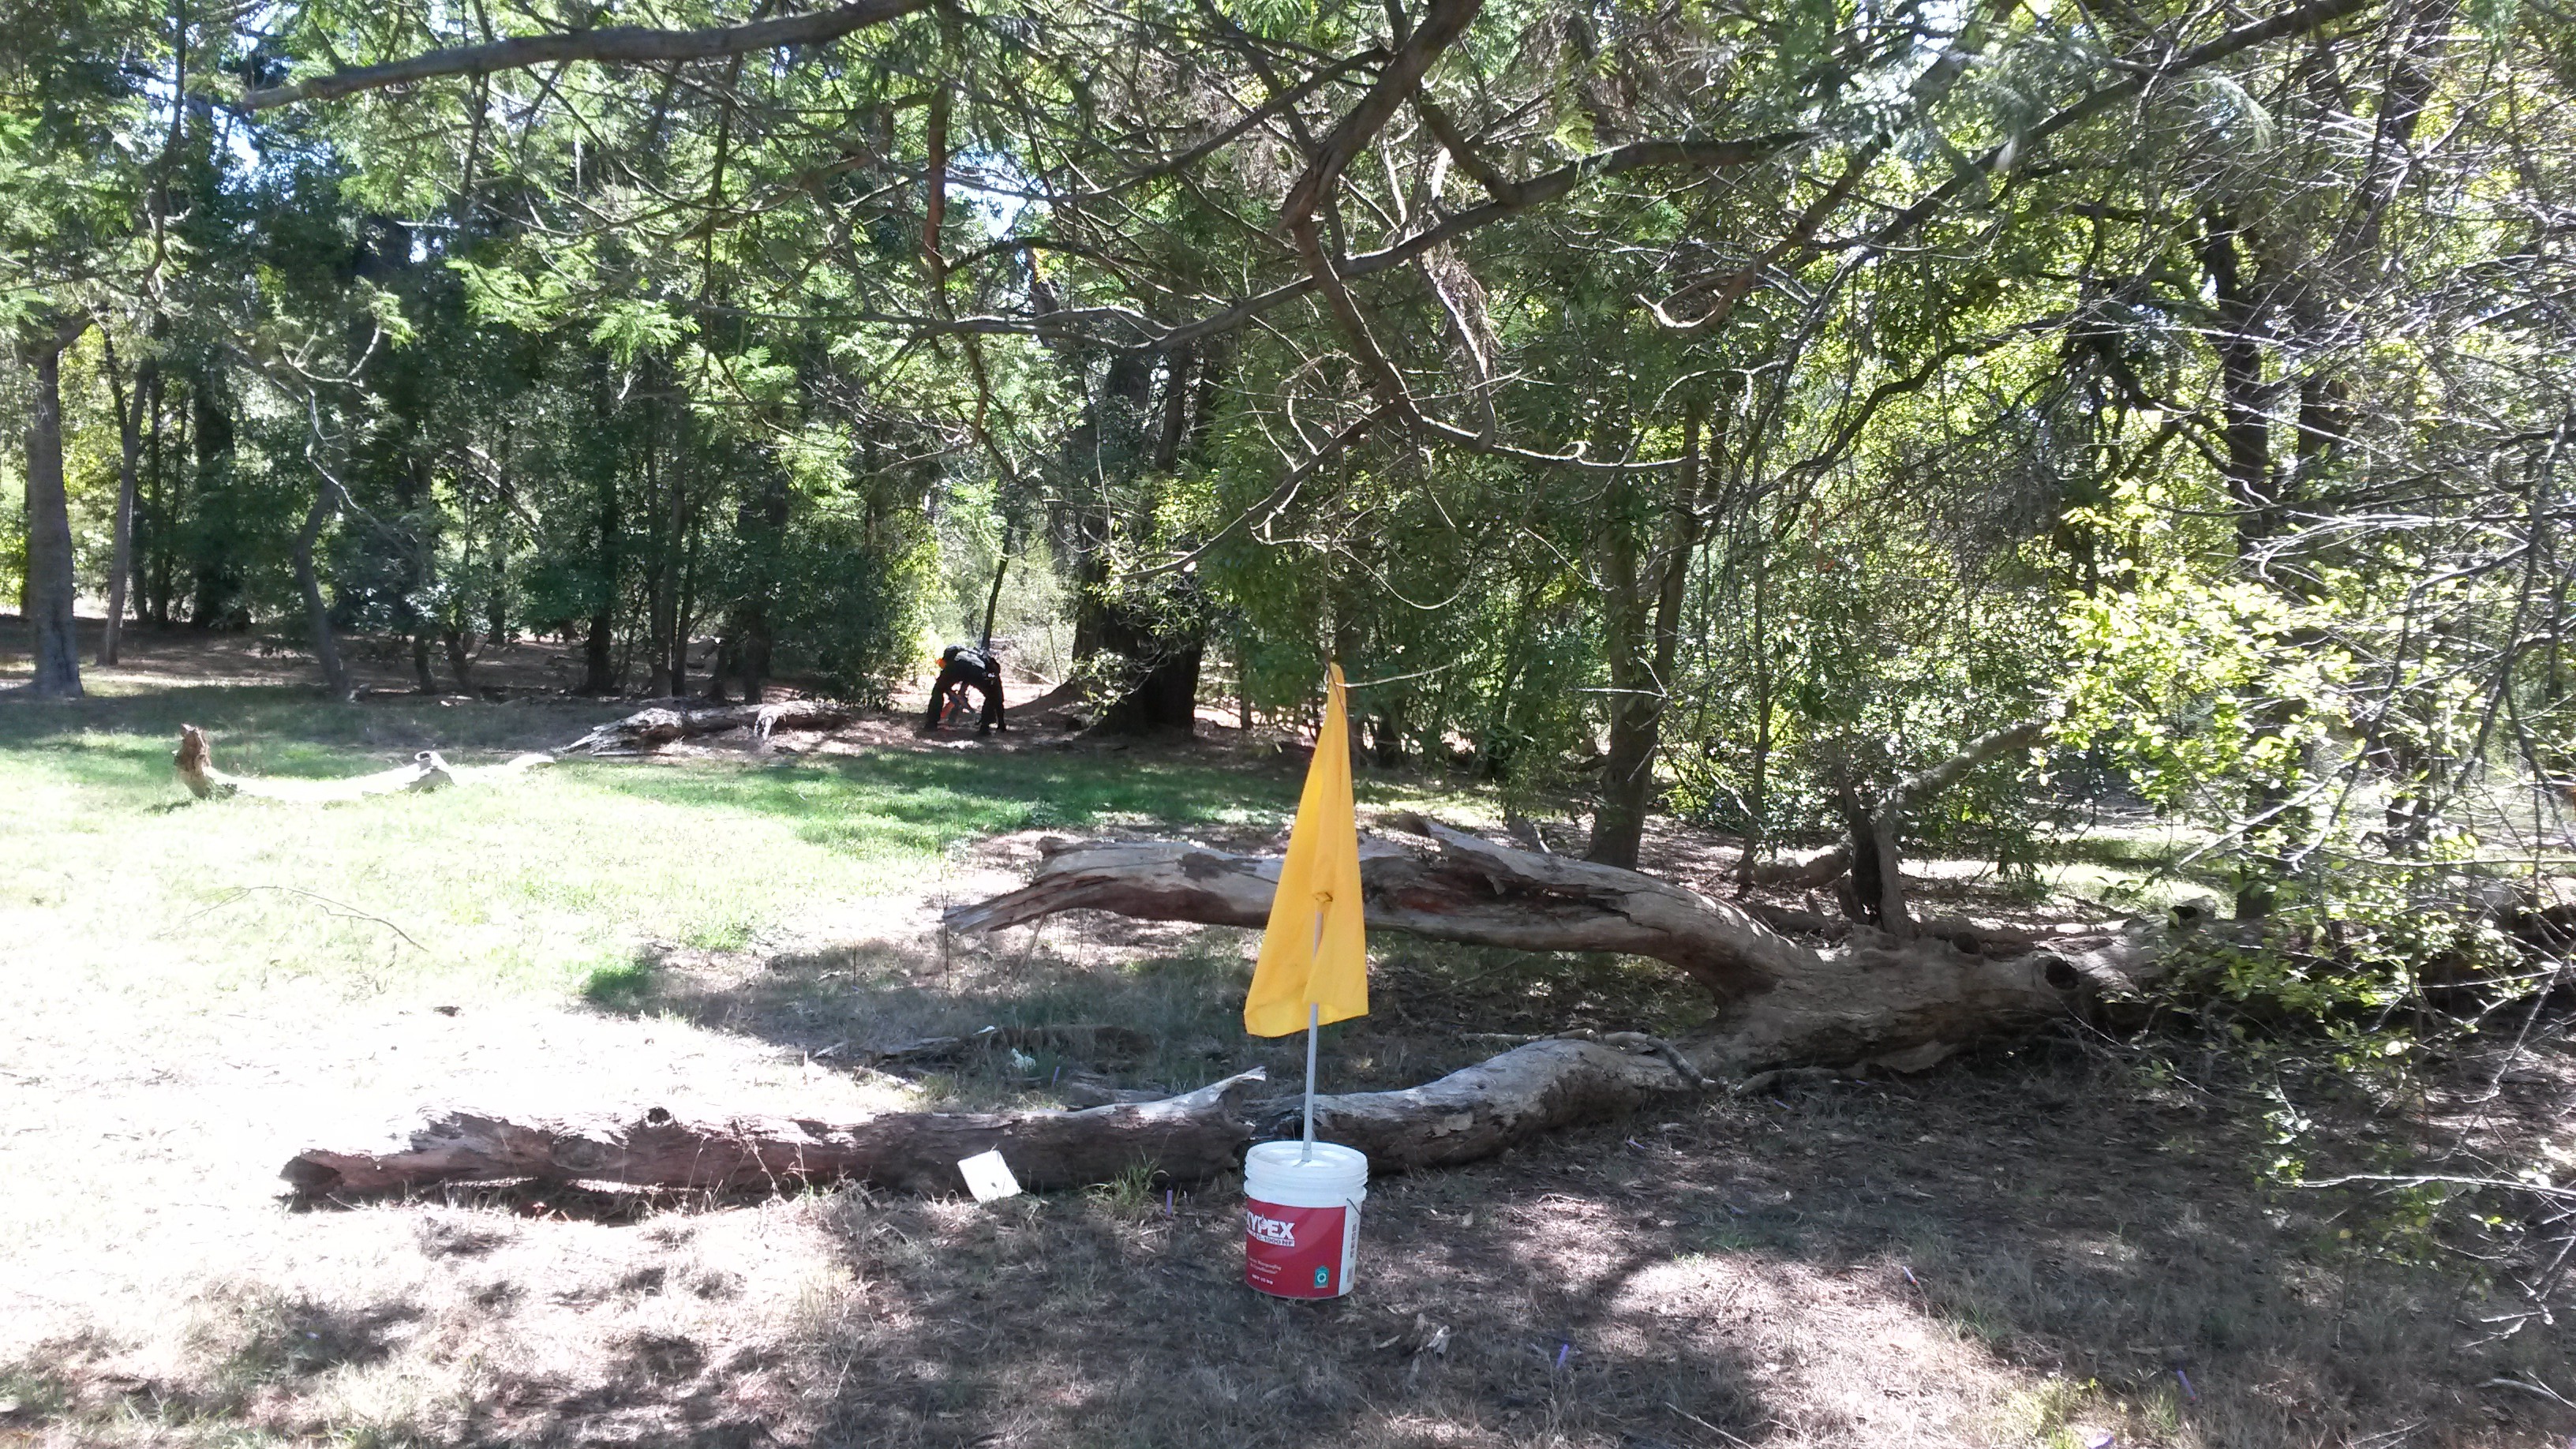
Approximate CTF play area.
We played a couple of Capture the Flag rounds, and they went quite well. The somewhat unusual flag placement meant that it was much harder to return the flag than usual. Because the flags are so close to the middle but still relatively far apart, teams usually split into two groups – one attacking the enemy flag and one defending their own flag. Thus while stealing the enemy flag is slightly easier, returning the flag is substantially harder as your own flag will typically always be under siege. Furthermore, defenders of a recently stolen flag have a chance to rush towards the enemy flag to try and prevent a capture.
 In previous CTF rounds with the flags on opposite ends of the field, once the flag has been stolen it is near impossible to hit the thief after a few seconds as a couple of seconds is all it takes for them to get back into safe territory. In this flag layout, there is no clear safe territory in between the flags unless one team is completely dominating (which doesn’t normally happen). Capturing the flag usually puts the flag runner in range of the enemy team when nearing their own flag. The ability to potentially stop a flag run makes the game much better all round.
Shields had a massive impact on CTF given that they made one player pretty much invincible provided they didn’t get within grenade throwing range (and even then, they were at worst on equal footing with a grenadier), but I’ll talk more about them later on.
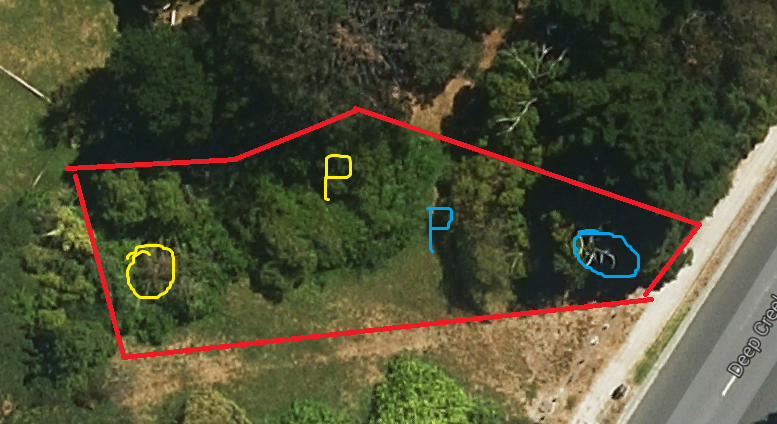
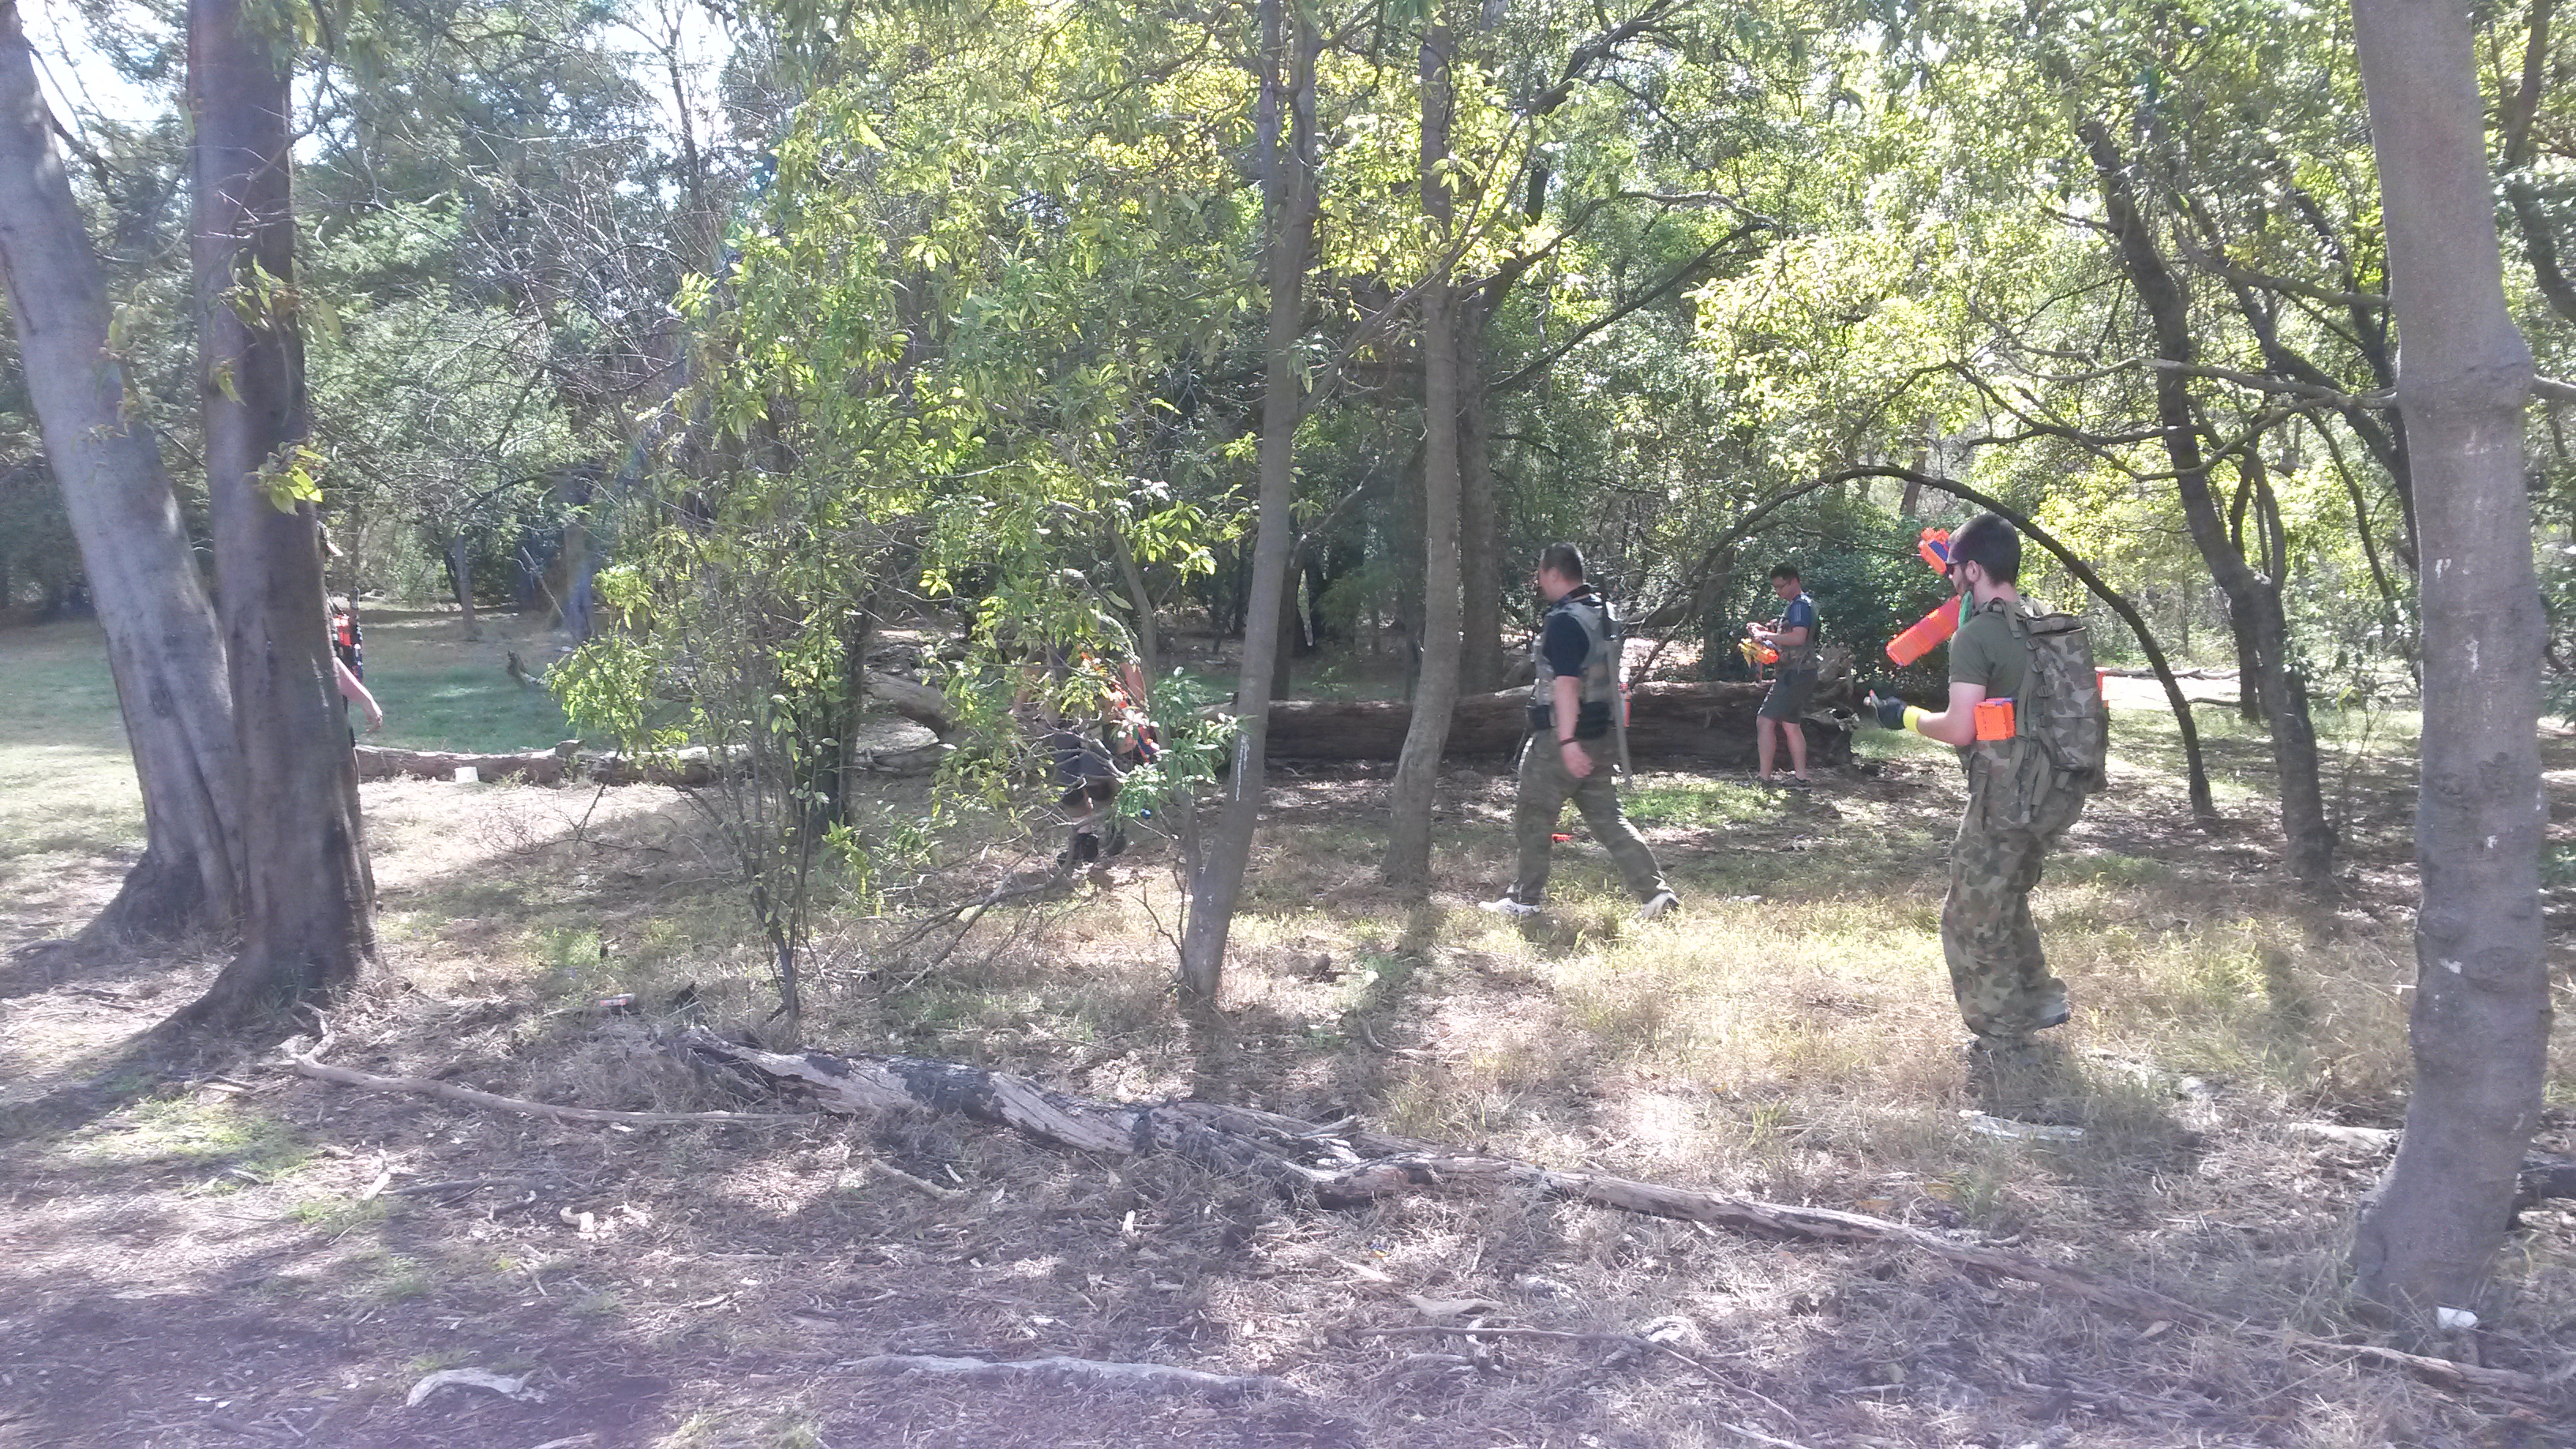
Approximate BHD play area.
We played two “sets” of Black Hawk Down. Since we had 12 players, we were split into 3 groups of 4, rotating around the group playing as the SF, with the remainder playing as the Insurgents (making the game 4v8). Each set consisted of each group playing once as the SF, so consisted of 3 games.
For the first set of games, the Insurgents had both of the shields and the SF team operated on 3 second revive, and so the SF team usually ended up being wiped out quite quickly. The combination of superior numbers and both shields made the Insurgents pretty much unstoppable, as the SF team would usually be assaulted on two fronts (one next to the open area, one far into the trees), and usually each front would be headed by an Insurgent shield. The SF team were typically unable to hold any defensive position for very long, and got overrun pretty quickly by the superior Insurgent numbers and shields.
 For the second set, the SF took one of the shields and operated on instant revives. These changes made the rounds substantially more competitive, and my group was actually able to win playing as the SF (we were the only SF team to win today). In this setup, the SF can hold position far more effectively as they have a shield of their own, and the Insurgents only have one shield. Although the Insurgents’ superior numbers can still easily overrun the SF, the SF’s instant revive can get their players back in the game much more quickly, allowing them to more easily reestablish a defensive position. Additionally, the SF’s shield offers them reliable cover that they can use to try and push back the Insurgent shield, which are otherwise rather difficult to hold off.
 Quickly reviving players is critical to the SF team maintaining any chance of success. Since they’re already at a substantial numerical disadvantage, losing any of their players makes it even harder to maintain their already relatively weak defence. If an SF player is not revived quickly, then it is very likely that the Insurgents will be able to push the SF back quite quickly, thus making the downed SF player unreachable and usually resulting in the SF team getting wiped out shortly after.
The Insurgent medic is a critical player to the Insurgent offensive. Since the medic is the only Insurgent player who can revive, they must be quite fast as they will likely be needed in two places at once. Losing the numerical advantage is very dangerous for the Insurgents, as unlike the SF, they cannot normally revive one another, and so in a 1:1 fight with the SF, will probably lose. Unlike for the SF, prompt Insurgent revival is not critical to Insurgent success. Unless they are running low on numbers (say 1:1 ratio with the SF), a downed Insurgent will not usually be in immediate danger of being eliminated. Additionally, the medic is more important to the Insurgent team than any ordinary Insurgent, so it’s not usually worth risking the medic in an exposed location to revive just one Insurgent.
 Since the Insurgent medic maintains the Insurgents’ offensive pressure, the medic should be a priority target of the SF – with the medic eliminated, the SF can actually take down the Insurgents. Additionally, since the medic usually won’t expose themselves unless they’re trying to revive someone, the medic will usually get hit while trying to revive other downed Insurgents, and so if the medic is lost, usually so are several other Insurgents. This can all happen very quickly due to the fast pace of Nerf games, and so if the SF can bait out and hit the medic, they can go from being on the defensive to having a substantial advantage within 10 seconds. Without the numerical advantage and their medic, the Insurgents are at a massive disadvantage and will probably be wiped out.
The Insurgent medic was hit in two of the BHD games. In the one of them, I was a medic and was trying to revive an Insurgent who had been downed pretty much in the crossfire. Although I was hit as well, the Insurgents still had the numerical advantage 6 to 4, and shortly after me getting hit, the Insurgents were able to force the SF team back with a shield rush. Eventually the Insurgents won the round, wiping out the SF team in the chaos, though I believe a few more Insurgents were lost as well. Even without the medic to revive them, the still superior numbers of the Insurgent team was enough to wipe out the SF.
 In the other game where the Insurgent medic was lost, I was on the SF team. I was in the inner area of the field fighting several Insurgents and the medic, while the other part of the team was on the southern edge against the open area, fending off the remaining Insurgents and the shield. My teammate and I were able to down two Insurgents, after whom the medic ran to revive. We were able to down the medic before they could revive anyone, and so were left with near even numbers (4 SF to 5 Insurgents) and superior position. From there we linked up with the other half of the SF team, and flanked and wiped out the remaining Insurgents. While a shield is a formidable opponent, it is no match for several well placed flanking players with the element of surprise. We pinned down and eliminated the Insurgent shield without too much trouble.
 Typically in the BHD games, the SF team plays quite defensively, setting up their defensive position quite far back. This lets the Insurgents pick their angle of attack, thus allowing them to pummel away at the SF defenses from all directions. Sure the SF would often be able to get several hits on Insurgents, but the constant attack by the surviving Insurgents would often give the medic enough time and space to revive most, if not all of the downed Insurgents. Setting up position too far back also leaves the SF little room to fall back to, and also makes their flag vulnerable very easily if they are forced back, though the flag is really just an anti-coward device rather than a proper objective. My group played as SF very offensively – our shield set up in a very good forward position and pretty much didn’t move for the whole game, while I and a teammate charged forward. We were able to trap half of the insurgents in effectively a corridor in which we were able to pick off their medic and win from there. The key was taking away the Insurgents’ ability to position themselves well, as we were able to engage them on our own terms, down a corridor with no fear of flanking. In fairness we were perhaps rather lucky – had either me or my teammate been hit, it would have been somewhat difficult for the other to get the revive. We would likely have lost from that position, but that’s the risk you take when playing offensively.
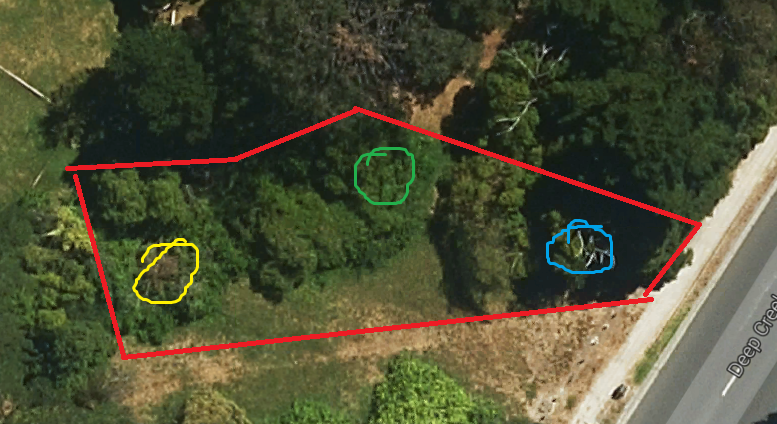
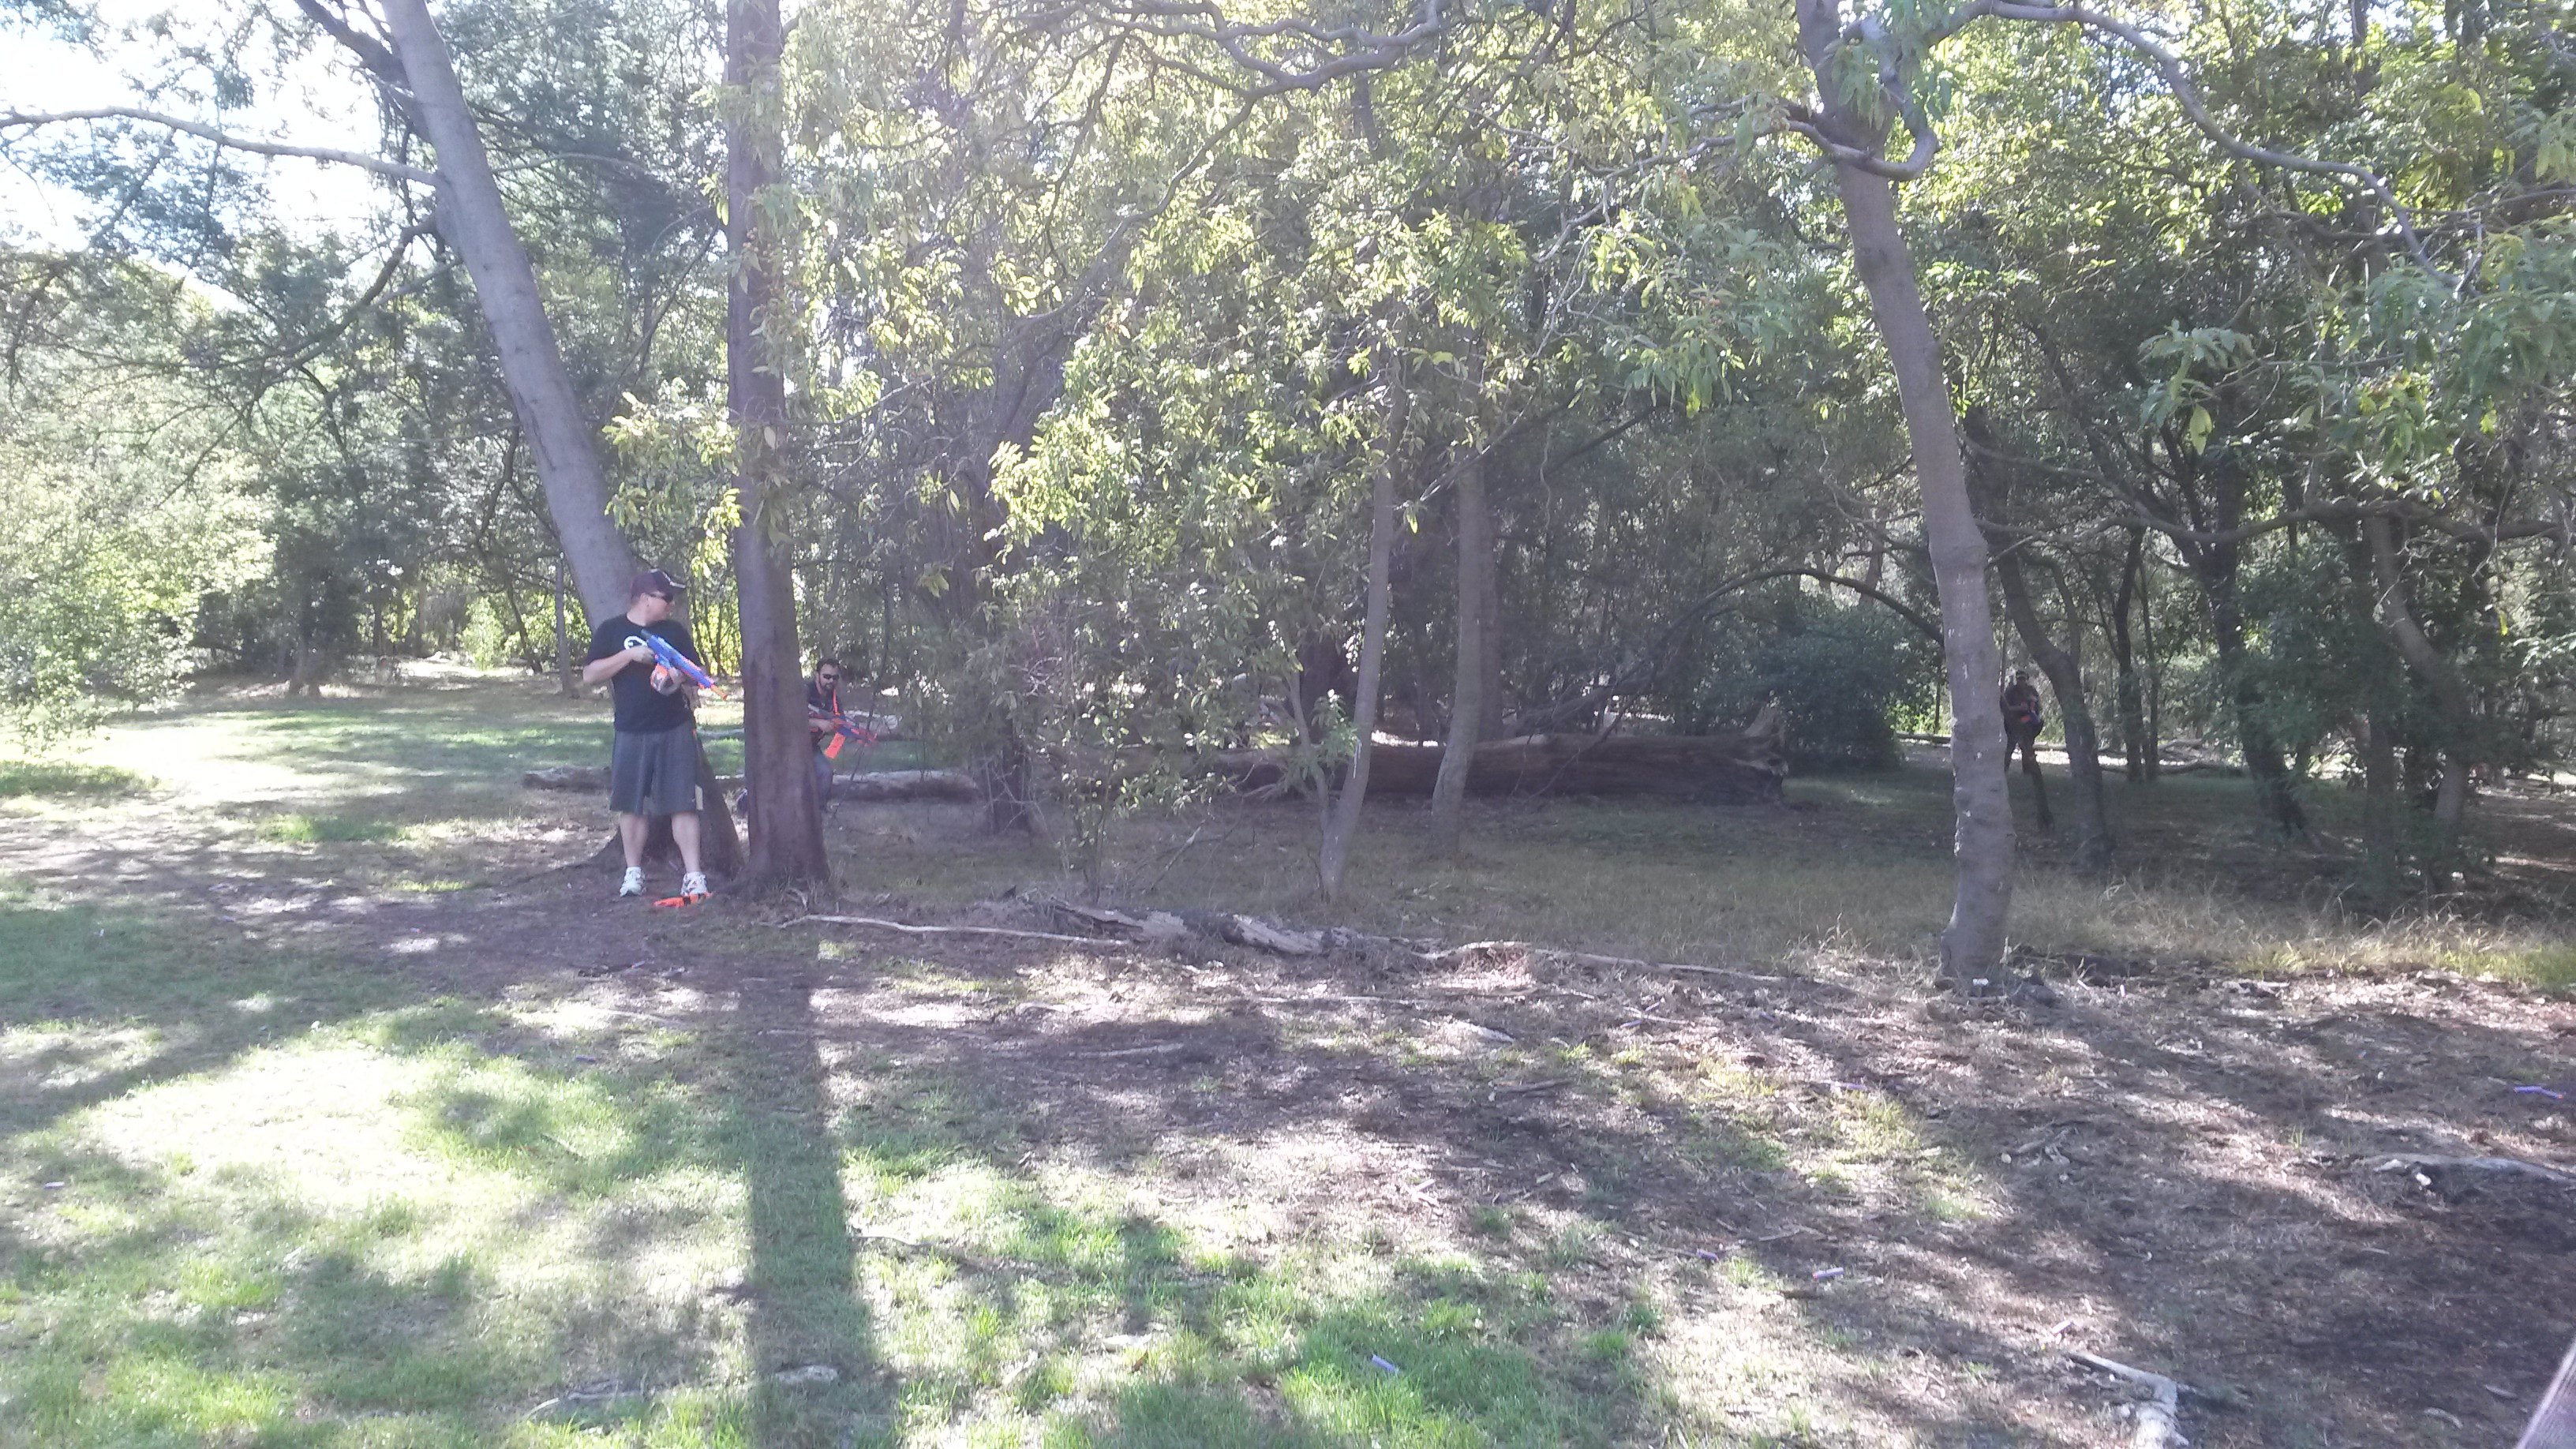
Approximate TE starting areas.
We ended with a couple of rounds of 3 team elimination, with 4 players per team. These rounds were pretty chaotic and usually involved one team getting caught in the middle and wiped out. Given the chaos, the threat of facing two opposing teams and each team having only one medic, teams generally performed better if they stuck together more and made themselves less of a target. In the first round, my team was stuck in the middle in the green start area, and was pinned down by both other teams. Though we were able to get a fair few hits on enemy players, we were unable to hold both teams off and were eliminated quickly. In both the second and third rounds, we ended up in the eastern area near the blue start (despite starting at yellow in the third round). Both times we split up to engage the nearby green team and hold off any of the outlying yellow players, however in both cases splitting up resulted in half of our players getting hit, and that team moving up before I could revive them (I was our medic in all three rounds). As a result, our team would quickly drop to half strength, shortly after which we would be overrun by superior numbers.
Both other teams tended to stick together more, and although they suffered their fair share of hits from being relatively immobile, their medics were able to revive their players much more easily than I was able to revive my teammates. Additionally, the other teams seemed to prioritise eliminating my team first over engaging each other – in the second and third rounds we were often engaging about 6 players at once despite each team only having 4 players. In the third round, we were able to mostly eliminate the middle team, but suffered losses doing so and were unable to eliminate the full remaining team. 3 team games are always like this though, it’s pretty much inevitable that one team will bear the brunt of the attacking. I expected nothing less really.
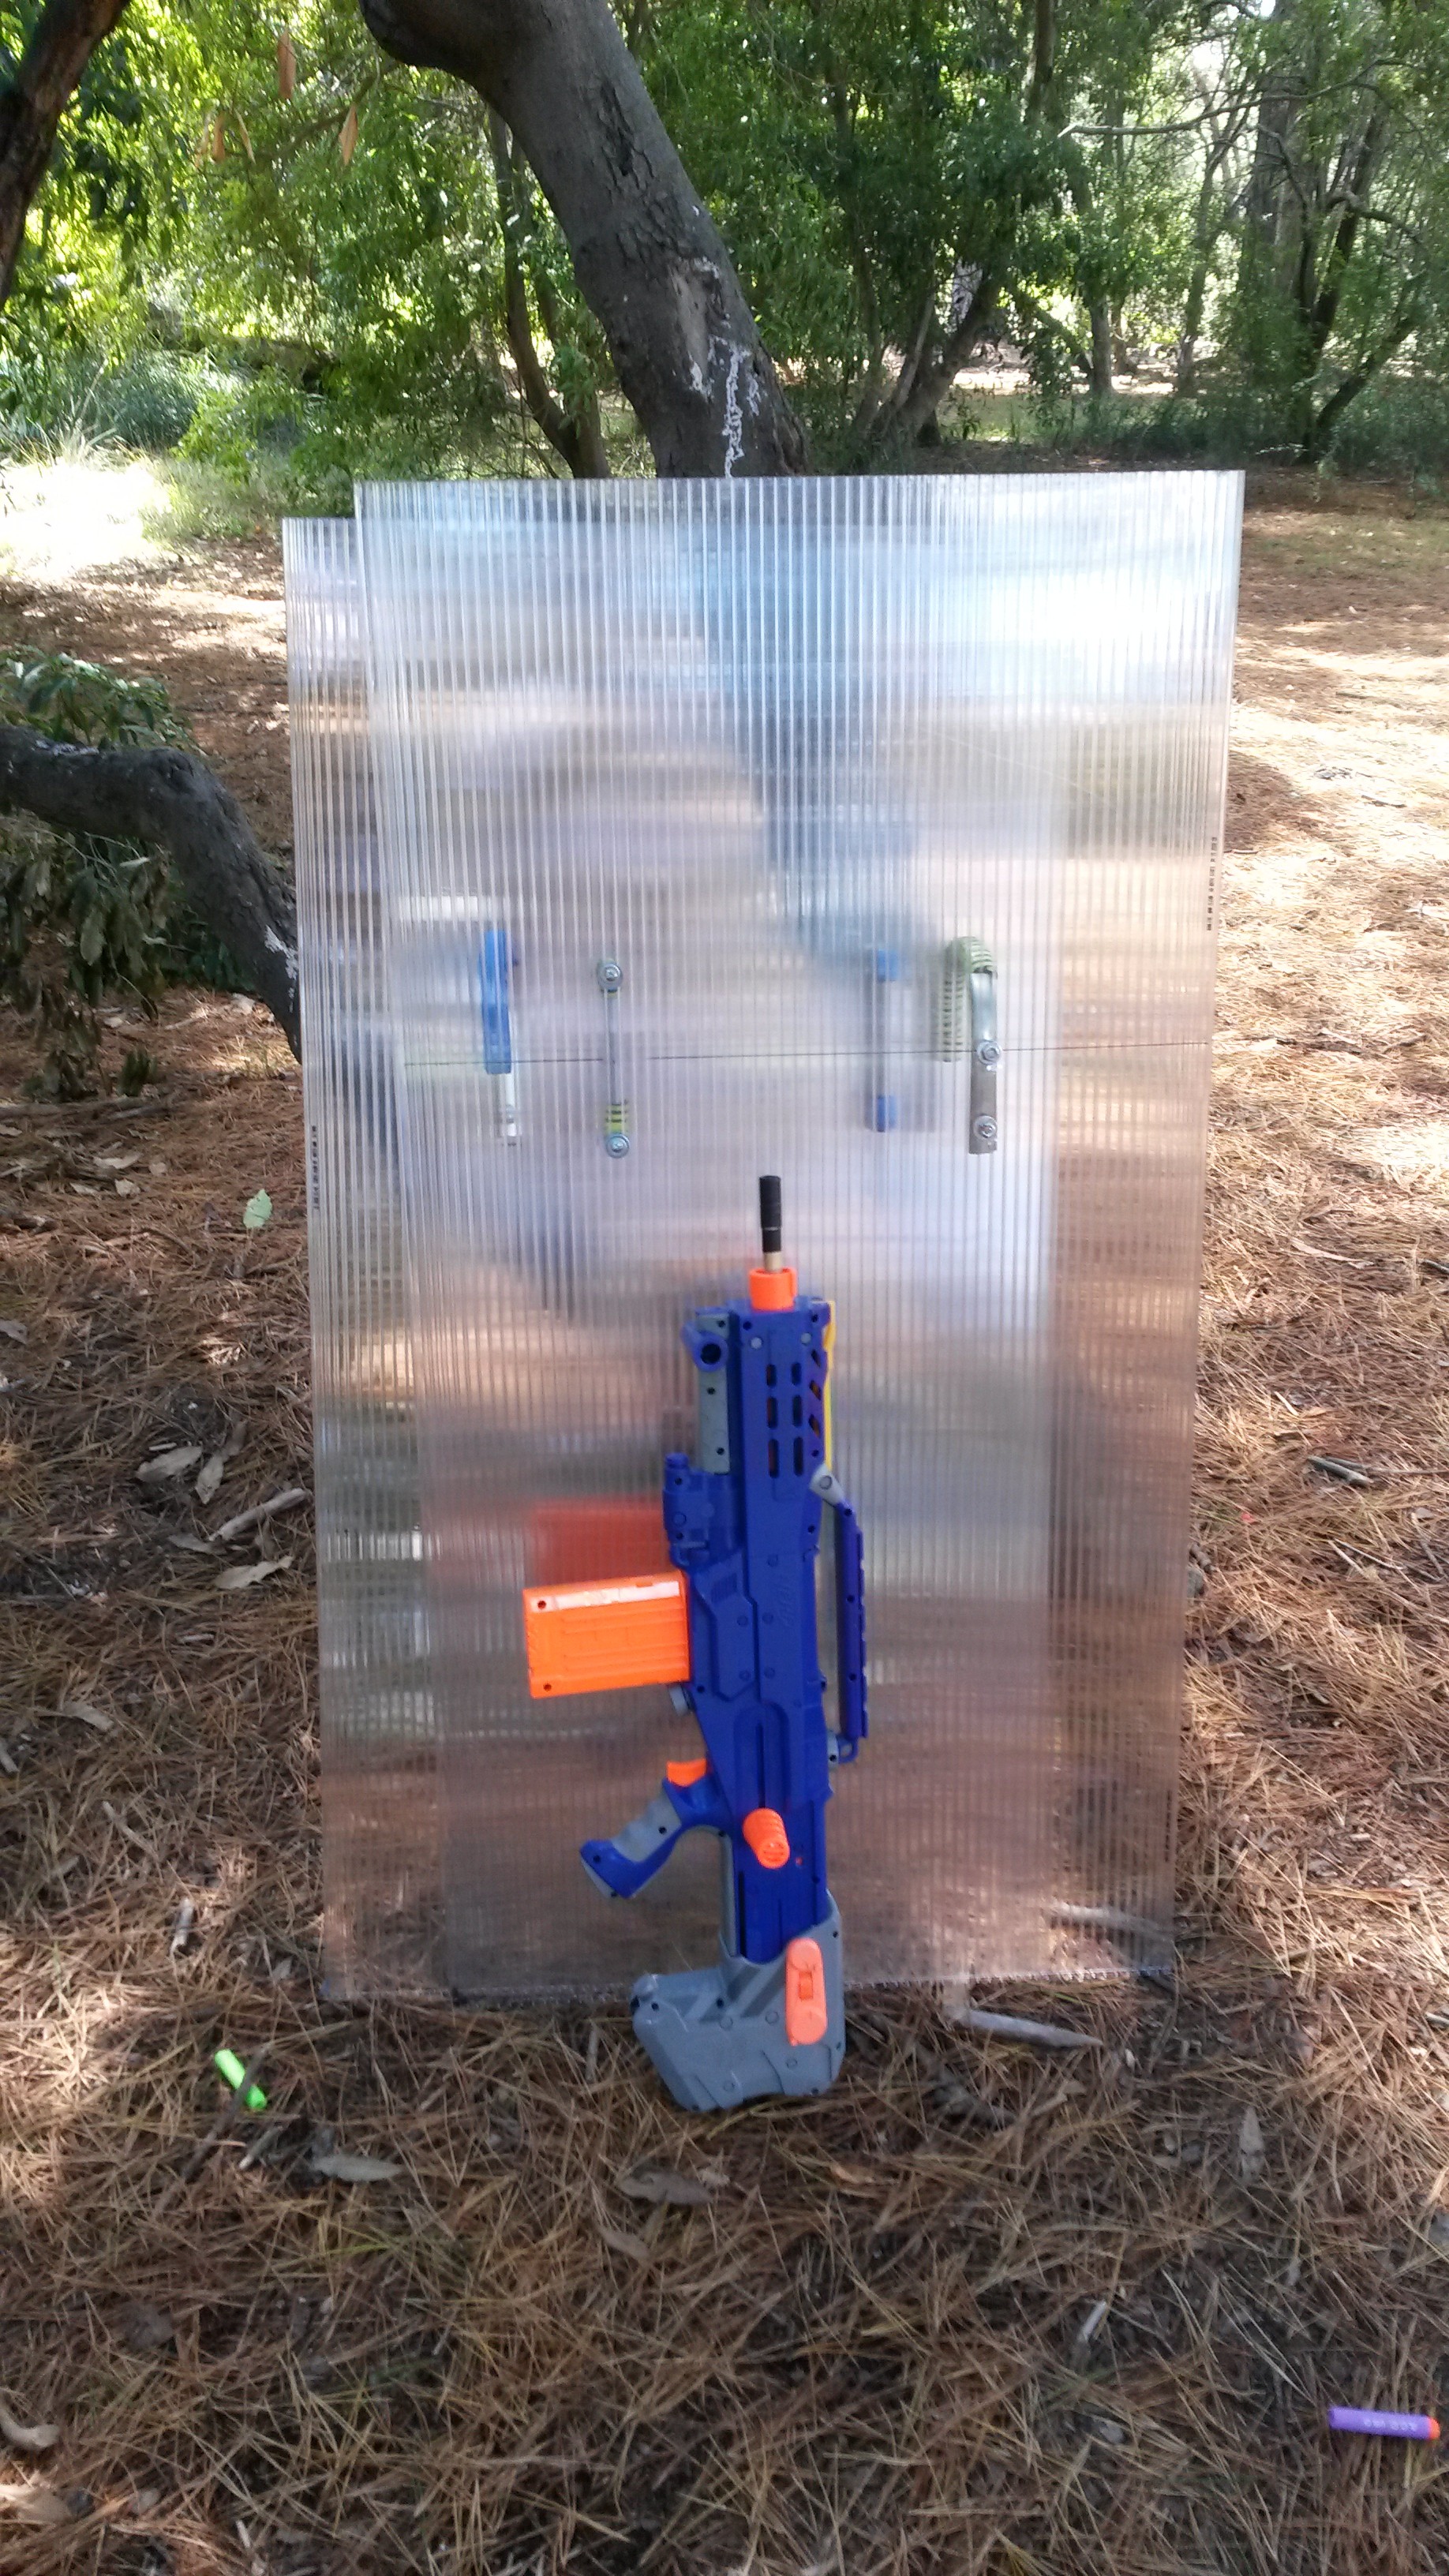
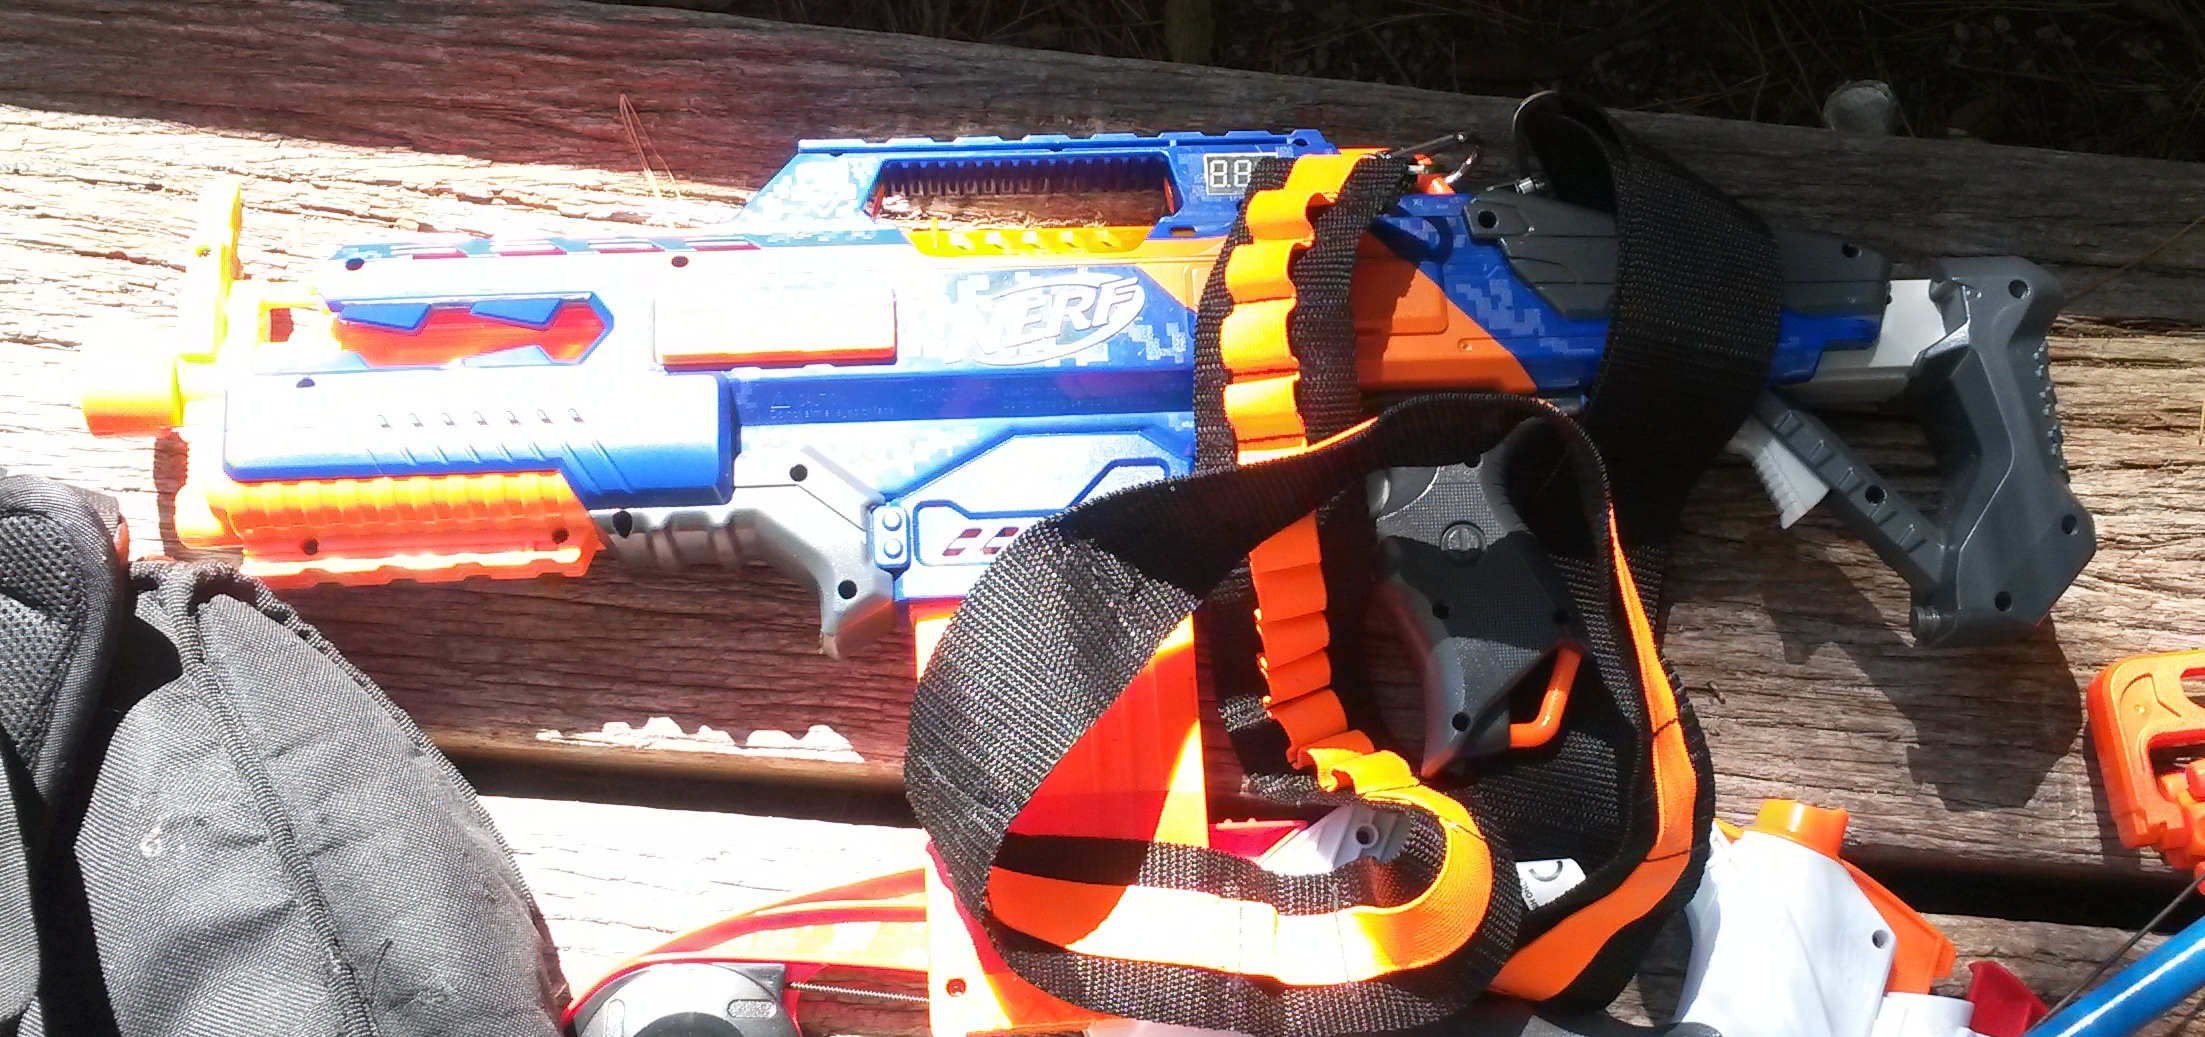
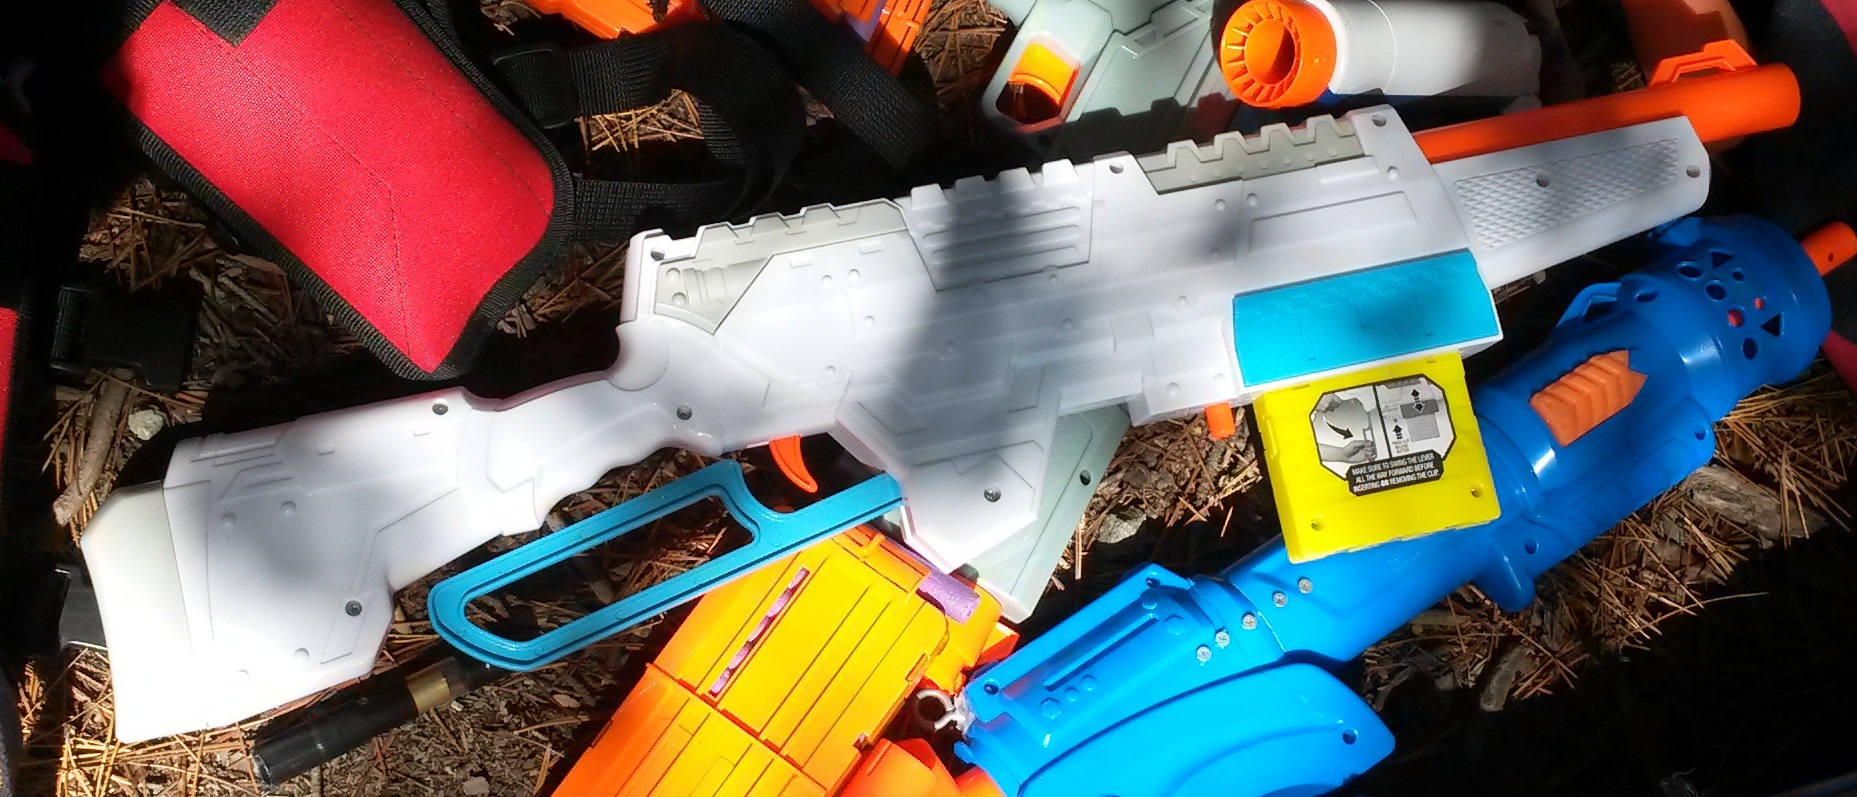
MLF shields with Longshot for scale.
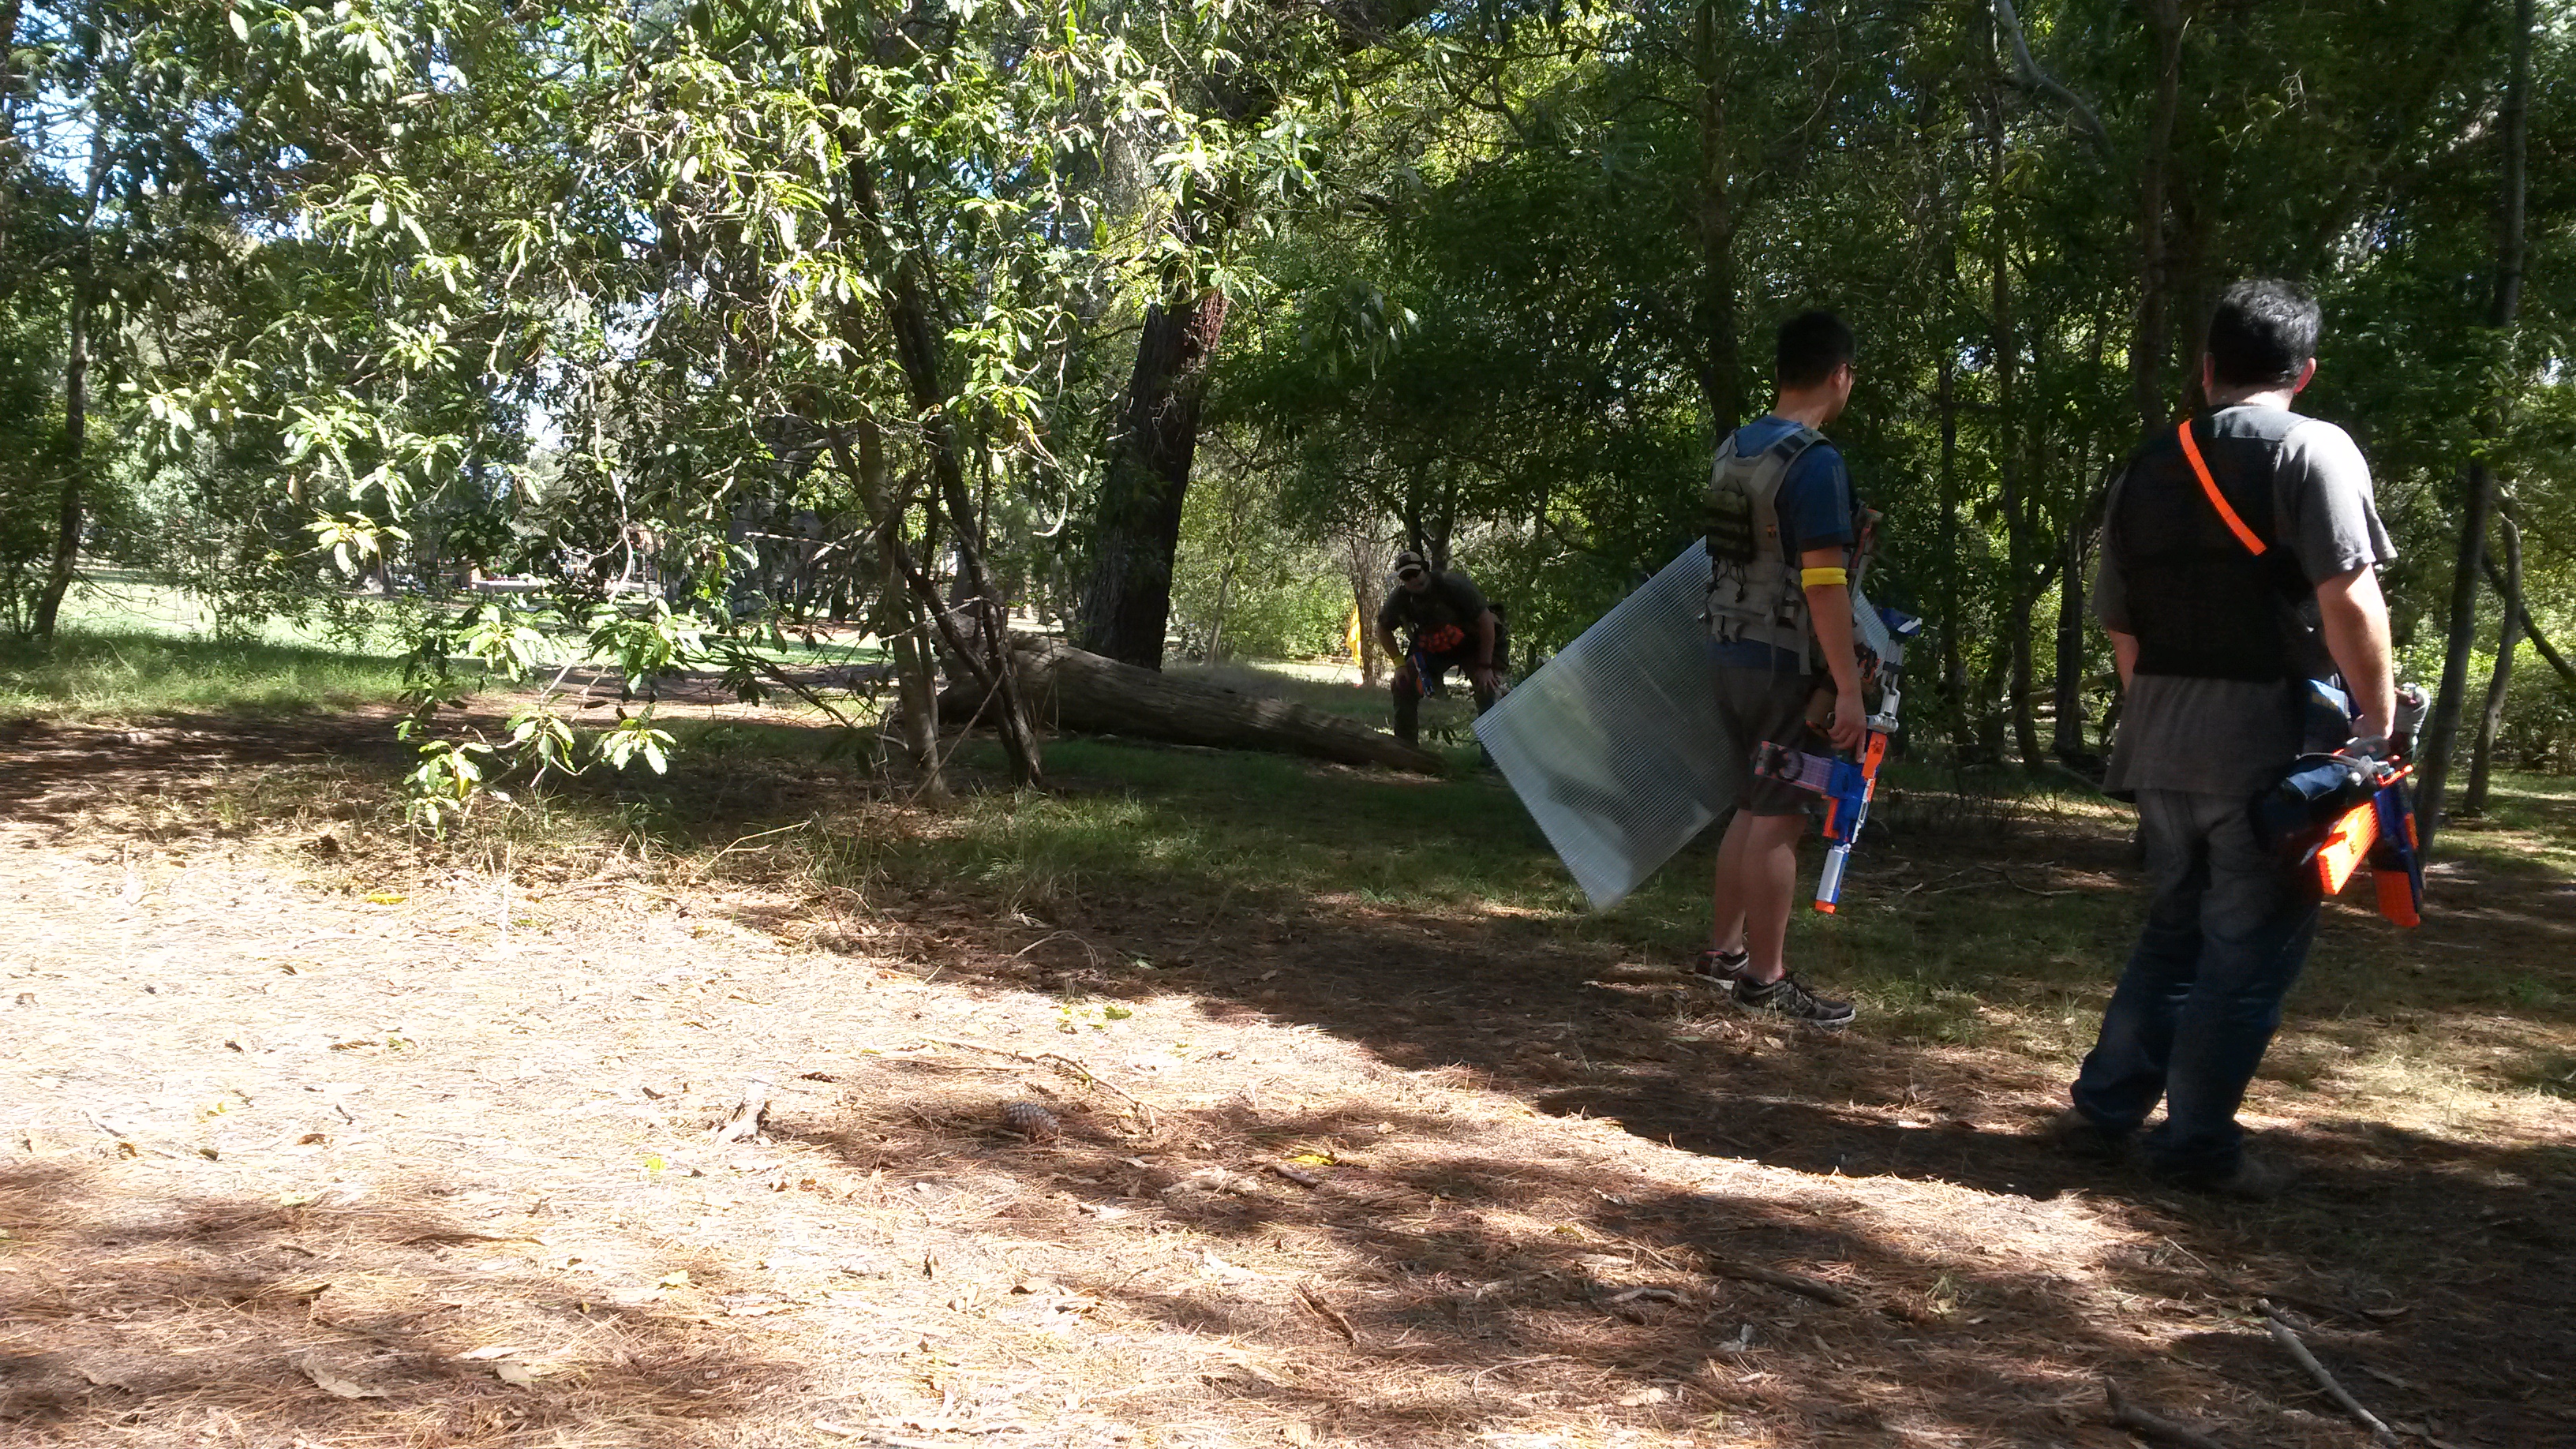
Let’s talk about the shields. The two shields are basically identical besides the team identifying coloured tape on the handles. They’re a decent size, large enough to be completely covered when crouching, but small enough that you can’t effortlessly take cover behind them. Shields are immune to darts, and break if hit by a grenade – they must be dropped immediately and cannot be used by the same player for the rest of the round. We used the shields in the CTF and BHD rounds.
Because the shield merely breaks upon grenade contact and the player is not downed, even with everyone having grenades, the shield bearer basically has two lives. Additionally, since we played with thrown grenades, throwing a grenade requires readying a grenade for throwing which usually means temporarily putting your primary away – a massive disadvantage in a firefight. Since the shield bearer is free to use any blaster with the shield, it is extremely hard to get out a grenade and throw it effectively while under attack from a shield. Making matters worse is that it isn’t too difficult for a shield to simply dodge a grenade to render it ineffective even if it is thrown well. Given the blasters we used (a lot of flywheelers), shields provided pretty much no disadvantage to the player wielding it, besides perhaps becoming more of a target and having more responsibility to the team.
 In CTF, the shields were a massive boon as they could be used equally effectively on offence or defence. Offensively, the shields give the attackers a reliable source of cover whereever they needed it, allowing them to progressively push up at will instead of having to move tree-to-tree. Additionally, the shield made it easy for a player to set up near the enemy flag, making it much more difficult for the enemy team to return any flags. Defensively the shield offers the defenders cover wherever they need it, giving them an additional reliable defensive position. Effective use of the shield can make or break the CTF game given how powerful they are, and given how hard it is to get a good grenade throw off under fire, a good shield is almost impossible to take out for a regular player.
In the first BHD set, both shields were on the Insurgents team, which on top of the Insurgents having twice the players, made it basically impossible for the SF team to hold a position for more than probably ~45 seconds. This was naturally completely broken, so the second set had the SF team take one of the shields. This allowed the SF team to much better hold a position, and significantly reduced the Insurgents’ ability to push the SF back. Without the shield, the SF team is too easily overrun by sheer numbers, as the Insurgents can very easily push forward and get some good hits in with some suppressing fire and coordination. The game is pretty much decided by which shield is lost first. If the SF team loses their shield, it becomes pretty much as with the first set of BHD games and the SF team will most likely get wiped out really quickly. If the Insurgents lose their shield first, then the SF team is pretty much free to push up with their own shield and assault the remaining Insurgents. If the Insurgents lose their medic before the SF team loses their shield, the Insurgents are again put at a major disadvantage as the SF team instantly eliminates any Insurgents who get hit. Without any reviving/respawning ability, even with a shield the Insurgent team is put at a massive advantage.
 Overall Black Hawk Down is a pretty fun and different gamemode and I would definitely enjoy playing it again. It’s a stark contrast to all of the completely symmetric games like CTF that usually require quite a symmetric play area to work properly, and it’s also playable with odd numbers. The introduction of shields added an extra element to the games, especially CTF, but as they were used in this event I think they’re perhaps overpowered and give a shield player too much of a buff without enough disadvantages.
A link to the same post on my own blog: link