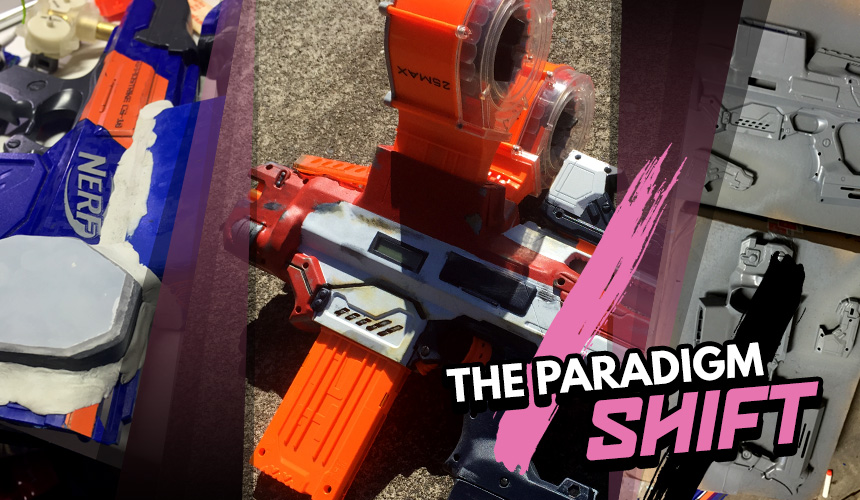
Building a Custom Blaster: The Paradigm Shift
August 2, 2016Editor’s note: While WalcomS7 no longer writes for Blasterhub, we encourage you to view the content on his Youtube channel!
One thing the Nerf modding community has over many other hobbies is not only do we get to field our blasters in games and tune performance to where we want it, we also sometimes get to build something completely original out of existing parts and change the way blasters work, or add functionality that was never there but was sorely needed. That’s where this crazy idea came to light: meet the “Paradigm Shift” — a completely custom-built Nerf Rapidstrike that’s not only practical, but maybe a little overpowered!
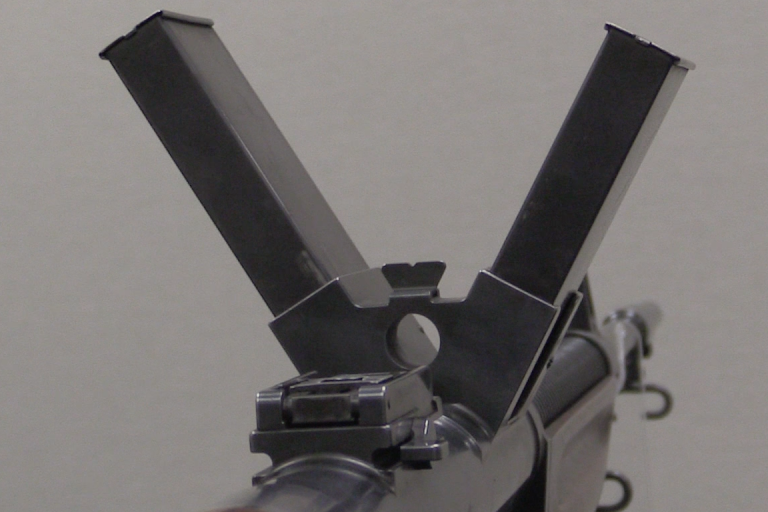 First comes the idea: where did something like the Paradigm Shift come from? Simple answer, I was watching a video from one of my favorite YouTube channels and they demonstrated and disassembled a very rare and unique firearm called the Burton 1917 LMR, a weapon unique for the fact that it included two detachable box-magazines that allowed a user to quickly switch between an empty to a full magazine in a fraction of the normal time. On top of this, a user could easily swap out a depleted magazine for a fresh one while still being able to fire at any moment, or even when firing.
That idea seemed perfect: the crux of most Magazine fed blasters is the down-time between changing out empty magazines or dealing with near-dartless ones. Face it, if you’re in a battle and you just emptied 12 of your 18 darts into your enemy, and you know another enemy is coming; are you going to change shooting those last 6 darts and hoping to tag out your enemy? Or maybe you’re going to preemptively swap out that near-empty clip for a full one like we do so often in most shooting games? This system takes care of this problem by allowing a user to quickly switch to another magazine already loaded into the blaster.
The way this works is by having extra pieces located in the magazine feeding well that grip the magazine in the little, “tabs” that hold them together on top of the already secure clip-release. Since these extra parts are a bit ahead of the clip-release, it gives you a way to, “store” a magazine inside the feeding well but outside of the action itself so not to interfere with the operating function. When you insert the magazine, it grabs at the front of the magazine and locks it in place, then pushing it down further locks it again into the well to feed into the blaster. Now you multiply this by two or three and you effectively have multiple magazines stored on the blaster, each ready to be fired at any time with a simple movement. To switch a magazine, you simply tug it out into the first holding position and slam another down into the action. This system is far quicker than completely removing a magazine, storing it (or tossing it), reaching for a full clip, and then inserting it back into the blaster; and it doesn’t keep your blaster unable to fire while you’re doing this entire process. Once you’ve changed mags, you can (at your convenience), completely remove the spent clip and swap it out for another one to place into that empty magwell for storage while never having to take your finger off the trigger and render yourself unable to fire.
That sounds all fine-and-dandy on 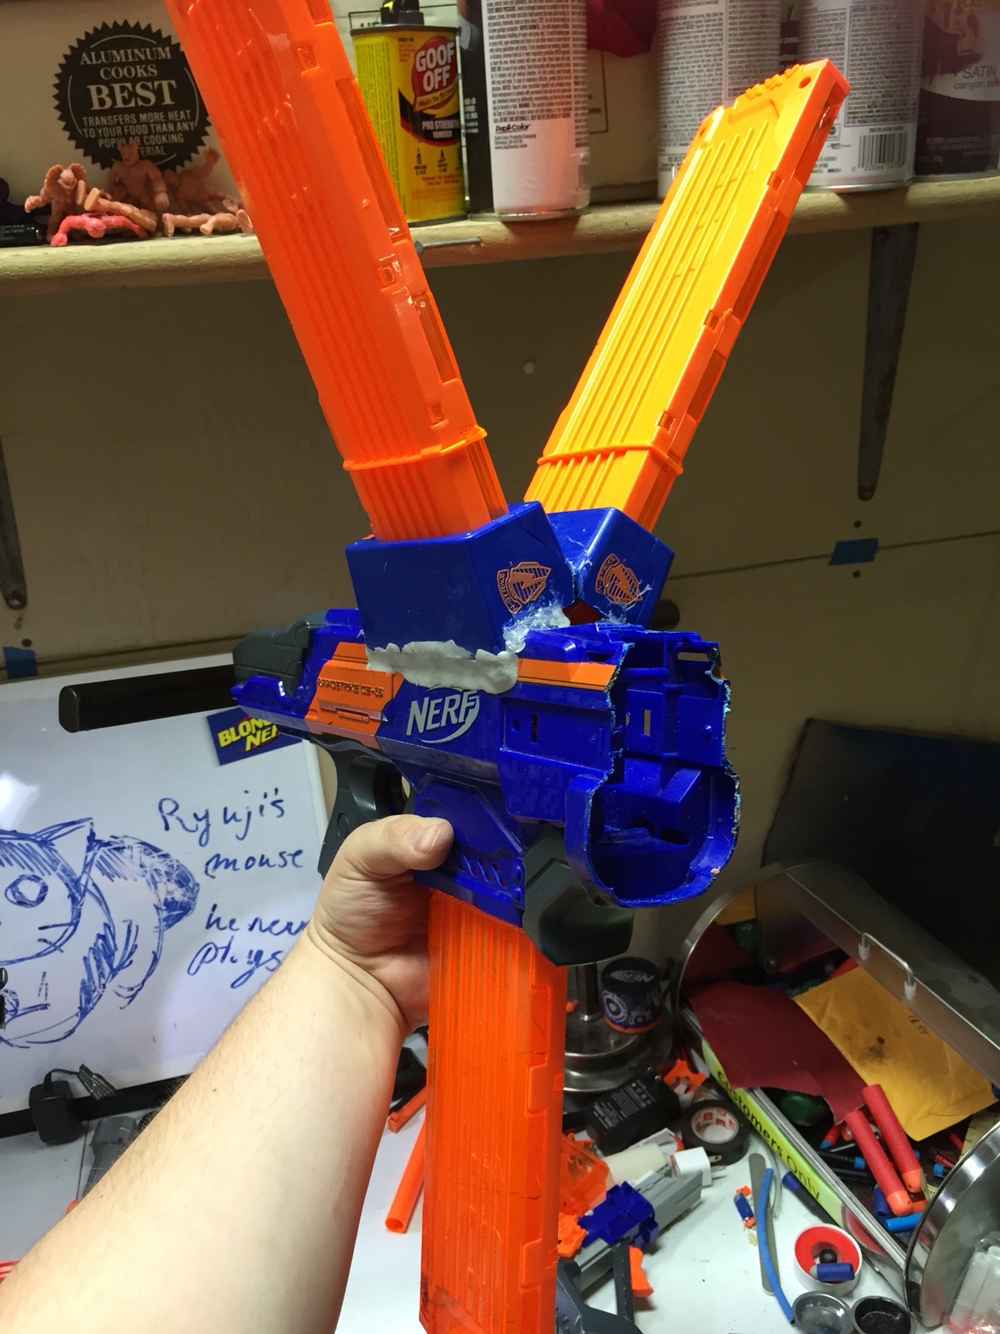 paper, but where do we start? Well for one, we need a blaster that can conceivably feed from any orientation. The Nerf N-Strike Elite Rapidstrike was chosen because it’s a relatively simple concept: you insert a magazine filled with darts which gets locked into place, you press down one trigger to spin flywheels in front of the magazine, and you pull the other trigger to engage a motorized pusher which slides the top dart forward into the flywheels which sends it on it’s way. Better yet, the pusher is small and as long as the first dart is centered, it will fire it even if the magazine is upside down.
There’s our blaster, but what about the magazine wells? We’re going to need two of them and most blasters have them built in. I say most, because the Nerf N-strike Raider CS-35, the N-Srike Elite Rampage, and the Star Wars First Order Stormtrooper Deluxe blaster all have entirely functional magazine wells that you have to attach to the blaster before you can operate it, presumably to never be removed again; but that won’t stop you from removing a few screws and claiming it back. In this case, I used two of the Raiders since I had a few of them and they’re functionally inferior to the N-strike Elite line. Cutting into the Rapidstrike wasn’t much of an issue because most of the plastic in the middle of the blaster is shaped filler, and the magazines were test-fitted with the pusher to make sure they could feed properly. With that finished, it’s time to start the body work.
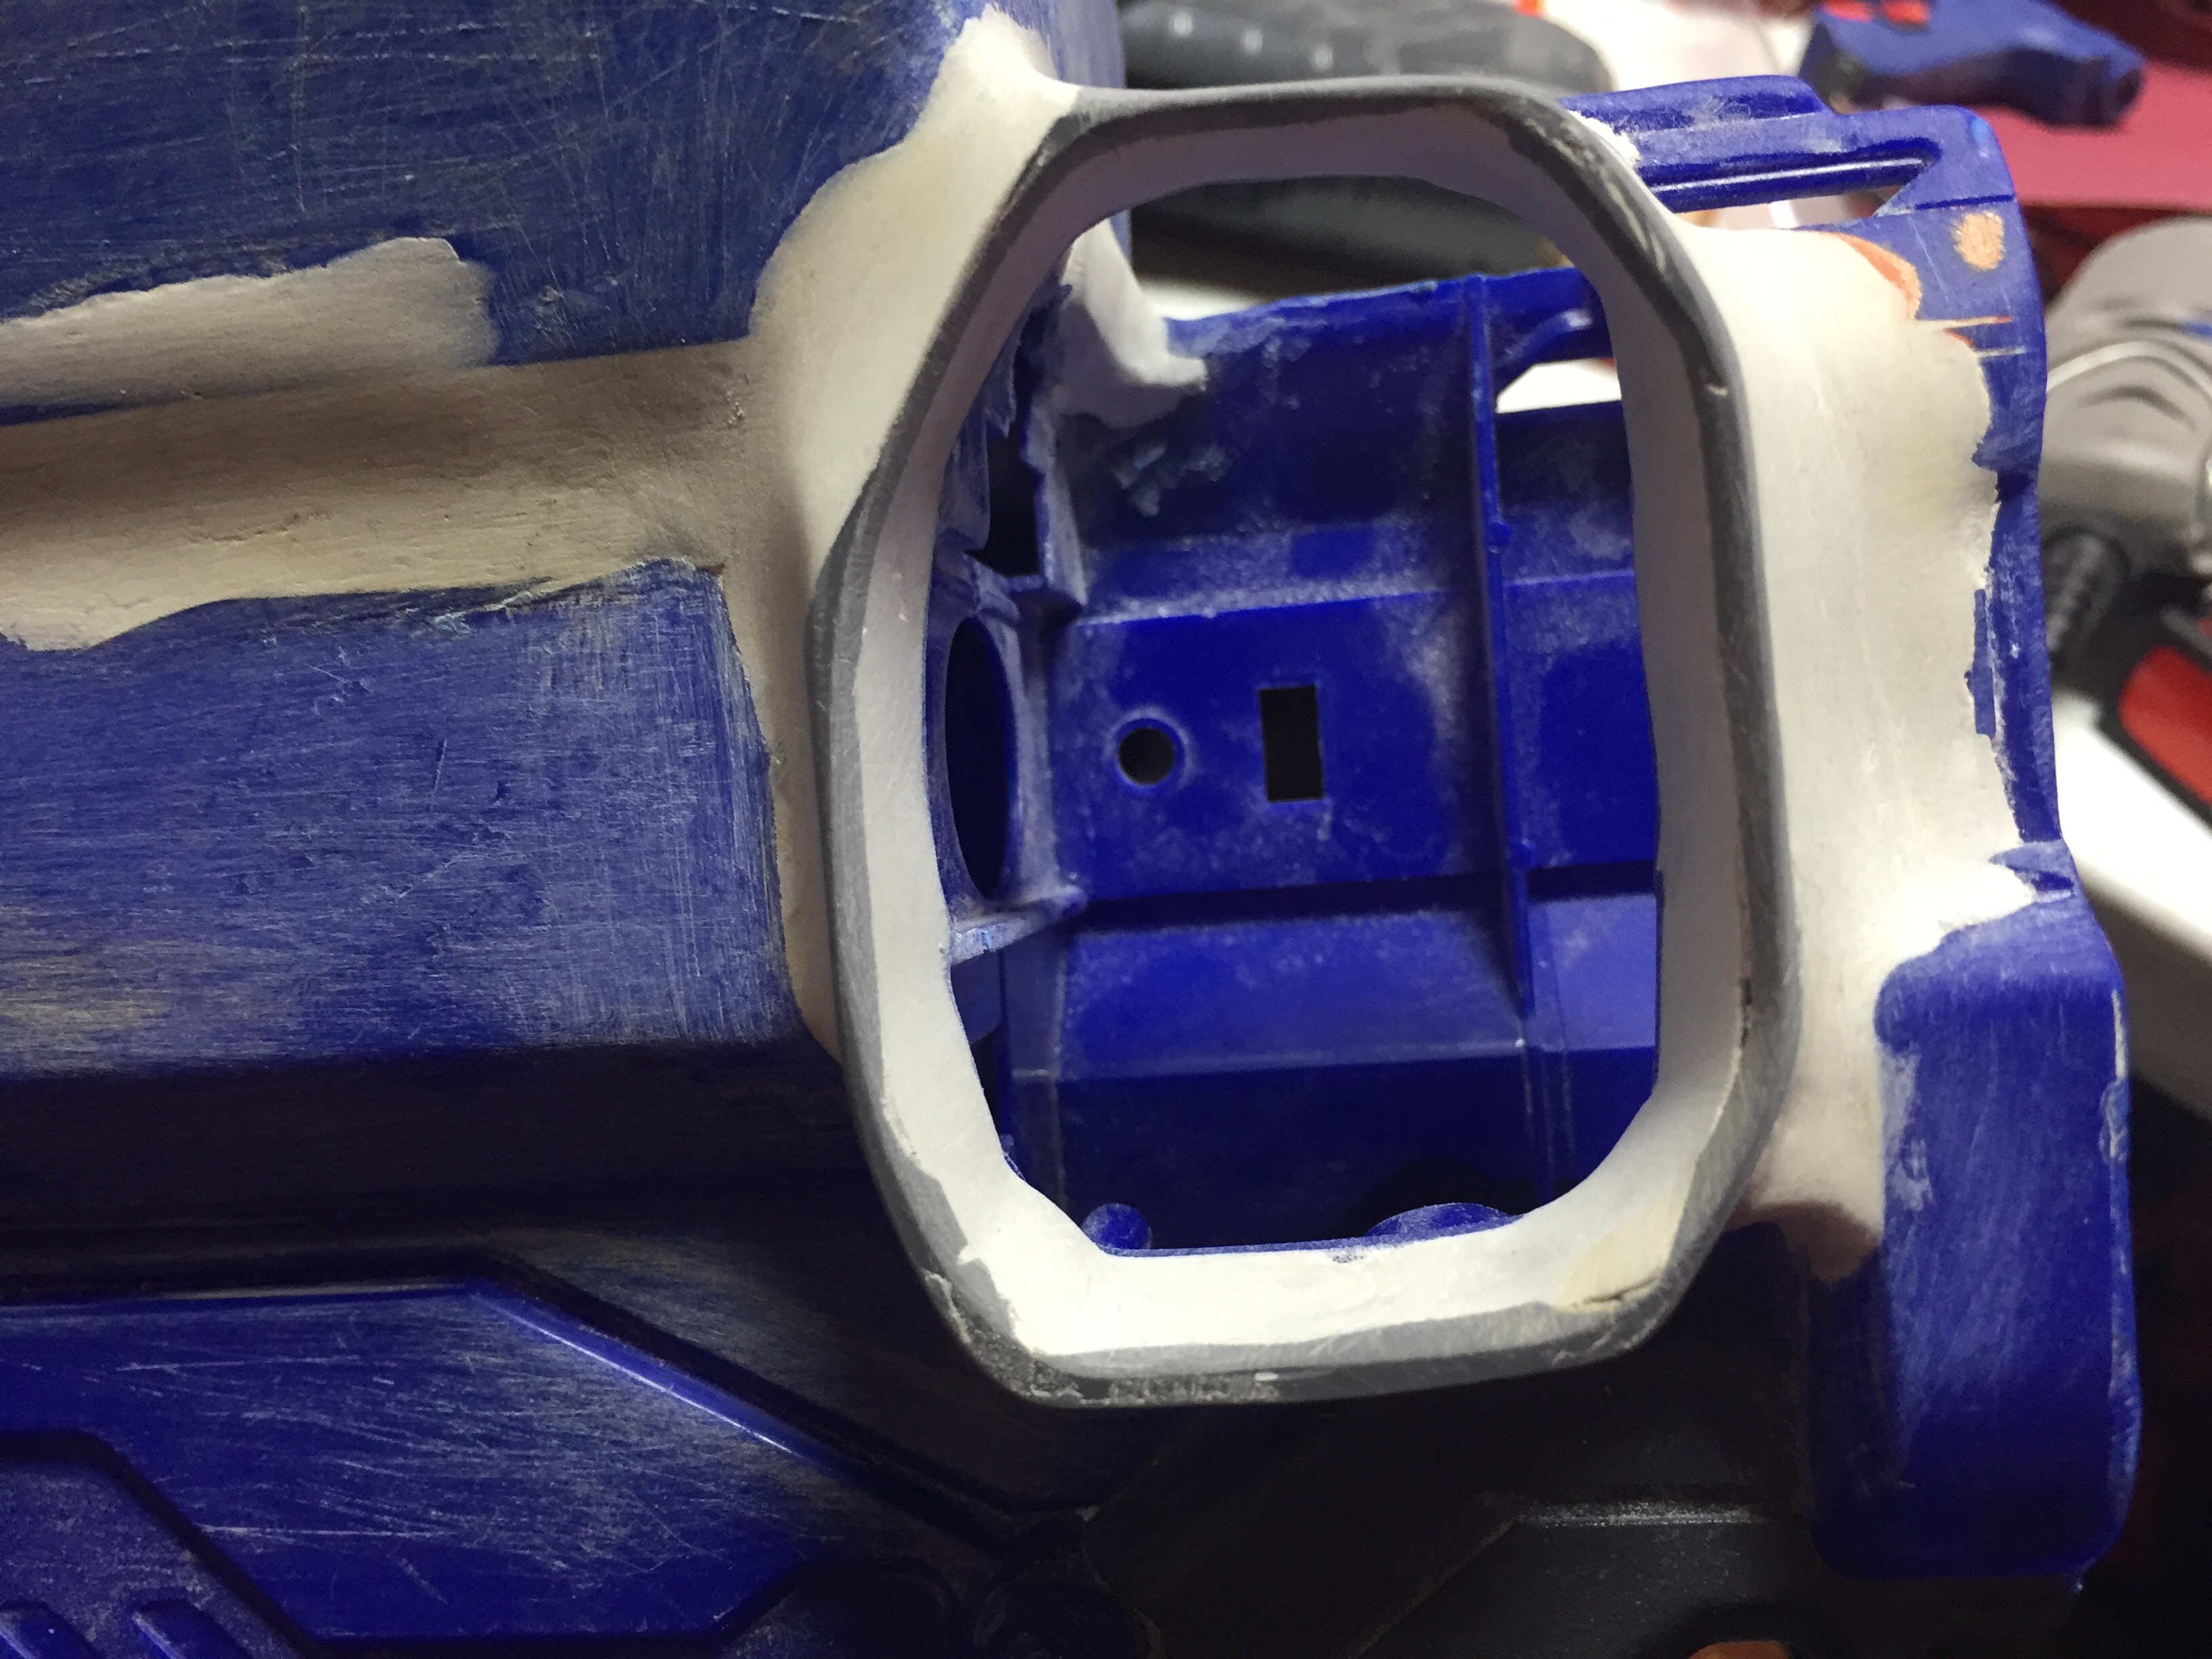
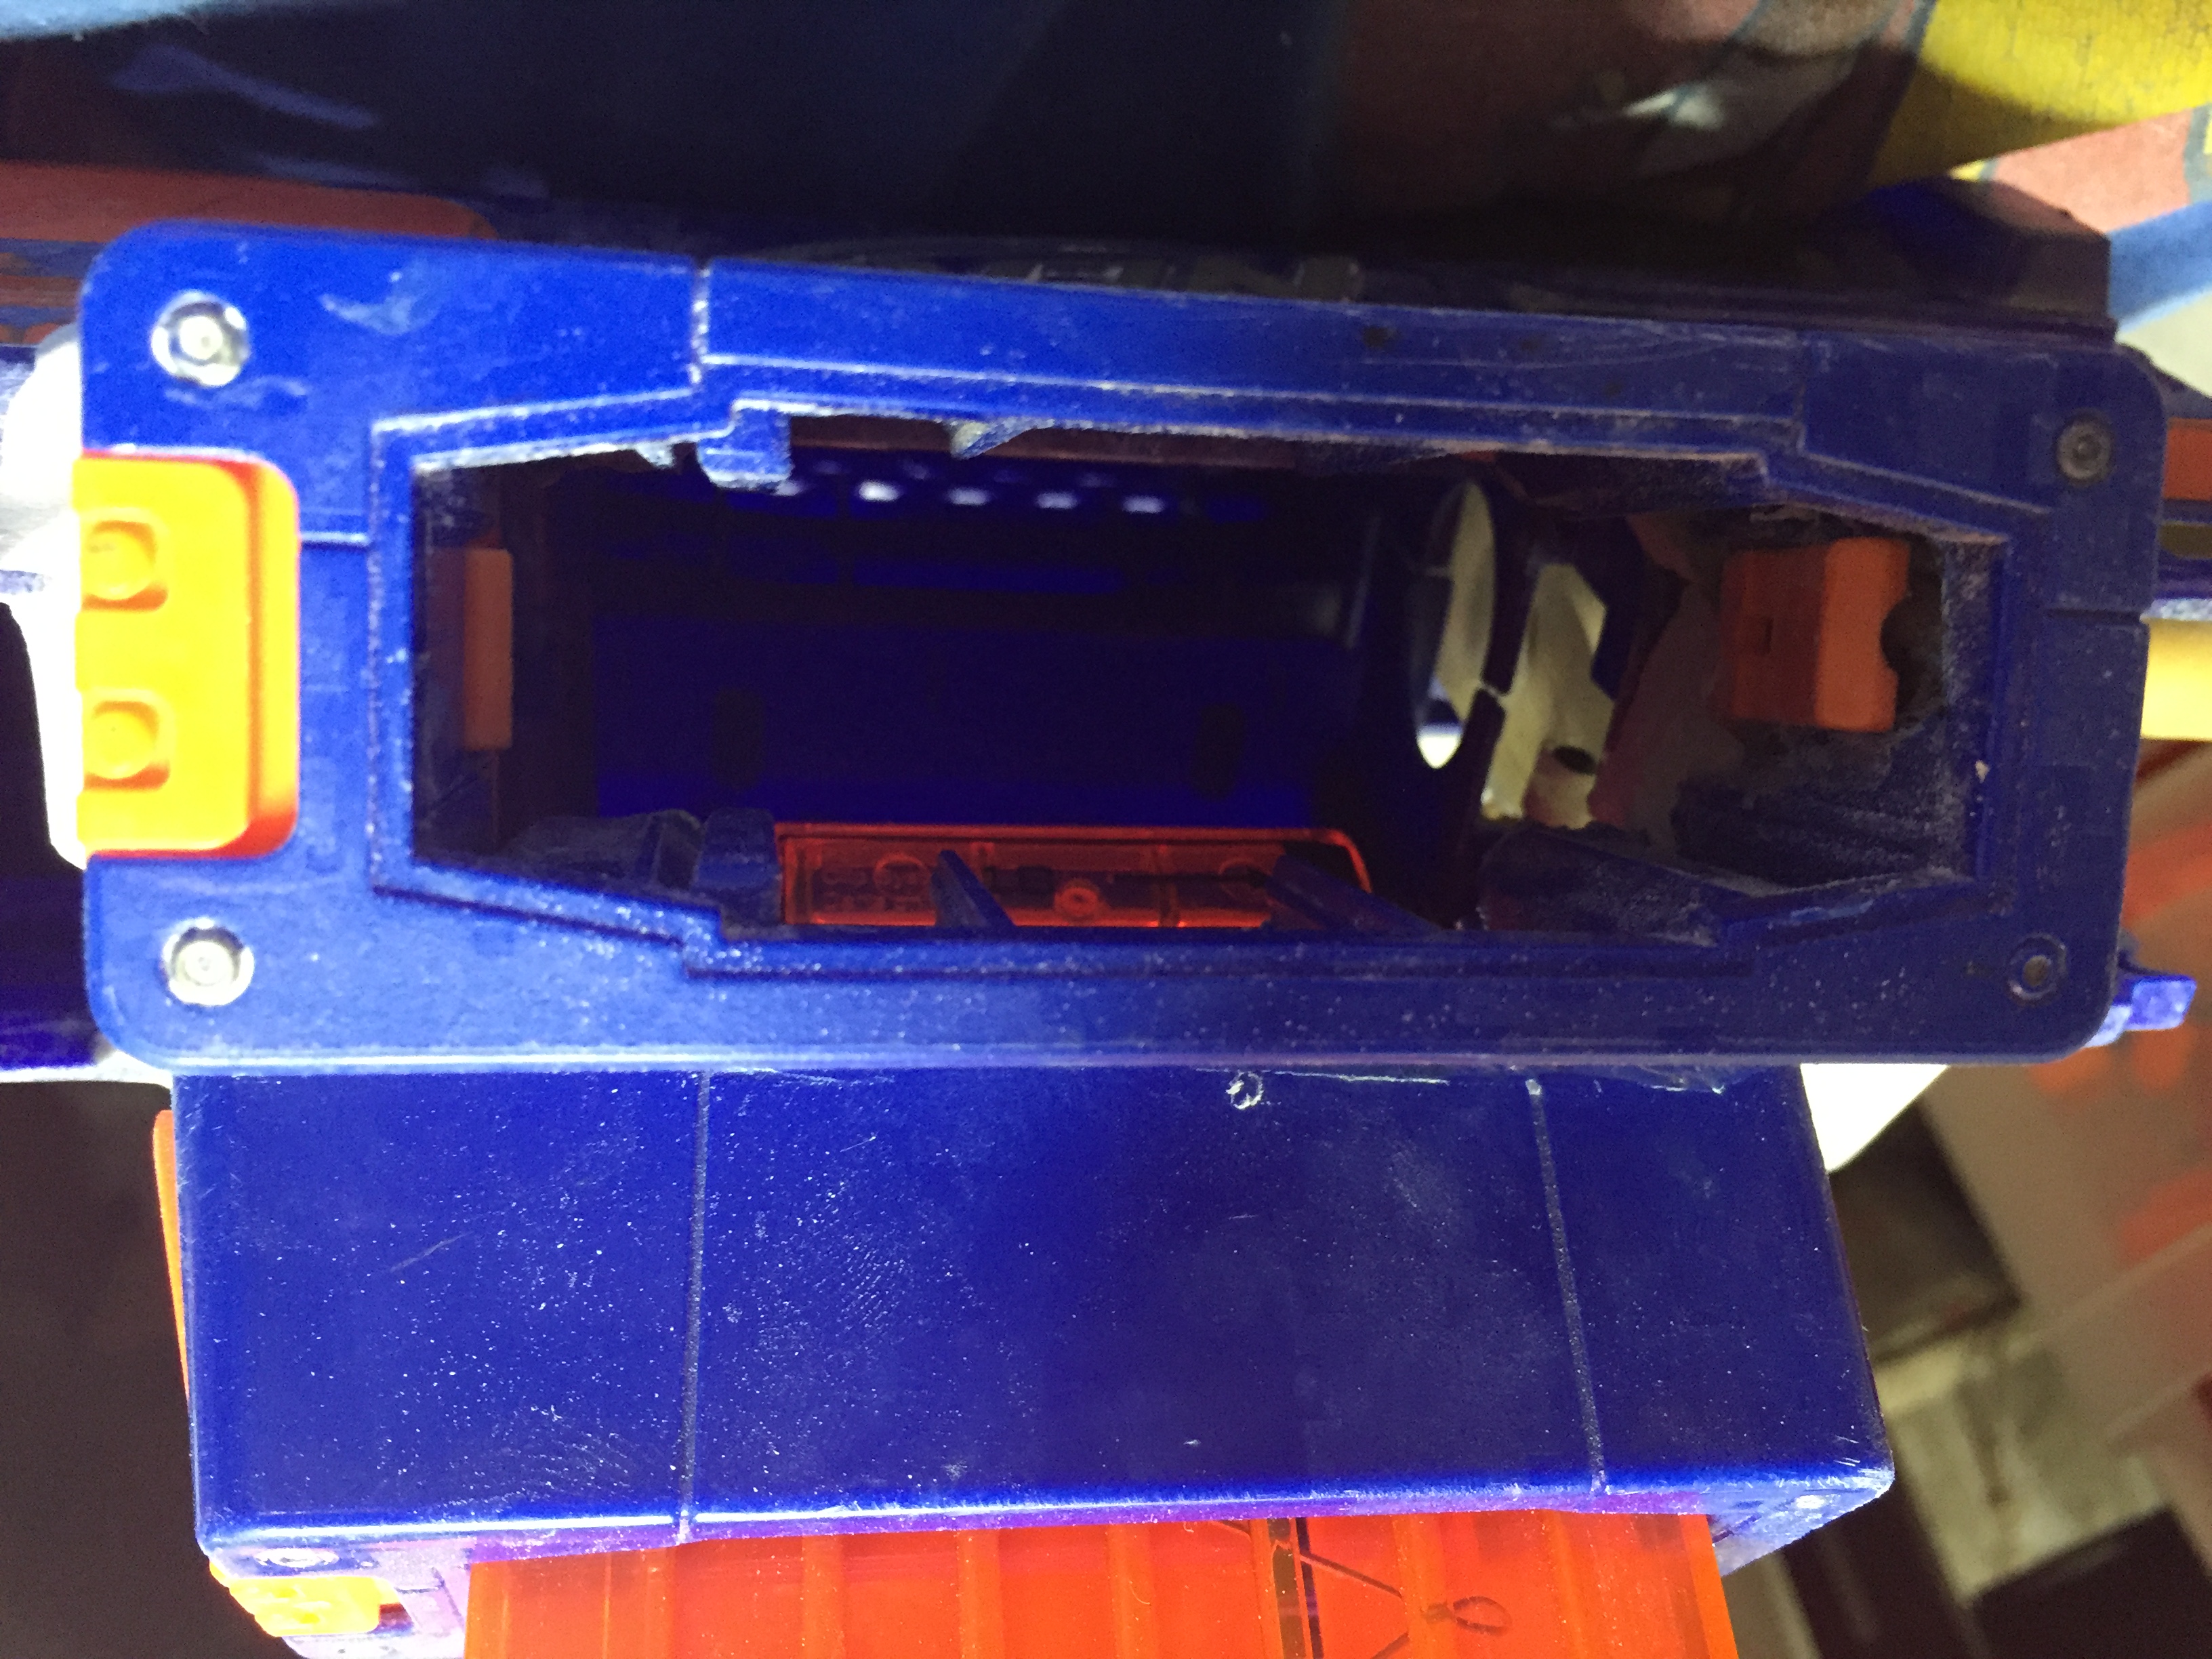 Getting the magazines to stick in place was tricky, but what I used were the clips that held the Raider magazine well into the blaster preventing you from pulling it back out. There’s a little “tab” located on the side of every Nerf clip that holds both halves together and that has two little indents on it, so I cut into those magazine wells and put those little clips out so that they catch on the little indents on either side of that tab. This adds much needed friction to holding the magazine in place, as well as some definite, “clicks” when pushing/pulling the magazines into position. This means any magazine or drum will feed into the blaster and I don’t have to worry about having special magazines for it. That was the hard part down, so the rest was just making the system look pretty.
Figuring out your blaster’s body a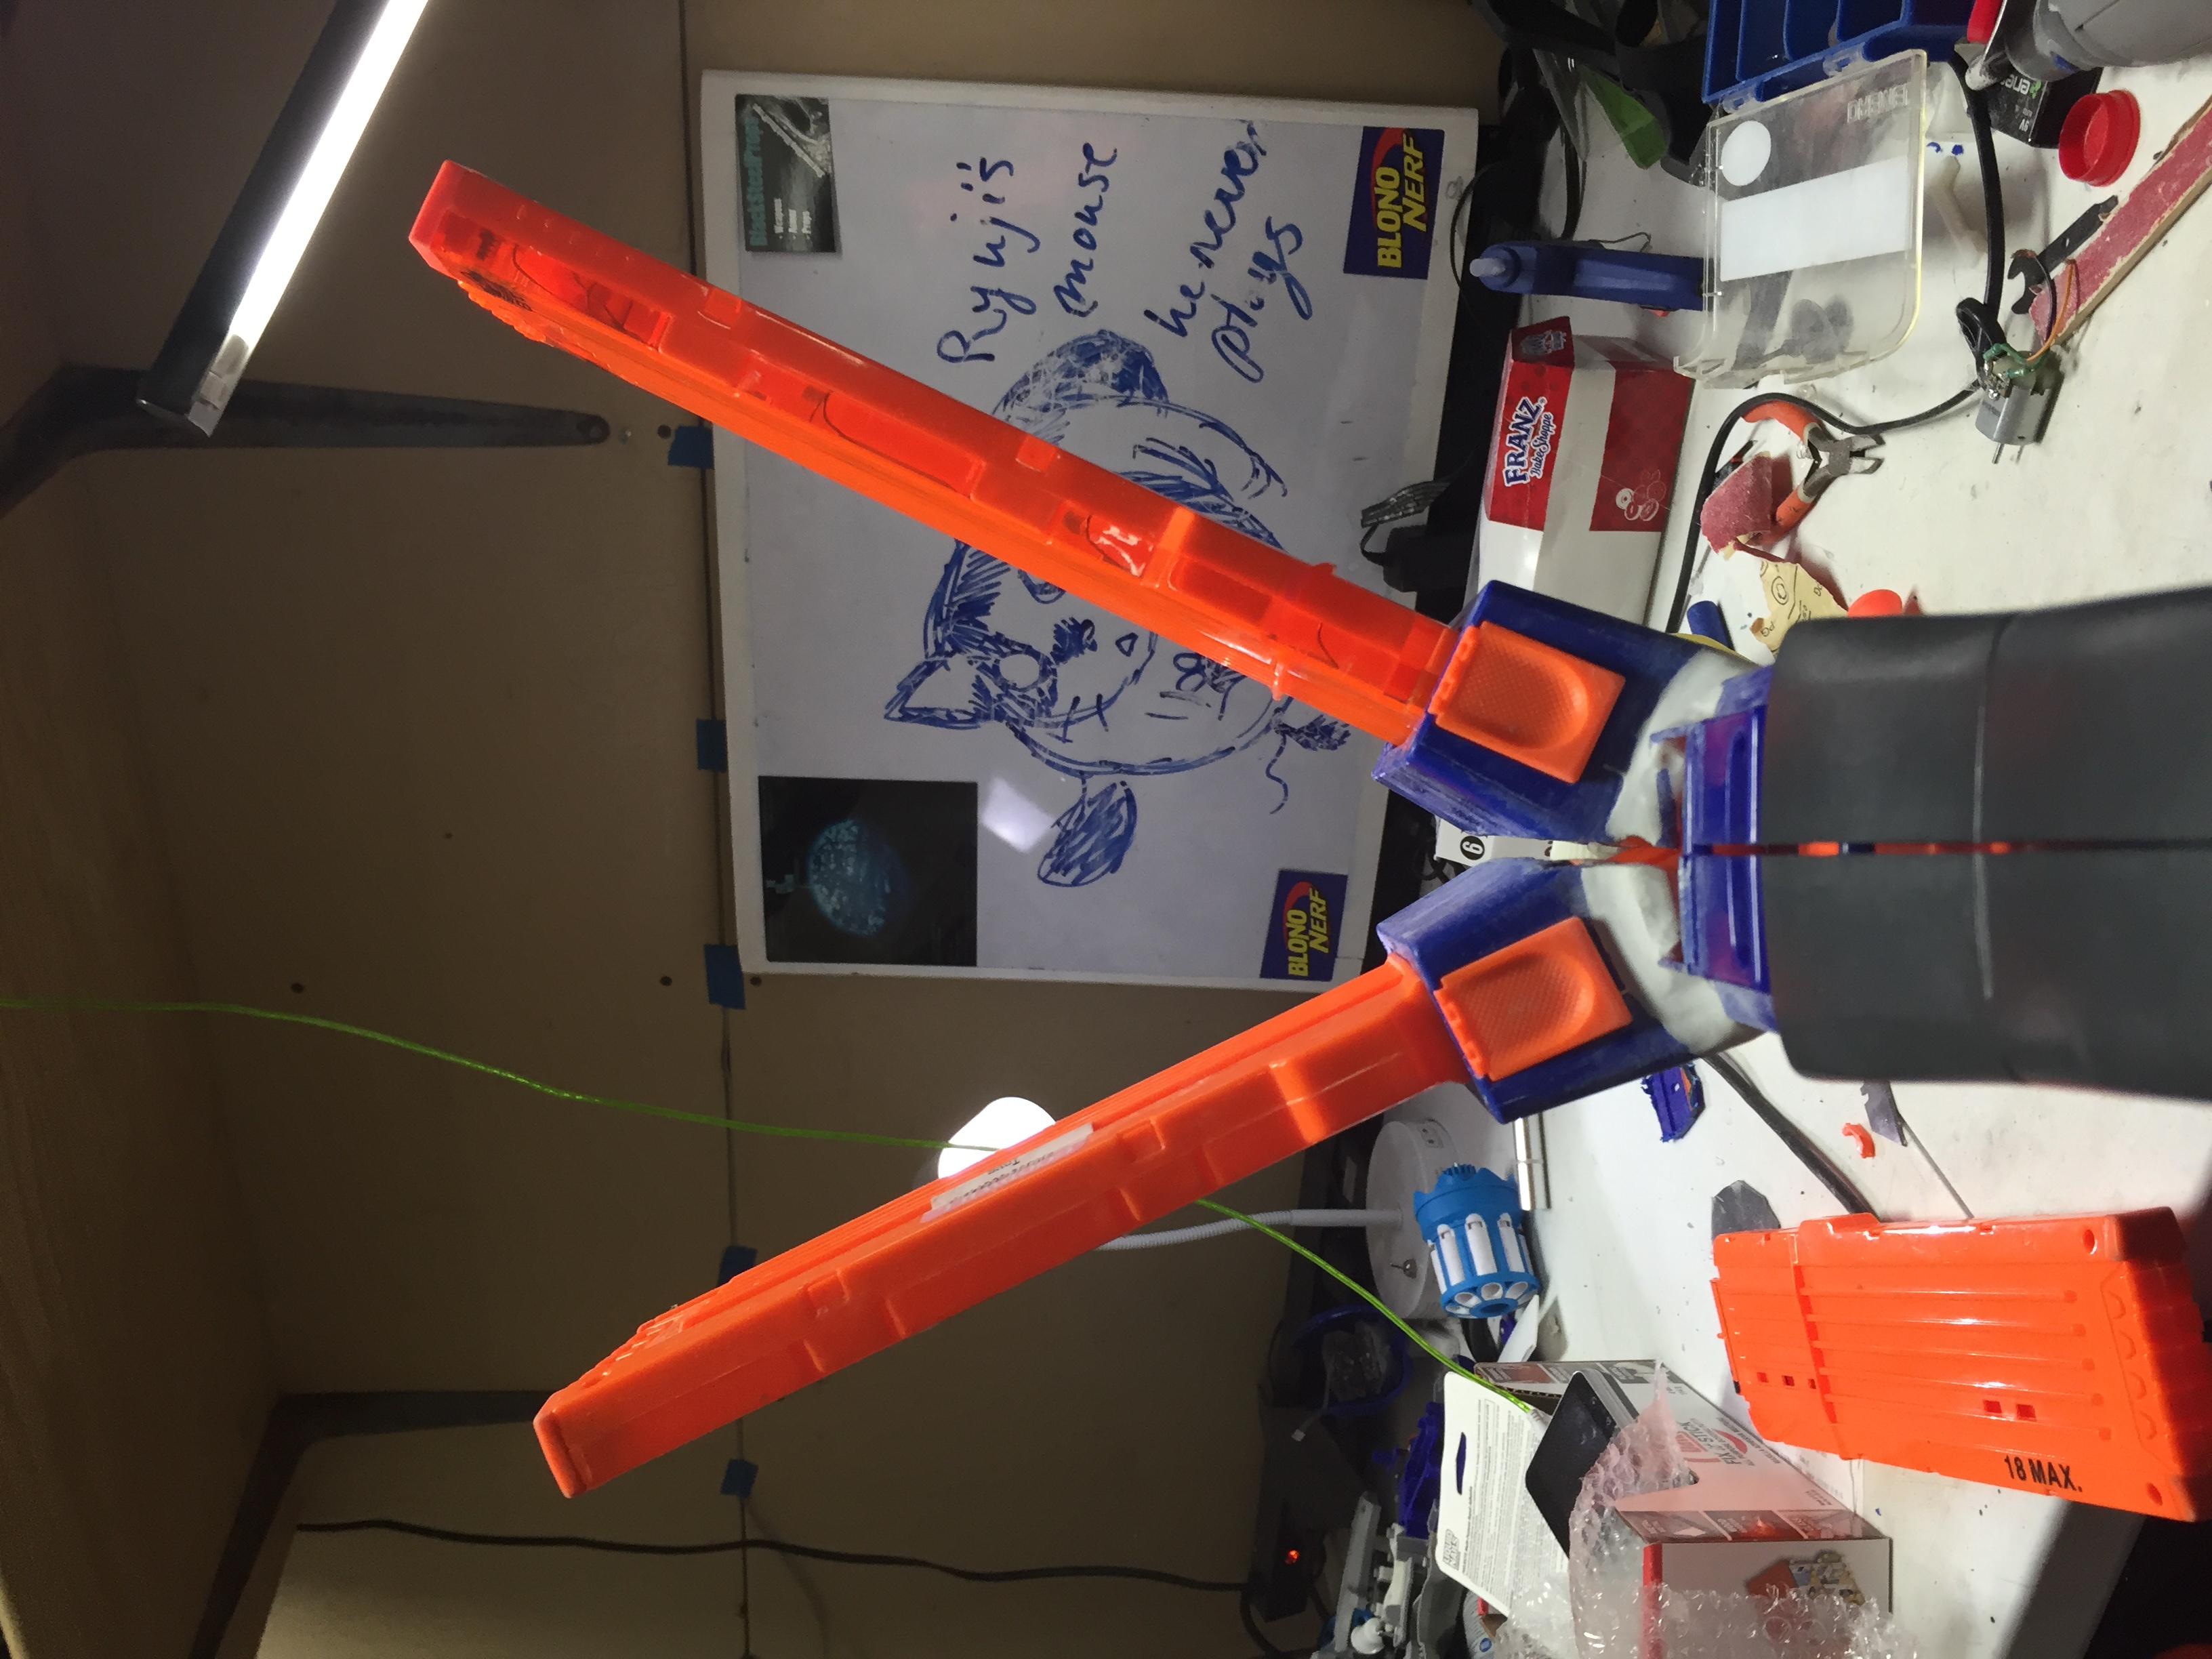 s you build into it is tricky. Some people can plan out their entire blaster in their heads, others can edit images of blasters together from product photos, and then there’s idiots like me who completely wing it. For this build, I already had the base idea with the Raider magazine wells and the Rapidstrike, but that isn’t the entire puzzle. I also knew I was going to have three large magazines in a, “Y” configuration sticking out of my blaster, so it was important to me that I try to keep it as good looking as possible. In my mind, having a all of this sticking out of the middle of the blaster would look incredibly ugly, especially with a large rifle-like barrel sticking out in thefront. I cut down the barrel as much as possible (forming what the community calls a, “Rapidstrike Pistol”) leaving just enough room for the flywheels to be covered. Next, since I had to remove the whole access door and carry handle, I was running out of N-strike attachment rails and something to add onto the back so there was more, “girth” behind the magwells to limit how much they just st
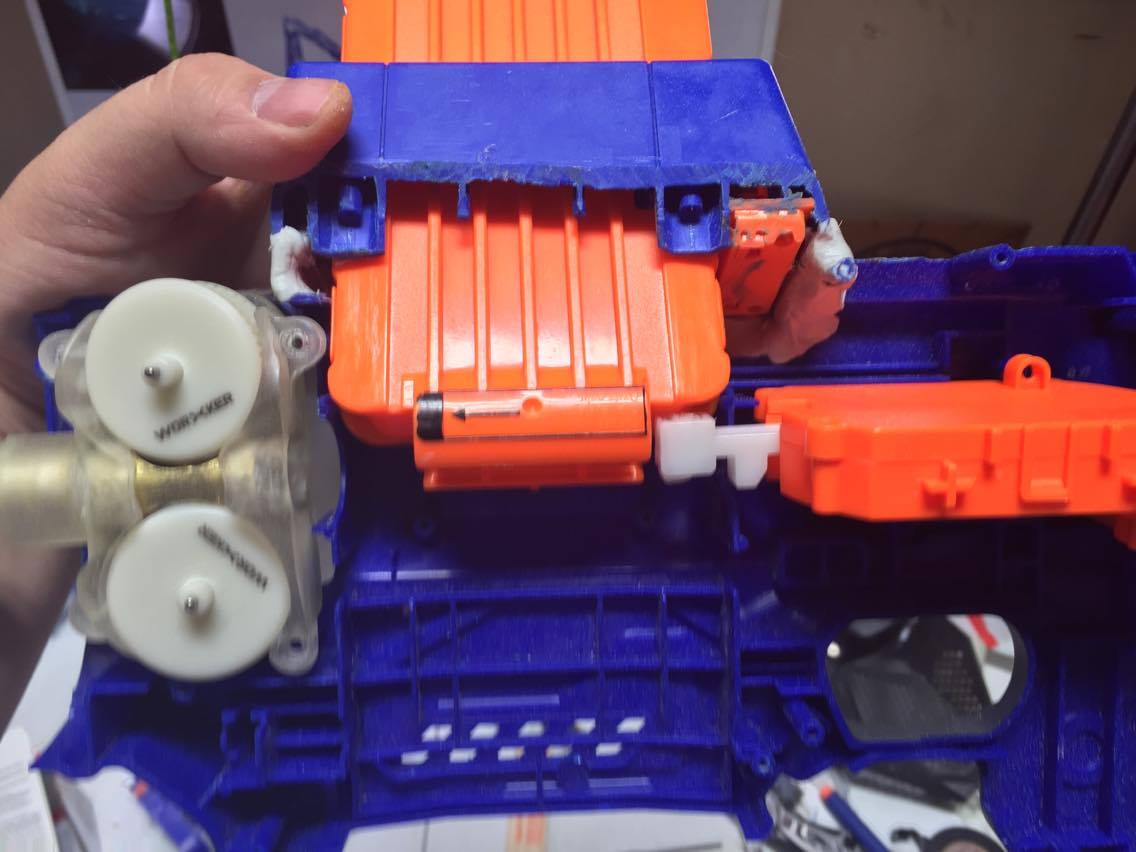 uck out of the blaster, and wouldn’t you know it? I already had that whole carry handle rail I just cut off from the Rapidstrike, so I can just move that back and stick it on there with some putty, and Presto; it looks great.
From here, I needed a stock but I also needed a place to stuff what would power the blaster after removing the whole front-end, and for that I took the back-end of a Nerf Vortex Praxis stock (because it looked cool and was big with lots of room to work with) and the sqaure-ish looking part I could possibly find donated from a Nerf N-Strike Longshot front blaster attachment that I already cut up for a previous project to hold my battery. Since I have a thing for thumb-hole stocks, I integrated all these pieces (and a lot of epoxy putty) and came up with the basic shape.
Y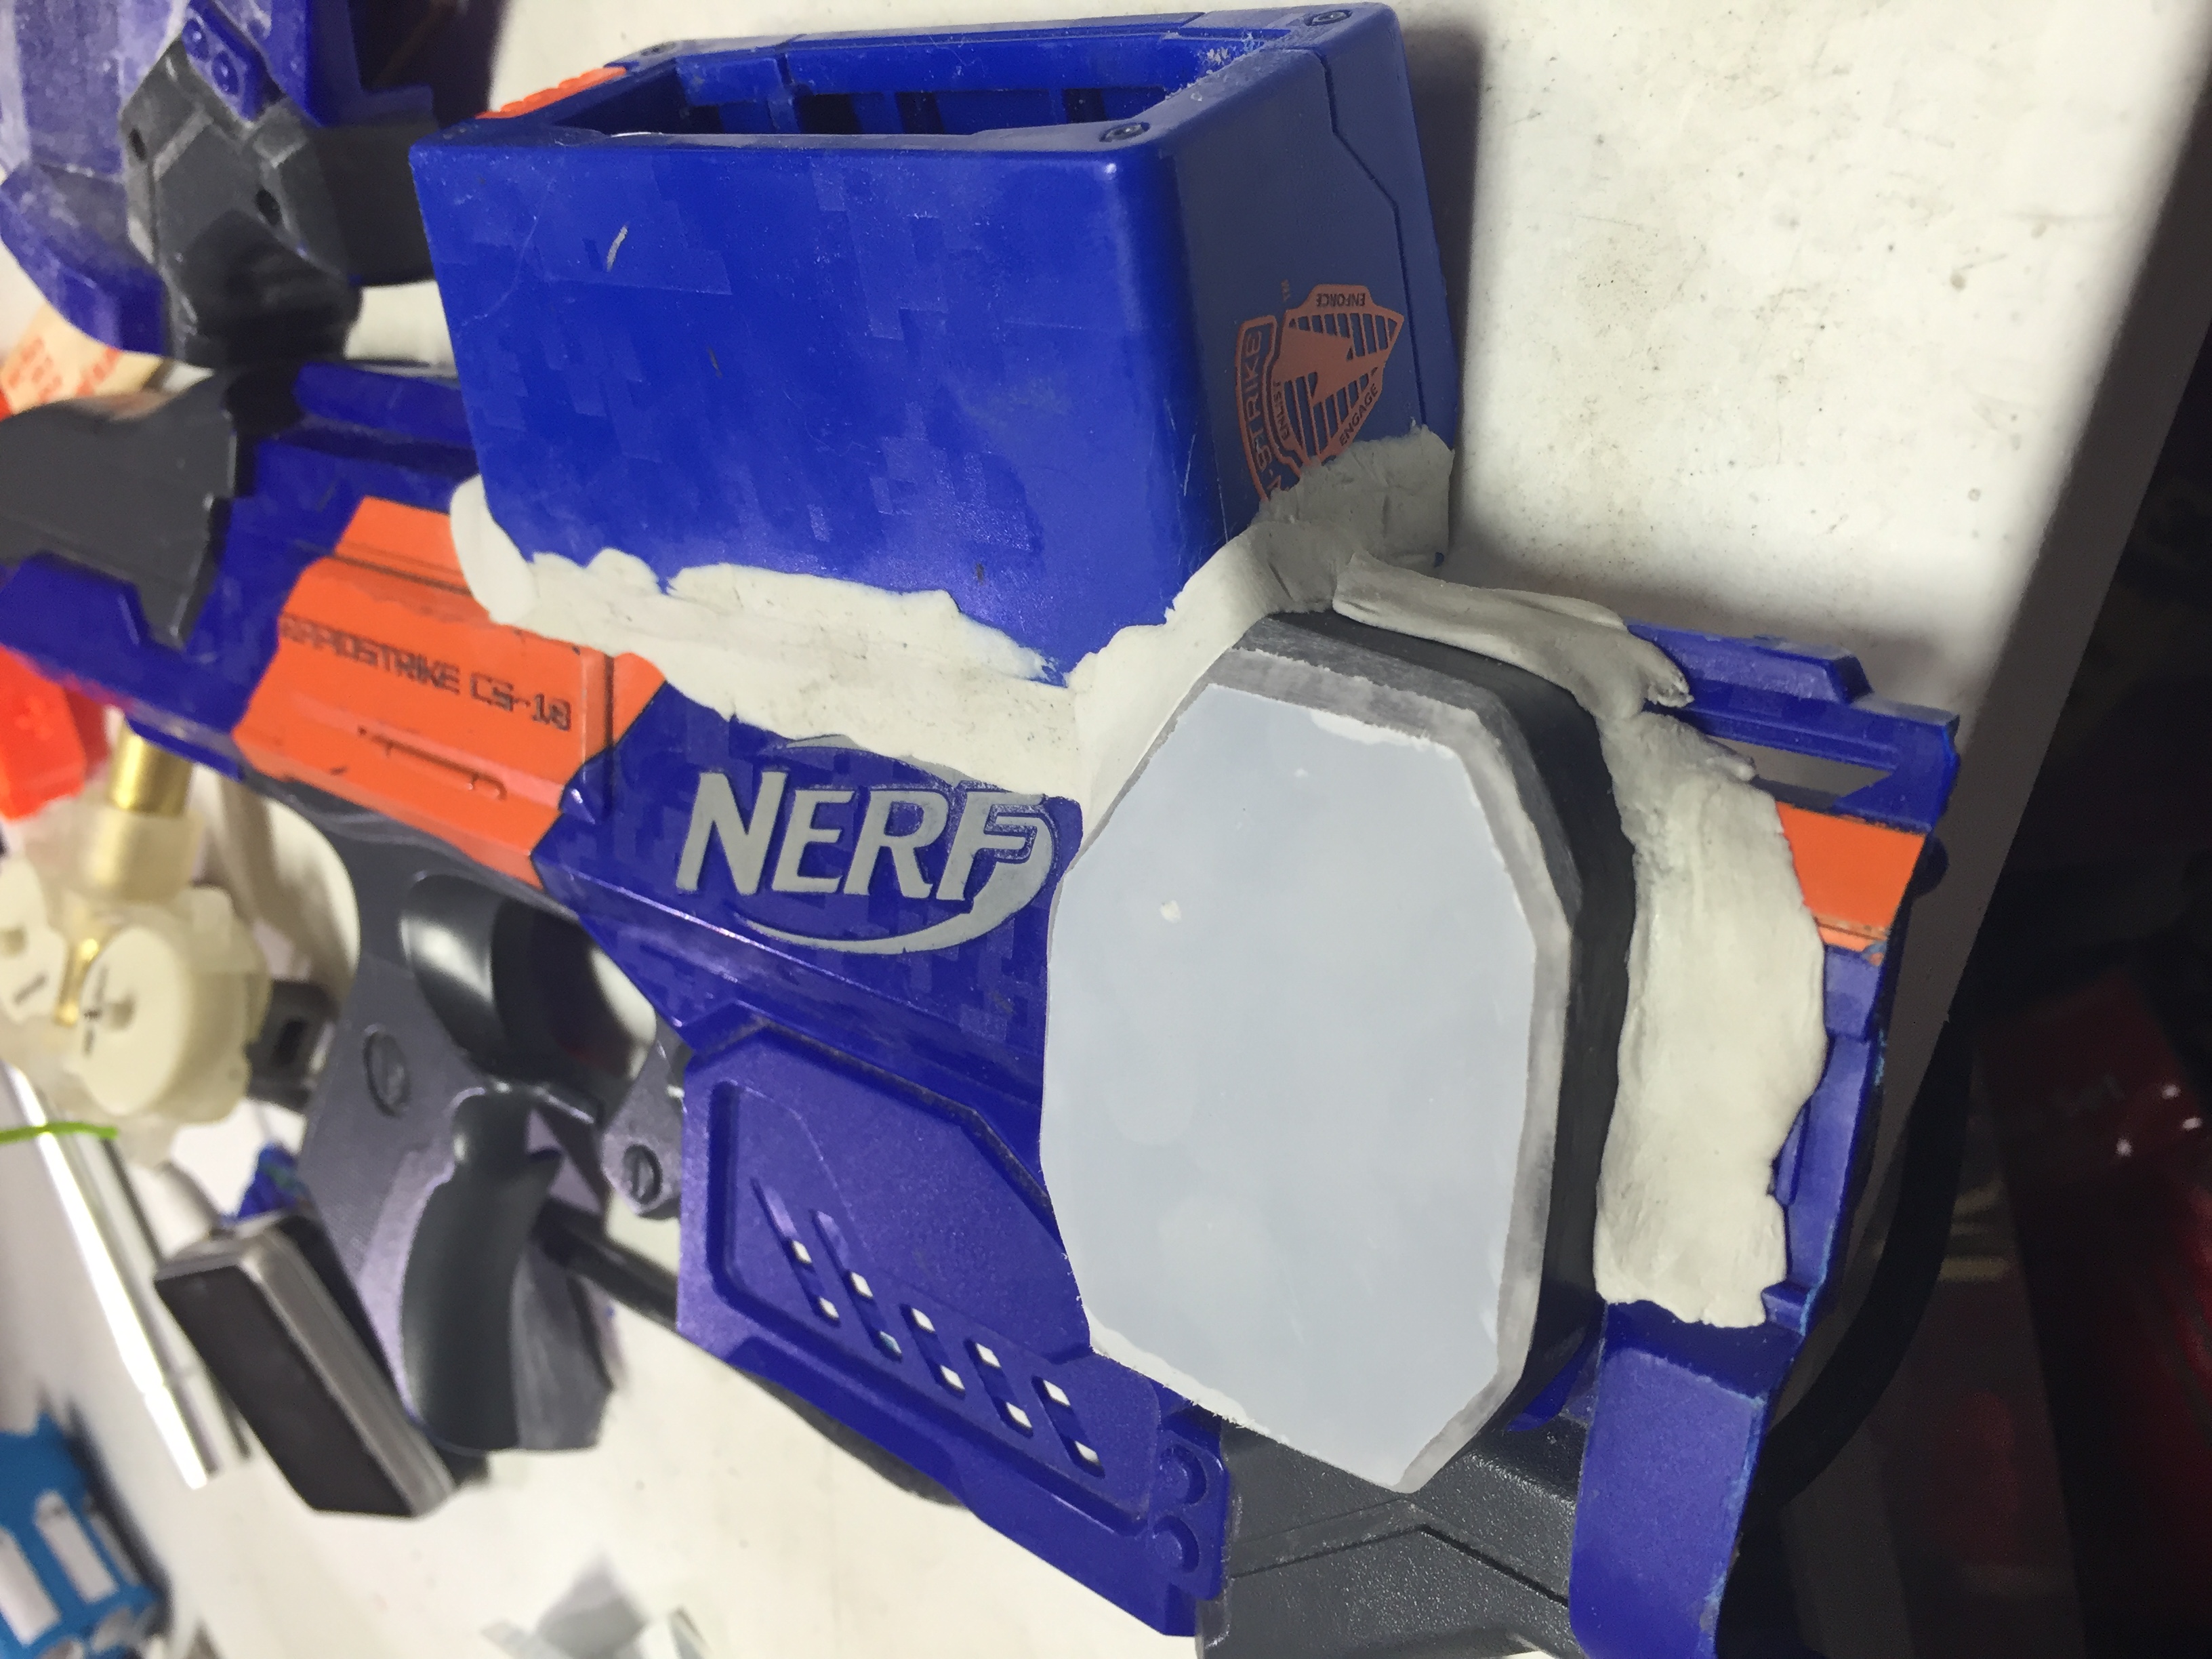 our best friend when doing body work on Nerf blasters is Epoxy Putty. This material is relatively cheap, easy to use, rigid and moldable, cures quickly, and can be further sanded to a pristine shape. This is important, since we need to not only fill gaps left behind from cutting into the shells and hold the magazine wells in place, but we want it to look as good as practically possible. For this project, I tried something new that was suggested to me: Oatey’s Fix-it-stick. It’s sold online (or at Lowe’s Home Improvement), and it’s not sold with the other epoxy putties, but rather in the plumbing aisle. Not only is this sold in nearly double the quantity of normal putties like Loctite or JB Weld for the same price, it cures rock-hard and sands very easily. To put this into perspective, I used three entire tubes while building the Paradigm Shift and there’s still places where I could have used more. What you’re going to want to do is test fit your pieces and hold them in place with hot glue, because it’s relatively easy to remove if
 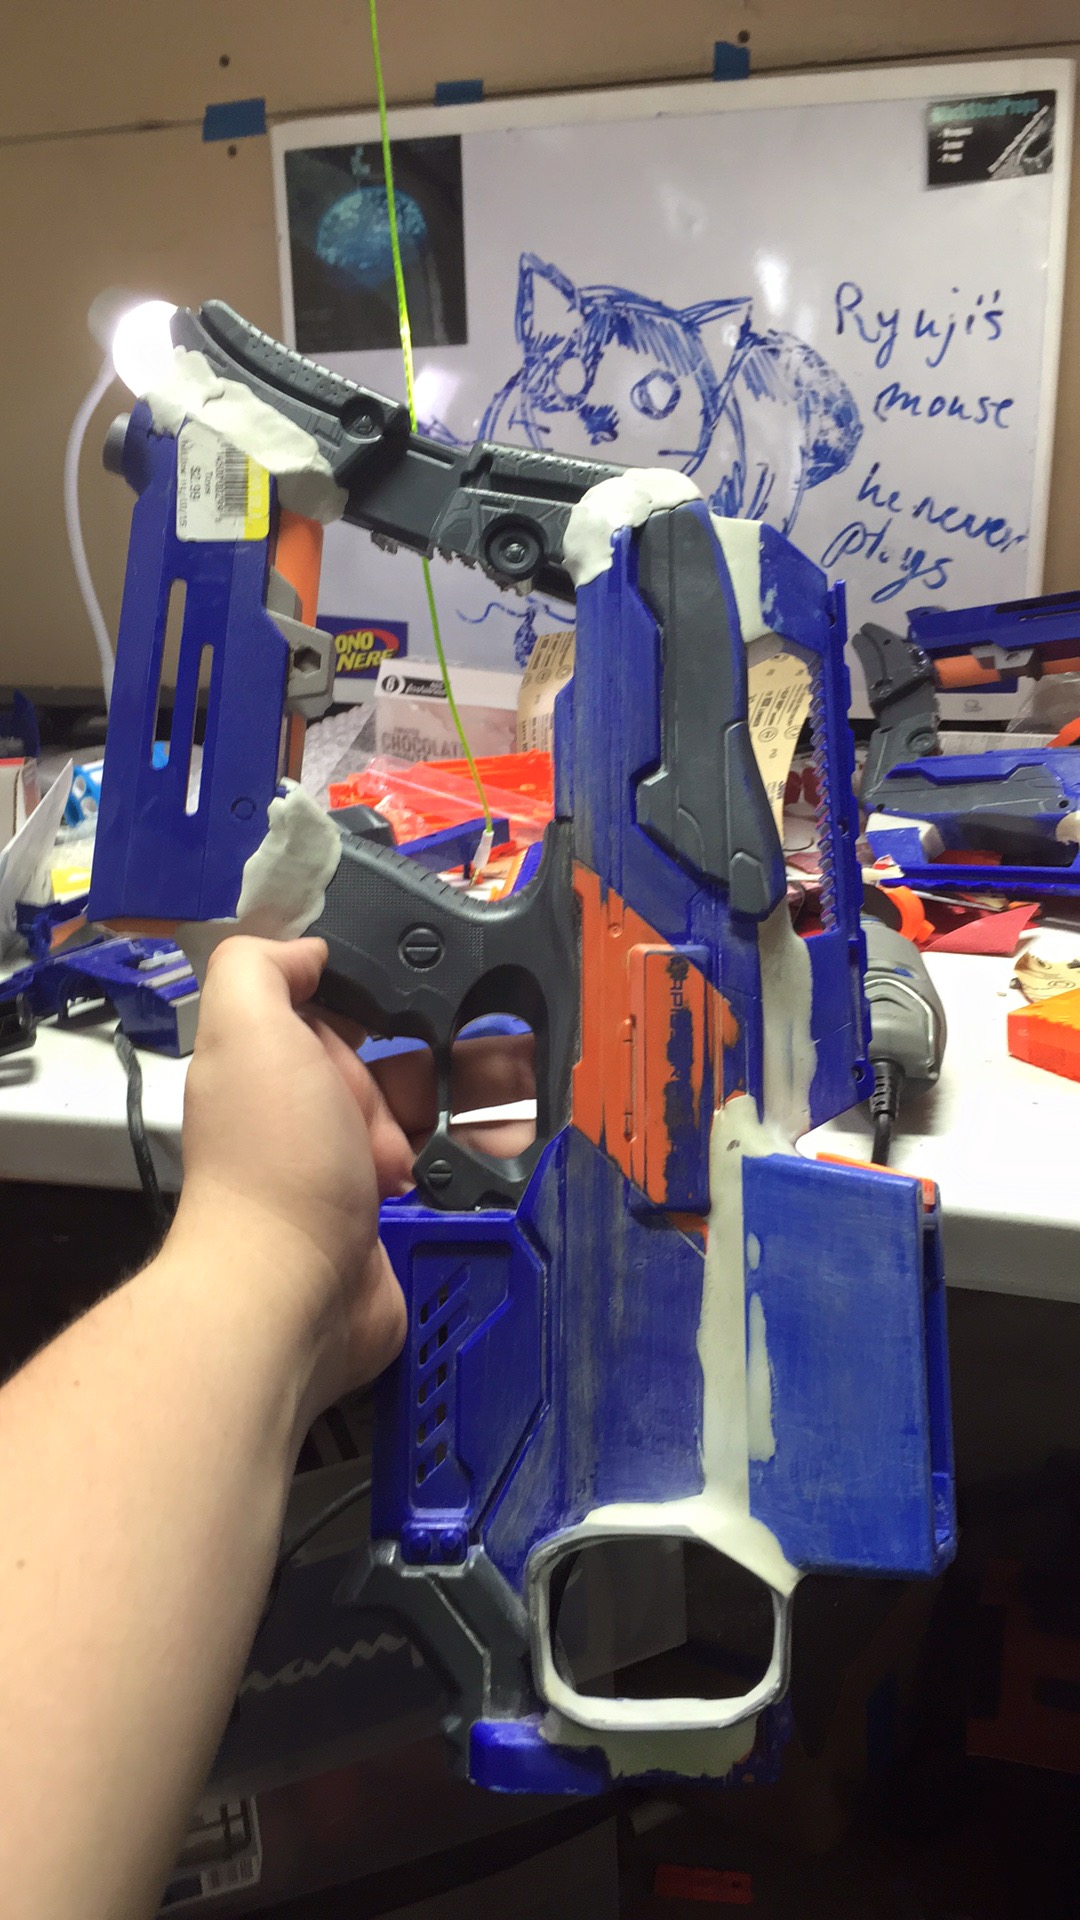 required but still strong enough to temporary hold pieces in place for fitting, and then epoxy putty either over it or after removing just some of the hot glue in the way and work your way around the piece. This is pretty time-consuming, but your blaster begins to take shape at this point. Make sure if you cut and fit parts your sanding down edges that need to be sanded, removing any burrs from cutting with either sand-paper or a file. Always use more putty than less, since you can always remove putty but it’s harder to add more while keeping it sturdy.
As a final step to save some time and effort in the long run, you can wet your finger and use it to easily smooth down and even the putty to save yourself some trouble sanding. Not too much trouble though, because after all your putty work is done, sanding is what will consume you for the next steps. Oh, and a pro tip: it’s going to be hard, but you need to develop your blaster and it’s putty work in a way that still let’s you disassemble the thing. That means you’re going to have to try and keep both halves of the shell in, well, both halves. So expect to do a lot of play with your putty before it cures and try to mold the parts together without actually sticking them together. A great help for this is some kind of lubricant that’s safe for plastics and is somewhat viscous, and in my case, I used Super Lube. Don’t worry about making it perfect. In fact, between the shells you want to give a lot to both halves as you’re going to sand this down to near-perfection in the next step.
So you’ve got your blast ers planned out, all the parts placed and stuck together, and your shell is coming along great. I hope you’ve got something good to listen to in the background, because the next part is probably the most laborious: sanding. This step is important for a few reasons, it helps you fit your shell halves together with minimal gap if you left a bit of extra putty there but also lets you shape the putty and make it smooth and natural looking. Making the putty look natural is what shows the quality of the blaster, spending the time to make each part where putty and plastic meet is incredibly important into selling the effect that the thing wasn’t just ham-fisted together out of a bunch of parts.
First and foremost, don’t be working in a space you can’t get dusty; sanding this stuff is going to get dust everywhere. Outside or even in a garage or workshop is your best bet, and be prepared to dust everything off afterwards. Speaking of dust, you don’t want to be breathing this, so m ake sure you use some kind of dust-mask and preferably some sort of eye-protection (standard tools if you’re already this far into your modding career). Start by sanding off things you clearly don’t want, like where there’s warning or safety information on the side of the blaster; you may want to remove that with a rotary tool and a sanding drum. Another important part to start removing is any texturing you find on your blaster, since we’re cutting together parts of multiple blasters and where you cut and puttied will lack such texture like the, “digital camouflage” found on N-strike Blasters. Finally, this is completely up to your discretion, but a sanding drum will also rid yourself of any logos or larger text you don’t want visible. Some people want their blasters to proudly display “NERF,” while others may want to give the blaster their own identity. You don’t have to be perfect here, but you want to make sure almost all of it is removed before you even it out more with hand sanding.
 If there’s huge globs of putty that would take too much time to sand by hand to remove, you can quicken the process by removing the bulk of it with your rotary tool and either a sanding drum or cutting wheel. Just remember that you’ll still need to leave a bit of it to sand it down to perfection, but removing the bulk of it this way is fine. If you need to reach tight corners or make absolute flat/rounded edges, files and sanding sticks are a must. Once you’ve cleaned up what you need to, it’s time to get to the boring stuff: sanding by hand.
Start with a rough sandpaper, typically 60-100 grit, and work all over the blaster evenly. If you sanded off logos or text, make sure to work that well to remove any traces of it’s existence and even the space out. Start working on your putty and where it meets the plastic, sanding it down evenly to make it look like it was meant to be there to begin with. I’m no expert, but I had a lot of issues doing this as there was a lot of force pushed into my fingertips that slid constantly with the paper, and I found donning gloves to really help soften things for me and reduce the strain. Keep in mind that this will take a long time, but it’s one of the most important steps between a good and bad blaster integration. Once you’ve gotten relatively smooth, work your way up to a higher 200-220 grit sand paper and smooth things out even more. At this point you’re going to want to focus a lot of where plastic meets putty and work this down as smooth as you could possibly get it.
You may notice scratches or pitting in your putty, and that’s to be expected. One way to remedy this  fairly easily is by using a smoothing or glazing putty, which is a thick paste you can rub all over your putty and blaster. It dries quickly and can be easily sanded down with a fine-grit sandpaper. From this point, your blaster is probably looking pretty good already, so make sure you finish it off with your super-fine sand paper and inspect your work. To give your pieces the best chance of staying together, I highly recommend you flip your shell over to the inside where you didn’t sand and inspect it. If you see some joins where plastic-putty-plastic meet, I suggest covering that with your favorite two-part epoxy. This will add some much needed structural integrity, since putty is typically a gap-filler and less about actual resistance to impact and force. Make sure you layer this smoothly where parts meet and it won’t interfere with any actual function, and don’t be afraid to really glob it on.
So at this point, you should have a clean, well polished shell that you already test-fit mechanically to make sure everything works fine, but we’d rather clean-up any gremlins now than later, so put your blaster together and make sure it operates like it’s supposed to. This is the point where I did all my wiring work for the blaster, as I needed to make sure everything worked before I started painting anyways. If it doesn’t, you may need to edit your shell; meaning more cutting, putty, and sanding. If it does, you’re ready to finish it.
Ob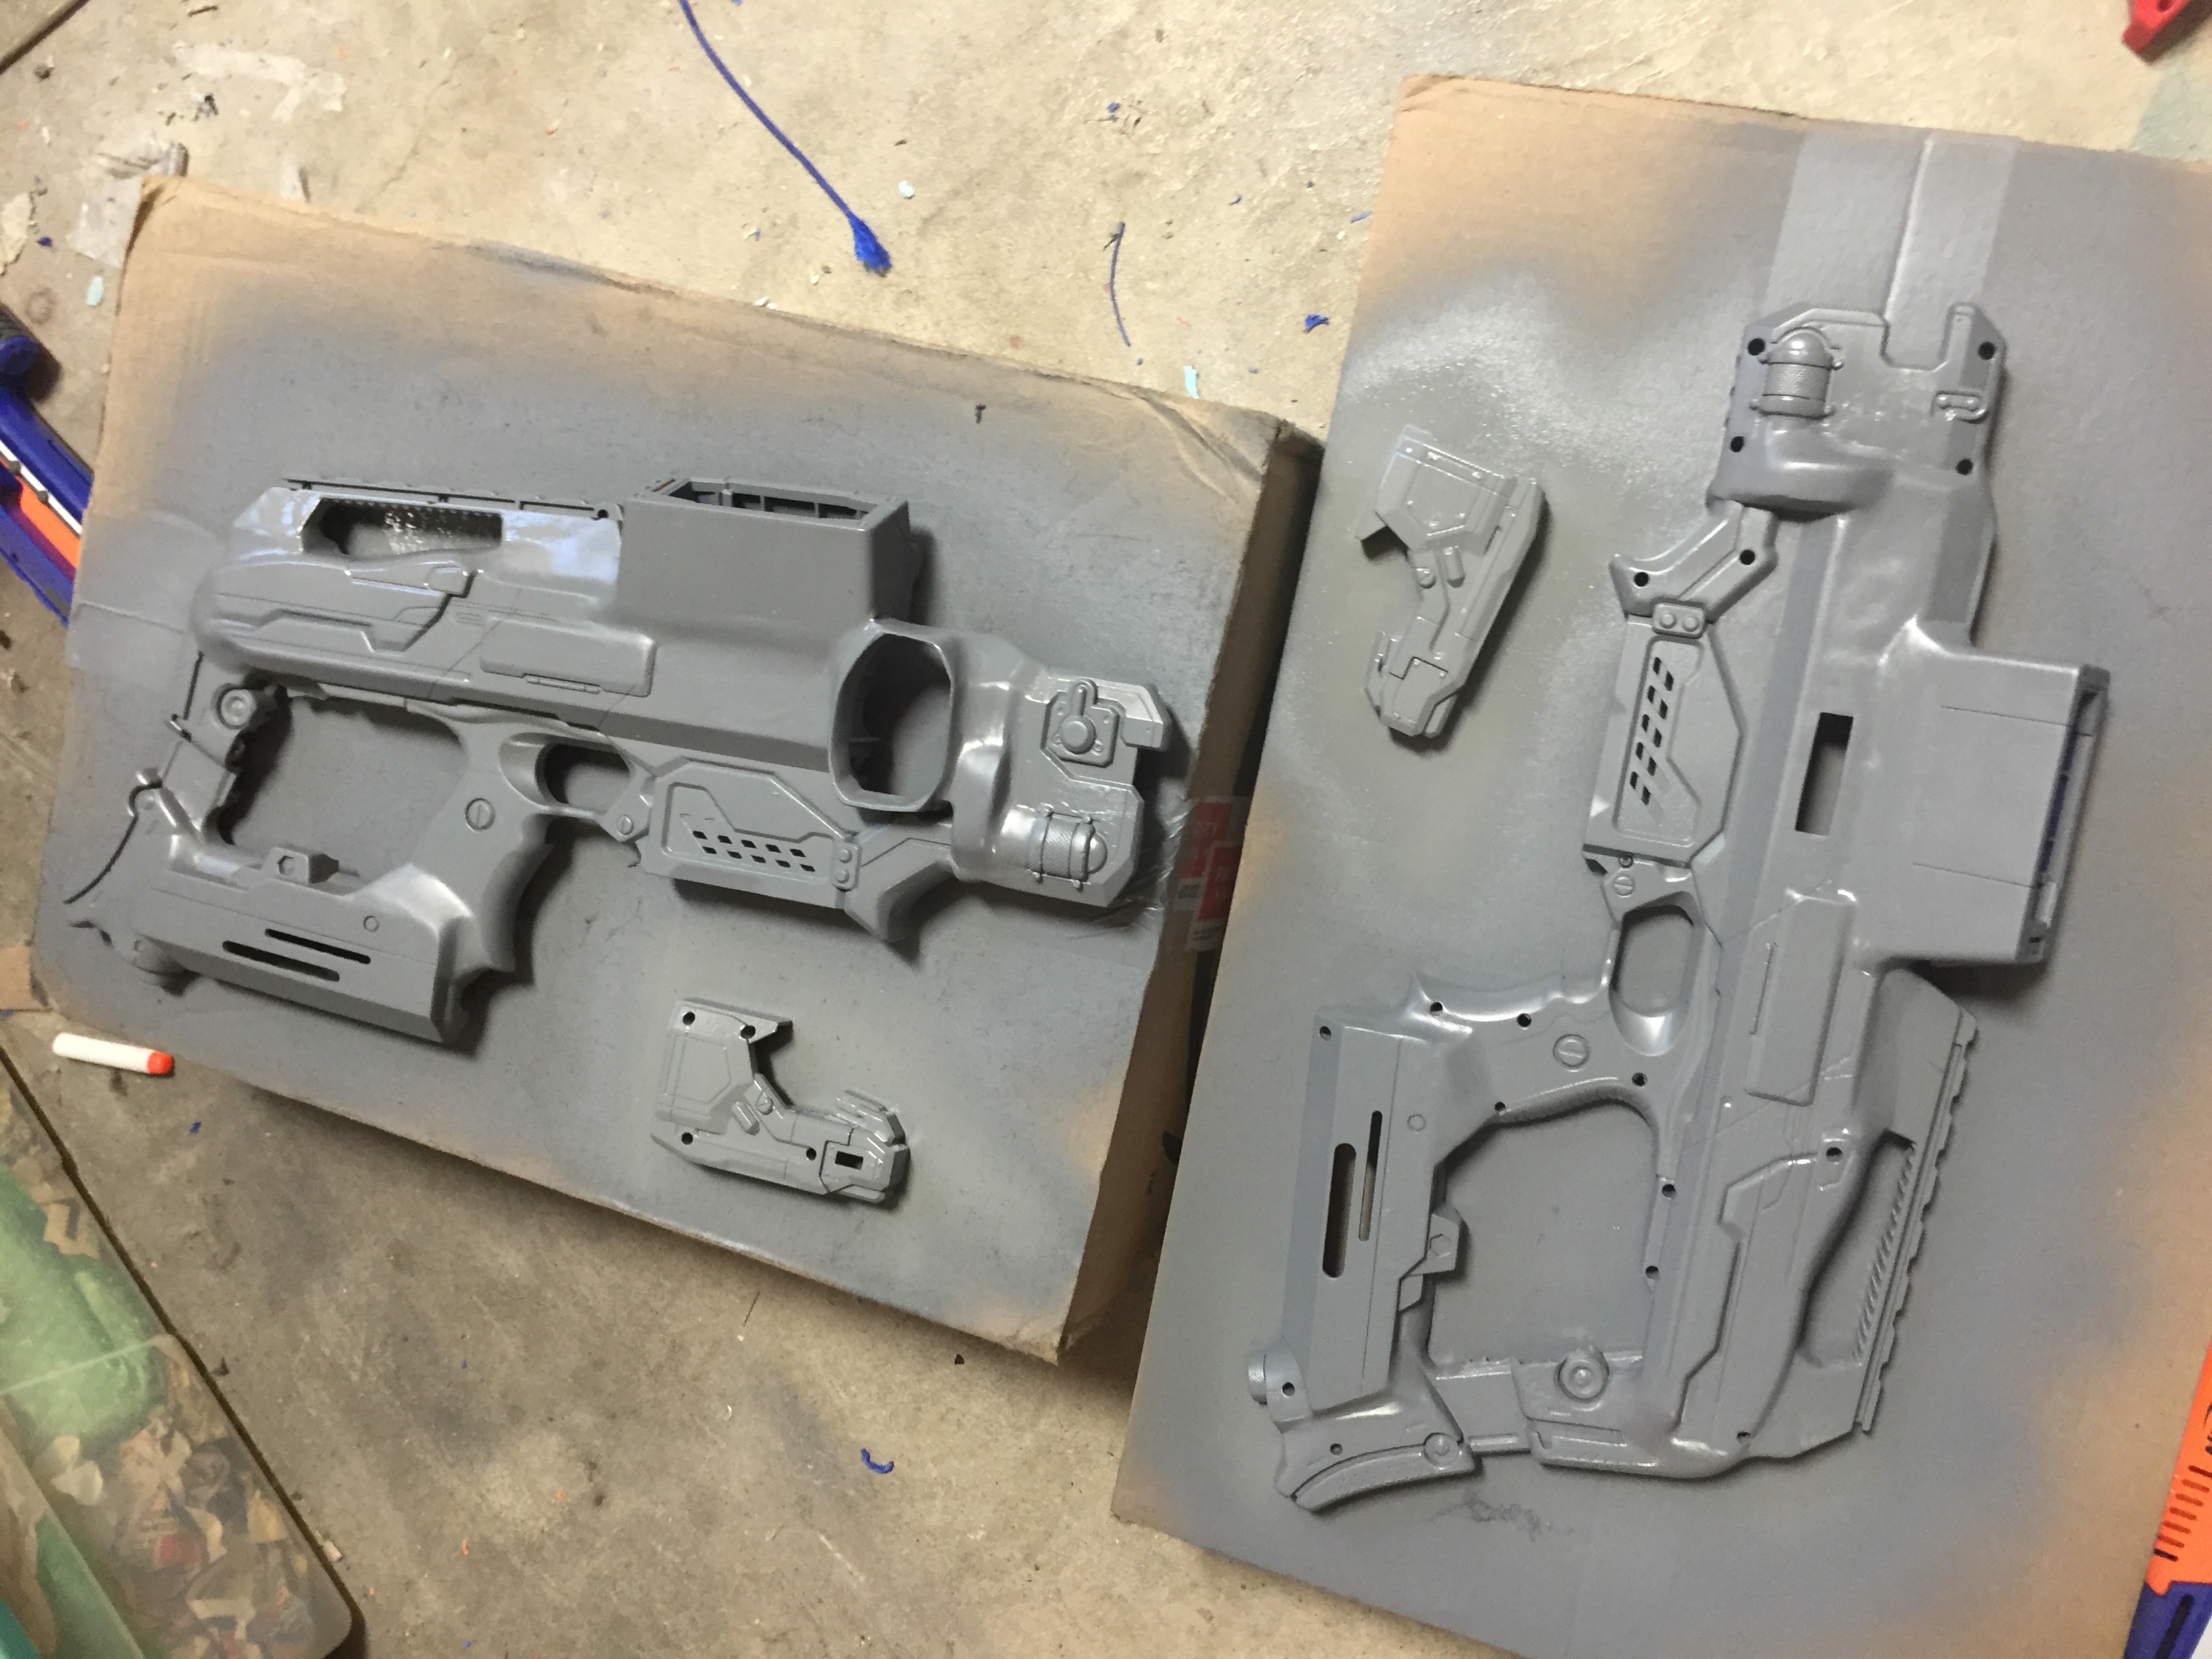 viously, if you used five different blasters like me, your blaster is looking like a clown car of various colors covered in grey putty and red glazing putty. Call me crazy, but this doesn’t sound like a good looking blaster at this point, so it’s time to start painting. Fair bit of warning, painting is hard for me and if you have no experience, it may be very daunting. If you’re inexperienced, temper your expectations of that awesome chrome silver with hot rod flames on it and bring them down a few dozen notches. First step, wipe down your entire blaster with some rubbing alcohol to rid yourself of any rust or grease left behind from working. Next, you need to prime your blaster for painting in some way and I suggest using some kind of grey or white spray can primer to mute all those crazy colors into one neutral shade and this will also help hide some blemishes from working (even more so if you use a filler primer). Let this dry for several hours. In fact, you may even want to hit it with a low-temp from a heat gun for a few minutes to help it cure. This step is massively important, so don’t rush it too much as all the rest of your painting rides on this.
A really easy way of applying your bas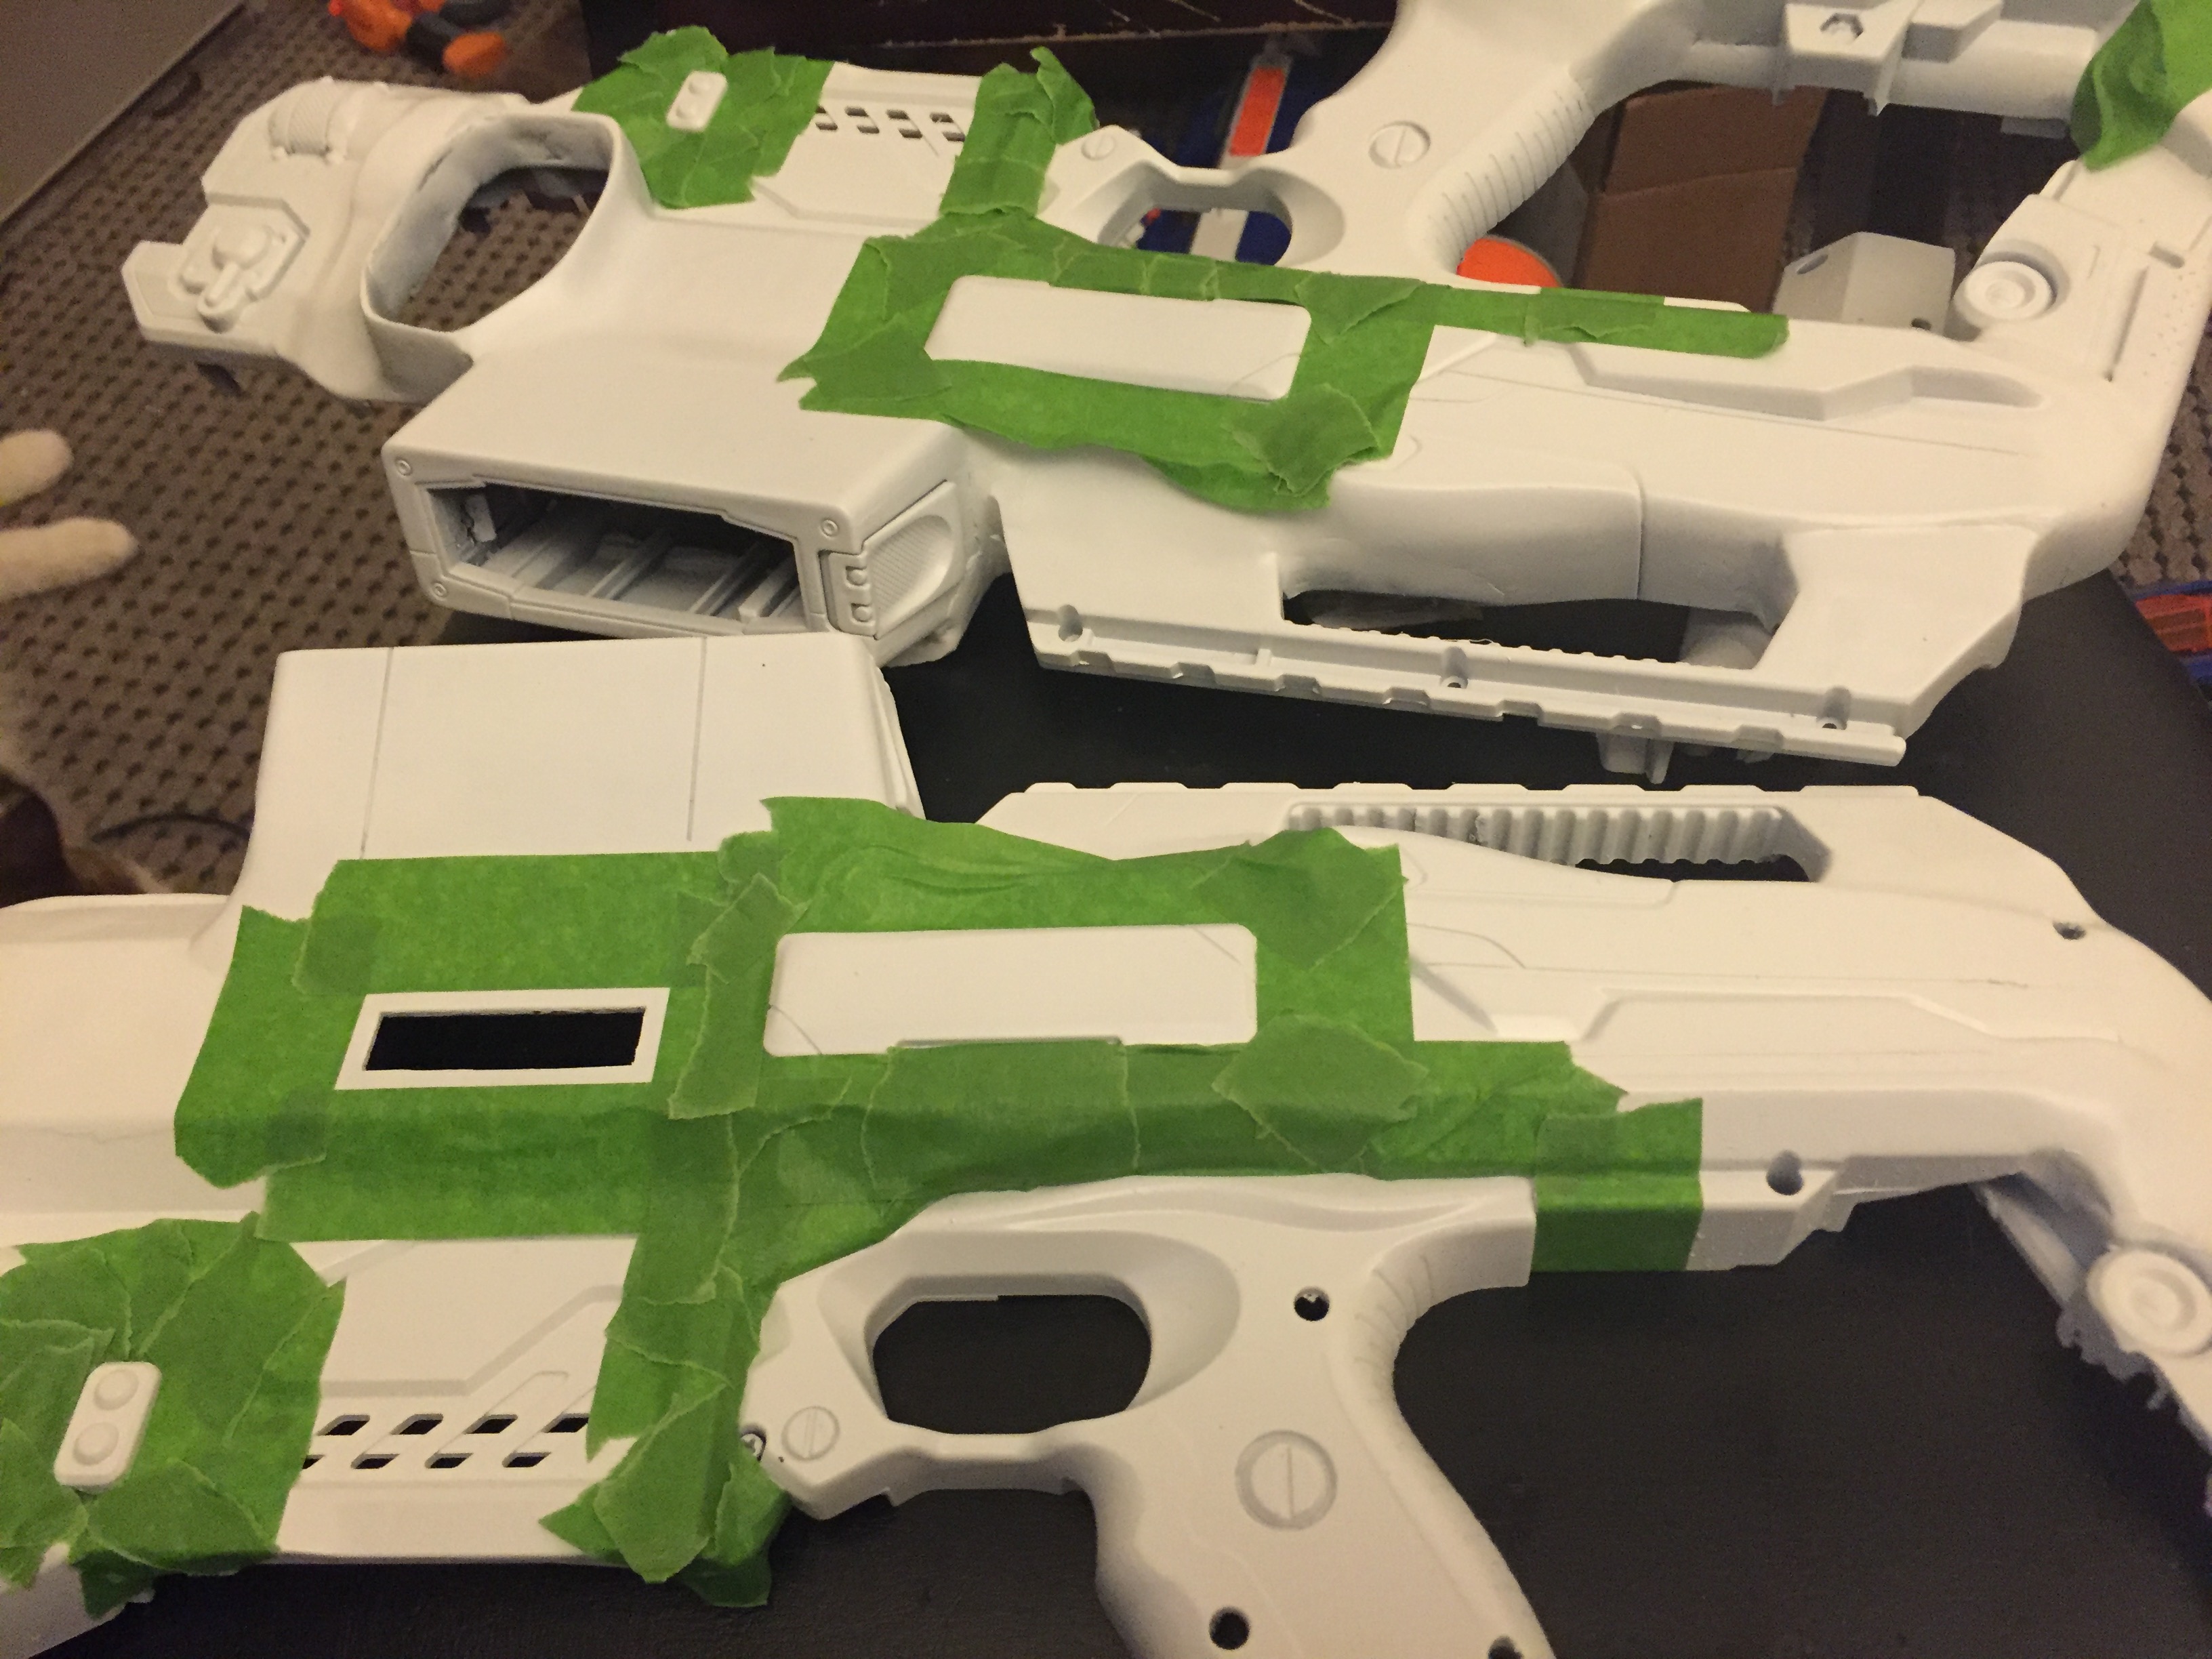 e coat (your first coat of paint, typically what a majority of the blaster will be colored) is to use a Duplicolor Vinyl Dye sold at most automotive shops. But really, most automobile paints work well as they’re already meant to bond to plastics. These won’t come in huge selections of colors, but the vinyl dyes are very thin yet colorful and easy to apply and work the best. Otherwise, you can go with whatever type of spray paint you prefer. The reasoning behind using spray paints is the immediately even coat of paint. Make sure you let it cure for a very long time if you plan on masking and painting even more on top of it.
After your base coat is done you have a few options: you can hand-brush spots of other color where it’s appropriate or use p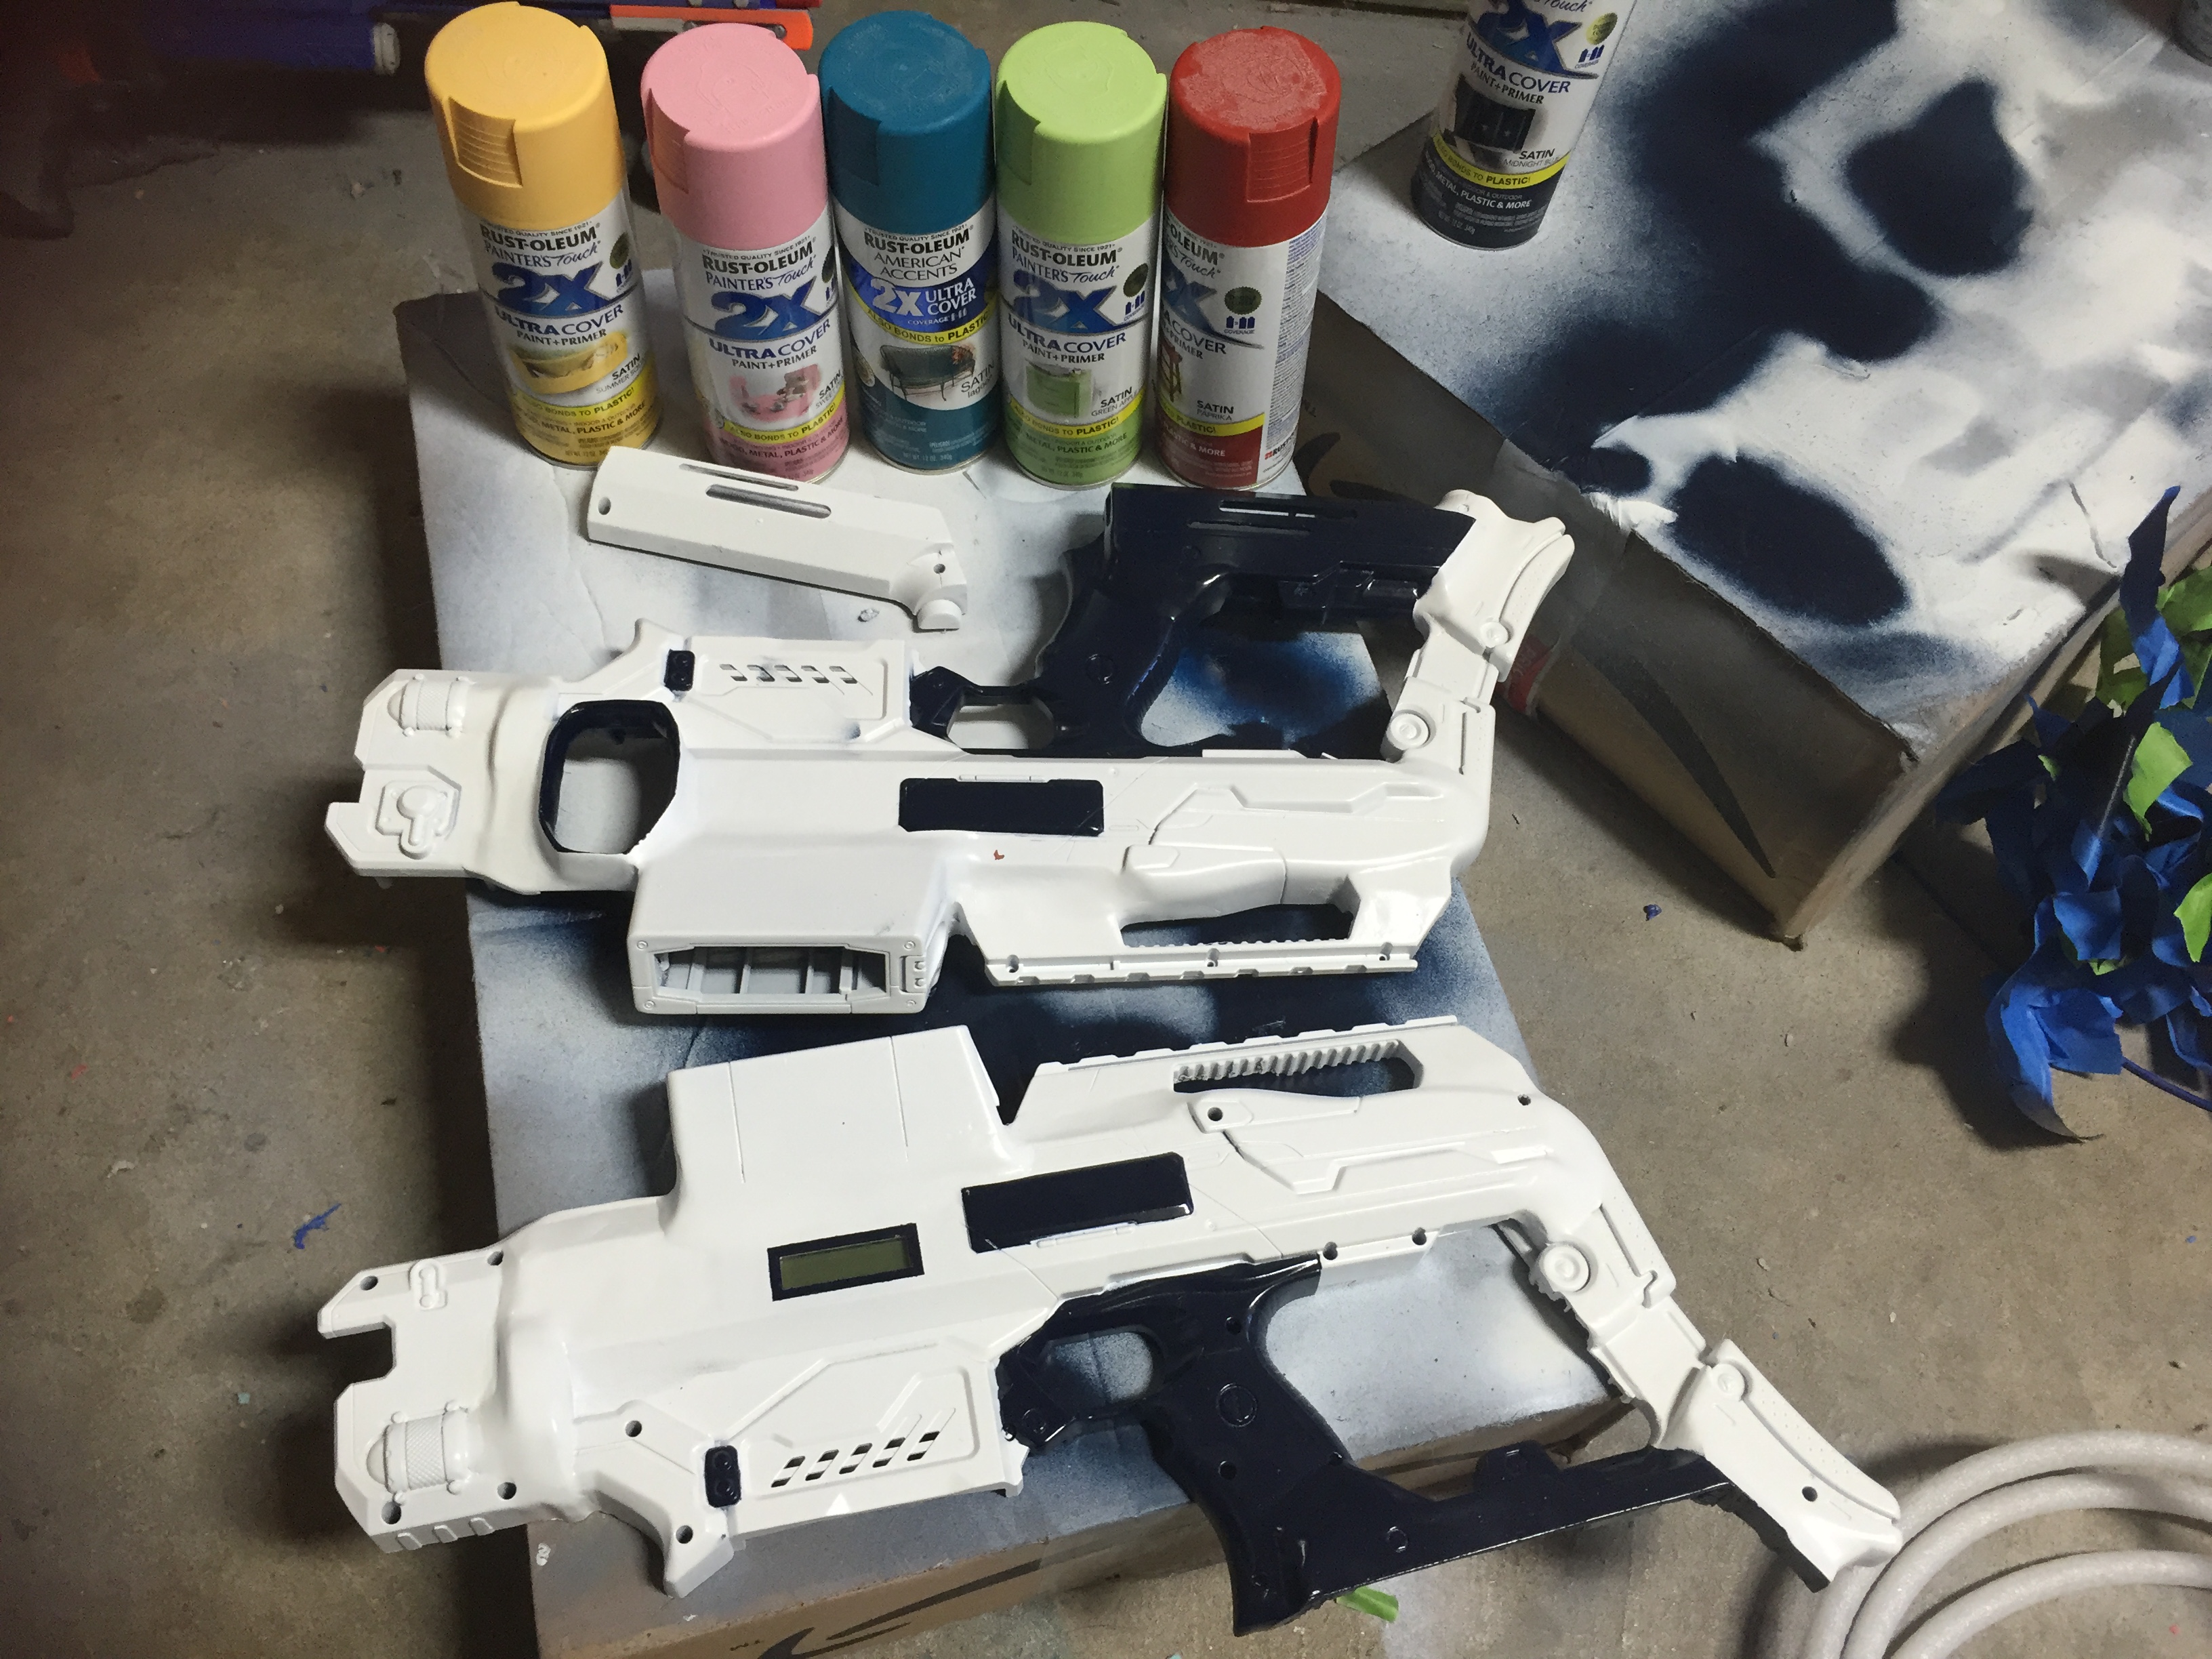 ainters tape to mask off the parts you don’t want to color and use a different color spray can, just make sure that after about a half hour you remove the tape or else it could peel up some of your base coat back down to the primer because of the adhesive. Don’t worry if paint bleeds a little bit, it’s easily remedied by spraying a bit of paint into a container and hand-brushing the mistakes away. Detailing, however, is best done with a paintbrush and some good paints; my suggestion are paints made for plastic models with Citadel paints being among the best and easiest to work with. If there’s some major accidents in places, you may want to consider weathering your blaster with dry brushing to hide some of those mistakes.
I n my case, I had a plenty of areas I wasn’t happy with, and covered those mistakes with black and then dry-brushed over those black spots giving a scratched-metal effect. I then went over the entire blaster with various sets of Tamiya Weathering Pigments, adding dirt, rust, soot, and other entities that may be present. These simple tricks can help take your eye off the mistakes and bring the entire project together, so don’t be afraid to use them.
The final step to painting is your top coat, and believe it or not this is a huge step. Most important is to decide what kind of finish you want; whether it be shiny and glossy like something from a sci-fi movie or the future, or something dull and matte that’s industrial or uniform. This can make or break your blaster, so make sure you think ahead of time of what kind of finish your paint job needs and pick up the appropriate kind of clear coat. This also protects your paint job from harm, so you may want to go over it several times to make sure it’s well sealed and good to go. I’m personally more of a fan of matte finishing myself for most of my blasters.
 The shell is formed, the paint is sealed, and now it’s time to put the thing back together and finish it off. At this point, I added in all my upgraded parts for the Rapidstrike, which included MakeTestBattle’s 180-sized, “Hellcat” motors for the Flywheels with a MakeTestBattle 130-sized Rhino for the pusher
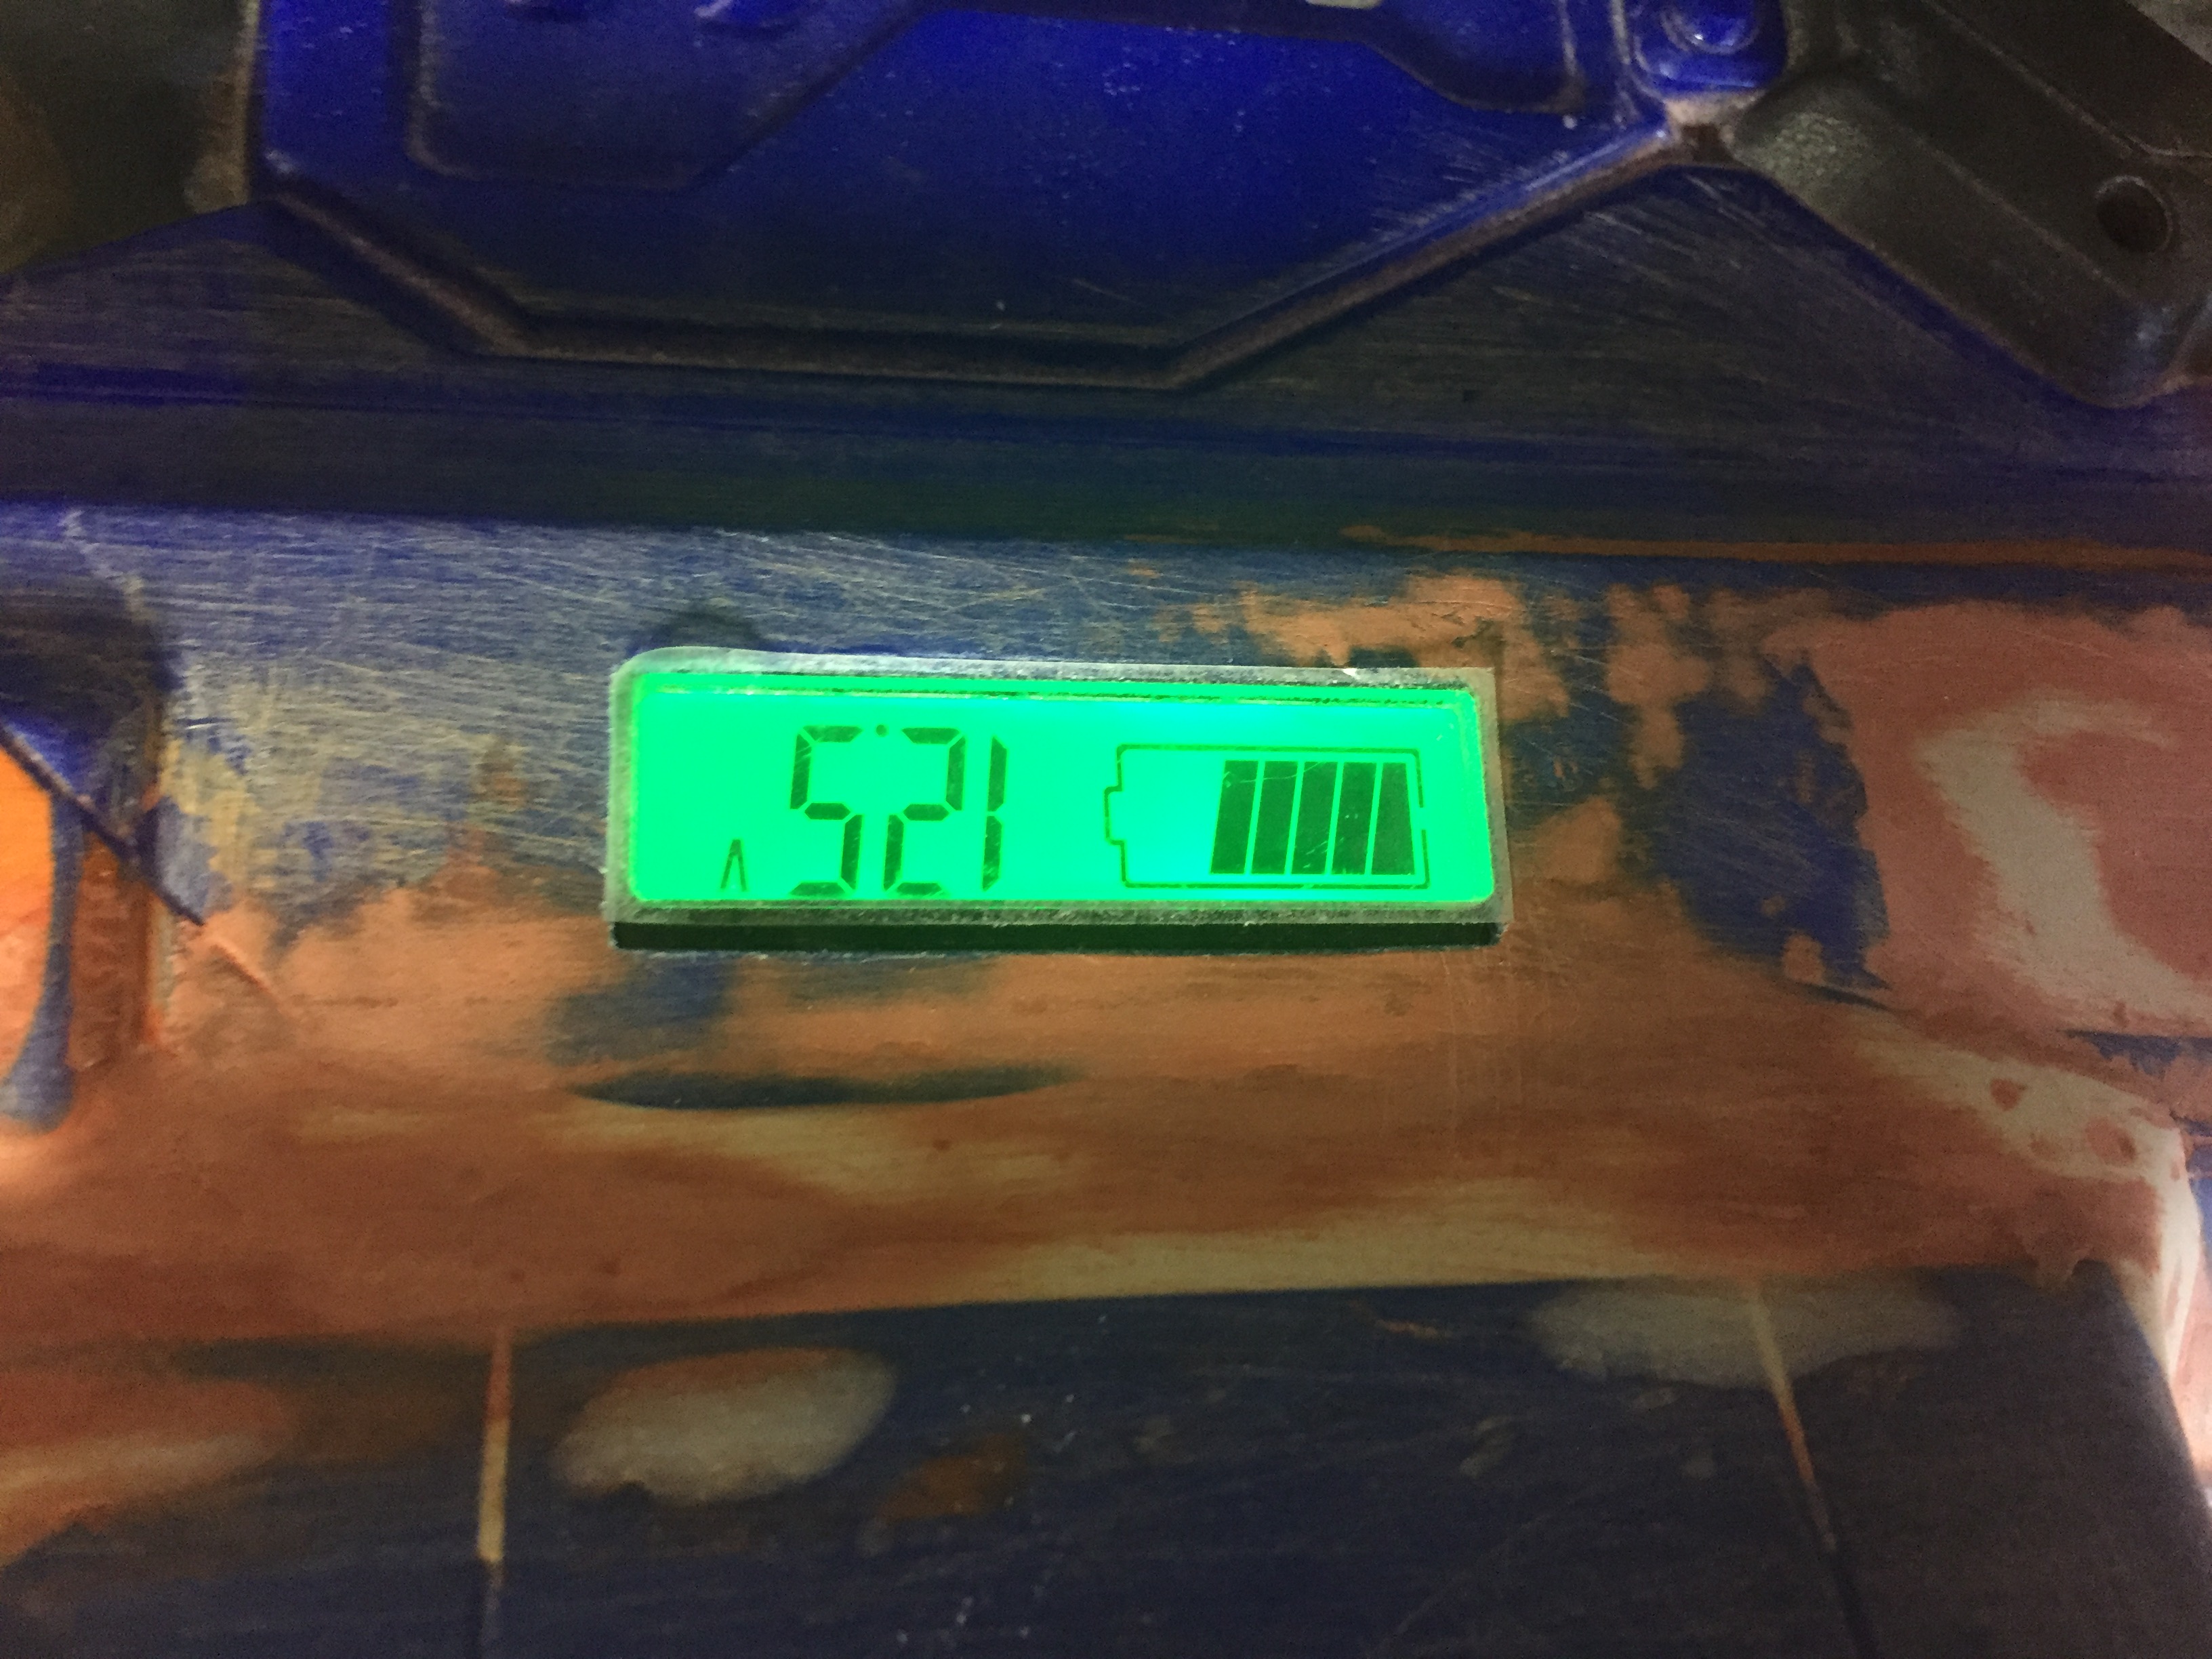
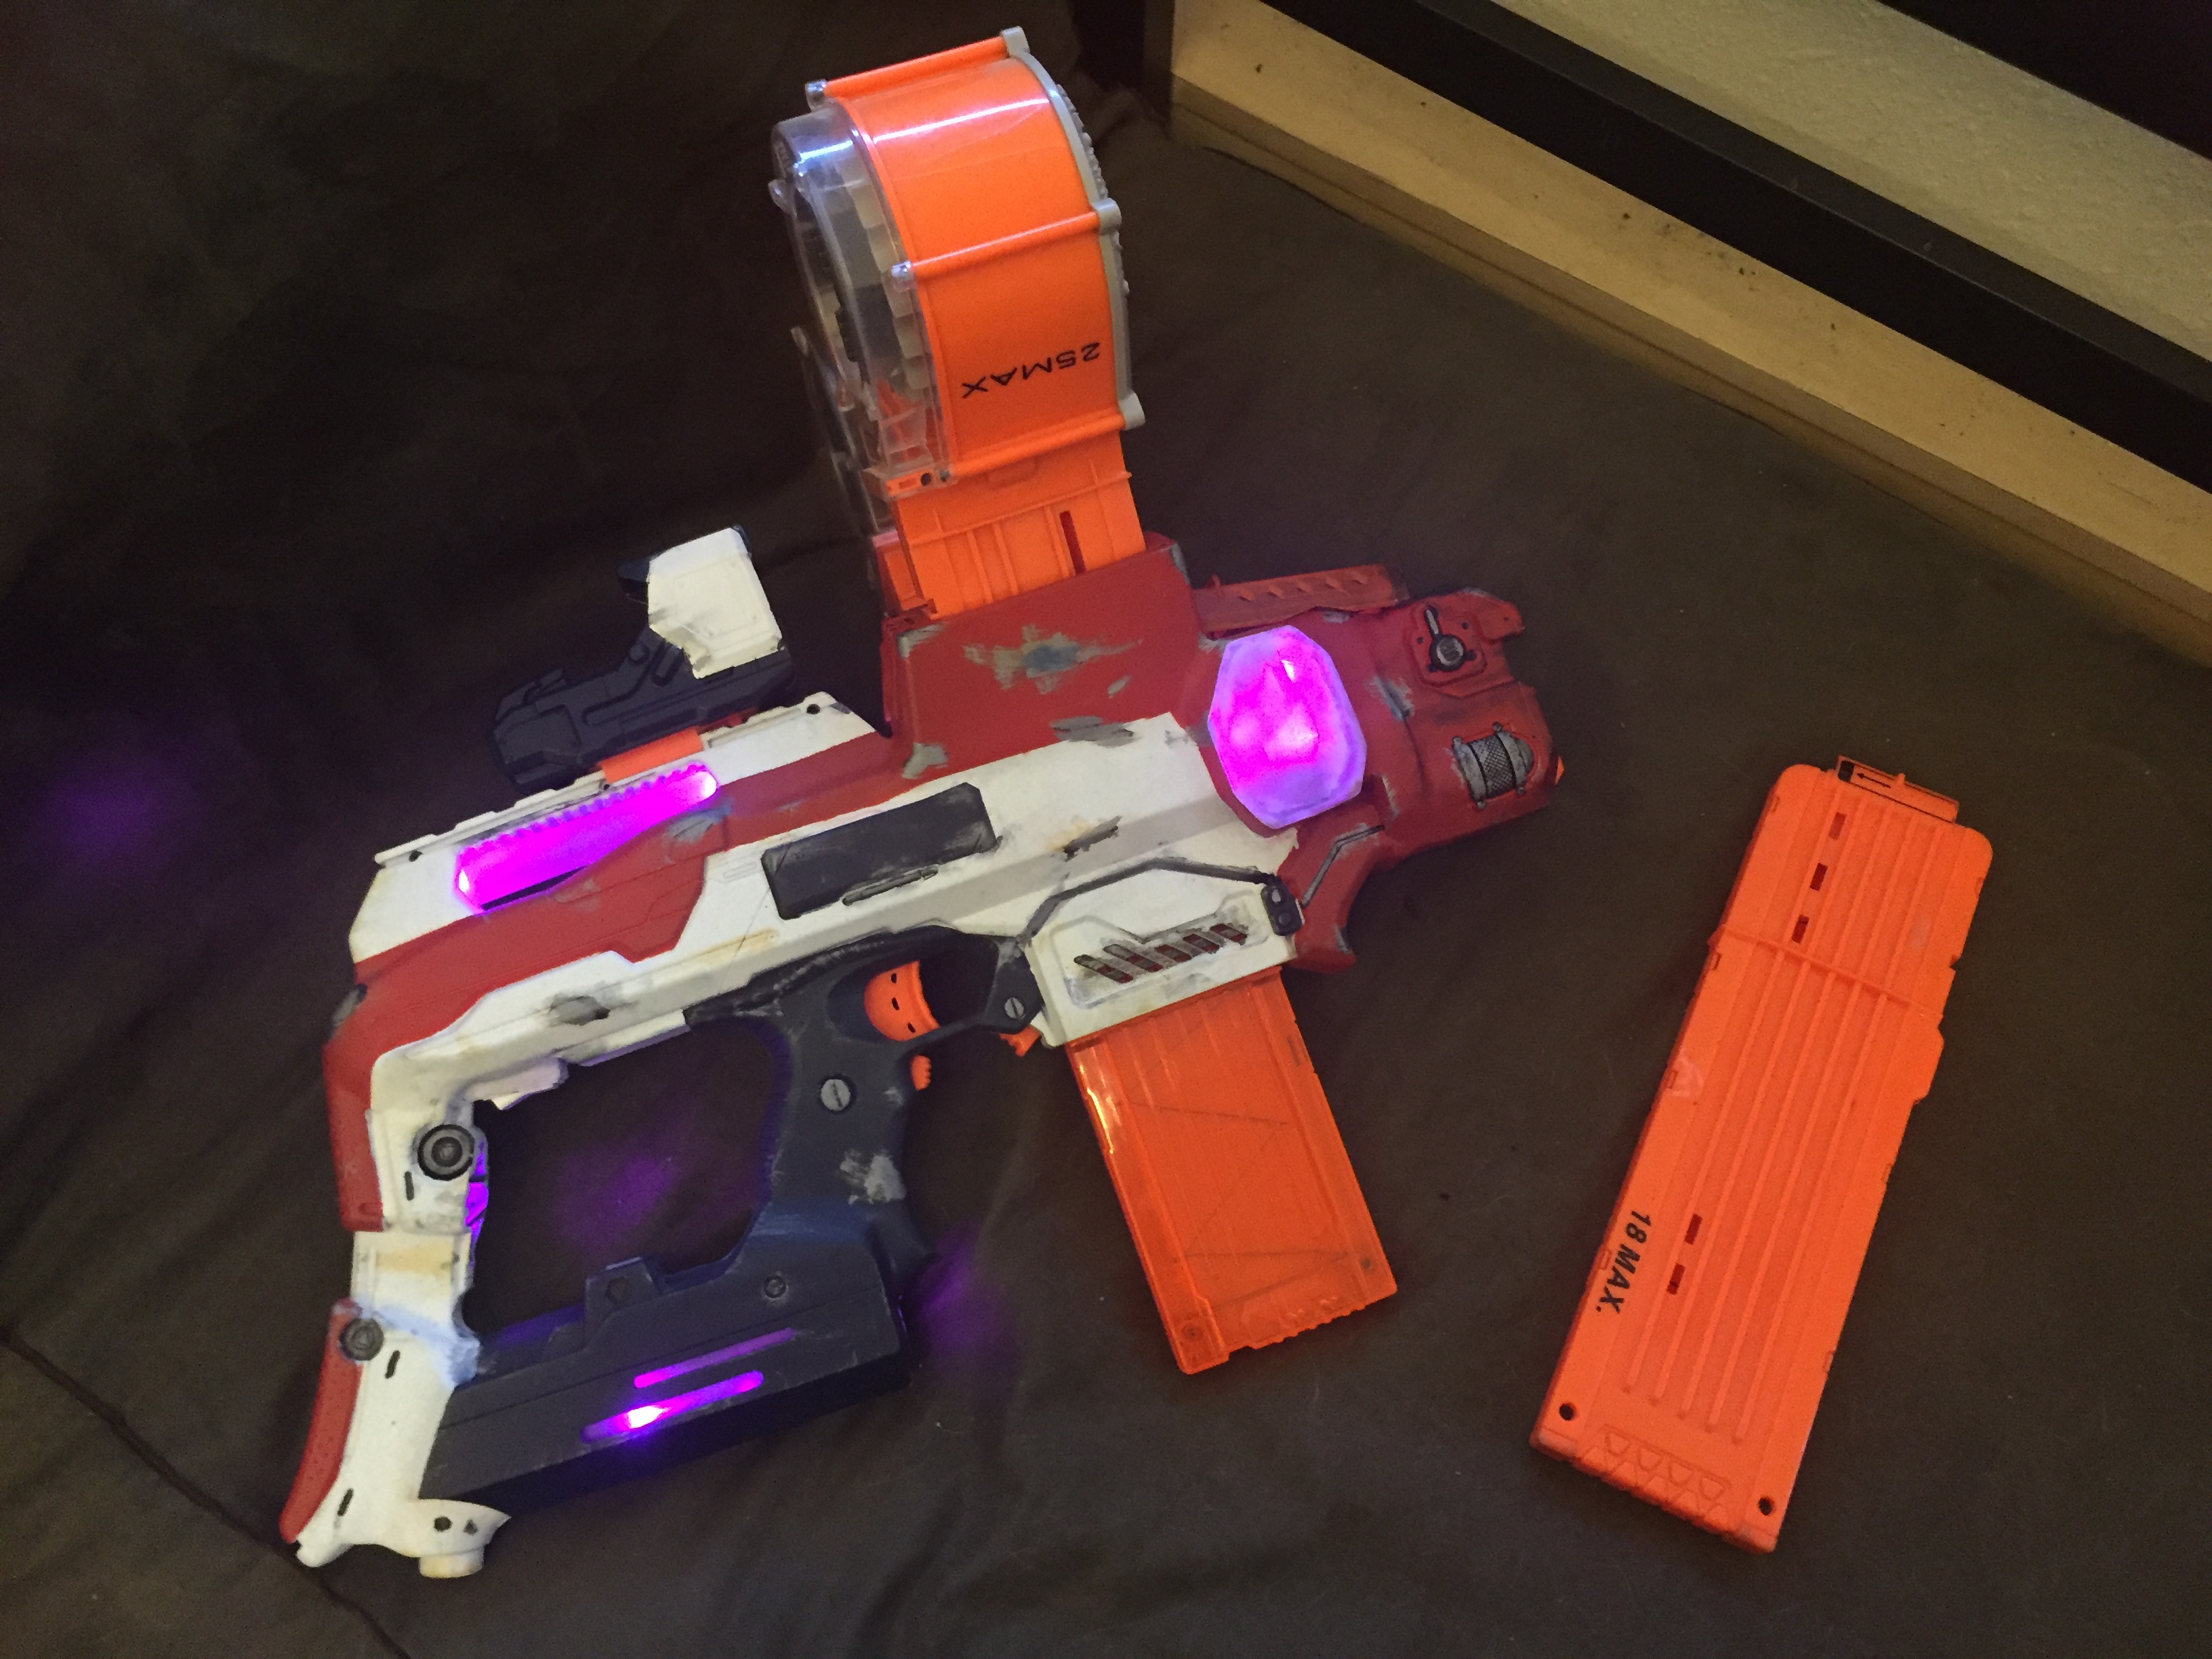
 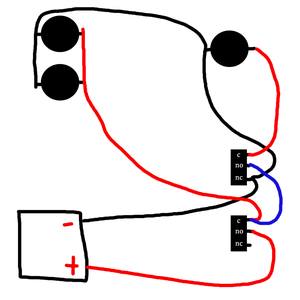 mechanism, a BlackSteelProp’s canted flywheel cage, and some Worker flywheels, all of which were wired up to a Turnigy Graphene 1300mAh 3S LiPo with a 45C discharge. This required extensive rewiring and retrofitting on the entirety of the inside of the blaster, and everything was wired to Omron switches with impeccable tactile feedback when pressed which allows me to easily single-fire the full-auto Rapidstrike when I choose. From the battery, I also wired up several pink LEDs to another switch and installed some frosted polycarbonate inside key places in the blaster to diffuse the LED color and breath new life into it. Finally, I wired up a really nifty voltmeter, which not only looks cool, it displays how much power is left in my battery so I know when to call it quits and swap it for a spare (not to mention prevent me from discharging my battery too much and potentially risking a fire).
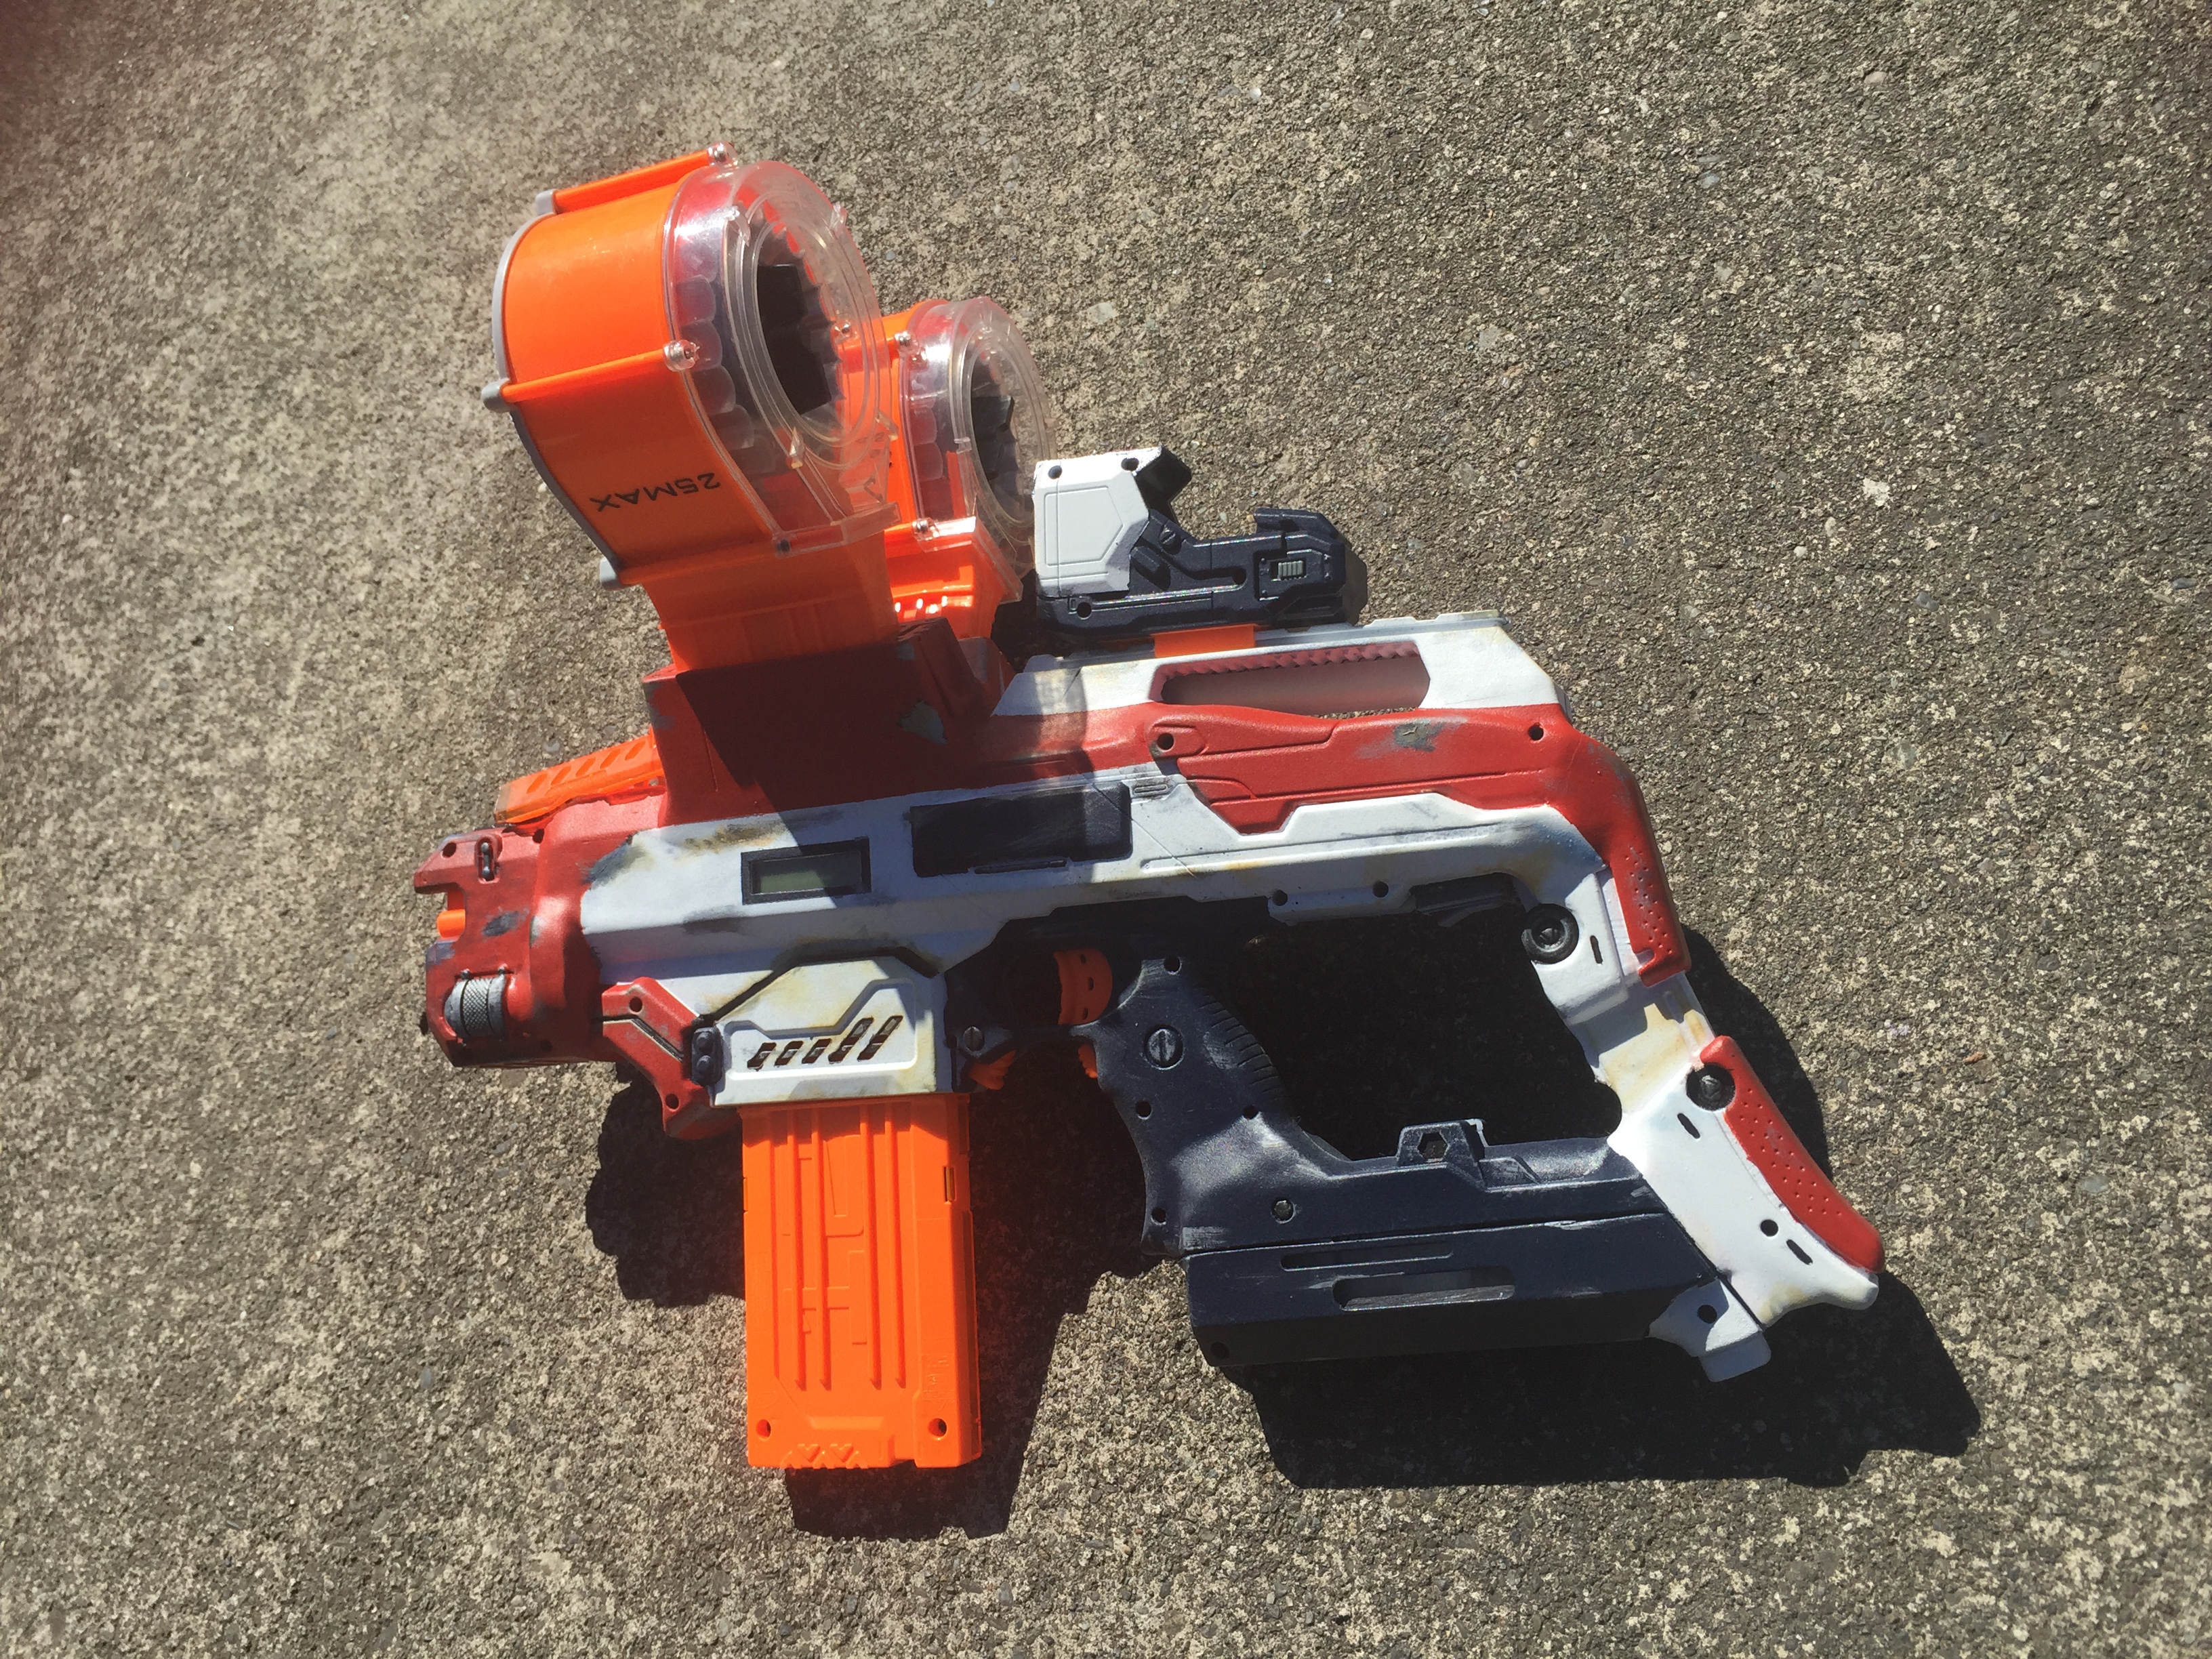 And here she is, the finished Paradigm Shift. This blaster is called so because it’s not only a cool name, but it’s meant to change the way things are done. The way this blaster operates with its tri-magazine setup is sure to completely shake up the competitive Nerfing and Humans vs Zombies scene. It’s my biggest project to date, and it tested every capability I had. I just hope you learned something from all of my struggling.
Performance wise, not only does it clearly have it’s full-auto capability for a substantial rate of fire, but thanks to the Omron switches with their great tactile responses, it’s very easy to single shot this, as well. Magazine switching is quick and intuitive, though I need to fiddle with the right-hand side top magwell as it tends to grip the magazine too tightly. Accuracy is improved thanks to the Black Steel Prop canted flywheel cage and addition of 3-inches of 9/16″ brass to guide the darts between the flywheels, and distance is substantial. Unfortunately, I do not have a chronograph, but running off this 3S 45C discharge LiPo battery gives it impressive ranges for foam darts. The Modulus Red-dot Sight was painted and I switched out the red LED inside for a pink one to match the rest of the blaster. This is my most expansive project to date, and I can’t wait to see what these new skills I acquired can be pushed towards in the future.
 I’m going to go play with it now. Handling something that you put so much time into is just an incredible feeling!