Xero1Tec Tactical Takedown Kit Review
June 7, 2020Last month, a friend asked if someone could print Xero1Tec’s Tactical Takedown kit for him, seeing as he didn’t have a 3d printer. I volunteered, and also ended up buying licenses to print parts for myself. I also had the added challenge of doing my first major set of prints in ABS. The end result, however, was nothing short of great; if you love the Takedown but dislike not being able to wield it like a “primary”, this kit fulfills all your needs!
Blaster Butt-Sculpting
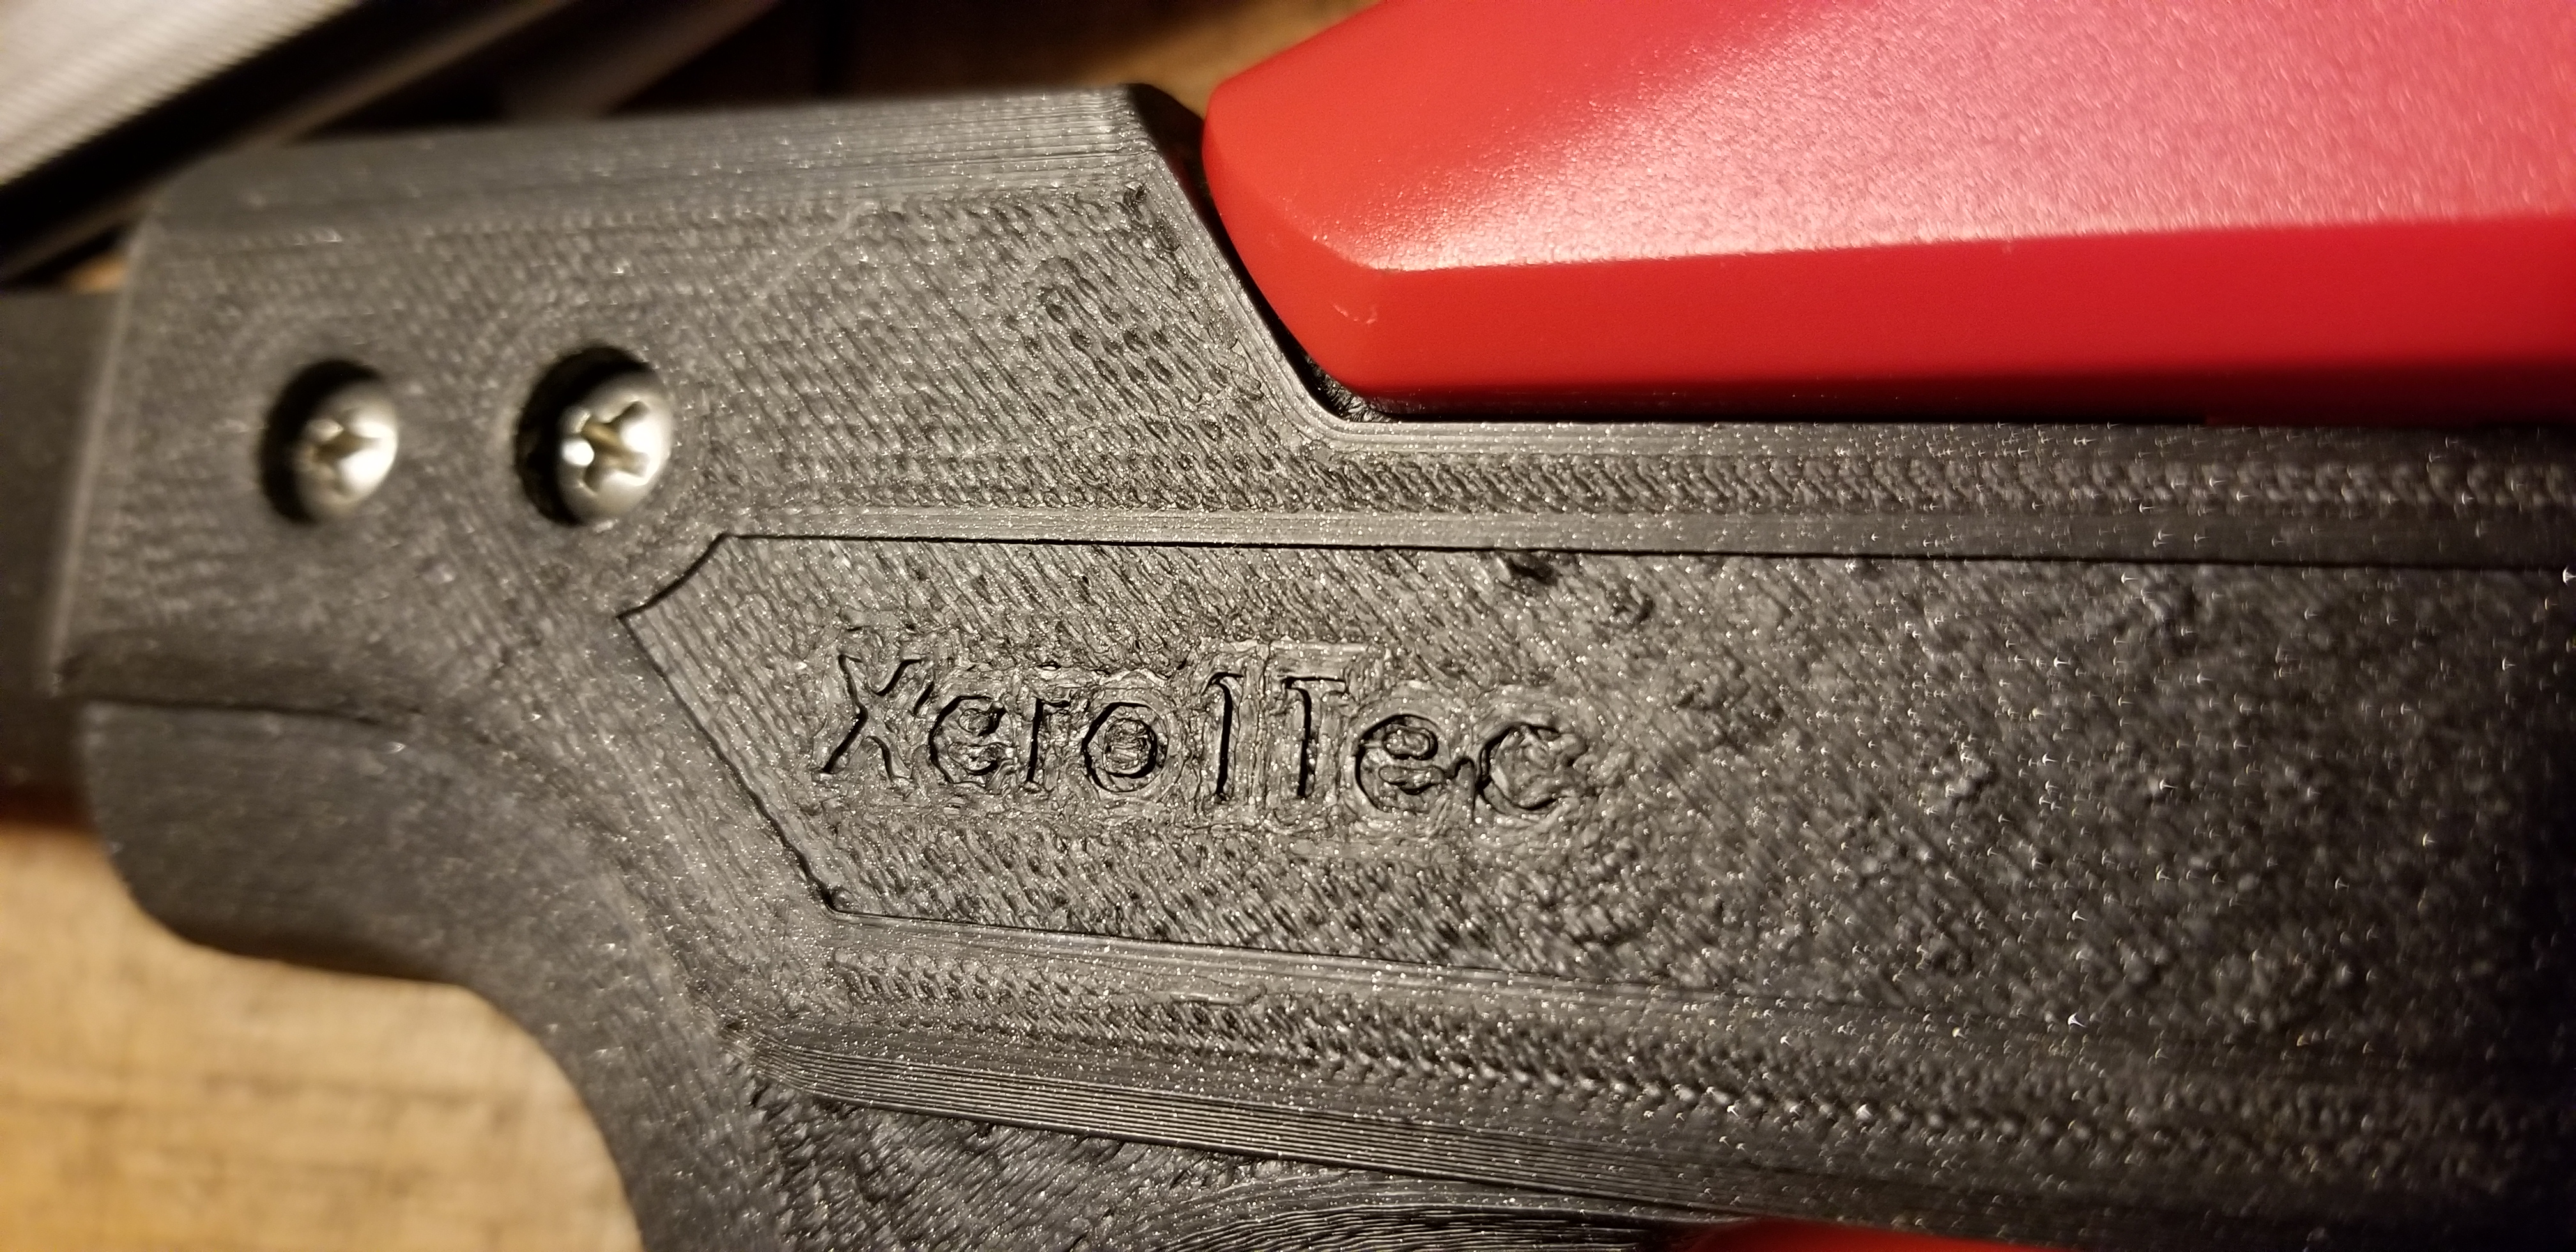
 Silly subtitle, I know, but it essentially describes what’s going on with this kit. In stock form, the Takedown has a VERY angled grip. It’s comfortable to use, unless you’re the type to always aim down the sights (and lots of people are). In comes Xero1Tec, who has a few years of experience now in designing 3d blaster parts and add-ons. This Canadian outfit sells both finished prints and (in some cases) licenses for downloading and using the .stl files for personal use. For those of you with printers, the latter option is ideal.
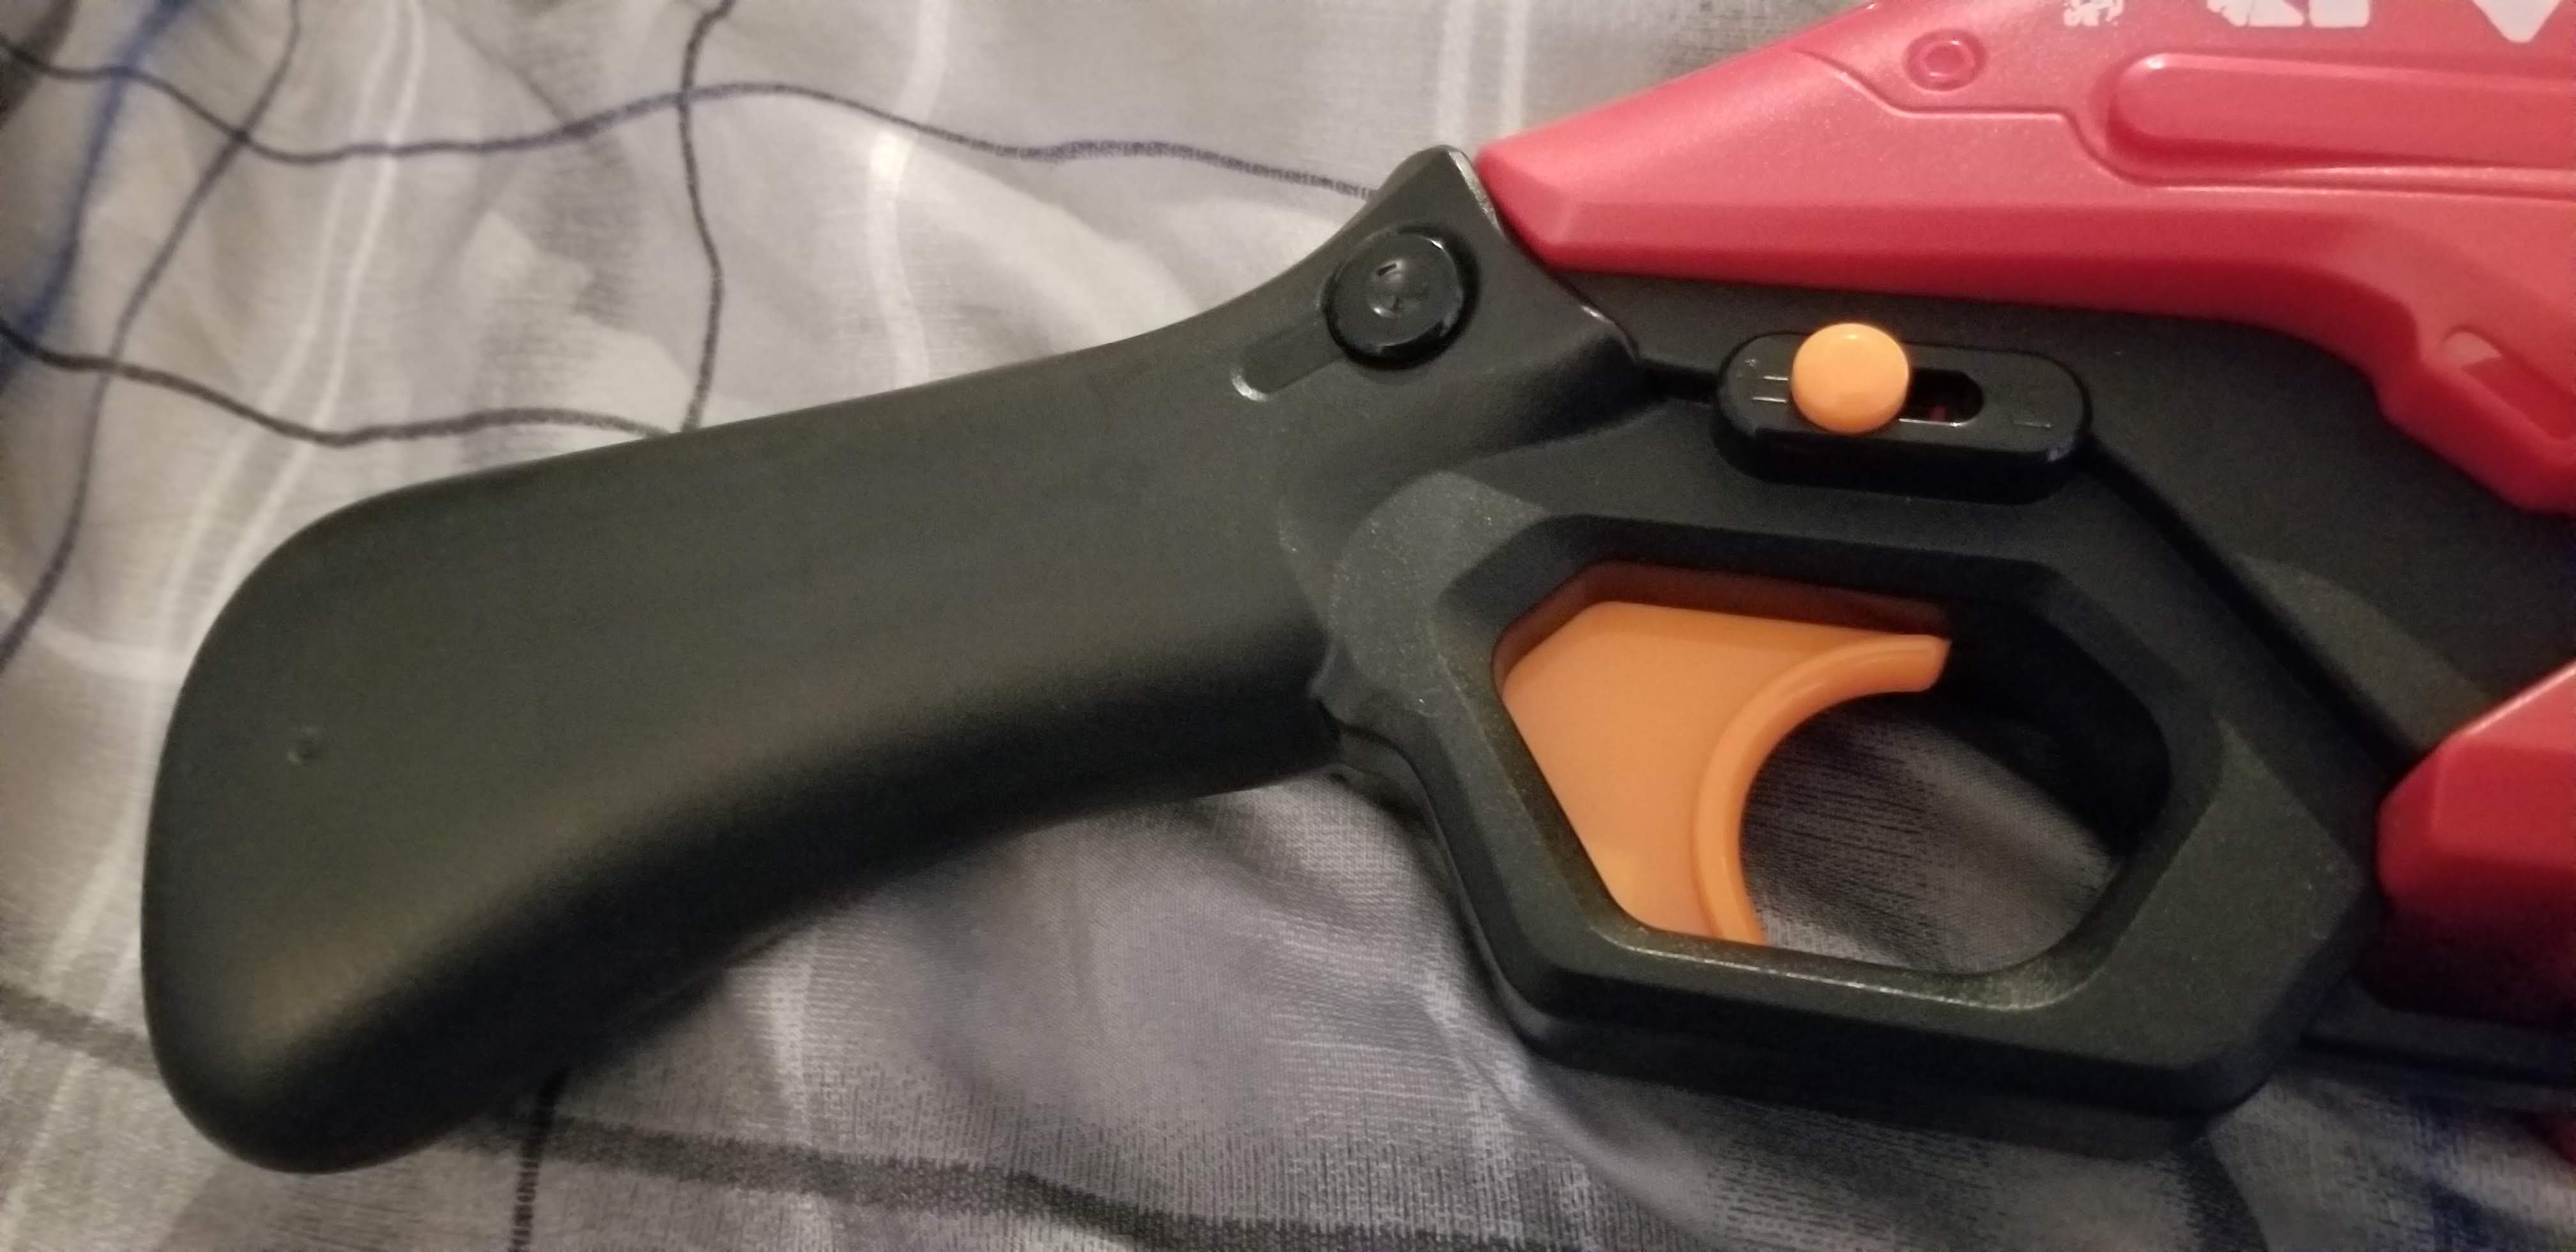
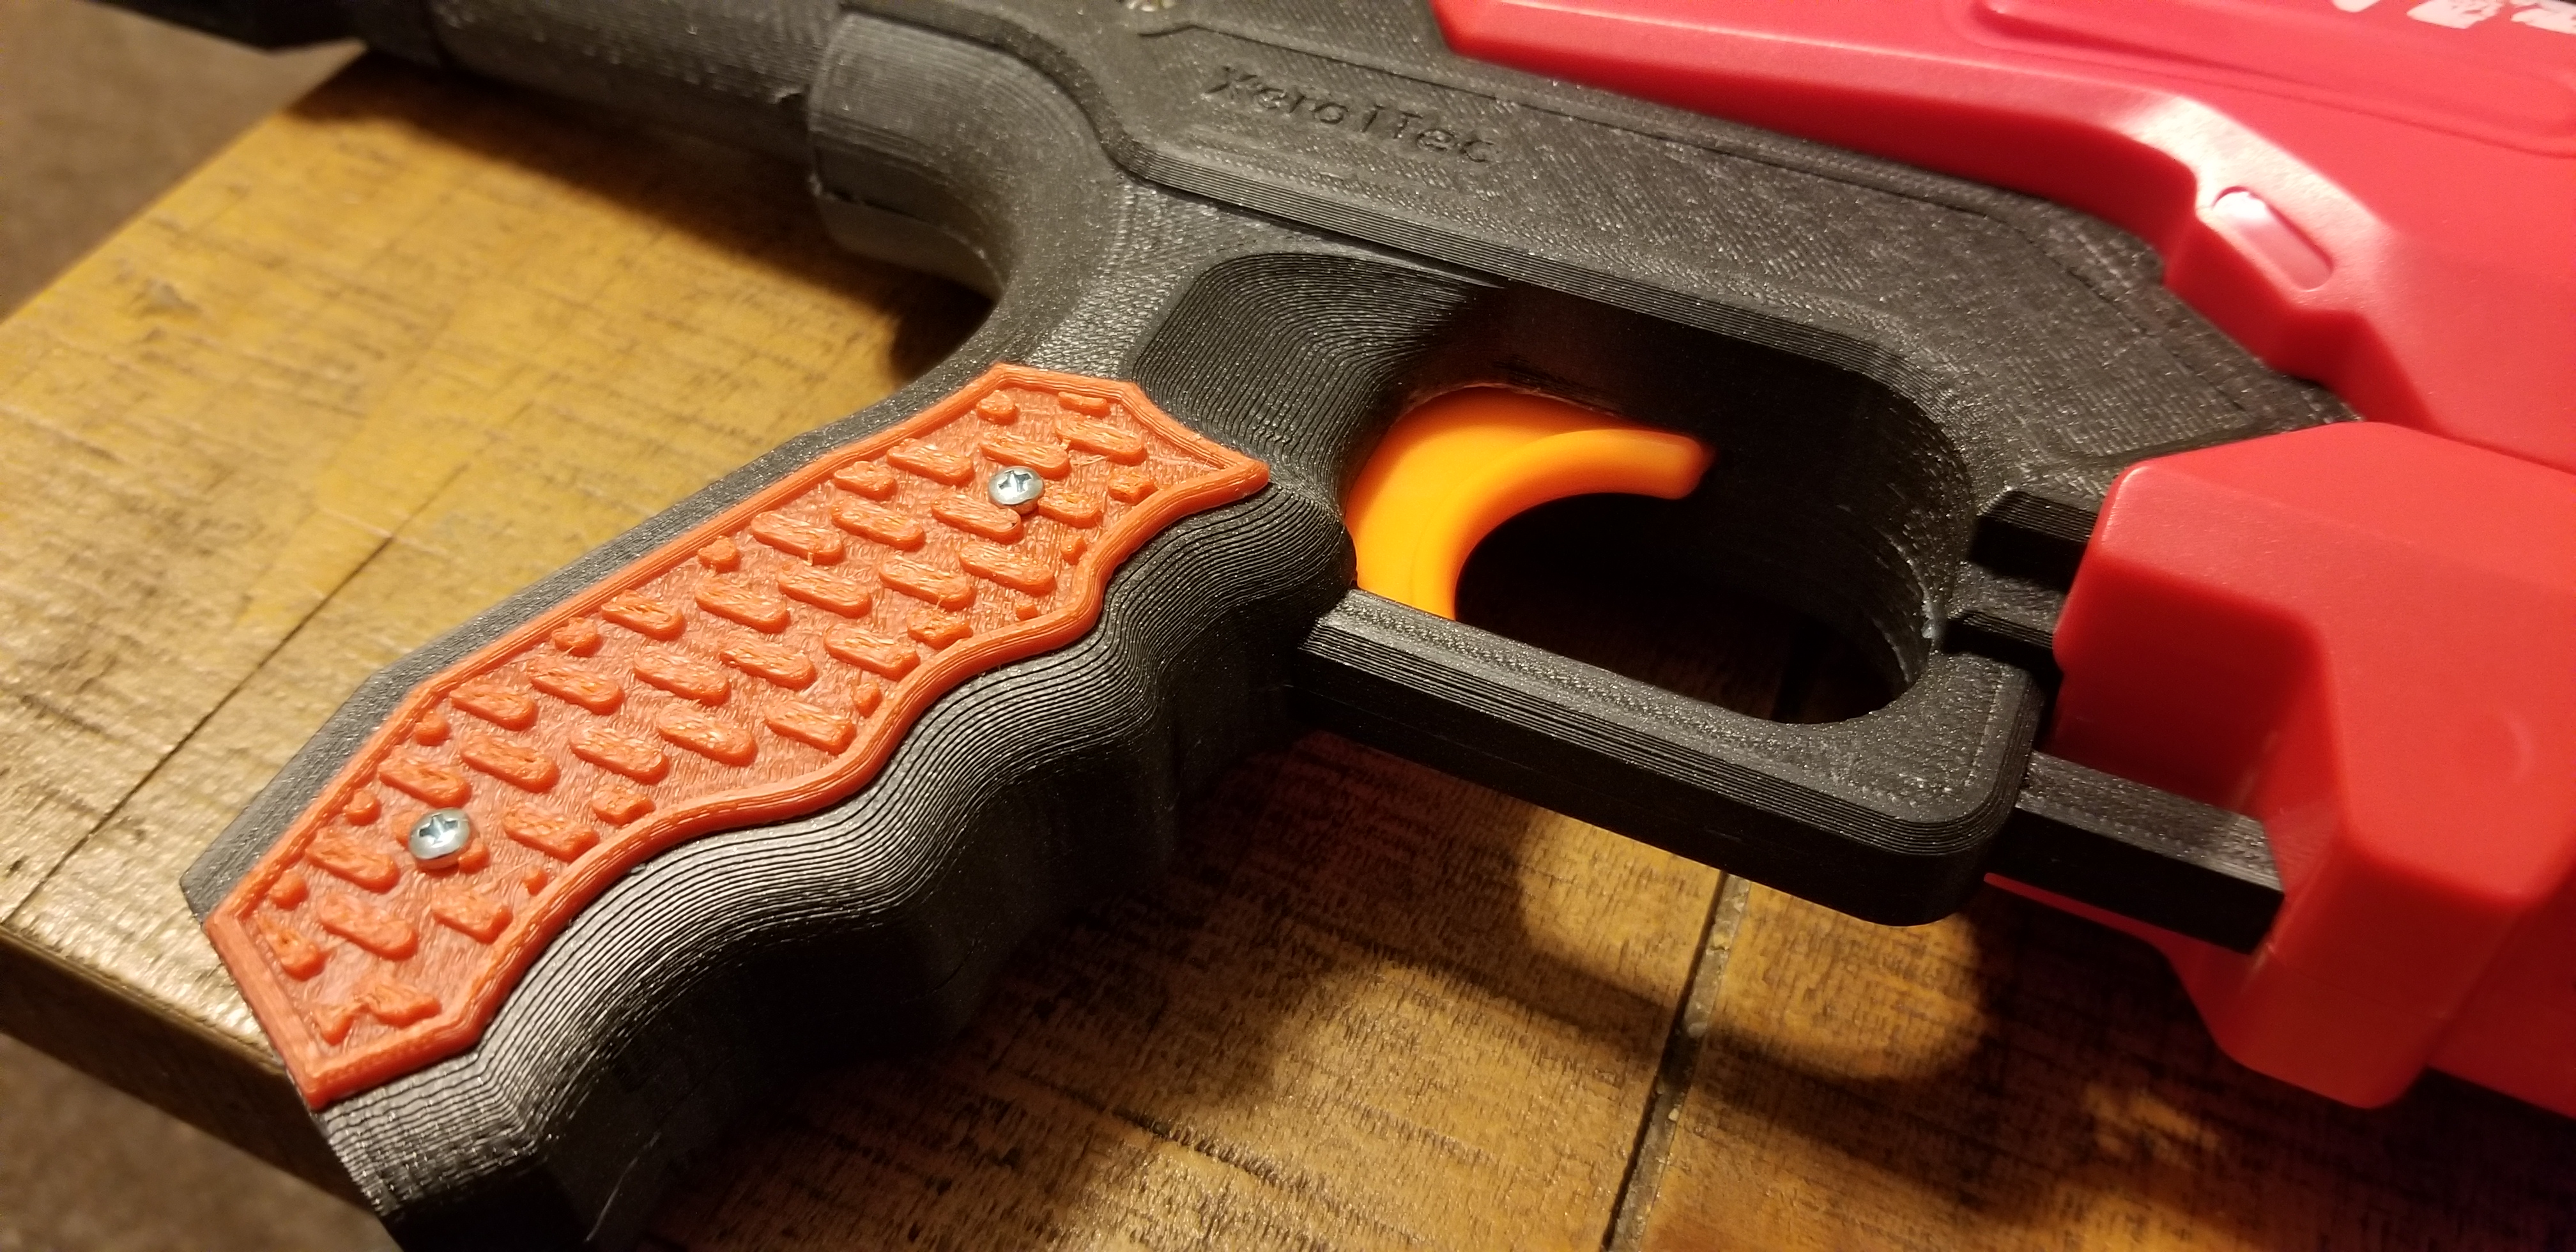 The kit is made to fully replace the black plastic handle, taking its place with minimal shell modification (the safety will be removed). The trigger itself sits slightly farther back, reducing the trigger pull necessary to fire the blaster. You’ll also be able to make grip scales that are placed on either side of the new grip. It’s both for customization and a more secure grasp on the blaster.
 The kit also includes stock options (not the financial kind). Users have three things to print and use: a Nerf stock attachment point, a lanyard stock cap, or an M4-style buffer tube core. You’ll have to provide your own stock; alternatively you could just buy the license for printing one (which I also did, because why not?).
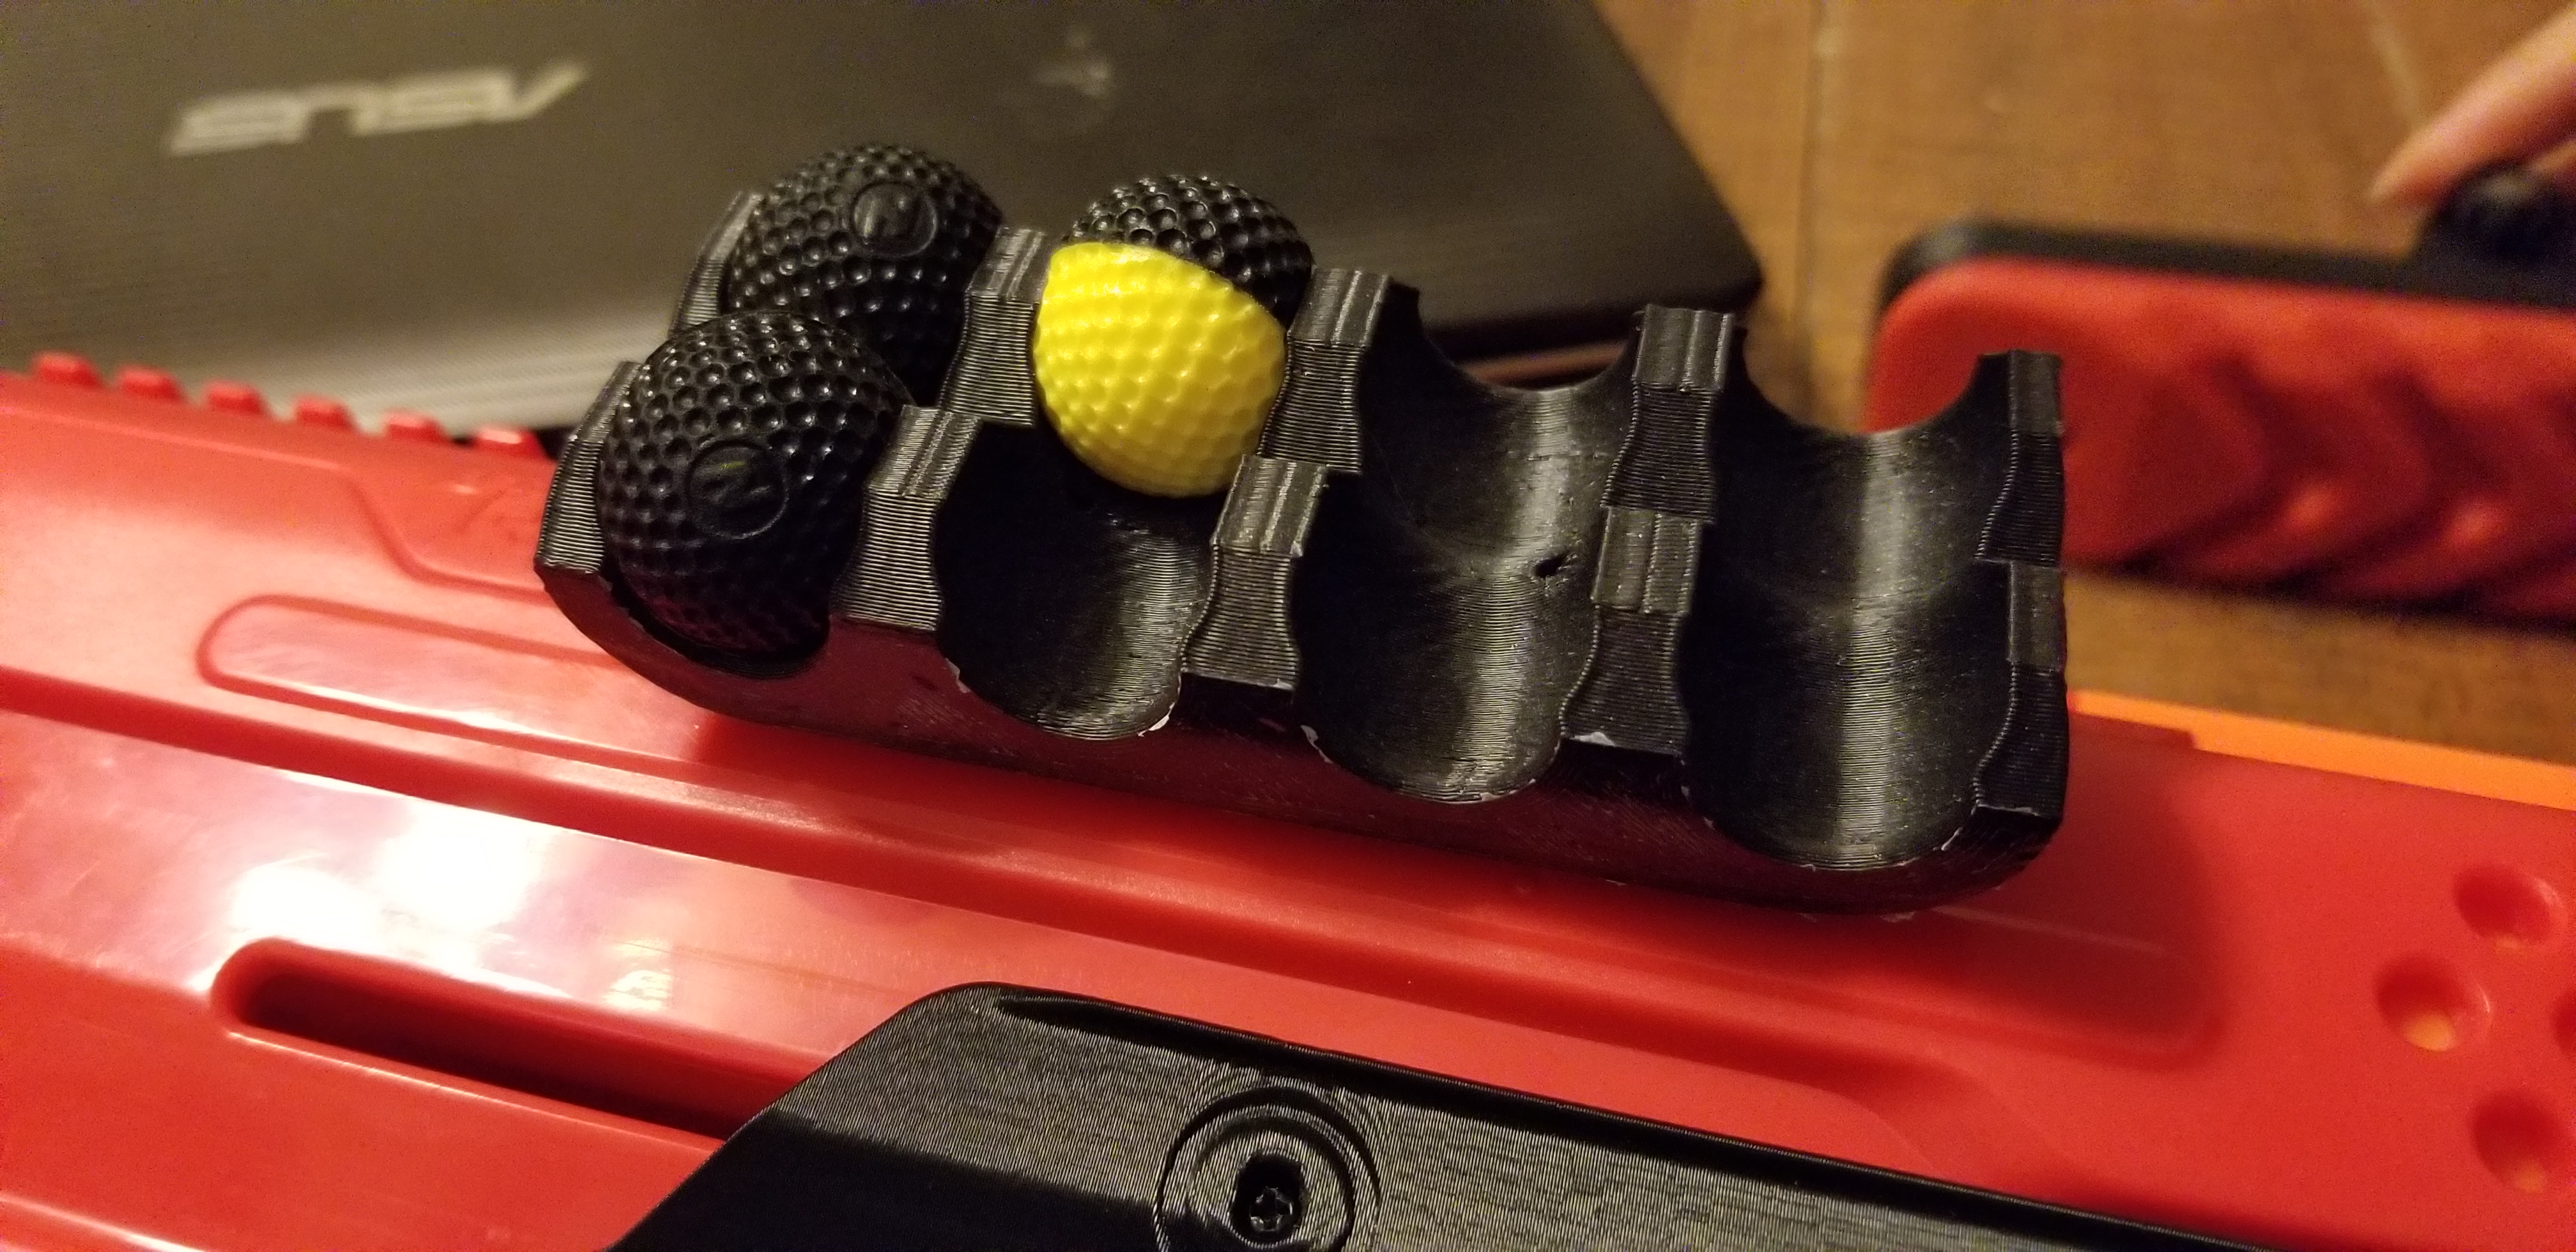
As of this writing, some bonus files were also included for external Rival ball holders, Picatinny rails, and rail mounts. I don’t often use rails, so I opted for just ball storage on my personal Takedown.
Printer Settings
 Since it’s important to reference how I made things: I have a Powerspec i3, running 1.75mm filament through a Micro Swiss all metal hotend and a 0.4mm nozzle. The heated bed has been modded to draw power through a MOSFET instead of the main board. I have the printer itself in a Creality 3D printer enclosure, with a 60w ceramic bulb sitting in the back to provide extra heat (and running off a timer, so that it can turn off after printing is done). I’ve been running ABS at 250°C, with the bed at 120°C. The ambient temperature hovers between 40°-45°C during printing.
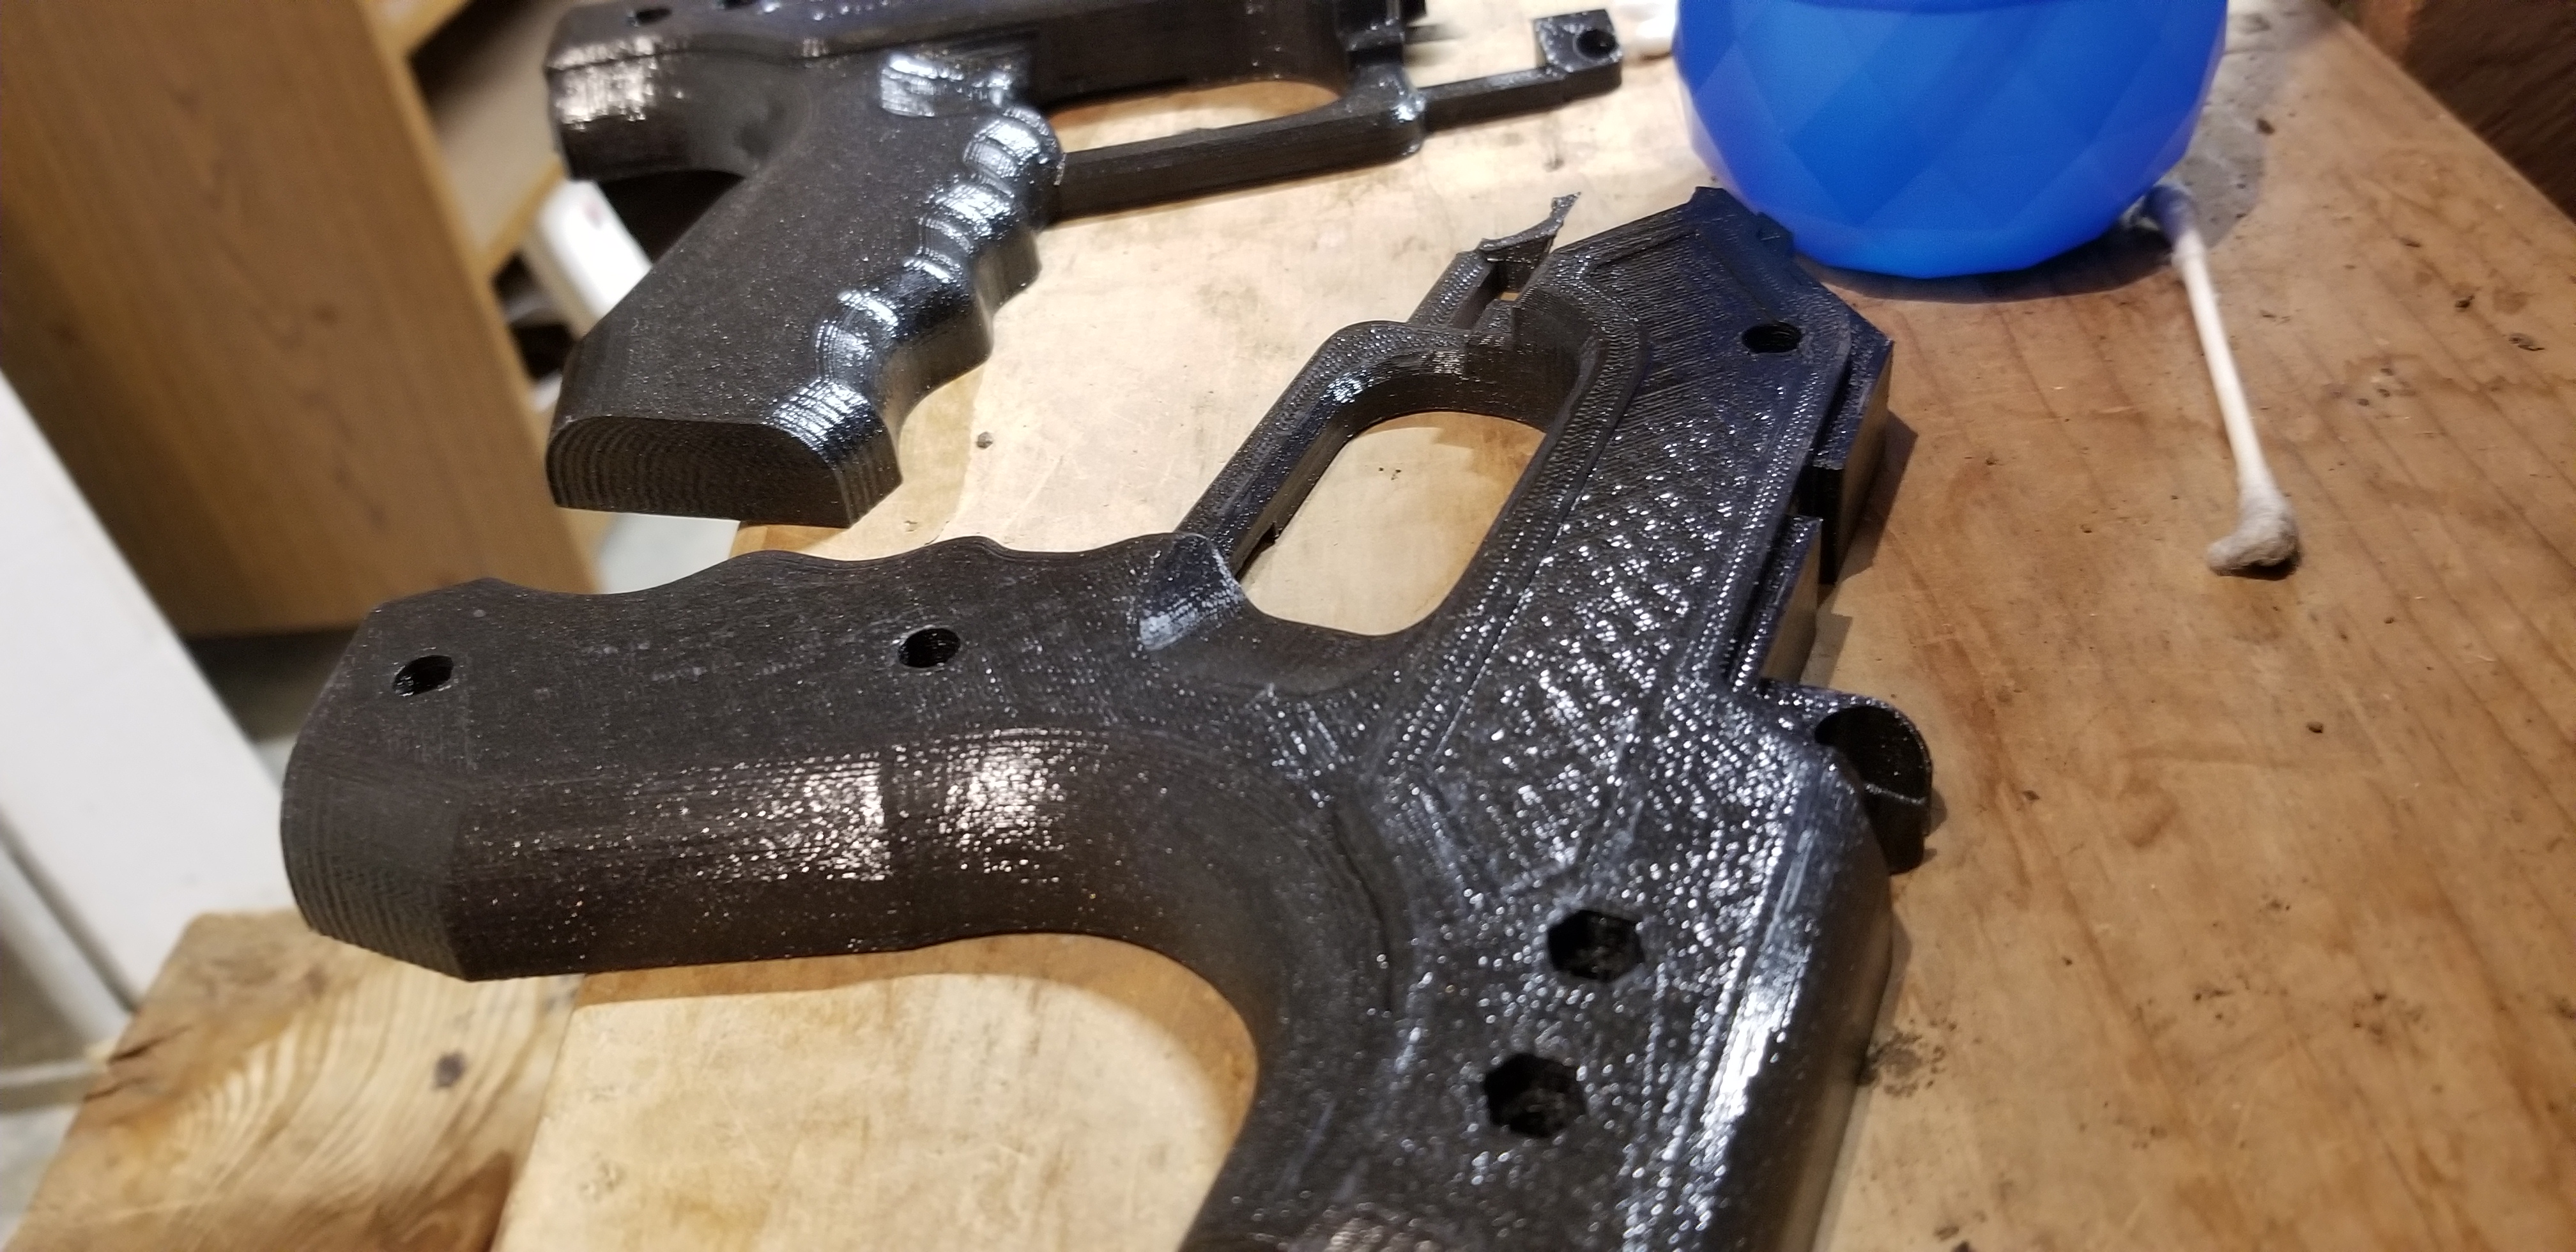
For filaments, I used the basic red Inland ABS from Microcenter. For the black, however, I used Stellar Black ABS from Keene Village Plastics, a nearby company here in Ohio. 1kg rolls of filament run around $33, but they’ve so far been nothing but great. The Stellar Black, in particular, has a nice glitter to it, depending on the angle of viewing.
The Results
 After about a week of printing (I print slow, and used the more warped ABS parts for my kit), I had two complete kits. Minimal filing was needed in a few places to allow smooth trigger movement, smoother stock adjustment, and better stock attachment point fit. However, I can mainly chalk that up to the printer – mine sometimes extrudes ever so slightly too wide, and in the case of the trigger, didn’t lay a layer perfectly over the supports. For the buffer core, I simply had to slide a stock back and forth a few times (albeit with effort) to wear it down properly.
 For assembly, I just followed this video. A list of screws and nuts needed for assembly is here.
The grip is amazingly comfortable, with enough room for the entire hand and spaces for all the fingers. The scales have a nice tactile feel. And all the parts are sturdy, printed with four perimeters. The buffer core works nicely with the printed stock; it also worked perfectly with the adjustable stocks I had on hand. You can pull back on the stock as needed, but it locks in place under pressure.
Final Opinion
 This kit is one of the nicest 3d printed kits I’ve come across. The fact that you can cheaply buy a license for making your own is a major plus. (You can still buy fully printed parts from the designer, as well.) More importantly, it’s well designed, sliding into place without much effort. At most, I only needed slight filing before screwing everything back together.
Whether you’re printing in PLA or ABS, it’s a great kit to buy and make. Just make sure the PLA one doesn’t get left in a hot car!
In the meantime, I have a second, better looking set to send out. I opted to smooth things over with a little Methyl Ethyl Ketone, and make it shinier. Should make for a great look on final assembly!